Instant Box Camera: First Light
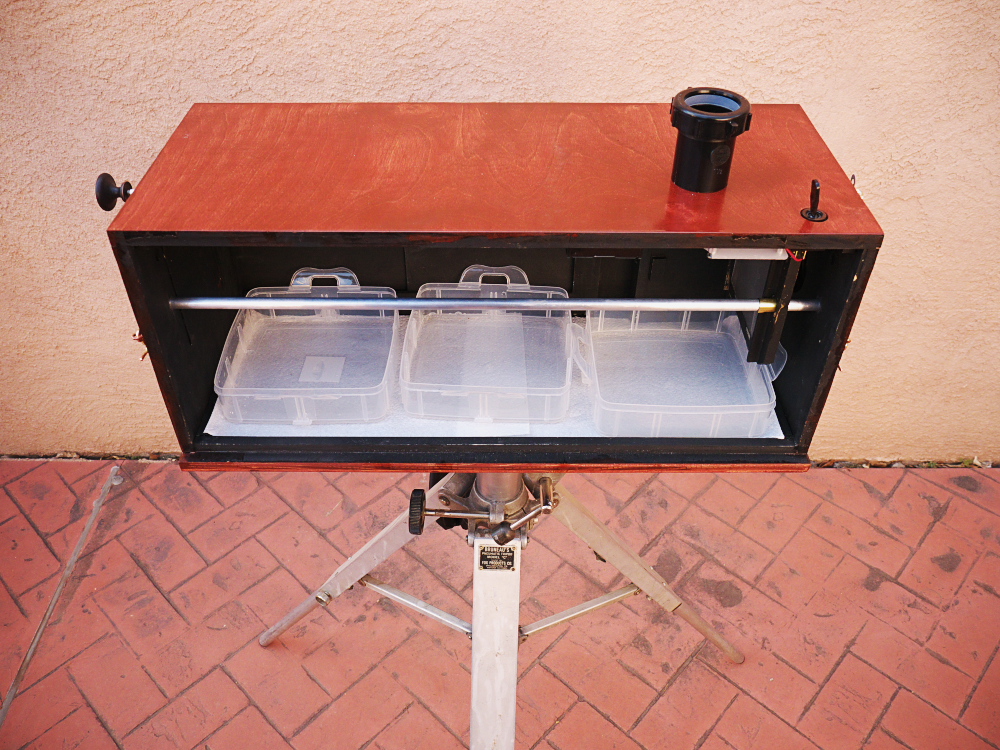
Finally, the pieces have come together into a nearly completed project, after months of preparation, planning and building. I'm referring to the Instant Box Camera project; but there's been nothing instant about it.
Last week, I completed staining the box and applying one coat of clear polyurethane, sufficient to call it ready for testing. This morning, I struggled with getting the black fabric arm sleeve and its wooden sewing ring clamps installed, with success found only after application of a rotary power tool to some tight spaces; anxious to begin testing the camera, I have not yet built or installed the final clamping plate over these rings.
I've yet to install a tripod socket under the box, my plan being to build a separate bottom plate that includes tripod socket and also the folding printing frame, that extends out in front of the lens for printing the paper negatives. And so for today, I just shot and developed a few paper negatives, one a portrait in my front courtyard with the camera resting on a small metal patio table, then another portrait on my back porch using as a stand an old studio tripod, the box secured with a bungee cord to the tripod's large base. My wife was kind enough to sit as a test subject for these first images from the new device.
Using the camera entails first bringing it into the darkroom, where I cut photo paper down to size (4.625" by 3.875") and load them into the cardboard paper safe inside the camera. Then the box is brought out and set up for the subject to be photographed. It's important to keep the camera as level as possible, to prevent sloshing of chemicals from their trays. And so a tripod with adjustable height will be required.
The premixed chemicals are stored and transported in small plastic bottles, the contents of which are poured into the trays, once the camera has been set up and the side of the box removed for access, after which the camera's side can be reinstalled
I then take a meter reading of the subject, ensuring I've set the paper's ISO on the meter (with Arista grade 2 RC paper I rate its speed at ISO12), and select an f-stop sufficient to permit a shutter speed of around 1-2 seconds. I'm using an old Kodak Ektar lens from a Speed Graphic, whose shutter is busted, so I'll have to use a lens cap as a shutter, meaning that for accurate exposures I need exposure times of at least one second in duration - but not too long, otherwise the subject might be blurry due to movement.
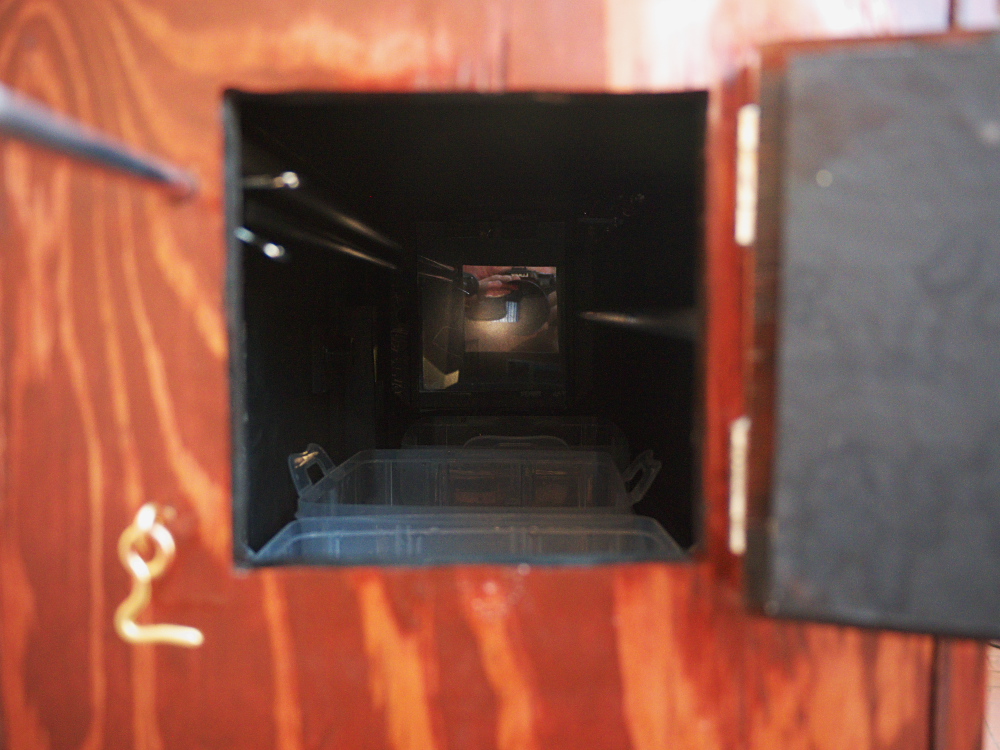
I then open the rear door and compose & focus the subject on the internal view screen. This might entail moving the camera a bit, while focusing is performed by moving the control rod in or out as needed; I mark the selected focus position on the rod by means of a metal clip, which limits rearward movement of the film holder to the preset position. Once focus is set, I secure the rear door, set the f-stop and cap the lens.
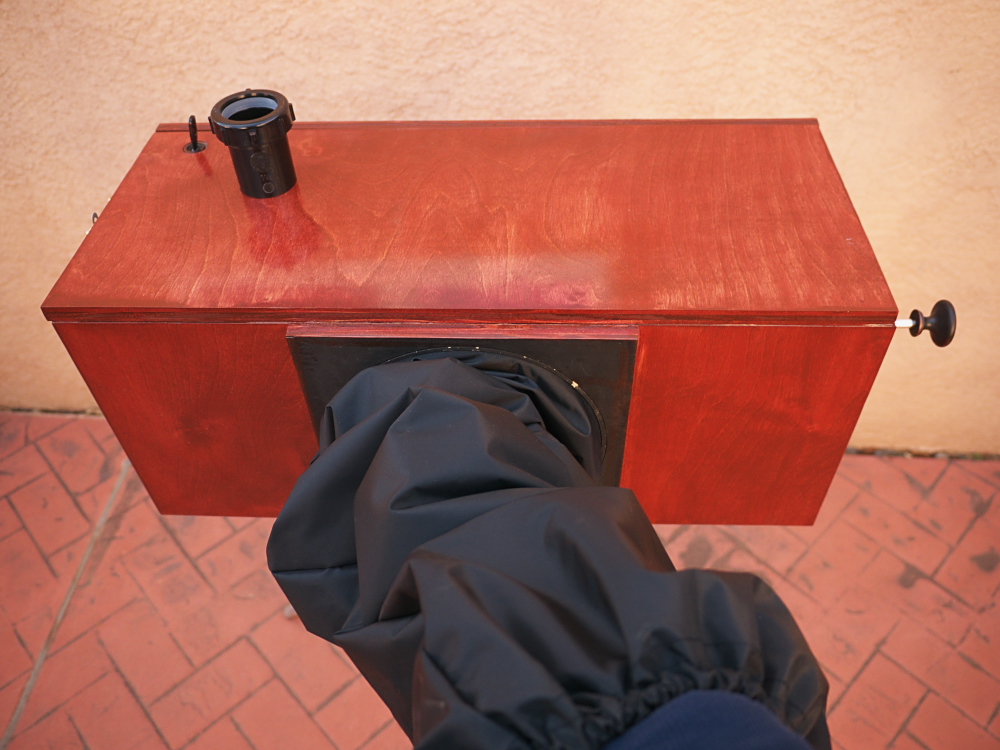
I insert my arm in the sleeve, then open the inner sleeve door. I push the film holder forward toward the lens, giving me room to open the paper safe box, sliding it back and rotating it upwards, then remove one sheet of photo paper. I can tell which side is the emulsion side by its feel, and also the paper's curl. I temporarily set the paper on end, leaning against the paper safe box, while I slide the film holder back a bit and hinge back the view screen. I must ensure that the screen does not fall down into a chemical tray (which did happen to me on one occasion). The paper is inserted in front of the screen, then the screen is hinged back up into place. The film holder is temporarily pushed forward, permitting room to rotate the paper safe box upright and slide it back into its safe storage position. Then the film holder can be slid back until stopped by the metal clip; the paper is now positioned at the preset focus position.
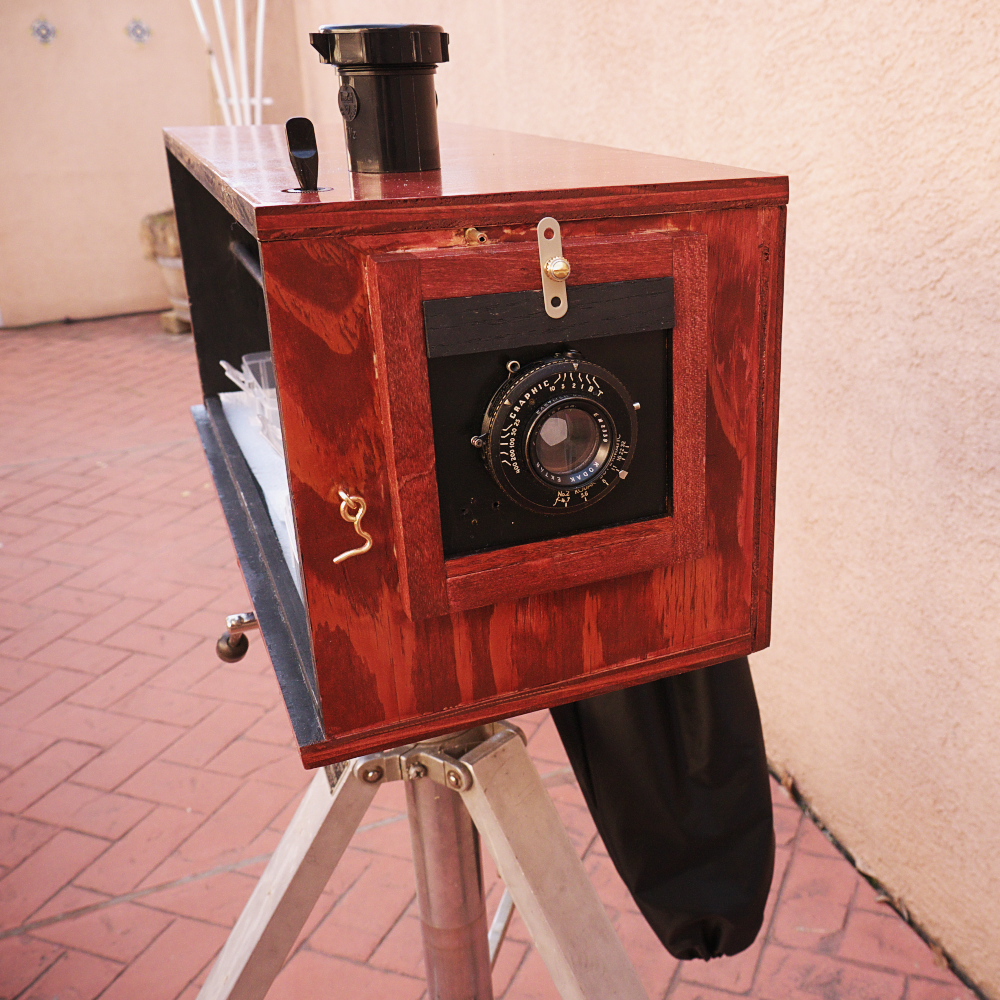
At this time, I can opt to pull my hand from inside the box, slide close the inner door, and remove my arm from the sleeve, giving me both arms free to direct the subject and operate the shutter. For today's tests, I opted to keep my arm in the box. I asked my wife to sit still, eyes open and not to blink. Then I timed the exposure via the lens cap, after which I instructed her to relax and wait until I processed the negative.
To remove the paper negative from the holder, I have to slide it back a bit, then fold down the view screen and retrieve the paper. The tricky part is then closing the view screen while keeping hold of the paper; on the second portrait, I dropped the paper negative at this point, and it fell partway into the developer tray; by the time I had the view screen secured and pushed forward, part of the paper was already developing. In the future, I must ensure the exposed negative is leaning against the paper safe box, then the screen can be hinged back up and secured safely.
Once the negative is in the developer tray (face up) I use my fingers to gently rock the tray and also ensure the negative remains submerged. The battery-operated red LED worked fine for viewing the negative; I took off my glasses before placing my eye securely to the black plumbing fitting that serves as the viewing port (so as to prevent stray light from entering and fogging the paper), then briefly opened the viewing port shutter to take a peek at the development's progress. After 1.5 - 2 minutes in the paper developer (I used Tetanol Centrobrom S, diluted 1:10), I transfer the negative to the stop bath, where it only needs 20-30 seconds; you can tell when the paper's pH has turned from basic to acidic when its wet emulsion side no longer feels slippery/slimy. Then the paper gets transferred to the rear fixer tray. At this point I slide the inner door closed and remove my arm from the sleeve.
After about 30 seconds I'll open the rear door and take a peek at the paper negative, still fixing but no longer light sensitive. After two minutes it can be removed and rinsed in water.
I found it handy to have a square of paper towel, folded up and located partway up the arm sleeve, close enough to reach when needing to dry my fingers but not so close as to fall into the stop bath tray (which did happen on one occasion when I got the paper towel too far into the box opening).
To warm up my chemicals (they were stored in my cool garage), I placed the clear plastic bottles in the direct sun for a few minutes. This will be a handy way of maintaining temperature out in the field.
So how did these first portraits come out? The tones are very good; I have lots of experience with paper negatives, and these please me. There are some small scratches where I fumbled with the paper while it was being handled. My very first image exposed (of an empty chair, not shown here) has a vertical streak down the middle, caused by the view screen hinging back and its top end falling into the developer tray; after being rescued, a drip of wet developer ran down the front of the paper negative. The focus was good on all of these images, as I used a rather small aperture (f/11 and f/32), in order to get sufficiently long exposure times, giving me good depth of focus. Two negatives exposed while the box camera was in the direct sun have a bit of fogging along one side indicating a light leak that'll need to be found and patched. The other images taken under the shade of the back porch had no fogging.
Overall, I'm very pleased with these first results. I still have a few finishing touches to be made to the box, and also practice sessions in printing paper negatives onto multigrade paper using contrast filters. There's also the matter of making this all into a portable kit that can be transported and set up easily in some public venue. But that's down the road. For now, the camera's seen first light, and I am pleased.

First portrait. I had my wife lean her head against the wall. Because of the camera's low angle, she appears to be looking up. Note the scratches, adjacent to her left elbow. Overall the tones are very pleasing. Illumination was bright shade. Exposure was f/32 for 2 seconds.
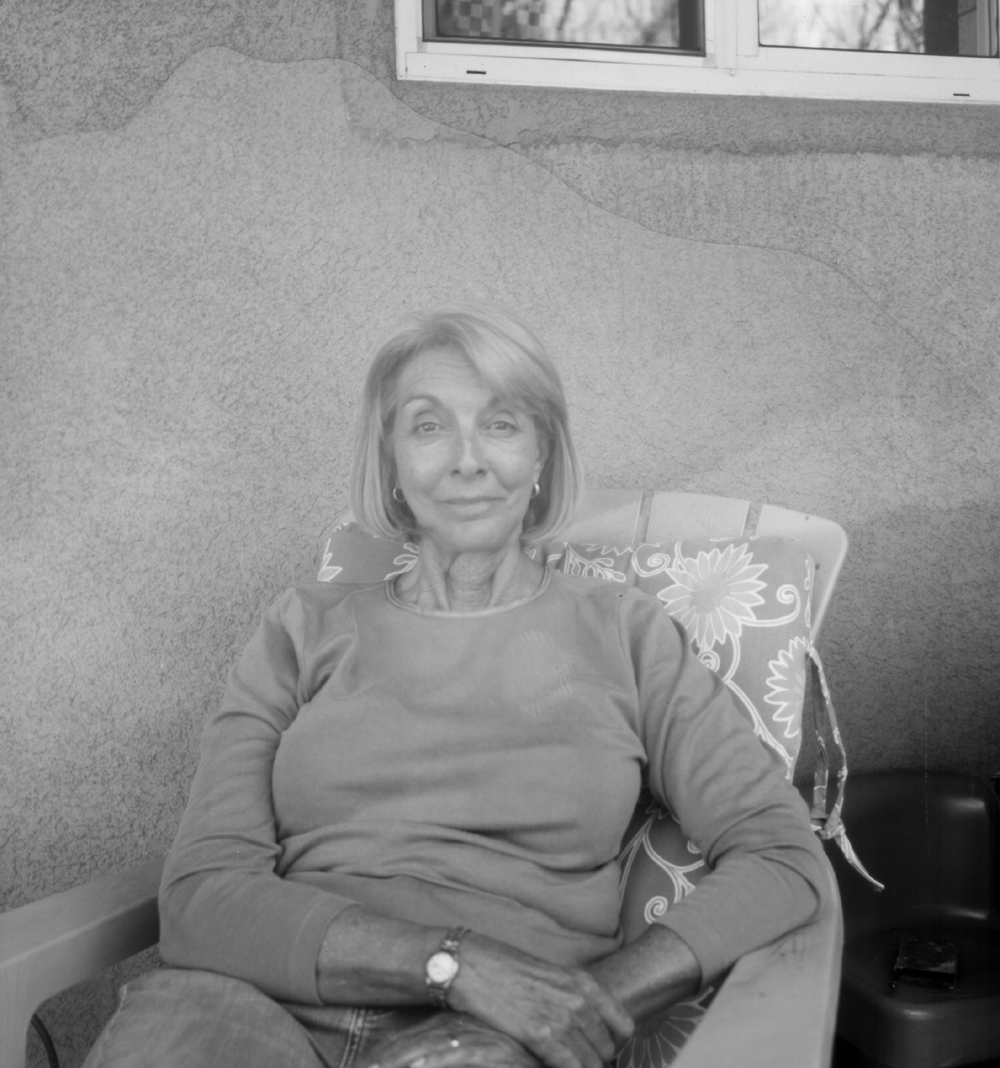
This next portrait was made under the back porch, again in the shade. I was unable to adjust the camera for a more pleasing composition, due to limitations with my tripod. The obvious flaw in this image is the development mark in the upper part of the image, caused when the negative prematurely fell partway into the developer tray. Overall, a good image, tonality-wise. I've made no attempt to adjust these files after scanning, other than reversing their tones and flipping them horizontally. Exposure was f/11 for 1 second.
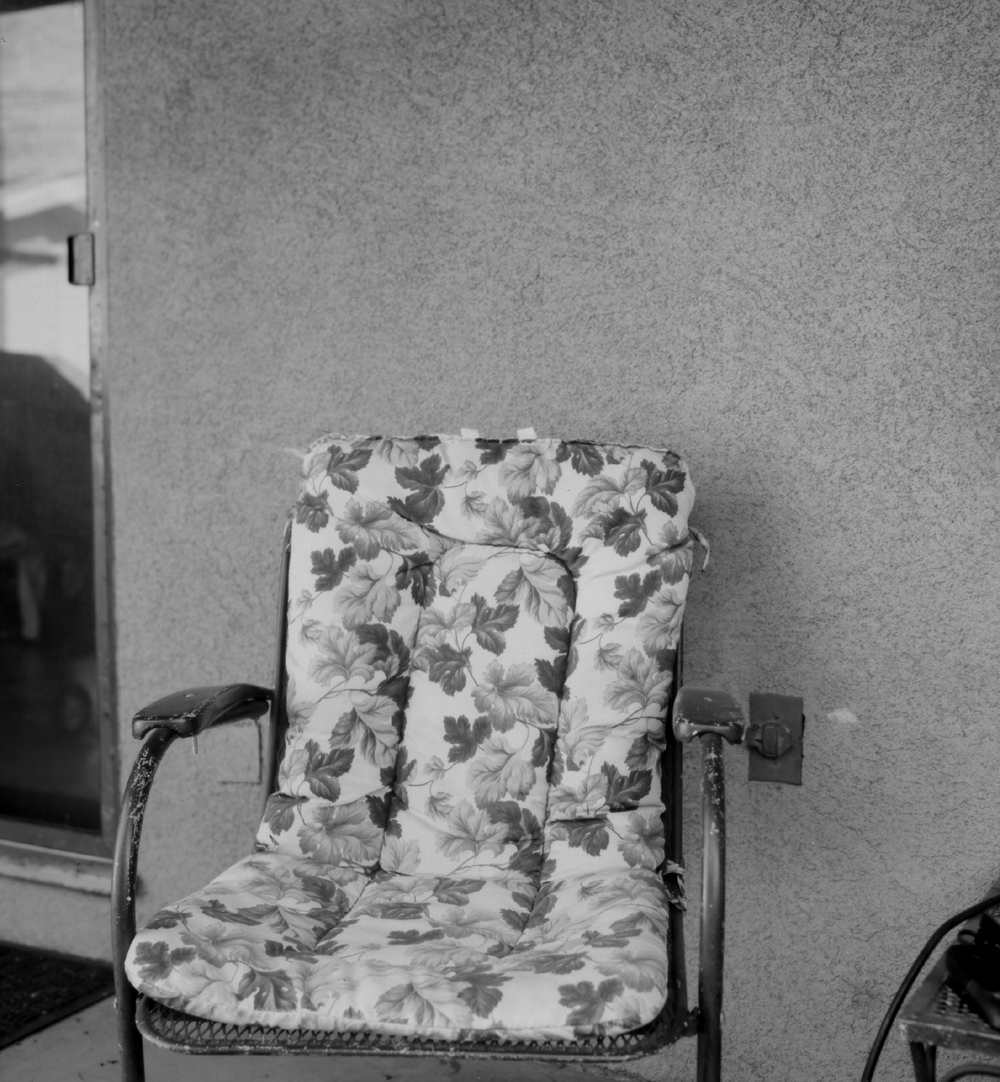
After my wife's two portraits, I decided to expose another negative as a still-life, again under the shaded porch. This time the handling and processing went smoothly, no scratches or development marks, this one is very clean and the tones are very nice.

2 Comments:
Bravo, bravo! Excellent images and wonderfully detailed account of the process. A fine invention, and I look forward to more from the box.
Kinda tricky to aim the camera when it must remain perfectly level so as not to spill the processing trays.
Nice work, Joe. Next time I am in Albuquerque I will sit for a portrait.
Earl Johnson
Post a Comment
<< Home