Biting the Silver Bullet Once Again
 Behind a shop in Nob Hill
Well, I've wrote repeatedly about getting back into creating images using silver gelatin paper negatives in large format cameras, alongside continuing working with my Lumix G1. Today the forces at work in my life came together, permitting me the opportunity to expose, develop and scan a handful of paper negatives.
The day was cloudy, so I knew that exposure times would be too lengthy for pinhole cameras, thus I ventured out with my trusty Speed Graphic, equipped with the 150mm binocular lens stopped down to F/8, and four preflashed grade 2 paper negatives. I carried the Bogen tripod over one shoulder, backpack over the other. Along with the camera and film holders I had my light meter and black shirt as an improvised dark cloth. This particular lens, salvaged from an old 7x50 binocular, gets crazy kinds of off-axis blurriness, but was tamed a bit by being stopped down to a 20mm diameter aperture.
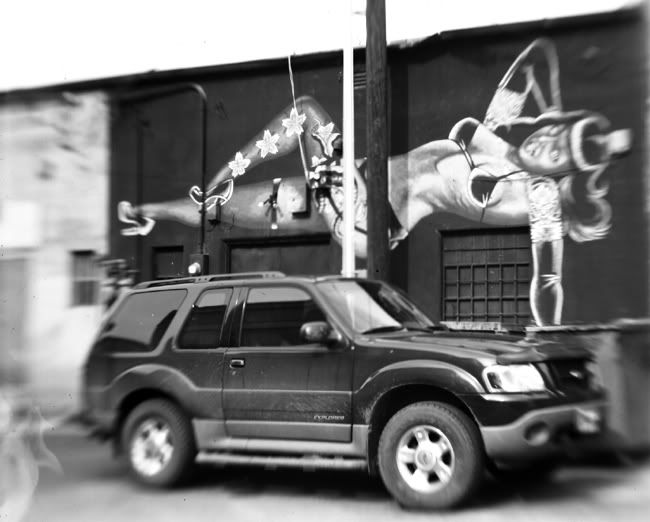 An alley mural in Nob Hill
After exposing all four negatives I went home and set up the processing equipment. I have this portable dark box processor, a homemade wooden box with removable light-tight lid, and two arm sleeves protruding from the front. Inside is room for a 3-tray storage cube for the chemicals, folded paper towels and the film holders. I use latex gloves on my hands to keep the exposure to developer at a minimum.
To use the portable processing box (in the warm kitchen, rather than the frigid darkroom out in the garage) I bring the chemicals up to 68f using the microwave oven, then pour them into their respective trays, developer on top, stop bath in the middle, fixer on the bottom. In this order the drips and spills follow the natural progression of processing, preventing the developer from getting reverse-contaminated with acidic stop bath or fixer. Then it's don the latex gloves, close up the lid, and place the digital clock atop the box.
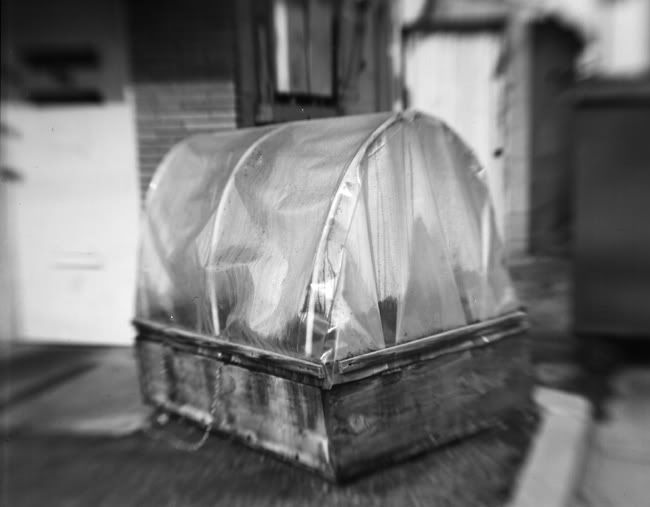 A shop specializing in small urban greenhouses
I slip my arms through the sleeves of the box, a snug fit, and open the first film holder, pulling out the paper negative carefully, and quickly inserting it face down into the top tray, making note of the time on the clock, and adding three minutes. I agitate the tray fore & aft and side to side, and pull the negative out by the corner at about 10 seconds to done, letting it drip the rest of the time.
Then it's into the stop bath for 15 seconds with agitation, and let it drip for another 15 seconds. Then onto the fixer for two more minutes, with constant agitation. After one minute in the fixer I can remove my arms, open up the box top and inspect the negative while it completes fixing. Then into a holding container of water with rinse aid, left to sit until all the negatives are processed. Then they get rinsed under running water for 15 minutes or so, while I clean up and make tea.
 A dead vine
After rinsing I squeegee and blow-dry the negatives using a hair dryer reserved for this purpose, and into their storage sleeves for scanning and inversion in Photoshop as finished images. If I were printing these in the darkroom onto silver gelatin paper it would take a bit longer, but today only permitted scans of these negatives.
I intentionally left the images with spots of dust and lint, something I've been guilty of spotting out in the past using Photoshop. But, were these actual silver prints, the contact printing method really doesn't permit the easy removal of dust and blemishes, either. You gets what you get, and you don't throw a fit. I figure if it's considered stylish to make videos with faux film-like vertical streaks and scratches, then it must be okay to leave real processing flaws on real silver-based images. Think of polaroid images, with their nifty, artsy blemish-laden edges, an artifact of their peel-apart process; we wouldn't Photoshop these away; no, we'd keep them intact, or better yet add them to non-Polaroid derived images.
So, these images are about as genuinely silver-based retro as they can get and still be posted on the Internets.
posted by Joe V at 3:32 PM
![]()
![]()

2 Comments:
Joe I would love to see some pics of your little darkroom box...great idea...
Here's a link to the complete story on the portable darkroom box, over at F295.
~Joe
http://www.f295.org/Pinholeforum/forum/Blah.pl?m-1230847394/s-all/
Post a Comment
<< Home