IBC: Paper Safe & Lens Hood
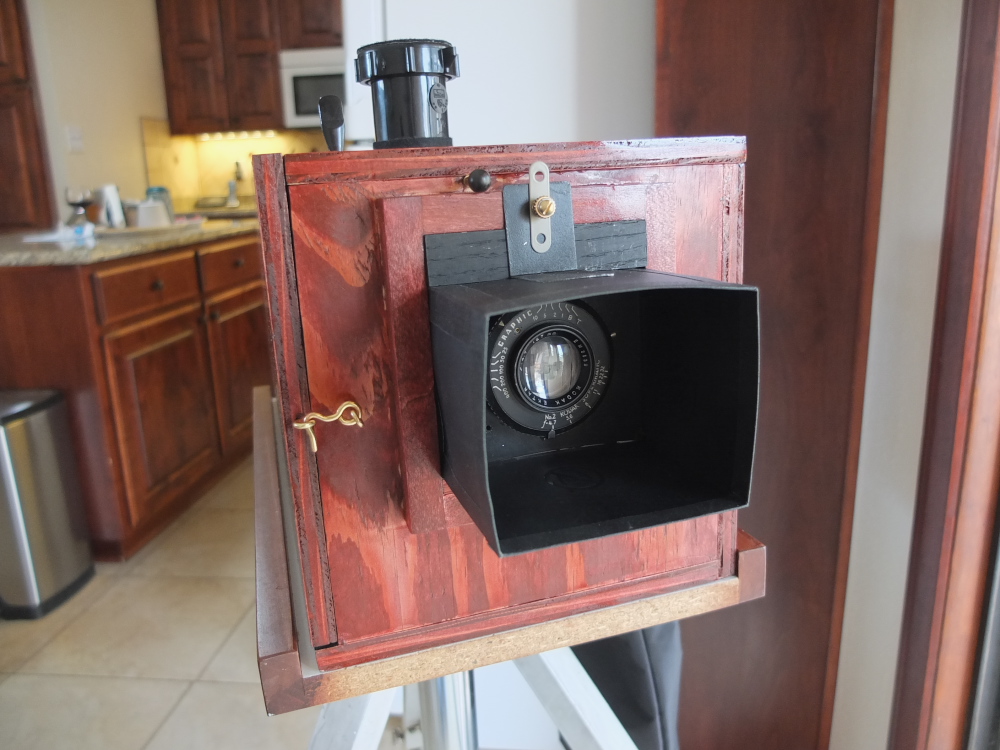
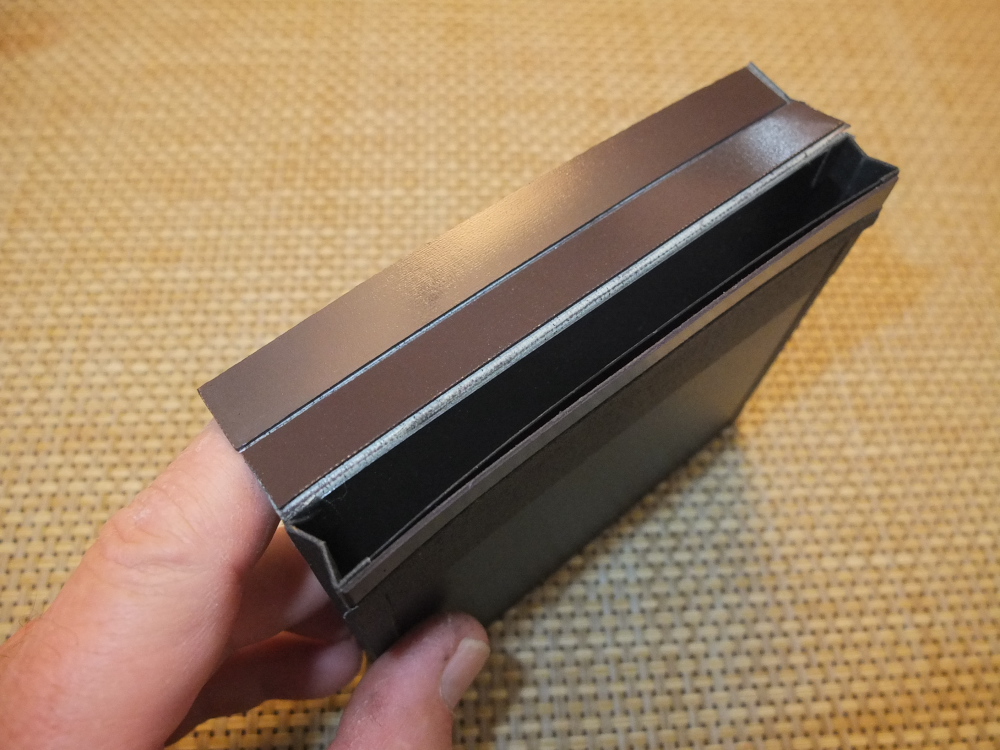
Post-Script: The top photo shows the IBC with newly installed lens shade and lens cap shutter removed. I really like the idea of reusing the detritus from Fujifilm's Instax Wide film cassettes. These stiff, black plastic sheets come in handy for these kinds of projects. Also, the film cassettes themselves make for handy little picture frames. You can insert an Instax Wide print under the plastic light baffle flap, through the eject slot and into the cassette, which then serves as a picture frame.
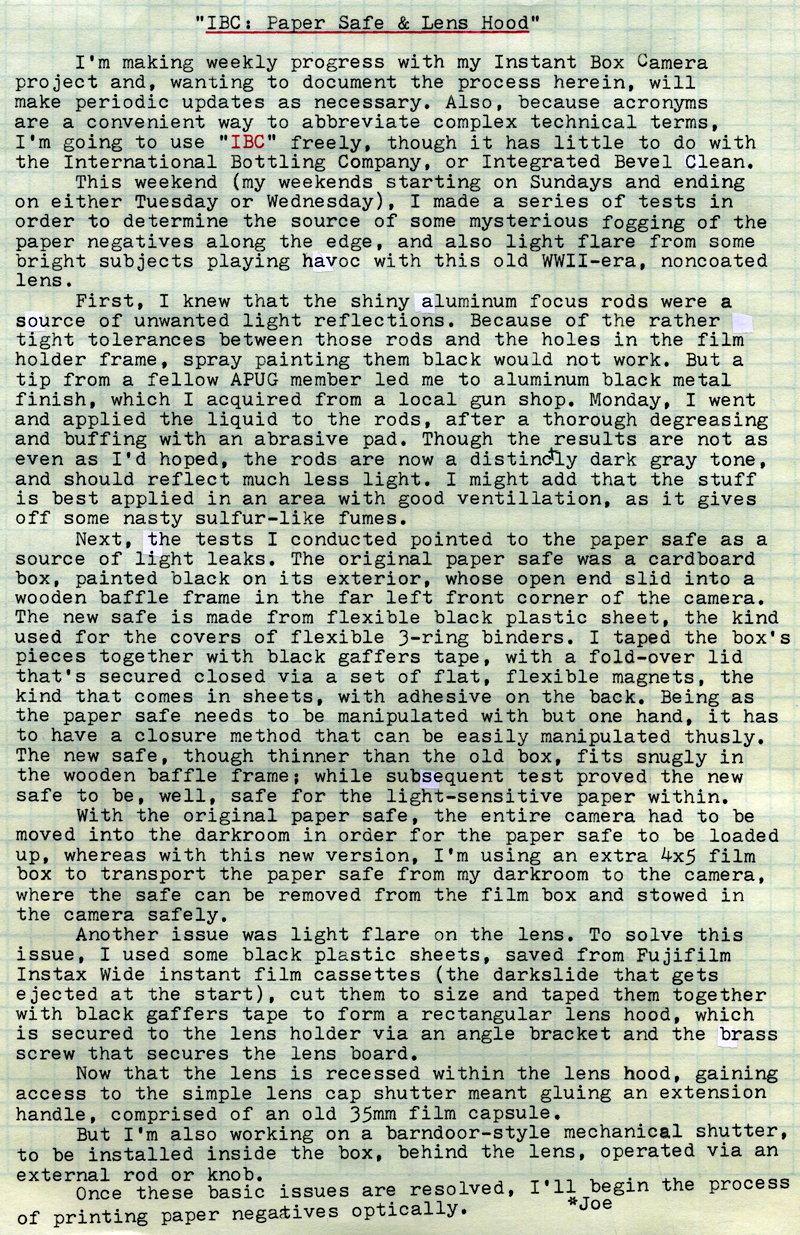
Here's a picture of the camera with shutter installed. This shutter was always intended to be temporary, being composed of several layers of black foam core board, taped together with gaffers tape, with a recessed hole in one layer to fit snugly over the Kodak Ektar lens. Now, with the addition of the lens hood, gaining access to the shutter was problematic, hence the addition of this "handle," composed of a 35mm film capsule, hot glued to the shutter cap. As I indicated in the typecast, I am working on a more sophisticated shutter.
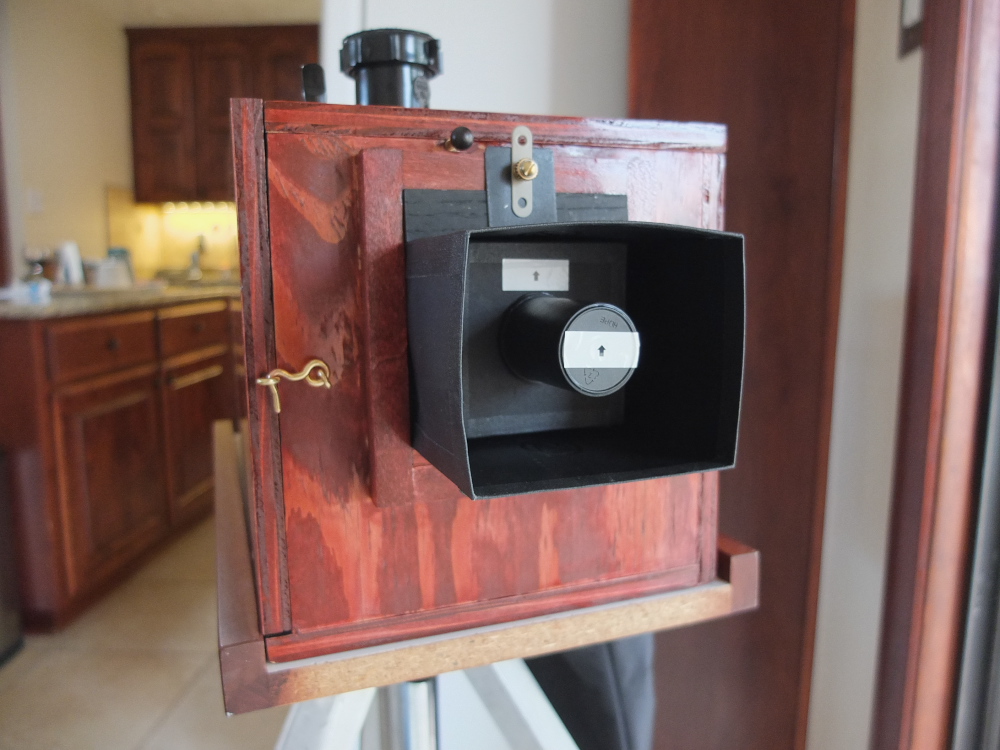
The lens hood was made to fit snugly inside the wooden frame around the lens board bracket, but it's secured in place via this angle bracket that's attached to the hood via double-sided tape, and to the lens mount bracket screw.
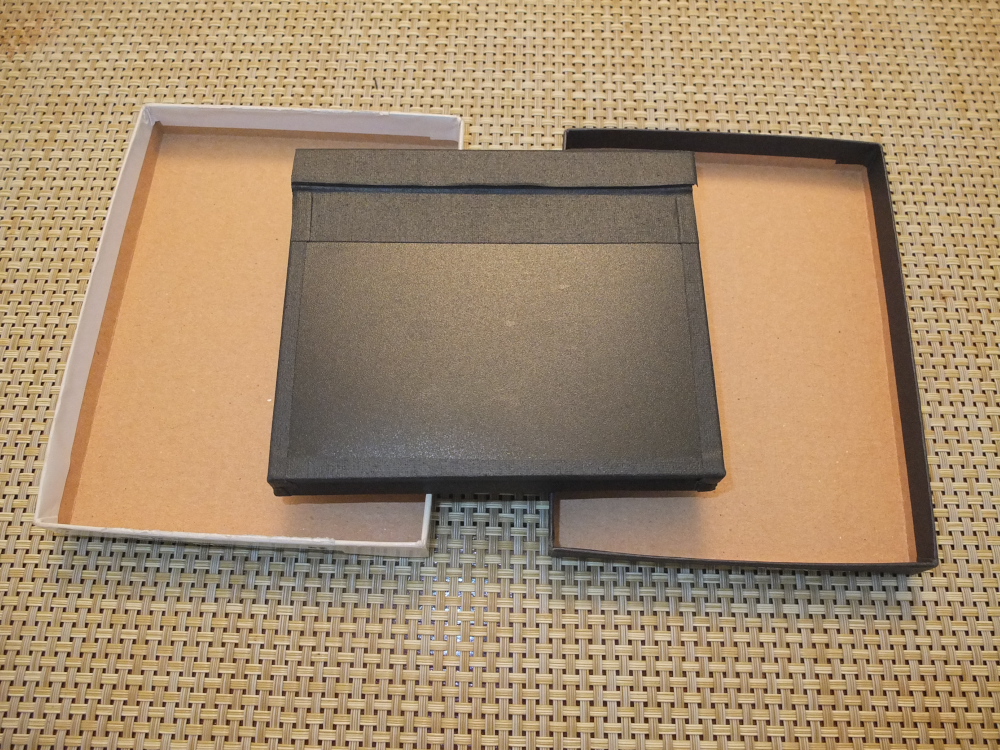
Here's the new paper safe, made from sheet plastic, gaffers tape and sheet magnets. It closes very nicely, and I'm able to operate it one-handed.

Here's the lid of the paper safe open. I'll use a floating cardboard divider to separate RC glossy grade 2 paper, which I use for negatives, from RC luster multigrade paper, that I intend on using for the prints.
Though this new paper safe is thinner than the old one, it just happens to fit snugly inside a 4x5 film storage box, solving for me the problem of reloading the camera with convenience in mind; otherwise, I'd have to empty the chemical trays, transport the entire camera to my darkroom and install the paper safe under red lights.
Here's the paper safe in the camera. It's the rectangular box to the left of the view screen. You can see the wooden bracket that its end fits inside. To gain access to the paper, I first slide the box backwards (to the left in this image, away from the wooden bracket), then rotate it 90 degrees so that its lid is pointing up. Then I flip open its magnetic lid and remove a sheet of paper. Once the paper is in the film holder, I close the paper safe lid and return it to its storage.
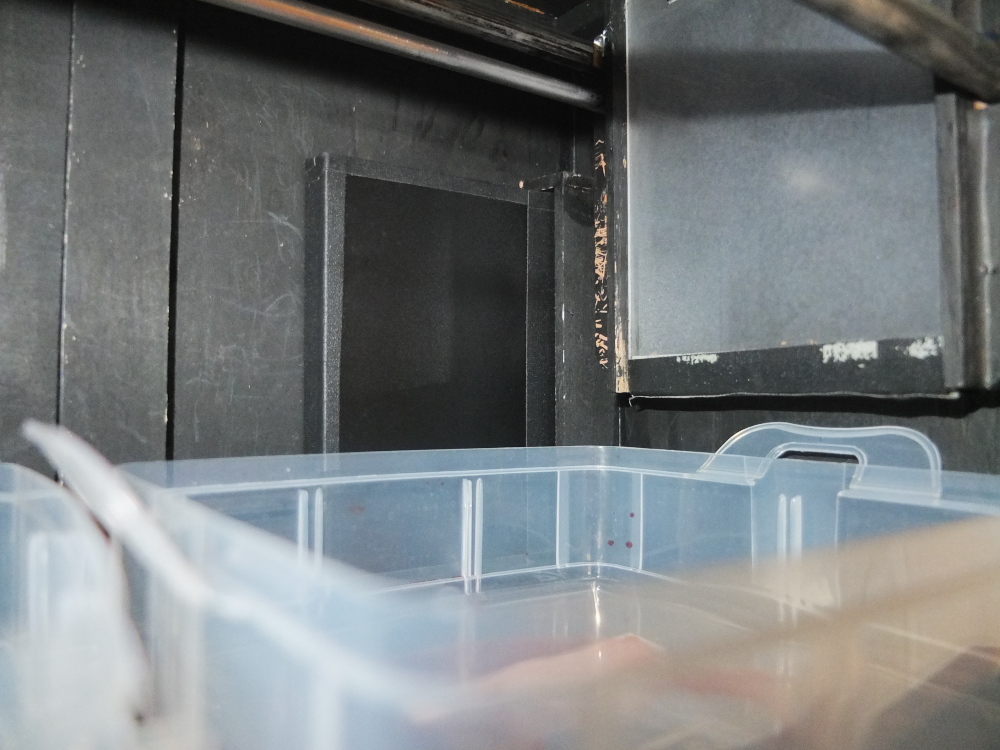
You might also note in this image that the frame around the view screen has some peeling paint. The frame was cut from a sheet of laminate flooring, and doesn't take paint all that well. I'm going to have to touch it up eventually, but for now it hasn't presented a problem. Also the black gaffer tape cloth hinge, below the view screen, shows some deterioration, but it's mainly cosmetic. This is not professional-grade construction, but it seems to work okay.
Here's a test image taken in my front courtyard under bright shade. F/32 for 4 seconds, it was a test of the light-integrity of the new paper safe. With paper loaded in the safe and it installed in the camera, I opened the right side panel to bright sun for about a minute, then closed it up and made this image. I'm hoping my problems with lens flare and fogging are a thing of the past.

Photos via Fujifilm X10, typecast via SCM Galaxy 12.
posted by Joe V at 10:12 PM
![]()
![]()

1 Comments:
This experiment tested a subject's ability to recognize a shape from a set of 16 possible set of stimuli. Colored plastic sheet
Post a Comment
<< Home