Voss Modell 50
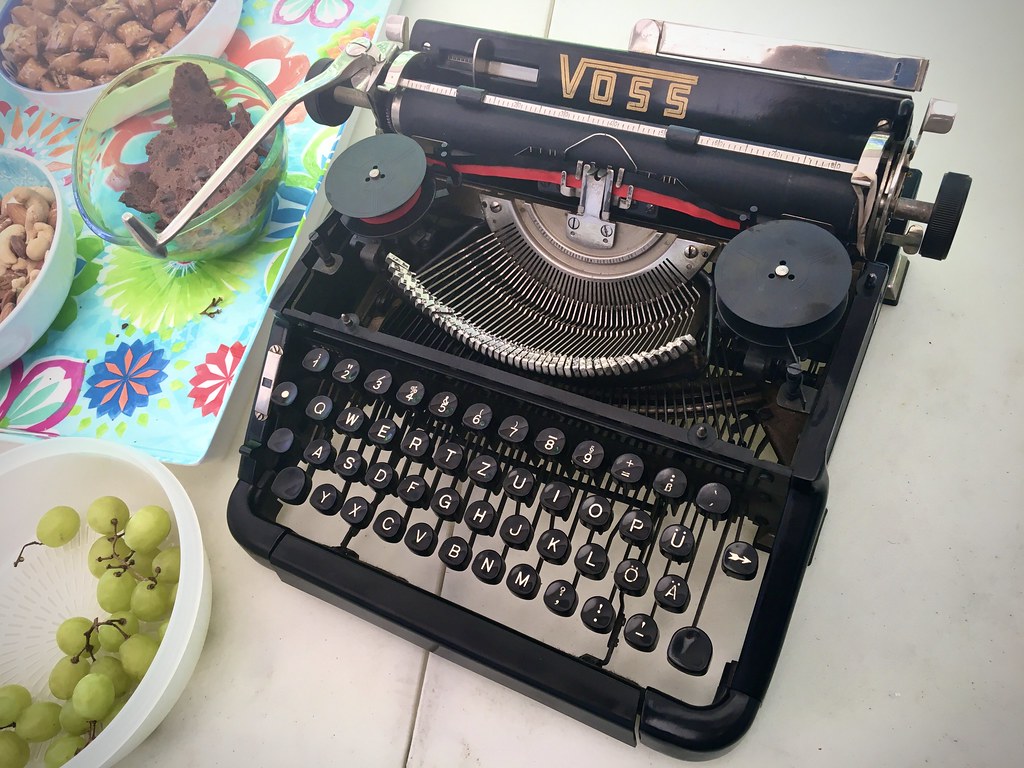


This machine was from John Lewis, our local typewriter shop. It was going to be used as a parts machine for repairing a newer Voss De Luxe owned by Kevin, but John managed to fix the De Luxe without robbing any parts off this older machine. John offered it to Kevin for a song, and now it's mine.
Mechanically this older Modell 50 and the newer De Luxe are very similar, they feature the same escapement mechanism for example (which, by the way, is replete with numerous adjustments), but the carriage on the De Luxe is different, especially around the paper bale. And of course the styling between the two models is different. This Modell 50 is rather masculine in appearance while the De Luxe is rounded and curvy. They also reversed the location of the back space and carriage release controls between the two models; Kevin's De Luxe was made in 1958, while my Modell 50 was made in 1952. And a sticker on the back of the De Luxe indicates it was marketed in the United States by a subsidiary of Voss, whereas on my older machine there's a paper sticker indicating Schultheis & Lenzen, Buromachinen, Koln-Aachener Str.15-17 (my apologies for not using the correct German punctuation marks.)
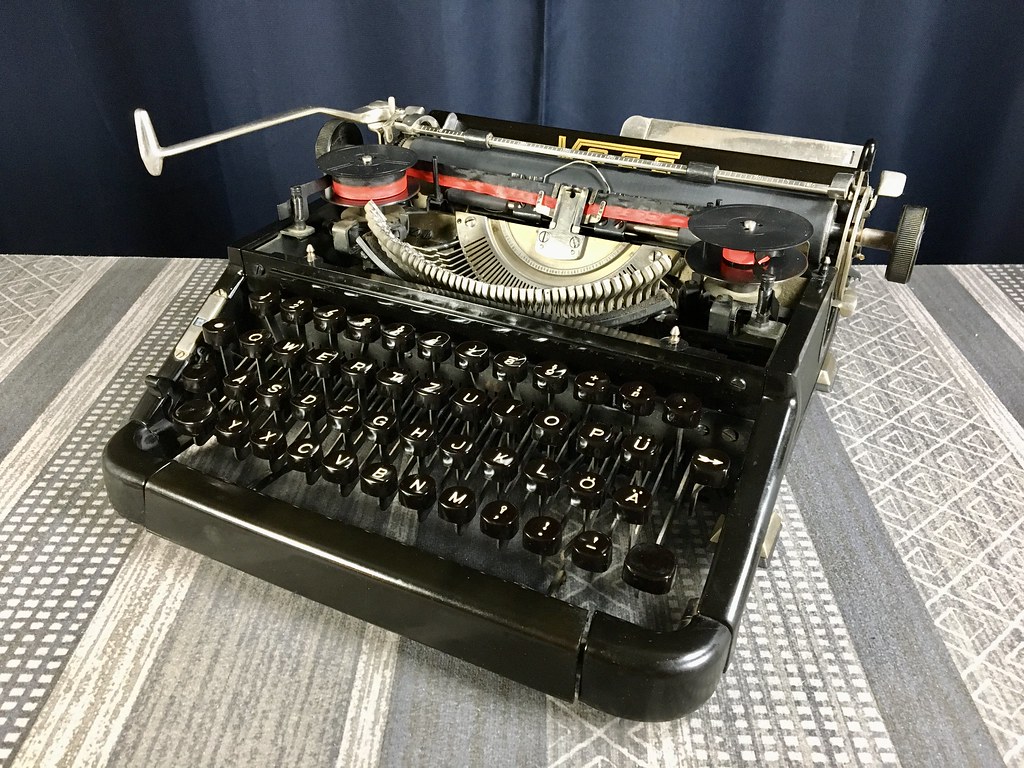
Aside from several cracked Bakelite panels and the hardened rubber parts, the only other issue is the springs for the paper bale are broken and missing, they are flat spring steel and only the ends remain where they were secured under mounting screws on either end of the bale. This type of spring steel can be brittle. My simple solution was to route a rubber band around from behind the right side of the carriage to the right front finger of the paper bale; it now gives plenty of pressure onto the paper.
Aside from needing more superficial polishing, I'm seriously thinking about making a ribbon cover. It won't have the same curvy shape as the original, but should be functional. It will be made from wood, and I hope to successfully seal and finish the wood into a glossy black appearance to match the rest of the machine.
There's an even earlier version of this machine, with round keys and a more conventional space bar. This is more of a hybrid machine, sporting a pre-WWII conservative appearance yet featuring modern plastic key caps.
This is one of those machines I didn't know I needed. In practical terms I don't need another typewriter; but now that it's mine, and I've put some work into it, I can say it's starting to feel like one of the family. It also has a stablemate cousin, the Triumph Norm 6 with a similar German/Hungarian keyboard. As I indicated in this piece, I have little problems typing with a QWERTZ keyboard, since I'm not a pure touch-typist on manual machines and therefore will periodically look at my fingers as I type, and make a mental note to be on the lookout for the letter "Y" so as to ensure I hit the correct key and not the "Z".
Labels: John Lewis, Triumph Norm 6, typewriter collecting, Voss Modell 50
posted by Joe V at 8:50 AM
![]()
![]()

5 Comments:
Congratulations on the repairs. You've now got a great looking & working typewriter.
I typed on a newer Voss at a Type-In and it was quite nice.
Neat! A new wooden typebar cover is a fine idea.
These early Vosses used brittle bakelite (or a similar plastic) and are rarely intact. I like to imagine that when they developed the new, aluminum shell they made extra sure to build a robust, thick structure, keeping in mind their experience with the old shells.
Fantastic! Have you considered 3-D printing a cover (since you now have a buddy with a 3D printer)? Also, might be a good candidate for the "MyOldTypewriter" shrink-tube layered platen recovering.
I'm wondering if you could make a plaster mold of the contour of the ribbon cover. Then get a sheet of thermoplastic, and stick both in the oven so the plastic will droop and assume the shape of your plaster mold. Then you could cut out the holes for the ribbon, unless the cover goes over the ribbon spools. And of course, cut the fan shape opening for the key bars to swing over to the paper. You could leave it clear for "see-thru" effect, or spray it black. Many years ago I used to play around with old shellac records, heating them and forming strange objects. Phil
Ted: I might just try the heat shrink trick instead of shipping it off the JJ Short. And the vacuum hose trick for the paper bale rollers. Interestingly, the pressure rollers under the platen seem to be in rather good condition.
As for 3D printing, that's a possibility, though it's hard to get a smooth enough finish to match the Bakelite with filament printing. Injection molding would be nice, but outrageously expensive. There's also the problem that I only have low-res photos online to reference the shape of the original ribbon cover, and they involve a complex curved shape with several tiers, difficult to model in Solid Works.
Similar complications are involved with making a mold for thermoplastic. I do know my abilities with a simple wooden cover and the materials I can find at my local hardware store.
My friend Ethan is always getting me to 3D print cameras and stuff, but I really enjoy the process of hand making something from wood using simple tools. Plus I'm an old codger and set in my ways. :)
Post a Comment
<< Home