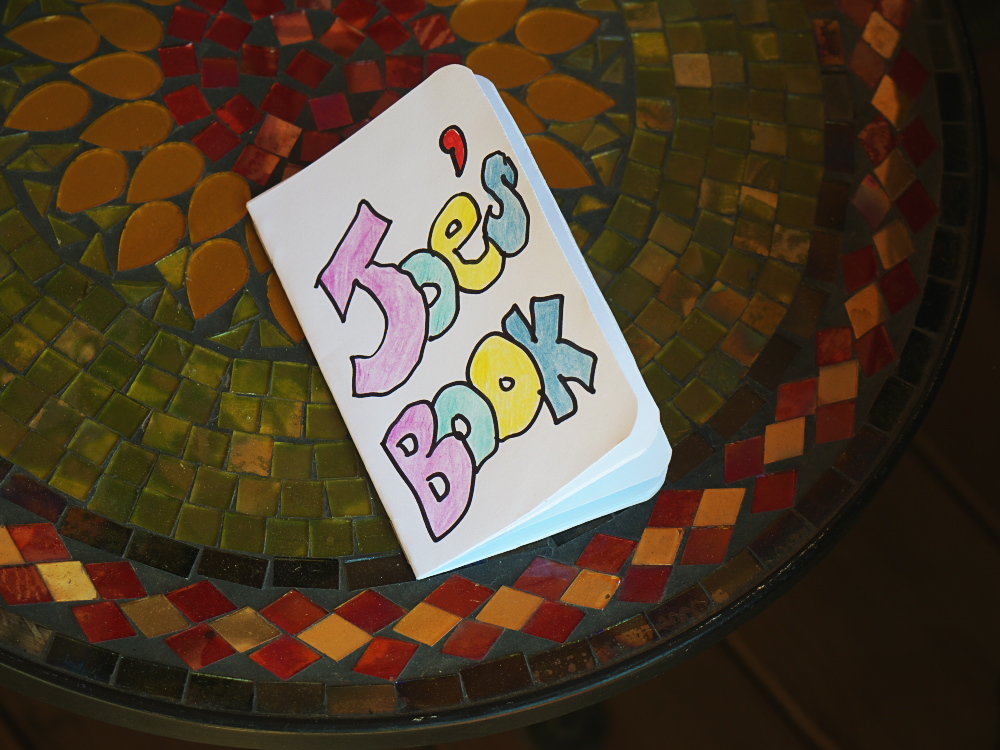
Sixteen Pages

FOLDING INSTRUCTIONS:
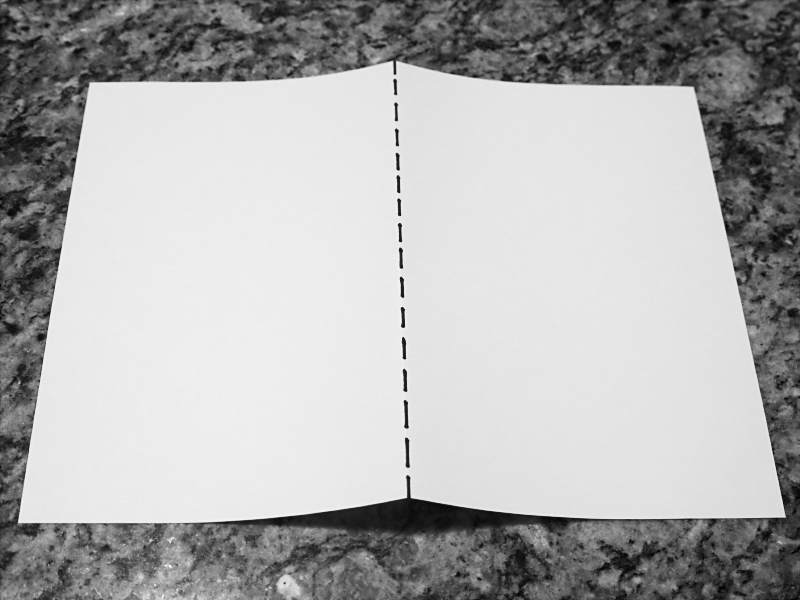 Step One: Lay out your sheet in landscape format. The first fold will be the left half behind the right half. See the dashed line for reference.
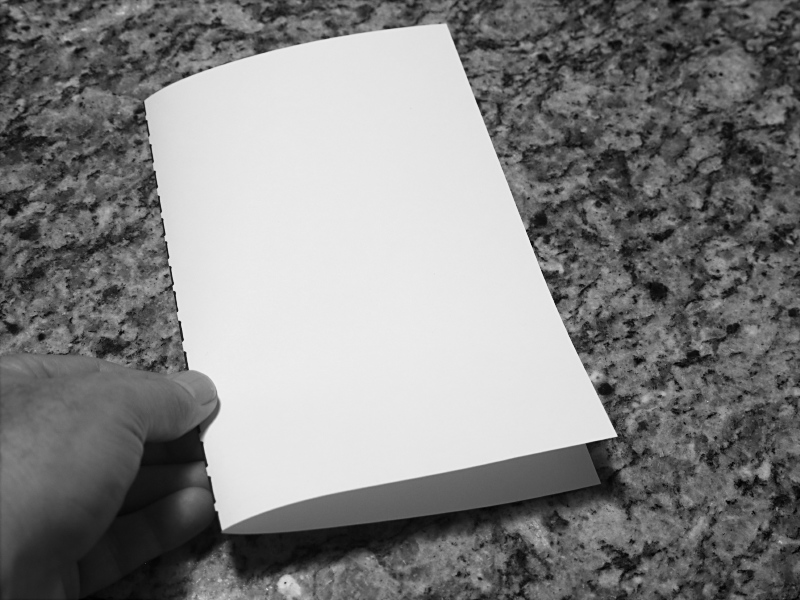 First fold completed. The front cover is in the top right corner.
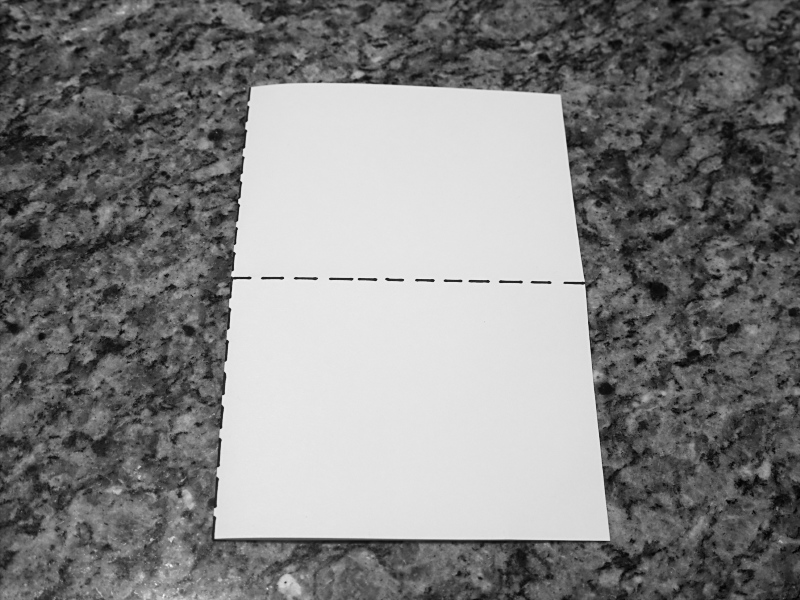 Step Two: Fold the bottom half up, behind the top half. See the dashed line for reference.
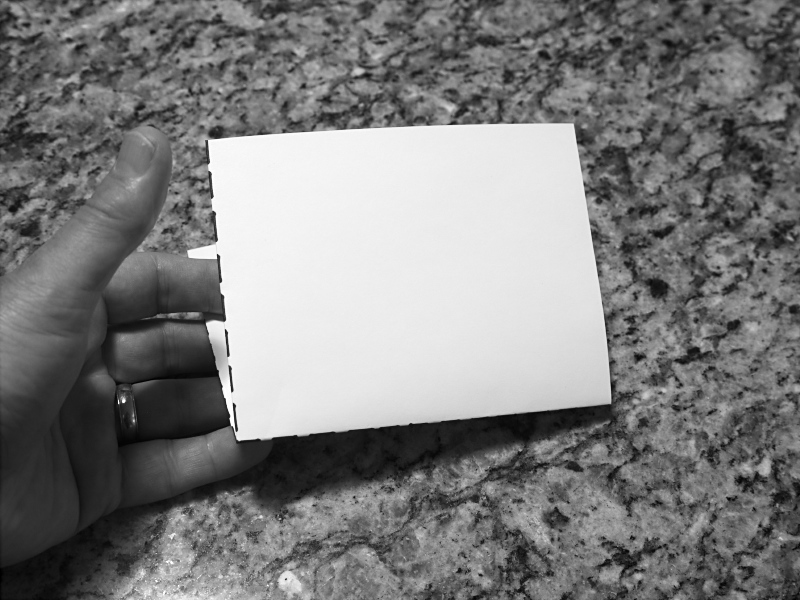 Second fold completed. The front cover is on the right.
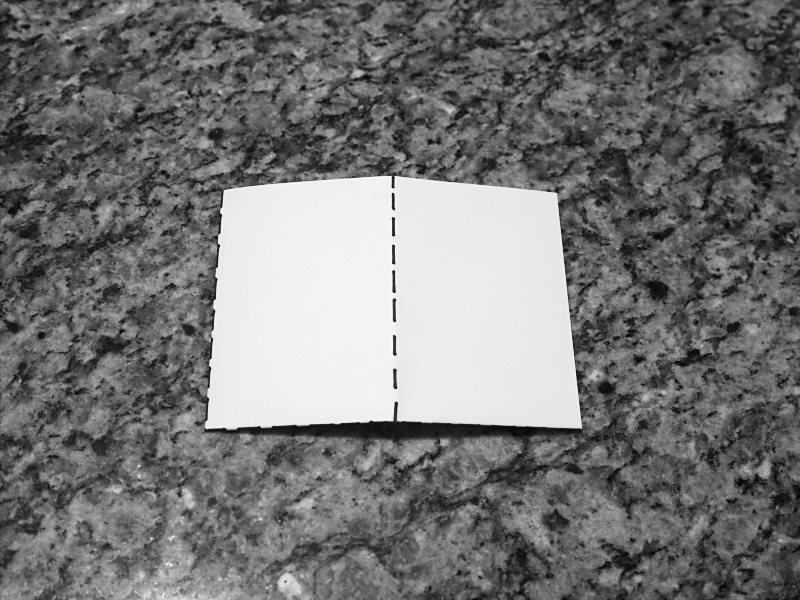 Step Three: Third fold marked as indicated by the dashed line. Fold the left half behind the right.
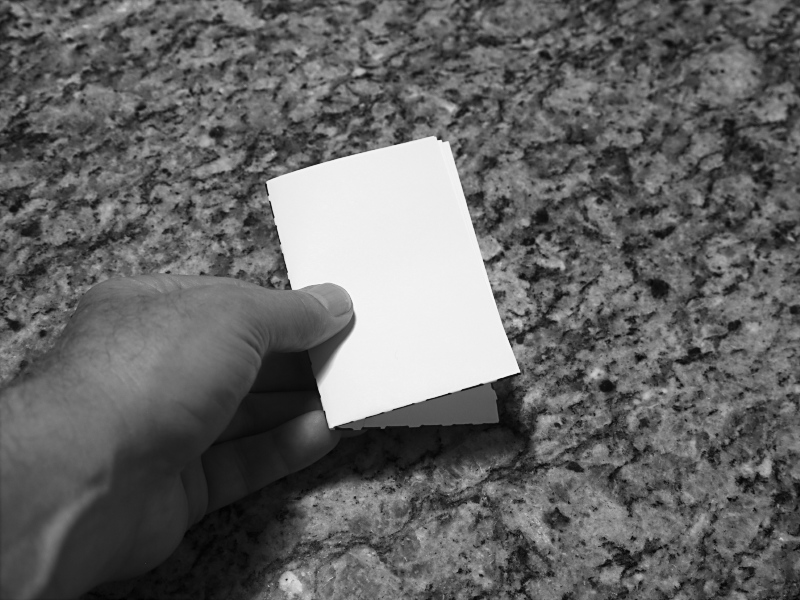 Third fold completed. The front cover is on top.
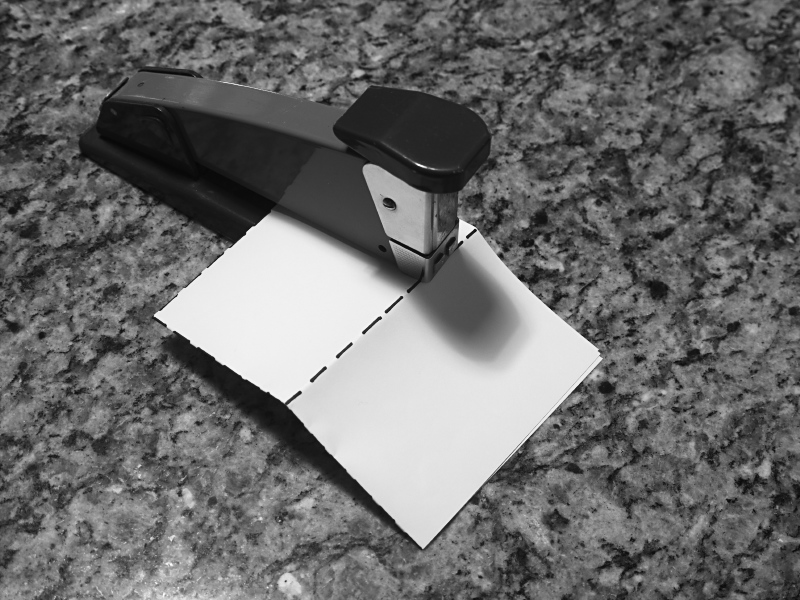 Step Four: Staple the booklet together along the spine. Note that the book is cover-side up, the staples' ends will be crimped along the inside middle of the book.
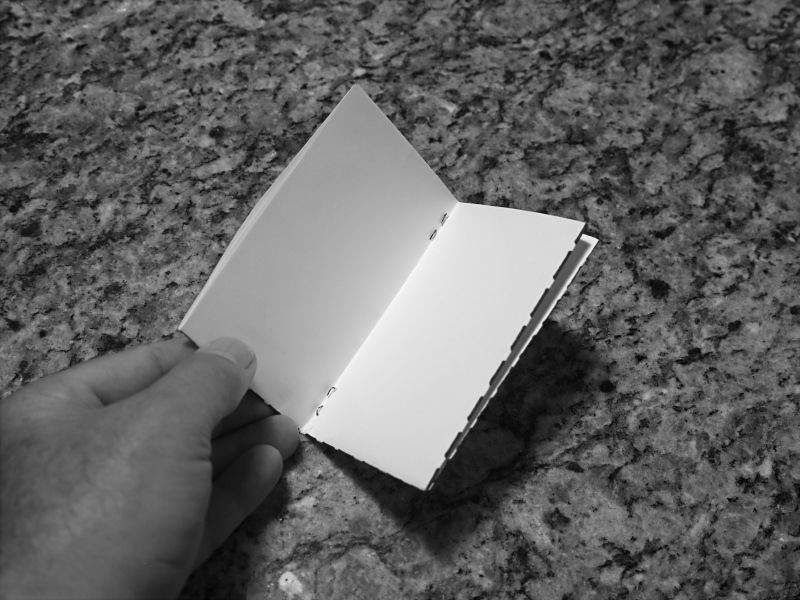 Stapling completed. Note the staples crimped along the inside middle fold of the book.
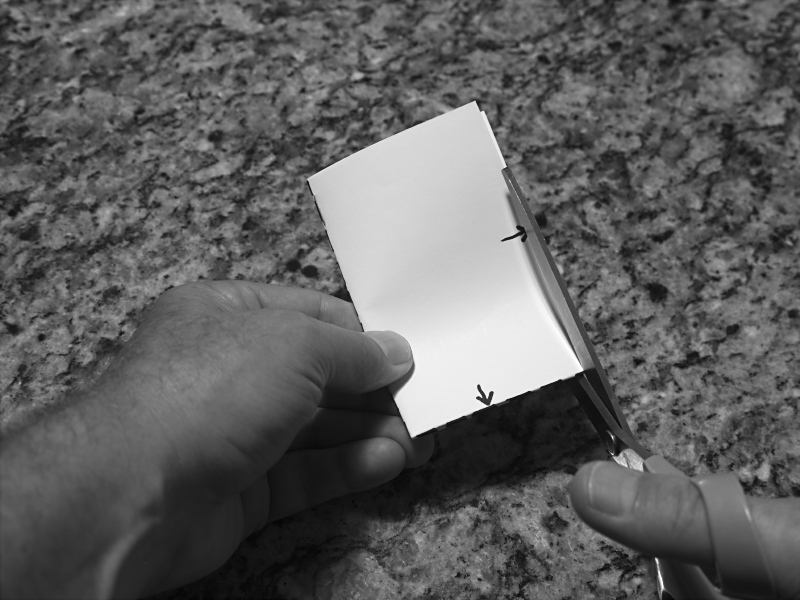 Step Five: Cut a bit of paper off the two edges with their pages folded together. DO NOT CUT THE SPINE BY MISTAKE.
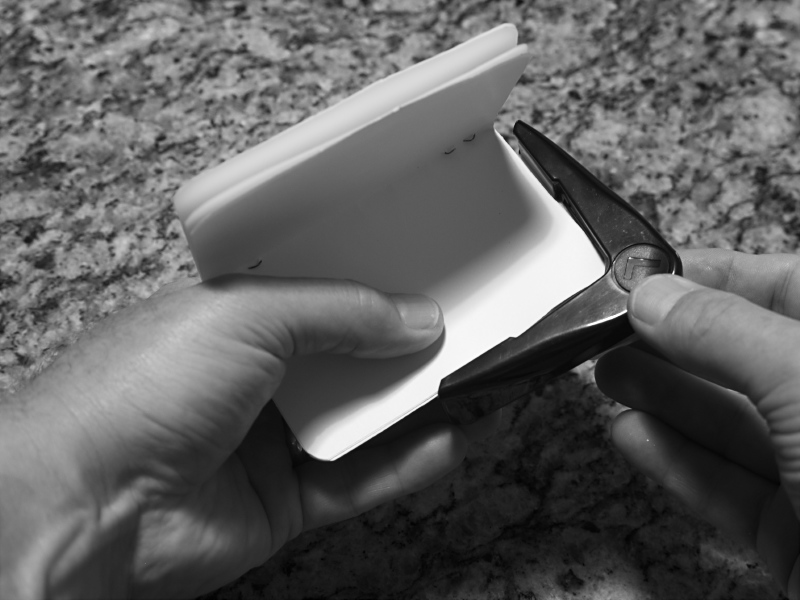 Step Six: (OPTIONAL) Round the corners using a corner punch. Do so by punching out one half of the pages at a time, so as to not overwhelm the punch.
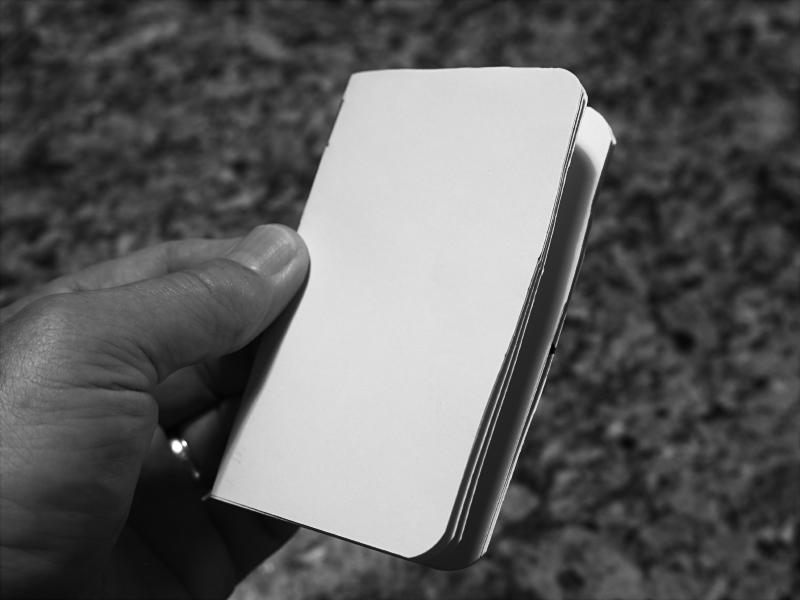 The completed book, ready to be decorated or used as-is.
Post-Script: Photos via Lumix G5, typecast via Hermes Rocket. The corner punch is an option you might want to consider, as it lends a nice touch to the overall look. Another option is to use as thick of printer paper as you can find (90+ pound), along with an optional card-stock front cover, which will give you a full 16 pages of interior volume to work with. These can make simple gifts for kids of all ages.
There are a number of ways, described online, to make simple books like this, most of which involve folding, slitting and taping, and result in books with double-folded pages, not as neat as a professionally made book. This method I prefer to those others, as it looks in appearance closer to a Moleskine-style booklet. Though it requires a standard-sized stapler, it doesn't use adhesive tape, and I think will serve a person better, both for oneself and as a gift.
Finally, if you feel really creative, you can figure out how to make a PDF template for creating laser-printed booklets, like for mini-zines, tracts or hand-outs. You'll want to start by making a blank book, but don't yet staple or trim the edges. Instead, mark each page with its number and top orientation. Then unfold the sheet and you'll see how to layout your document's individual pages in software to result in a professional-looking mini-zine or tract.
posted by Joe V at 1:08 PM
![]()
![]()

0 Comments:
Post a Comment
<< Home