Lumen Print Experiments
I recently saw an article on Filmwasters website about a guy selling a little wooden box camera that he calls Lumenbox, and doing Lumen prints. I decided to try my hand at it.
In the short Lumenbox video you can see him doing what at first glance appears impossible: exposing paper negatives to bright sun, then loading them into the little box camera, but not before first wetting the paper in a little container of water. After some time in bright sun, a pretty conventional looking paper negative results, straight out of camera. I did some thinking about this, and then remembered a textbook on photography science that I had around the house, which revealed the answer.
Silver halides have this property, if given sufficient exposure, of auto-development. That is, the halides will turn a darker tone or color, merely from the action of exposure to sun; without the aid of any development chemistry. Of course, the process is almost too insensitive to light to be of any use photographically, unless you're doing lumen prints in a pinhole camera of the sun's course across the sky over weeks or months time.
The little wooden Lumenbox camera has a sufficiently fast lens to capture a sufficient exposure in about 15 minute's exposure to a brightly sunlit scene. I remembered that I had a cardboard box camera with plastic, credit card-sized fresnel magnifier lens, which I used for my initial experiments. Here's the video I made on that project:
Later, I decided I needed a better quality optic, and so salvaged a broken Riteway film holder by replacing its cracked dark slide, and proceeded to employ my Speed Graphic and Fujinon 135/5.6 lens. The image atop this article is from that camera, which I documented in this video:
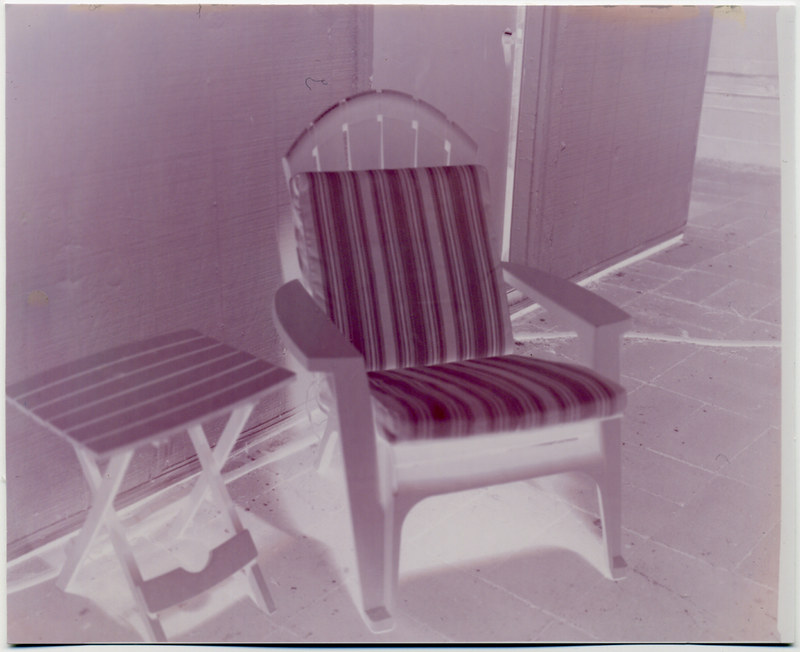
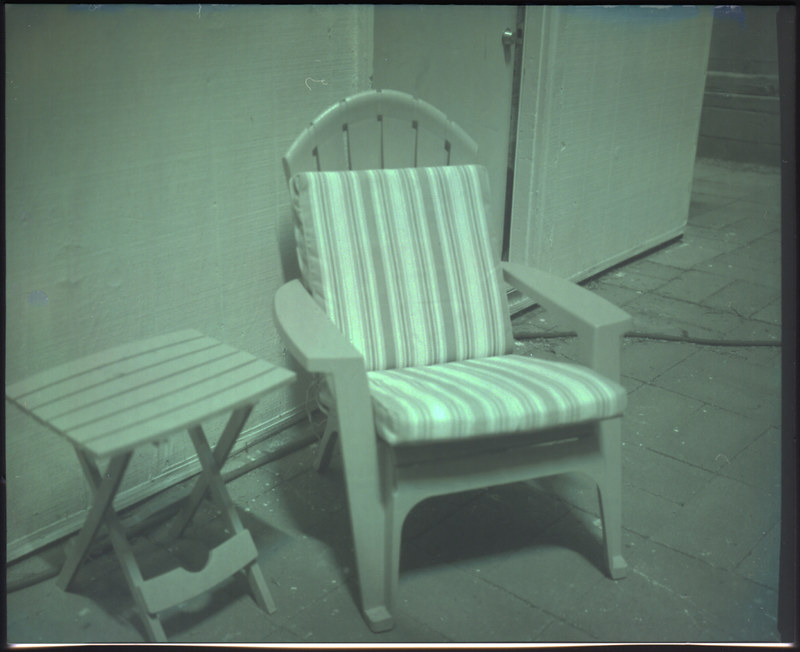
The key to making this process work is wetting the paper before placing it into the camera. I'm not enough of a scientist to understand what the water does to the emulsion, but the image above was make with a 43 minute exposure in bright sun - accidentally prolonged due to my forgetfulness. I suspect a shorter exposure would have sufficed, since it appears that the highlight density is self-limiting; as that portion of the paper darkens, it limits additional light from affecting further exposure. So even though this was in high-contrast, sunny daylight conditions, the grade 2 paper seems to have produced a very good paper negative image, whose inverted tones can be seen here:
I made reference in the video to the paper perhaps being developer-incorporated, which might explain how the pre-wetting affects a better negative image; but this might be in error, as I've been reminded that few modern paper have developer-incorporated emulsions.
Going forward with this project, I'd like to take the Kodak Ektar 127/4.7 lens out of the camera obscura box and repurpose it for these lumen prints, since it's a bit faster than the Fujinon lens. Second, I have a number of various out-of-date print papers in my darkroom that I'd like to experiment with. Third, if having the emulsion wet is important to the process, would it be advantageous to periodically re-wet the paper in-camera, with perhaps some form of spray system? More experiments are warranted.
Speaking of experiments, in my first video I'd mentioned using a base-pH water solution for the pre-wetting, which did affect a different, slighter more contrasty and dense image. I need to work more with this idea and see where it brings me.
This is a quirky process, a light-sensitive medium that requires no chemical developing agent; yet it's rather impractical for subject matter other than still life and landscapes. As for reproducing the images, it really begs to be a hybrid process, combined with scanning into a digital file, given the paper's continued light sensitivity and hence unknown fragility. This implies that some experiments around fixing these images need to be conducted; but conventional fixer will usually cause these auto-developed images to vanish forever. I've thus far taken to storing these negatives in light-tight sleeves, until I have a permanent solution in place.
What I love about this process is its impracticality, especially in contrast with the state-of-the-art in digital image capture. Whether real "art" can be made using this method is entirely up the practitioner, however.
Labels: Lumen prints
posted by Joe V at 2:21 PM
![]()
![]()

3 Comments:
Good work on the prints Joe. I've never done any of those. I did have a Speed Graphic at one time. Traded it for my present view camera.
Hello my name is Jorge Otero (jotermancameras) process designer and camara Lumenbox. Your post and your tests are very good. Thank you for your interest in the process. When wetting the paper the water acts on the gelatine that sticks the silver to the paper and accelerates the process of appearance of the negative lumen. This is because water acts with the gelatin enzymes and functions as a very soft developer. In dry the process also works but needs more time of exposition. The water it does is reduce the time. The more alkaline the water the more red is the negative so the positive is blue. Sorry for my English is not very good. You can see my work, my tests and my research in instagram @Lumen_box. thank you very much. Best regards
Joe
Hi there
My name is Justin, im a pinhole photographer from Bristol. Whilst our darkroom is closed due to Corvid, we are doing a load of free experimental photography sessions with my charity.
Just to say in August I decided to do in camera Lumen prints (we have given out 70 fresnel lenses to people) and Whoah, I find your site.
Many thanks for the info, I will make sure I put your inspiation on the handouts etc,
Keep at it
Justin Quinnell
www.realphotographycompany.co.uk
Post a Comment
<< Home