Diazo Paper Direct Positive Prints
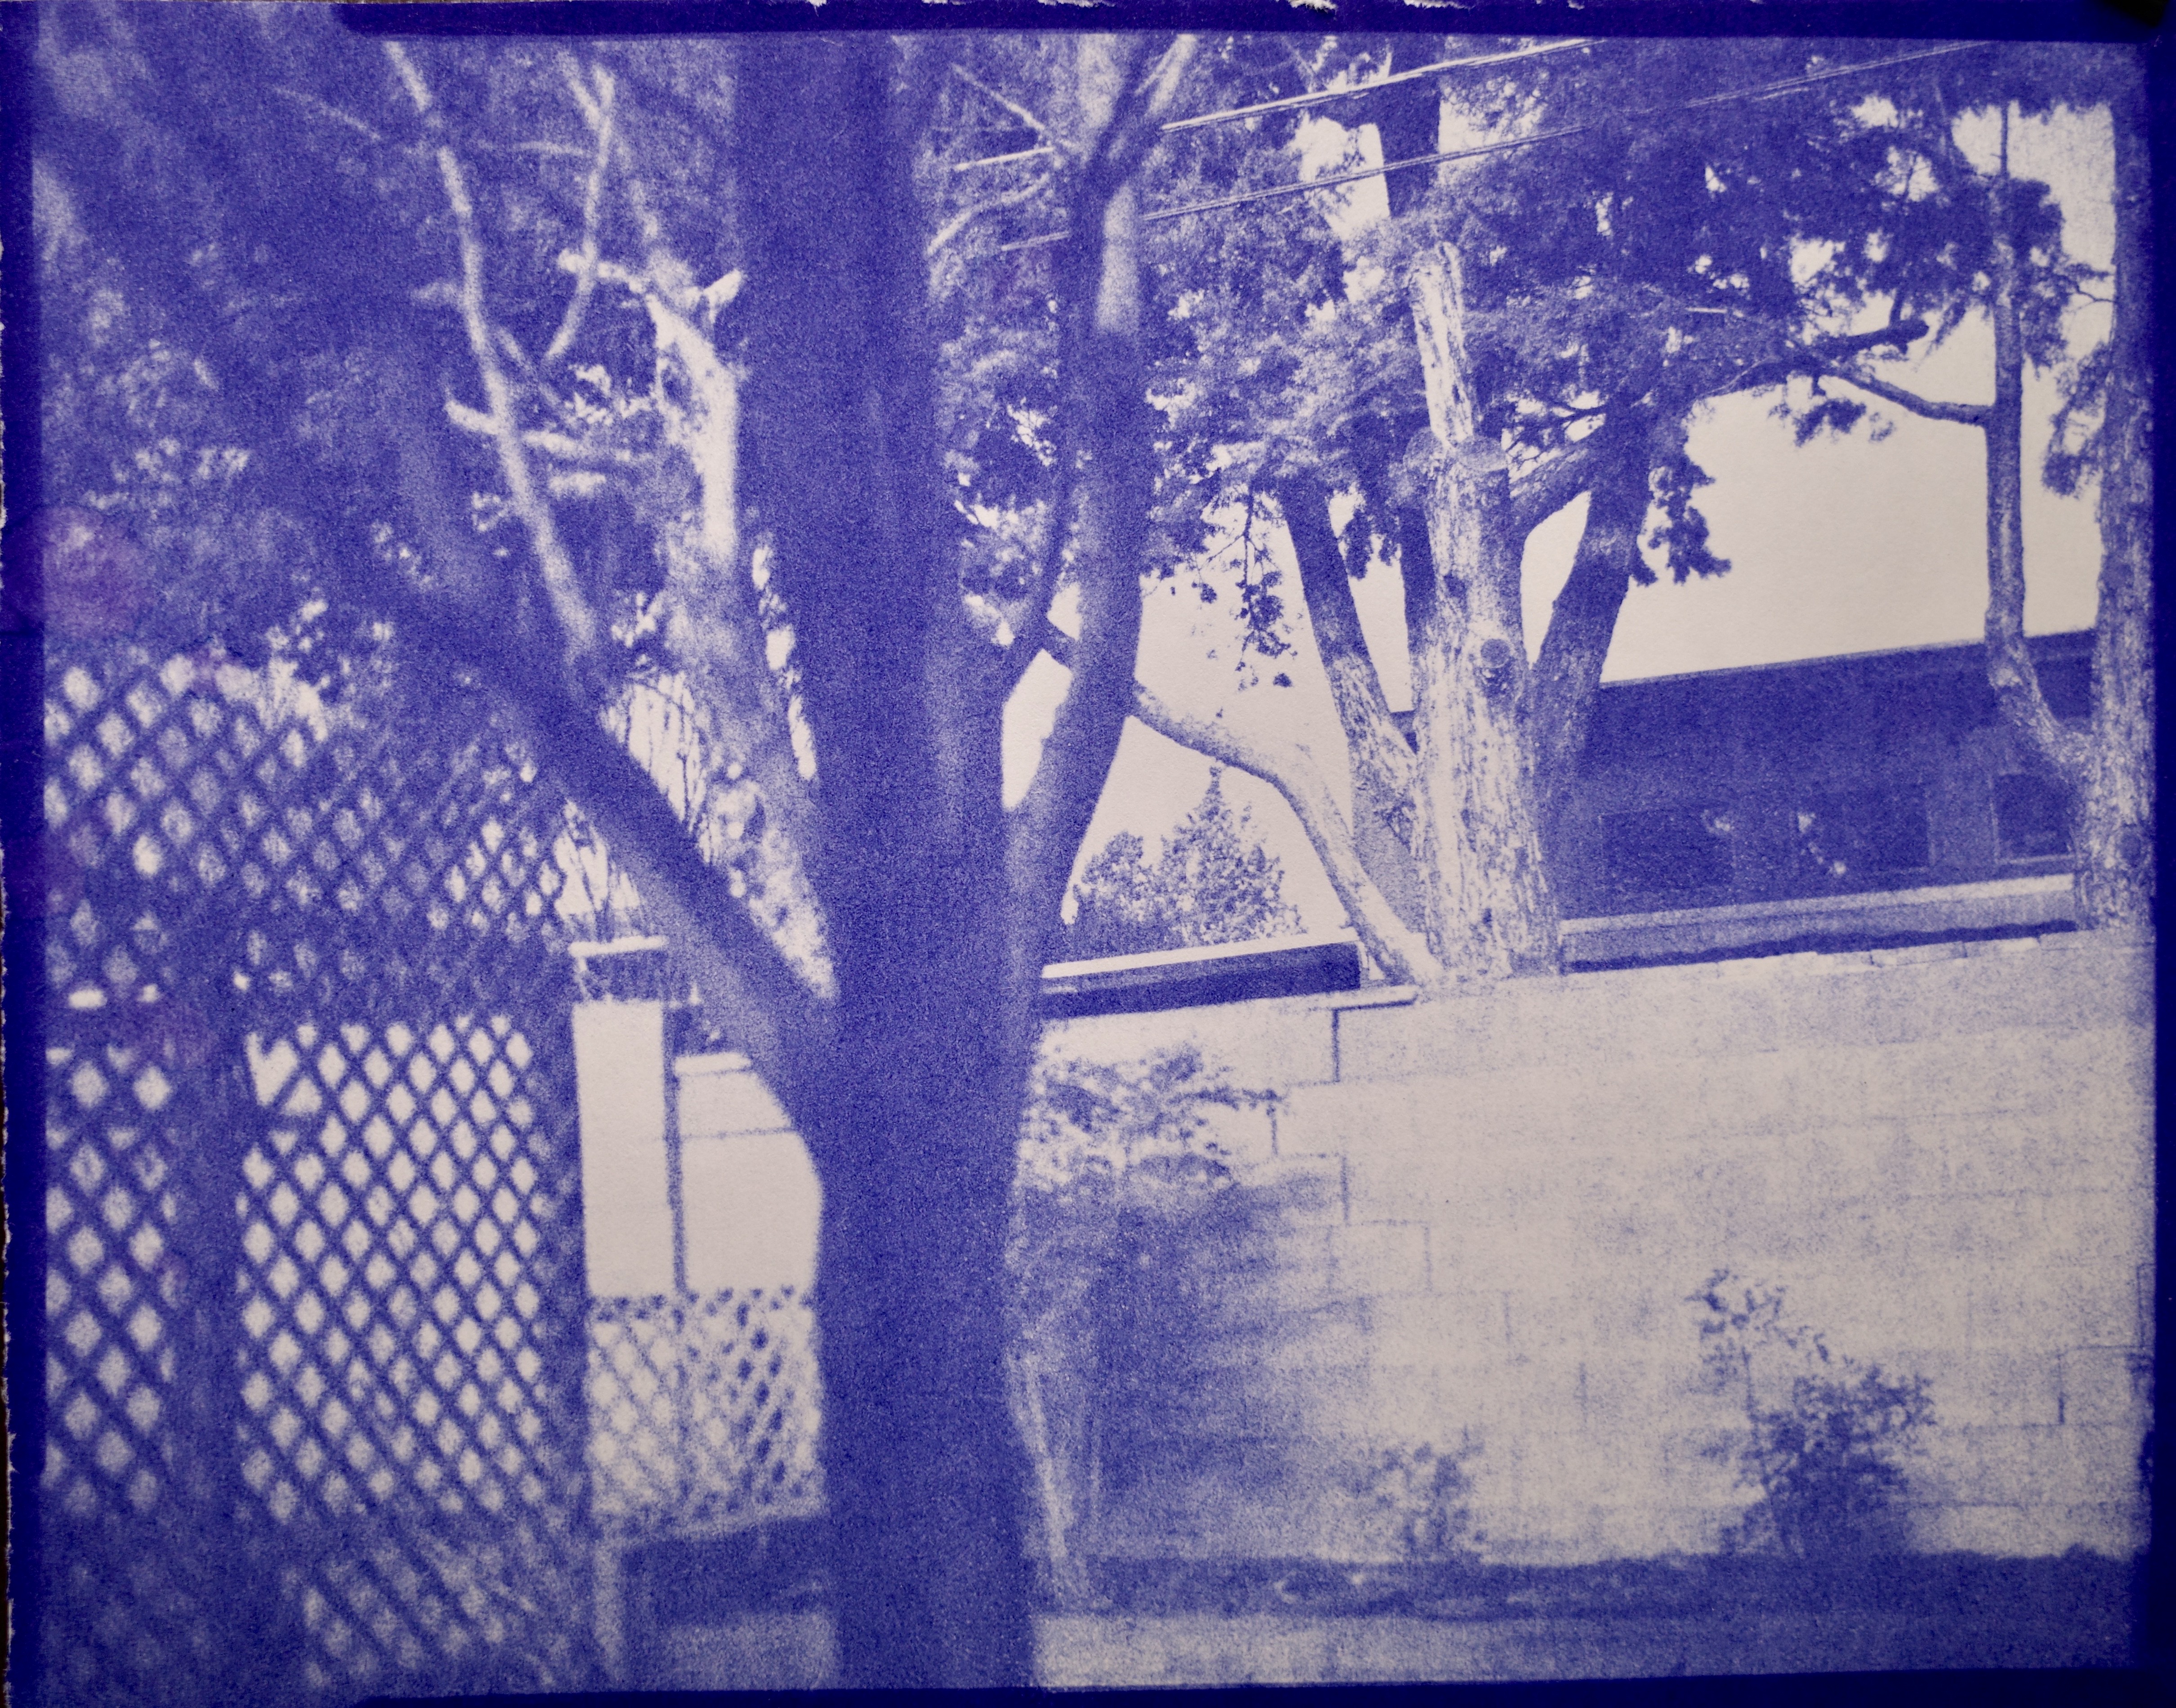

It took me a while to get an acceptable pre-flash test strip. Part of it is you have to use a light source with sufficient UV light; then you have to expose the paper under consistent conditions (distance from light to paper) and exposure times for each section of the test strip. For my pre-flash testing I used a Viltrox LED light panel, that is adjustable for intensity and color temperature. I adjusted the output to 100% and the color temperature to 5600k, the most blue it would produce. My distance between light and paper was about 8 inches.

For this test the first section, at 3 minutes looked acceptable to me, so I used it for the remainder of my test exposures. Being as this is a direct positive process, the unexposed parts of the paper develop as deep blue, under the action of ammonia vapors. You can see the border of the test sheet, above, is dark blue, as it didn't get exposed to light during the test.
The diazo process is slow -- slower than mollases, slower than wet plate collodion even. It isn't meant for pictorial photography, which is why it presented an immediate challenge to me. Two plus hours exposure at F/5.6 is dang slow, and one of the main challenges to using this paper in larger format cameras, since fast aperture lenses get increasingly more expensive and rarer with larger formats -- the volume of glass in the lens increases as the cube of the format size, to maintain an equal focal ratio. For this test I used the F/5.6, 135mm Fujinon lens in my 4"x5" Intrepid field camera.
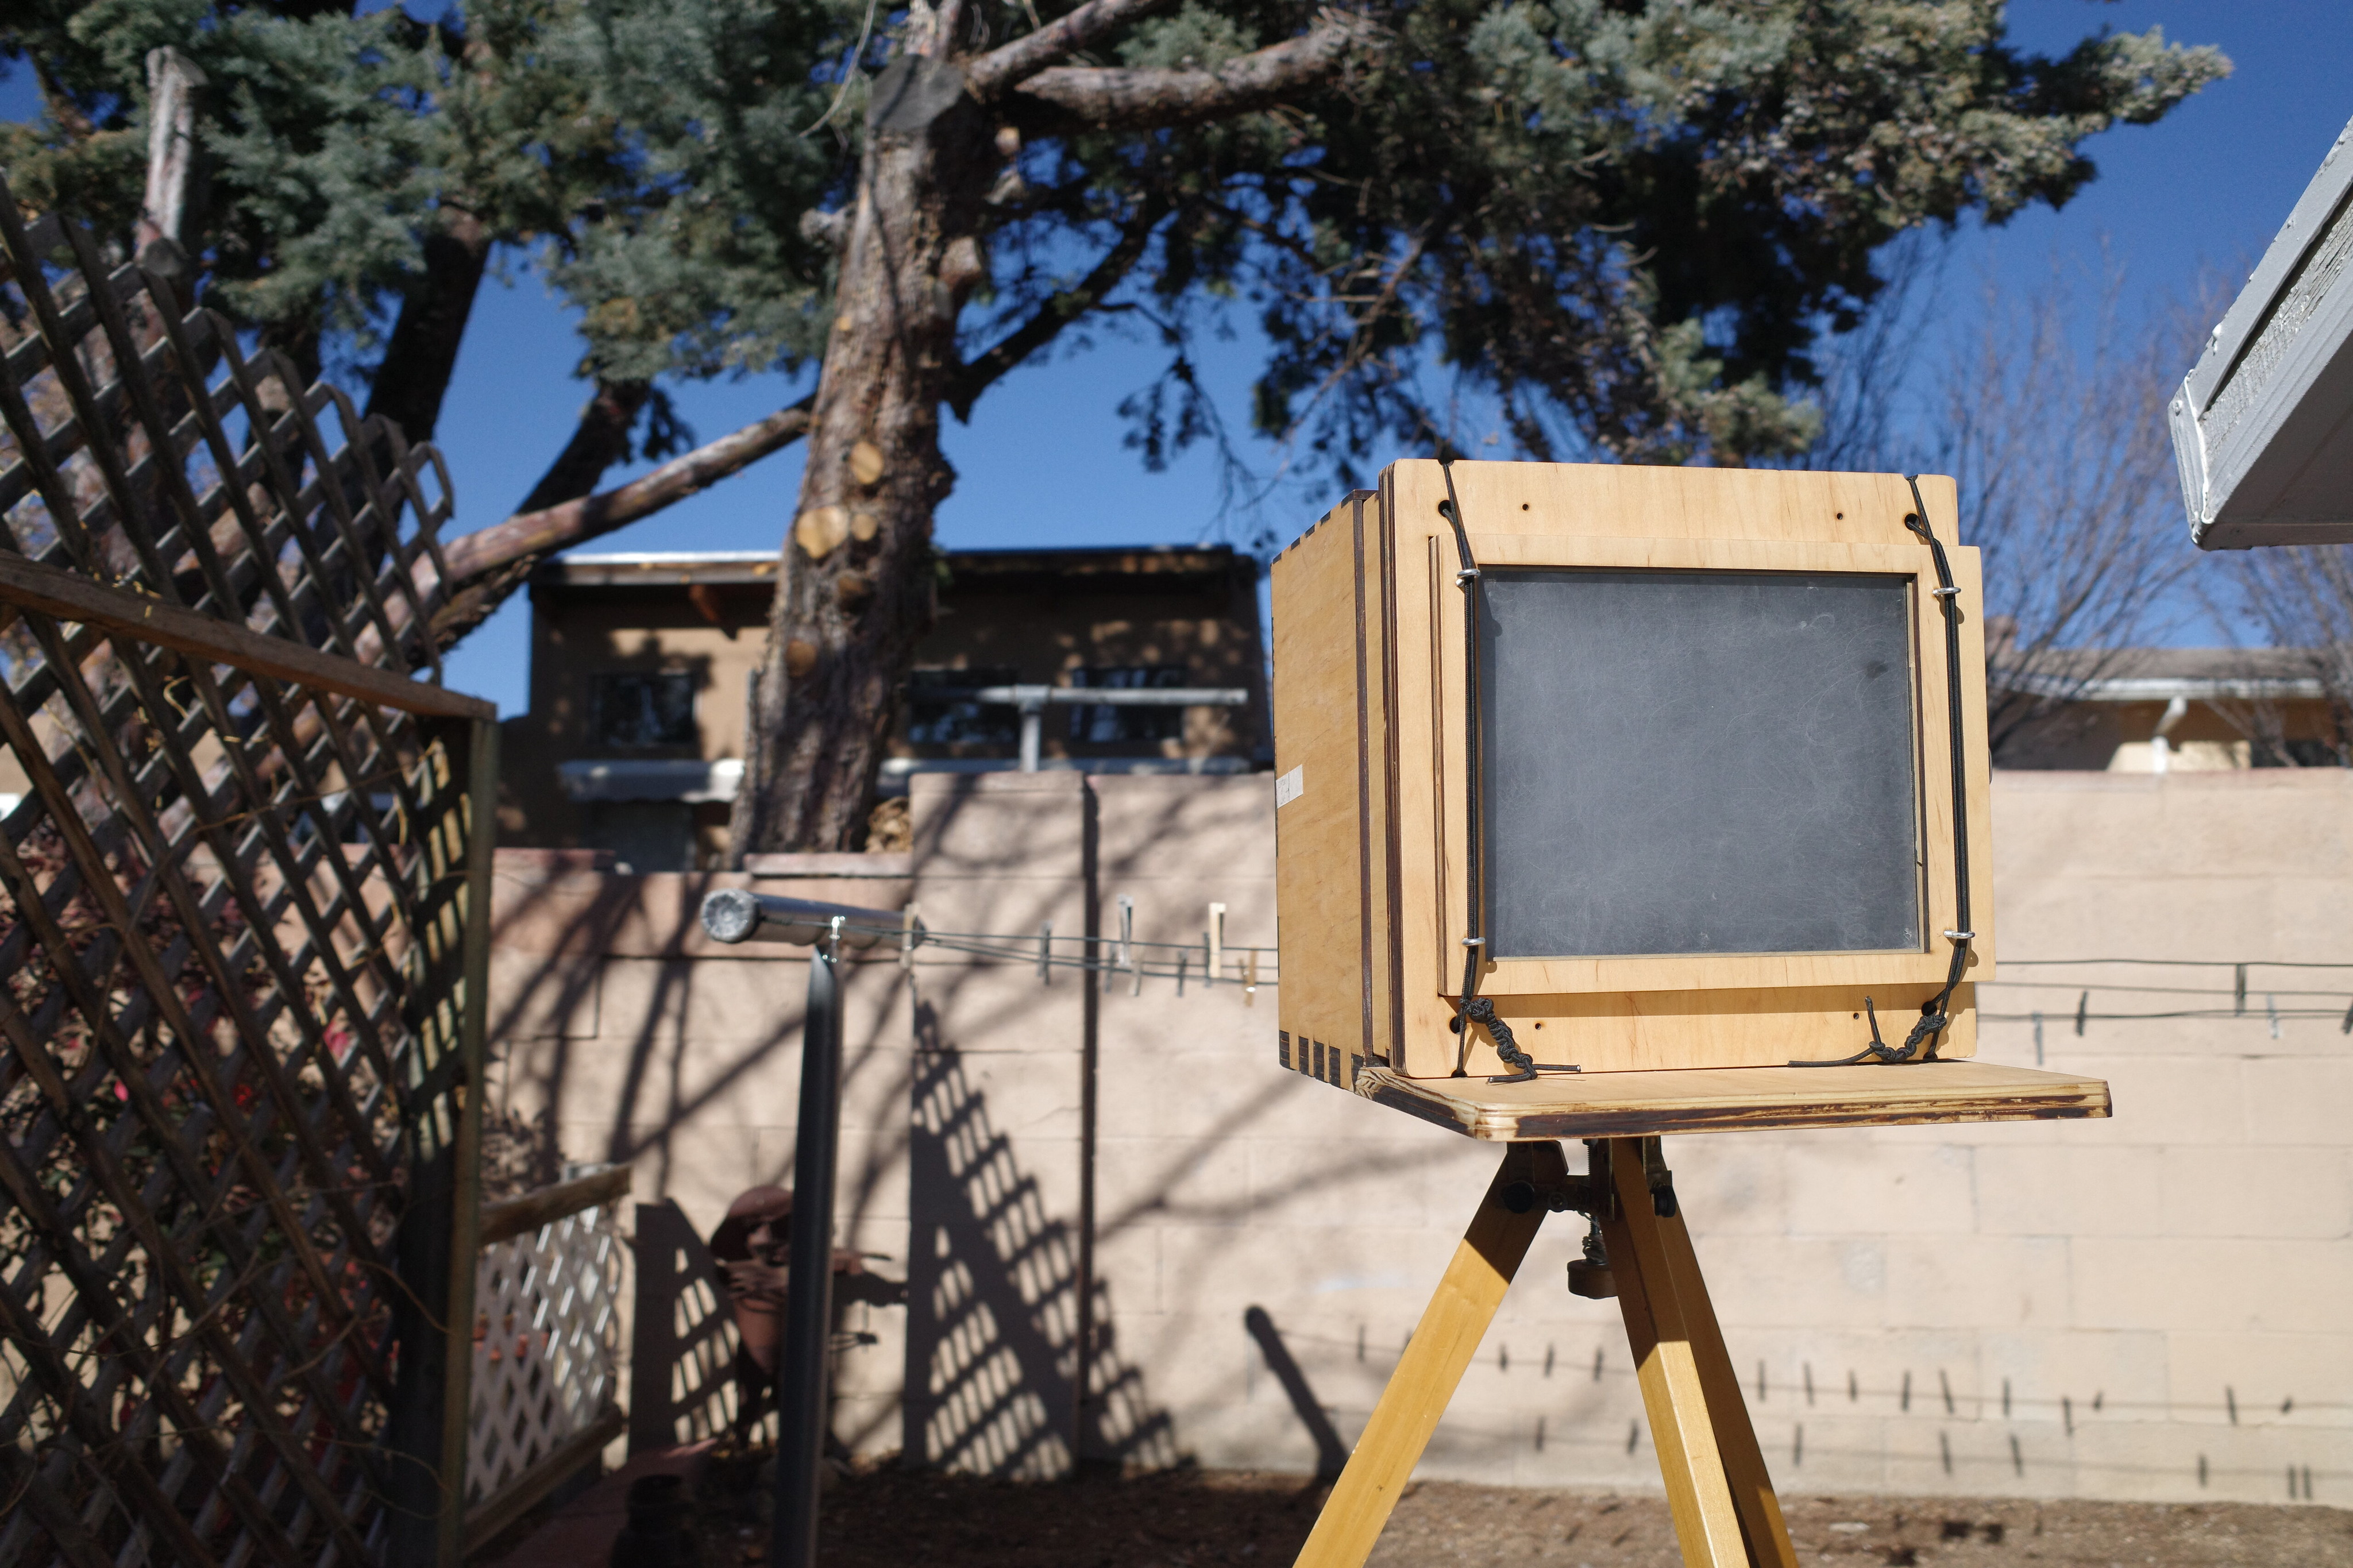
During these winter months only the middle of the day presents enough light to make this process practical; and even then, the exposure times are long enough to eat up much of that midday light. Here's a view of the Intrepid aimed at my backyard scene. To make this 2 hour 15 minute exposure I just pulled the dark slide and opened the lens, no timed shutter was necessary.

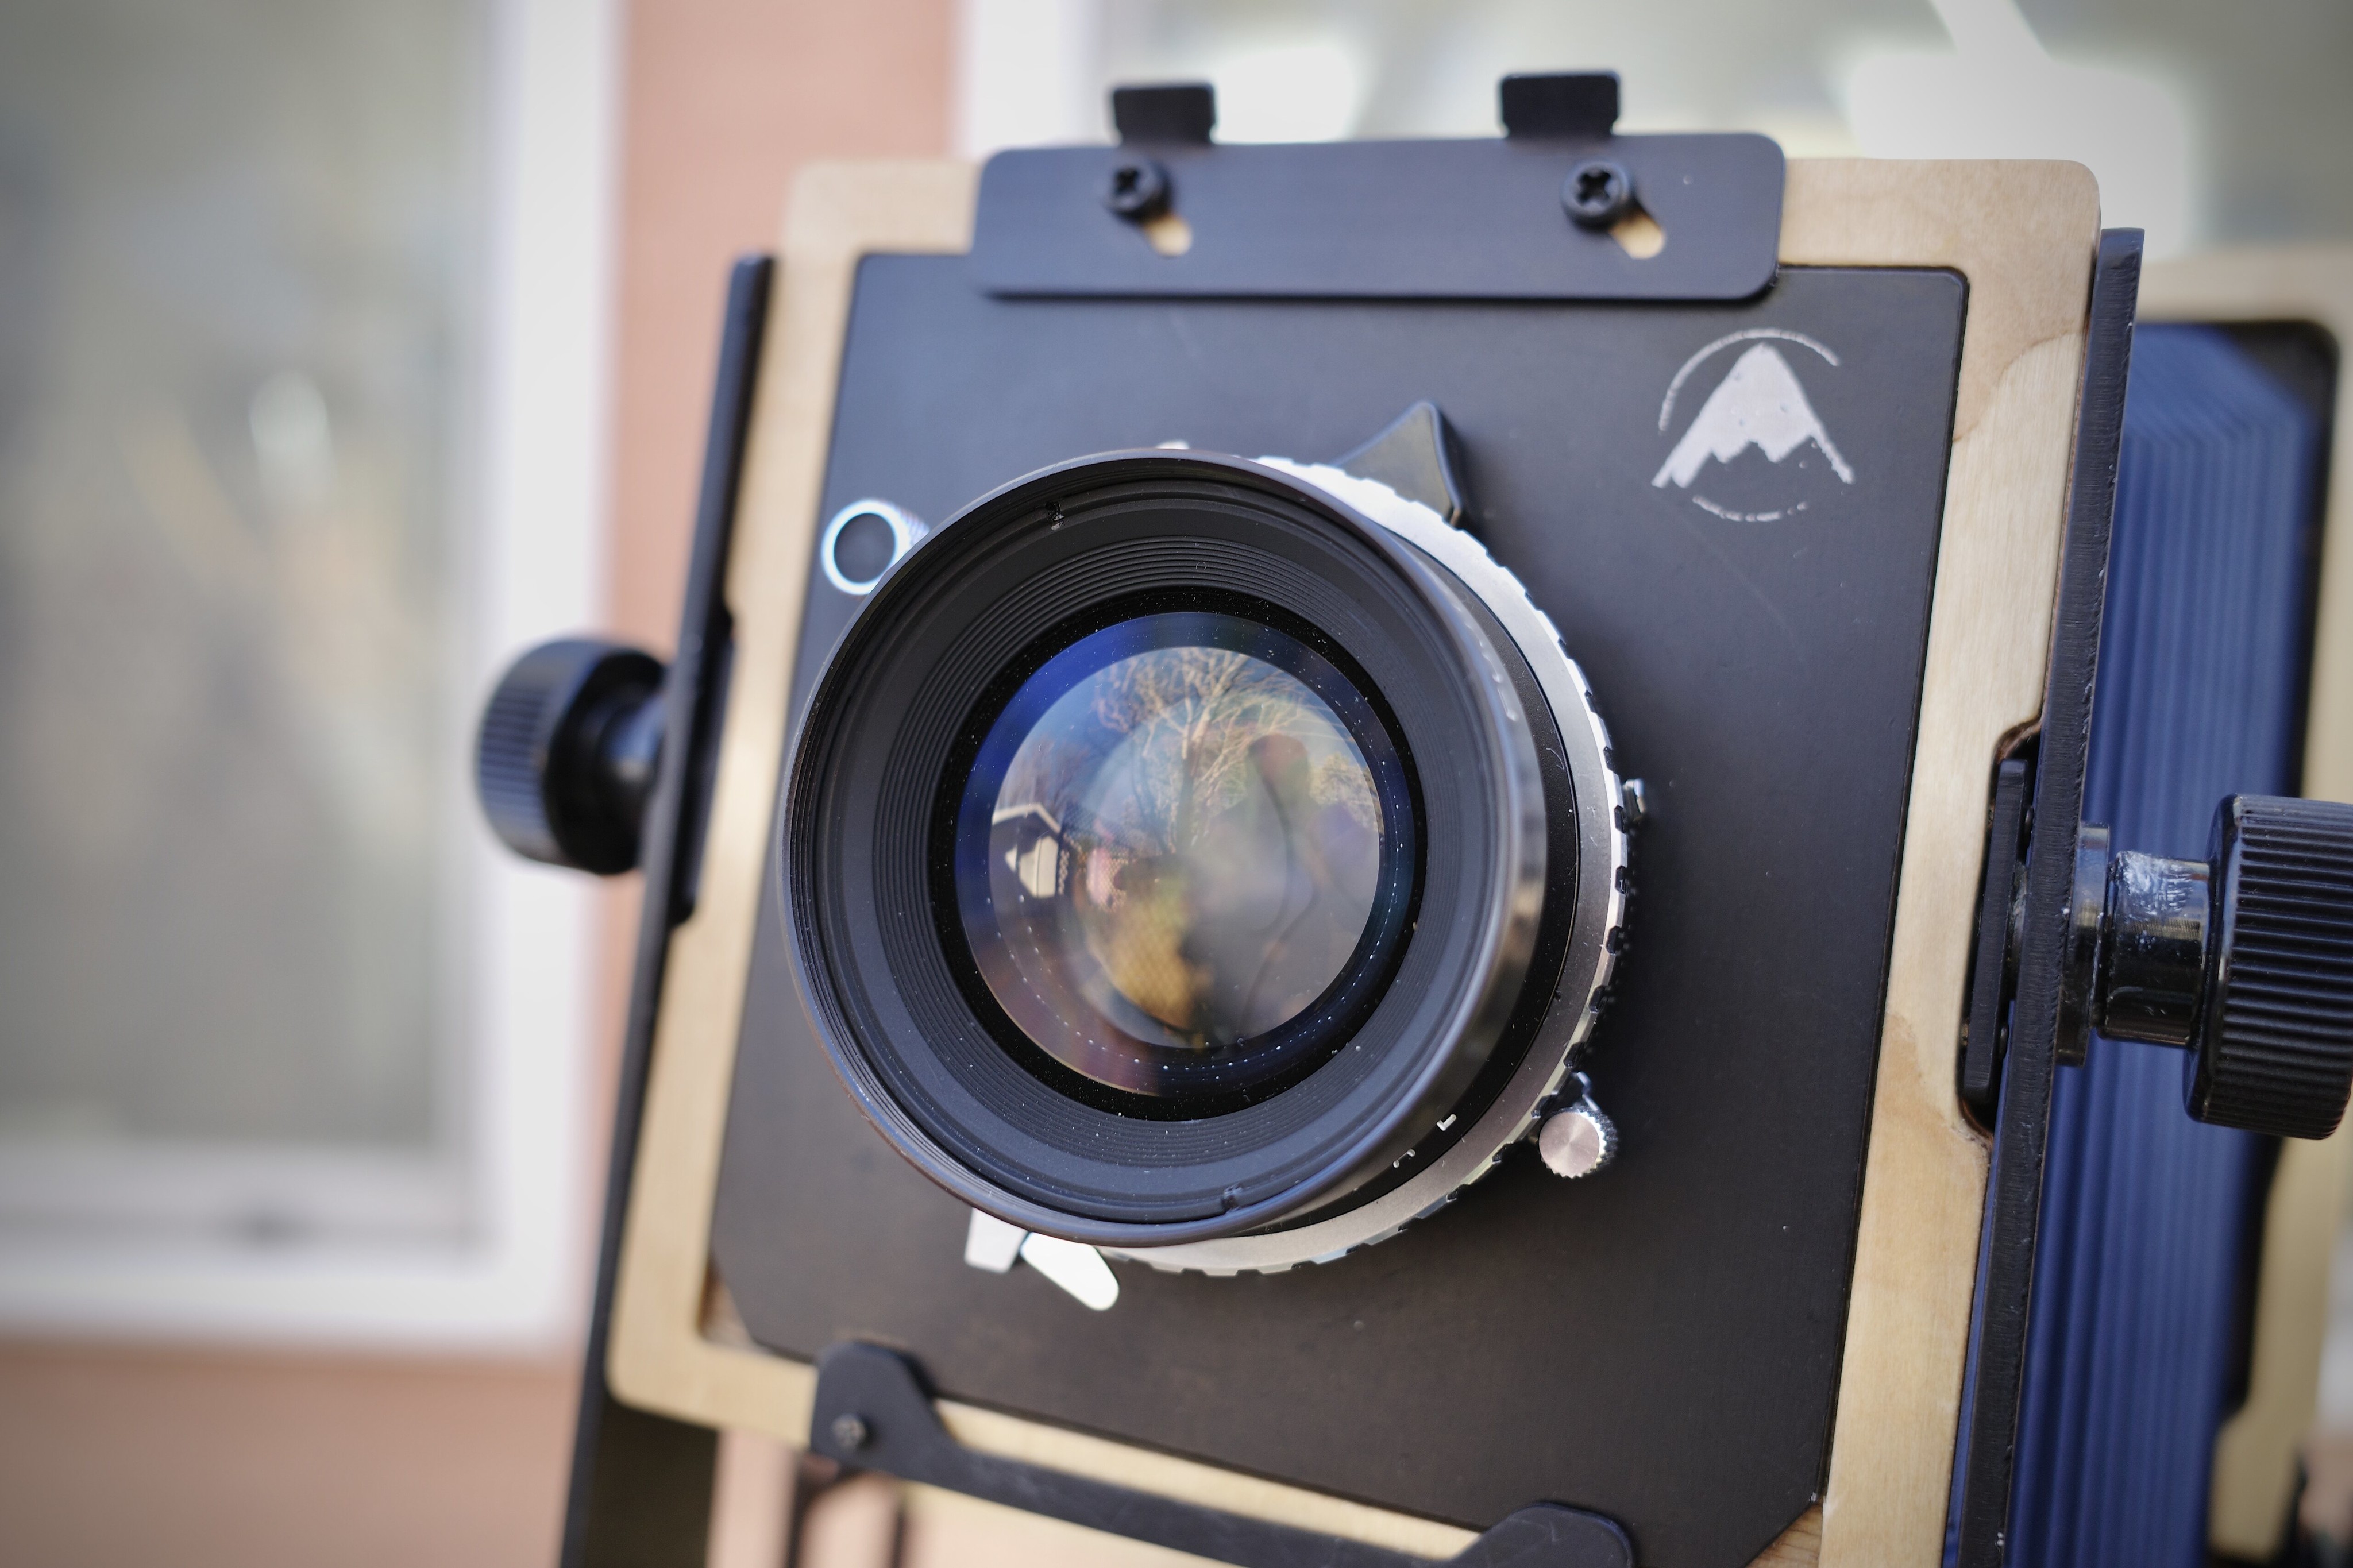
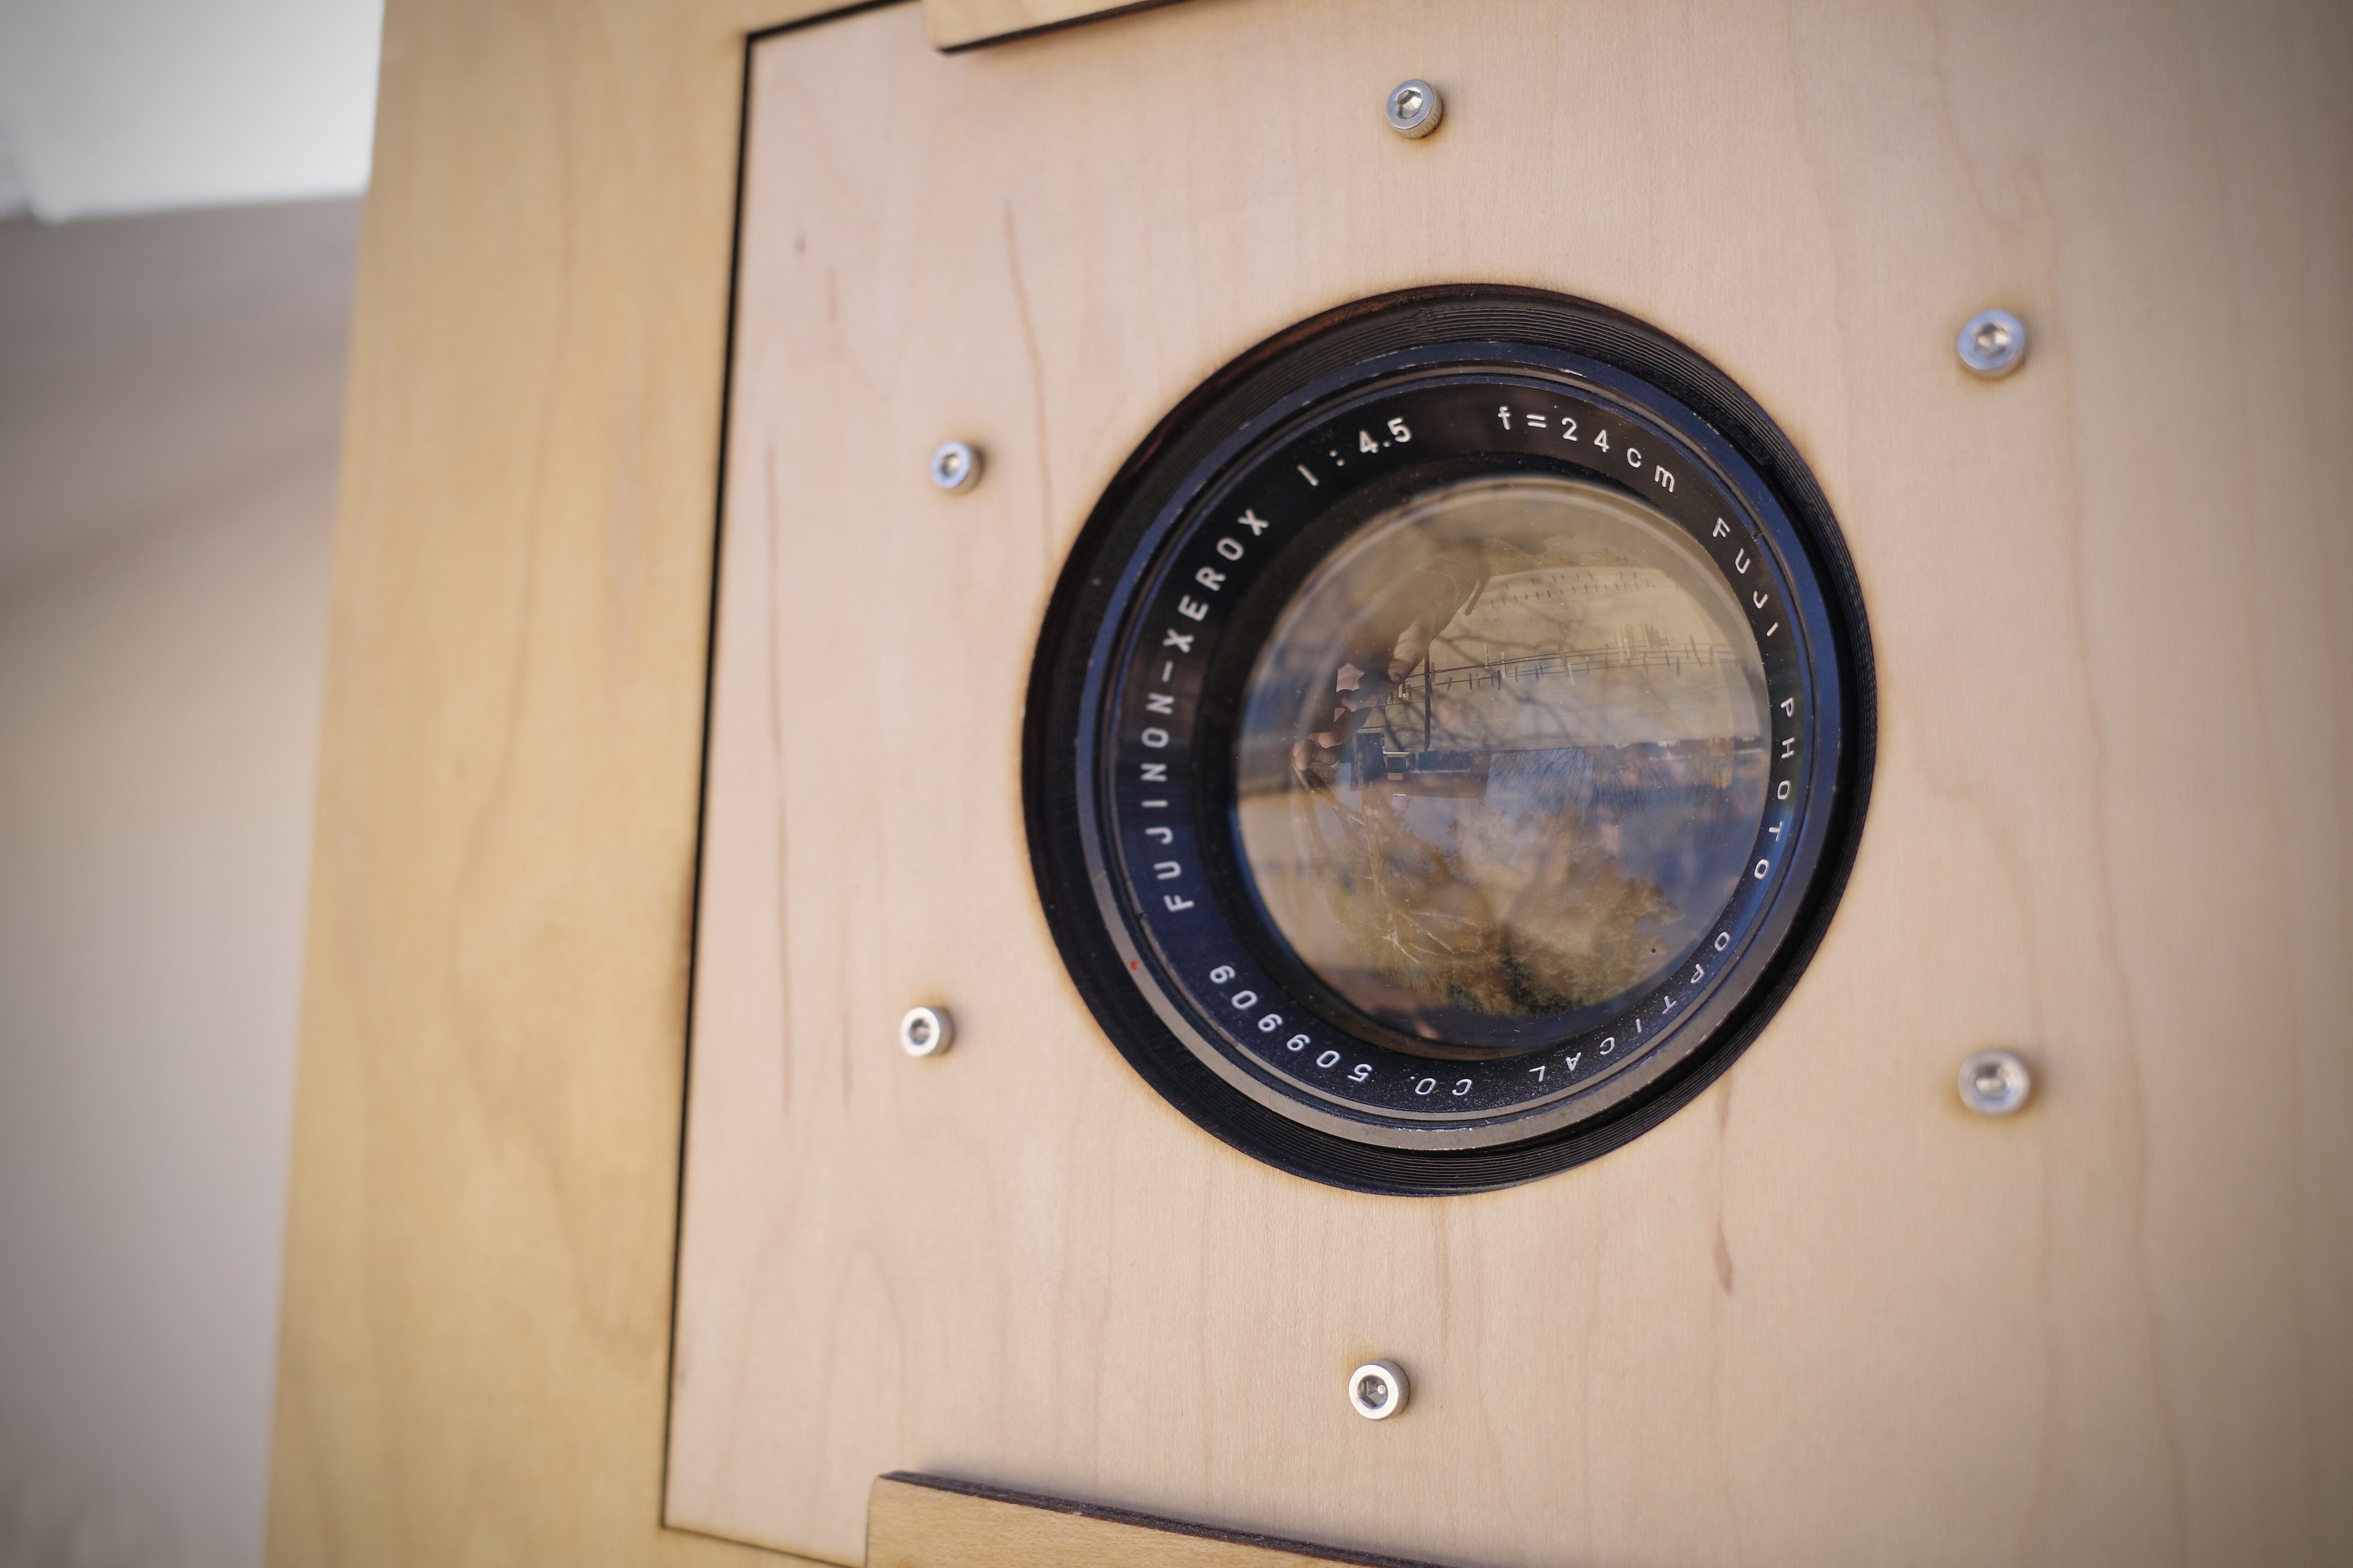
Because of the short opportunity to do test exposures, I decided to also use my 8"x10" sliding box camera, which had been sitting idle for months. It's equipped with a Fujinon Xerox process lens of 24cm focal length and a fixed F/4.5 aperture. The lens lacks a shutter and the aperture if fixed, but that's fine with this slow process.
I started the 8x10 camera exposure about 15 minutes after the 4x5, but later I realized that because the lens on the 8x10 is faster, the exposure should have been cut much shorter than the 2 hours 15 minutes. The resulting image was over-exposed and not worth posting, but lesson learned, it will be important to correlate a meter reading of the light with the necessary exposure time. Peter's tests show the paper needs about +18 stops exposure over an ISO 6 meter reading.
There are a number of things I need to work out before I can use this process more seriously and with greater consistency. They are, in no particular order:
Pre-Flashing: I feel it would be simpler to open up the dark slide and directly expose the paper to the sun (or shaded daylight, depending on the situation), immediately before starting the in-camera exposure. This would eliminate the need for a dedicated pre-flashing light source back home. This exposure time would need to be correlated to the intensity of both direct sunlight and shade, to offer both options.
Metering: I need to verify Peter's +18 stops over ISO 6 finding, and begin using a meter and calculator and/or reference chart in determining exposures more accurately. One of the main motivators is time: the process takes so long, you don't want to waste a 2 hour exposure on a botched calculation.
Reciprocity Failure: I don't know if this emulsion suffers from reciprocity failure under dim light, but it would need to be tested to verify.
Toning: The dyes in the resulting blue image will fade over time with exposure to direct sun, so it's important to keep them archived in light-resistant enclosures. But since silver gelatin photography has traditionally used various toning chemicals to not only alter the color of prints but enhance their longevity, it would be important to experiment with various toning compounds, especially selenium toner, as this has a positive effect in enhancing the durability of silver gelatin emulsions against oxidation and environmental chemical corrosion. Granted, these blue, iron-based emulsions aren't the same as silver, but there might be some possible solution here. There's also the possibility of, like with cyanotype prints, toning the prints to change their color, for instance with black tea or coffee. While these color-changing tones offer various aesthetic options, not all of them are healthy for the longevity of the paper, especially if they are acidic.
Dedicated Diazo Cameras: Given the length of time required to make a daylight exposure, you don't want to just leave an expensive camera and lens outside for hours unattended, and it would be inconvenient to have to babysit a camera for 2+ hours. Perhaps an inexpensive but fast lens could be found (like a single element meniscus lens from a surplus optical house) of the proper focal length and aperture, allowing cheap foamcore-board cameras be build for dedicated use with this process. Make several such cheap cameras, with the paper pre-loaded inside, no sheet film holders needed, and set them up in the daylight for several hours, then come back later to retrieve them (or lament the fact that these jerks around here will steal anything, even handmade foamcore cameras!)
This is a very inconvenient process, and the results are only marginal in quality. Which makes it perfect for the photographic experimenter! Yet it intrigues me with its possibilities. Stay tuned for more on this.
Here's a video about today's experiments:
Labels: Diazo prints Alternative photographic processes DIY Direct Positive Prints
posted by Joe V at 11:06 PM
![]()
![]()

3 Comments:
Amazing! The variety of media you have learned to utilize for photography continues to impress! (:
Next thing we know, you'll find some way to make a photograph on fax paper... :D
Wow. I remember the same material that was used by the print industry 25 years ago. They called the material Dylux.
The global aviation fuel market is primarily driven by the growing demand from the air transportation sector. The increase in demand can be attributed to introduction of new flight routes, development of new airports. The demand id further boosted by the increasing disposable income of people, which is shifting their preference to air travel.
Also Read: digital payment market, biologics market
Post a Comment
<< Home