Taking the Aardvark for a Walk
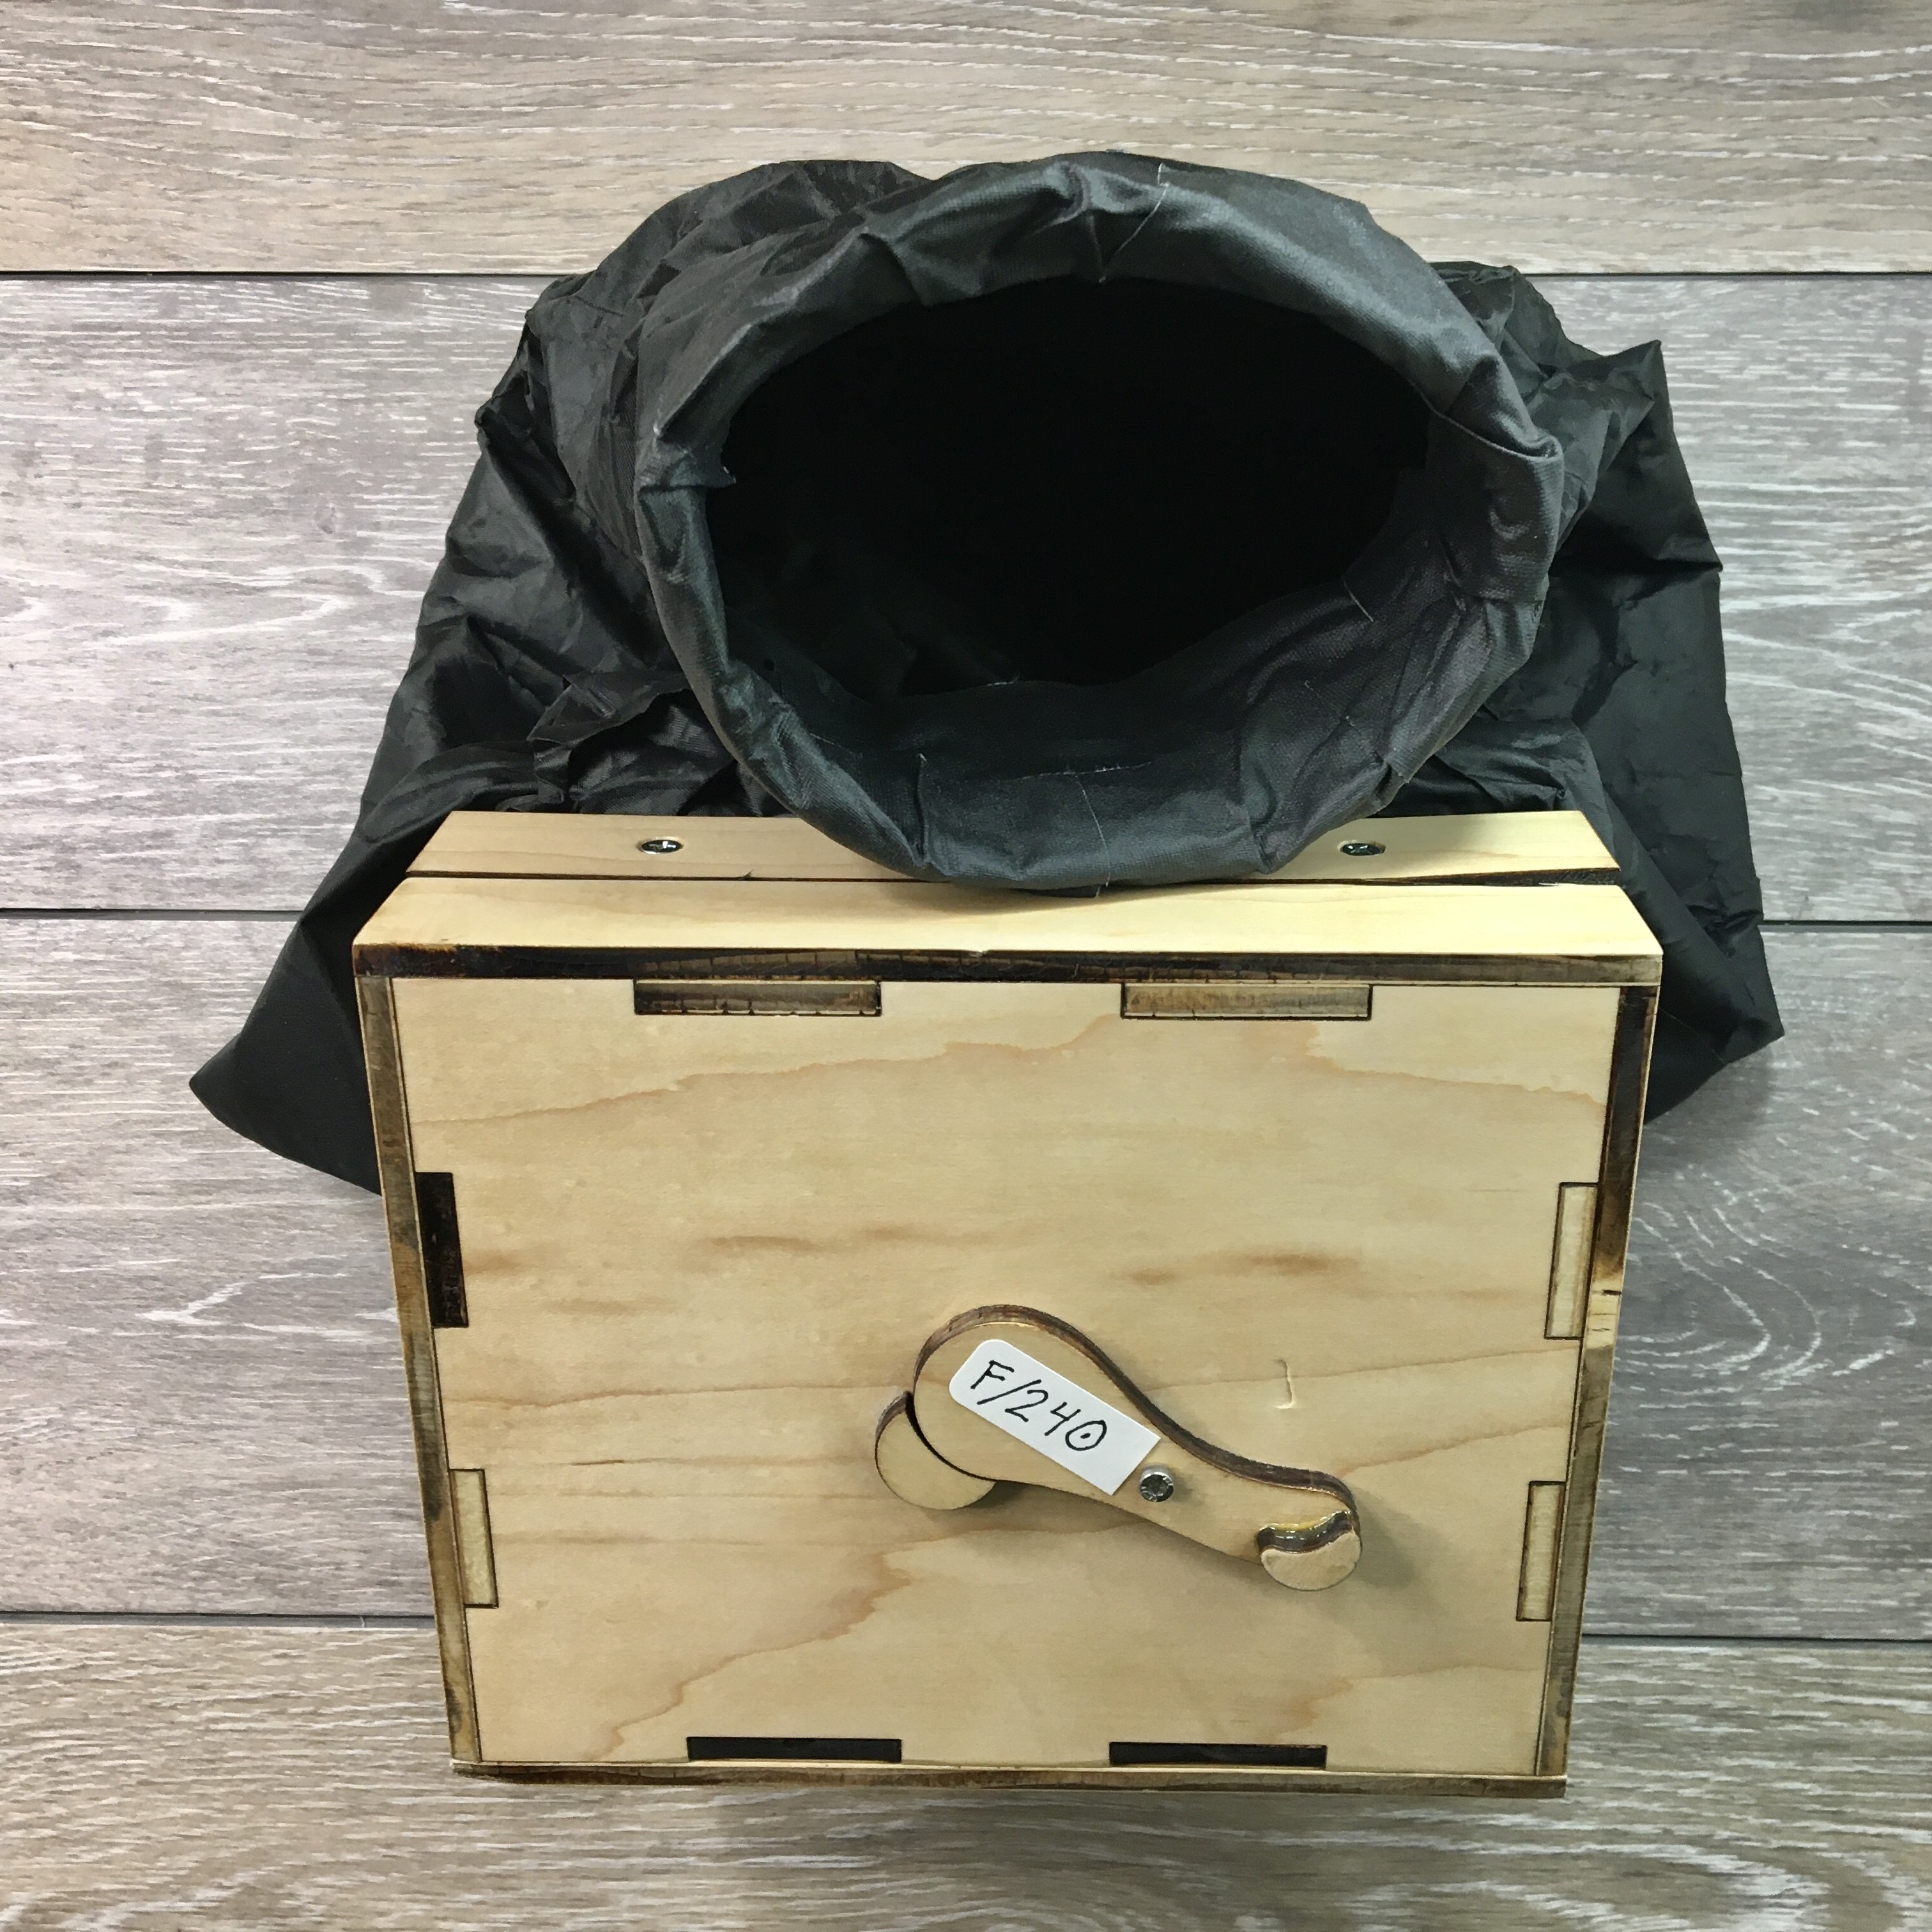
This is the Aardvark, a pinhole camera design I collaborated on with Ethan Moses, inspired by a camera sketch in a journal from years ago. Like many of my camera designs, it attempts to solve the problem of how to carry multiple large format paper or film negatives out in the field.
One such solution, which most photographers with any sense would use, is to carry sheet film holders. Which I have a number of. But that's not the point, is it?! No. The point is that I like to think up novel ways of solving these kinds of design problems.
Another solution I've explored over the years are falling plate cameras. But we won't discuss those today. Today we will talk about the Aardvark, a camera with an arm sleeve attached to the back, and a rear door that pivots open, inside the arm sleeve, to gain access to a paper/film storage compartment and a place to load the camera. Here's a picture of the camera, as it was being built, before the arm sleeve was attached.
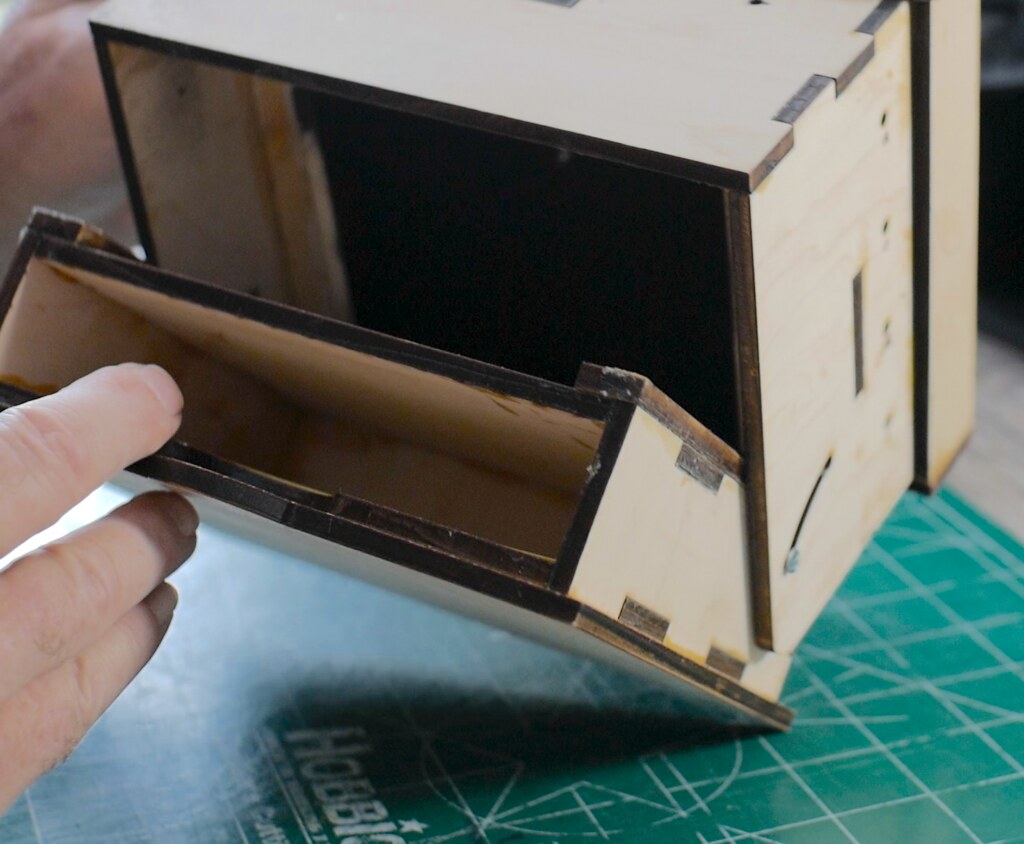
The wide storage slot in the back uses a floating divider, just a piece of spare cardboard or plastic, to divide exposed from unexposed film or paper. You get to decide which way to use it; I prefer the unexposed sheets toward the front and the exposed sheets toward the back.
Just in front of the hinged compartment is the flange for loading the camera. It's a U-shaped flange that the paper or film is set into. Then, when the hinged door is closed (and clicks securely shut via rare earth magnets), the film or paper is securely clamped into place at the film plane, ready to expose. Closing the door also makes the rear of the camera light-tight, meaning it's safe to remove your arm from the sleeve, should you decided to do so. Or, you can keep your arm in the sleeve, if that gives you a greater sense of security, because some people had rough childhoods.
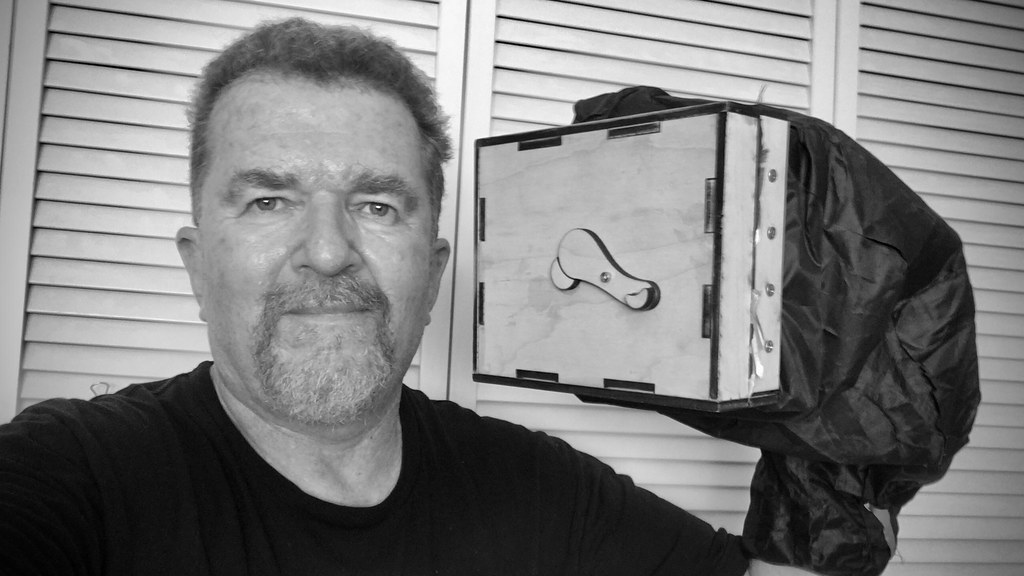
Here's a silly shot of your's truly with his arm in the sleeve, like a puppet. Puppet cam, heh, I like that!
The arm sleeve is made from two layers of blackout fabric, taped together with gaffers tape. No stitching, but thus far no problems with the tape coming loose.
Now that you know how deep that film/paper storage compartment is, it's easy to imagine how many sheets you could bring with you on a photo outing. Today, Ethan and I took a stroll in downtown ABQ with a dozen sheets loaded. Not a huge amount, but enough to test the camera in realworld conditions. As opposed to artifical world conditions.
The paper used was Freestyle Photo's Arista brand of grade 2 RC paper, which I pre-flashed ahead of time in my darkroom. The camera has an F/240 pinhole and I rate the paper at ISO 12. I was using the Pinhole Assist App on my iPhone as a light meter, and the recommended exposure times were rather accurate, as all twelve images had good exposures.
So how did the arm sleeve/paper storage slot system work out? I made the sleeve larger in size up toward where it mounts to the door flange, and that's good, because you need the room to maneuver the paper to and from the storage compartment. It could afford to be a bit roomier, but I made do.
One other problem I had early on was when returning the exposed paper to the rear half of the storage compartment, the paper already in there wanted to fall back toward the rear of the compartment, making it difficult to keep unexposed and exposed separated. I found the solution was to tilt the camera forward on the tripod head so it was pointing towards the ground, then the paper in the compartment would fall forward, making it easy to insert the exposed sheet into the back of the pack.
The camera has a very wide angle of view; the focal length is only around 35mm, so the images have some vignetting; but the relatively small focal ratio means the exposure times were conveniently short; some of them were only 5 seconds long, which is pretty short for paper negatives.
Once we finished, we processed them all in batches of 3 or 4 at a time in a large developer tray. I did the developing step while Ethan did the stop bath and fix. Tag-team processing like this is very efficient. Here are a few of the images we got today.
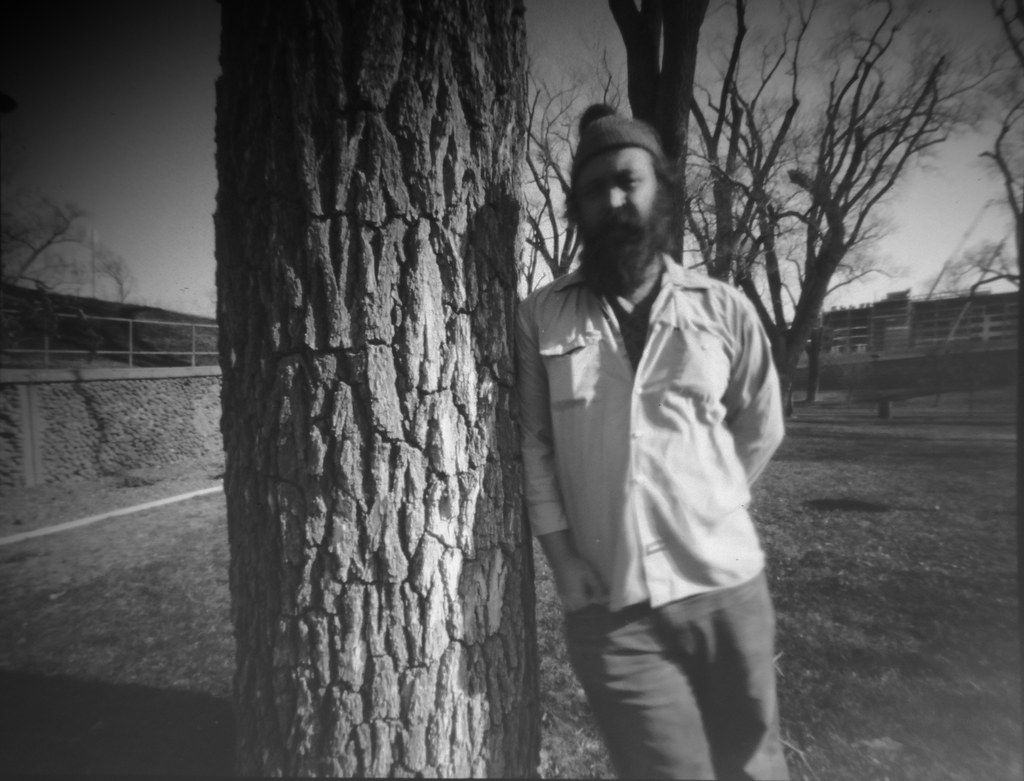
Ethan at Elm Park

Albuquerque Press Club

Ethan Downtown ABQ
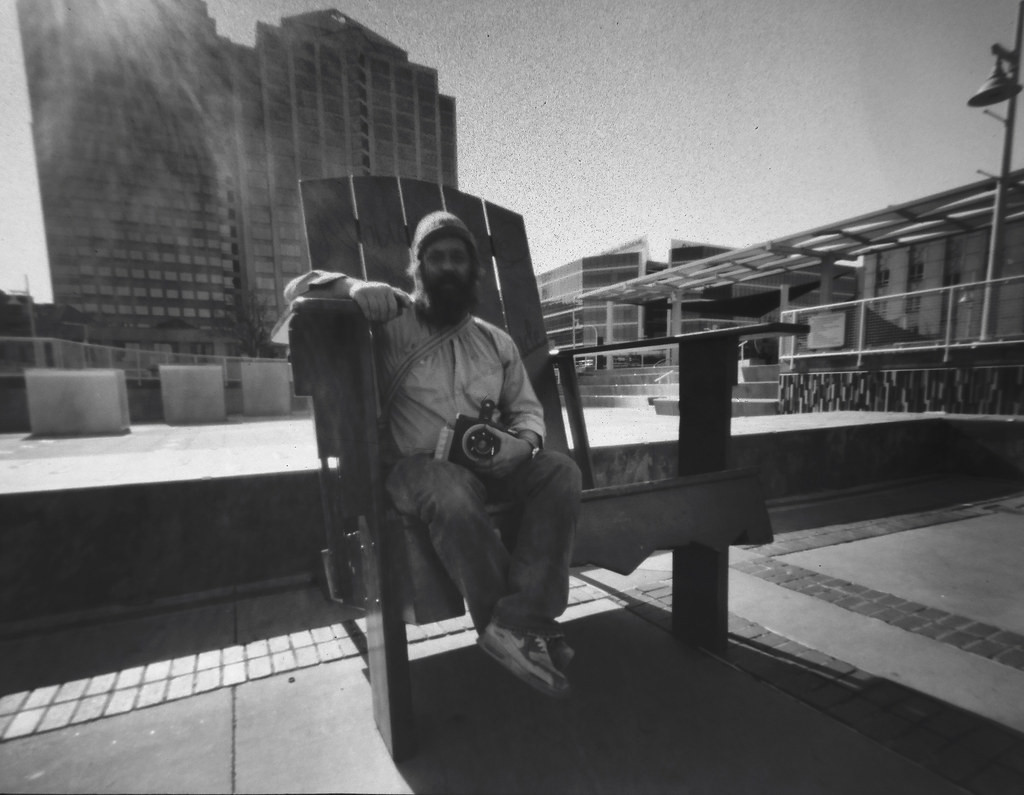
Ethan on big chair at City Plaza, downtown ABQ
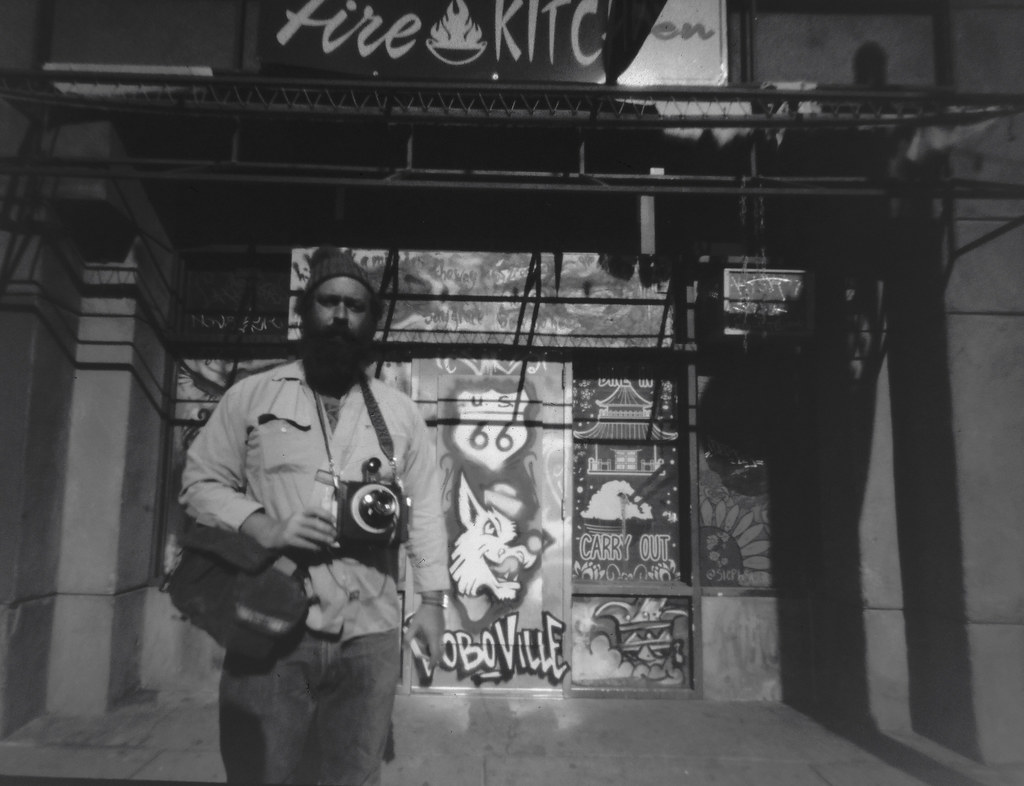
Ethan on Rt.66, downtown ABQ
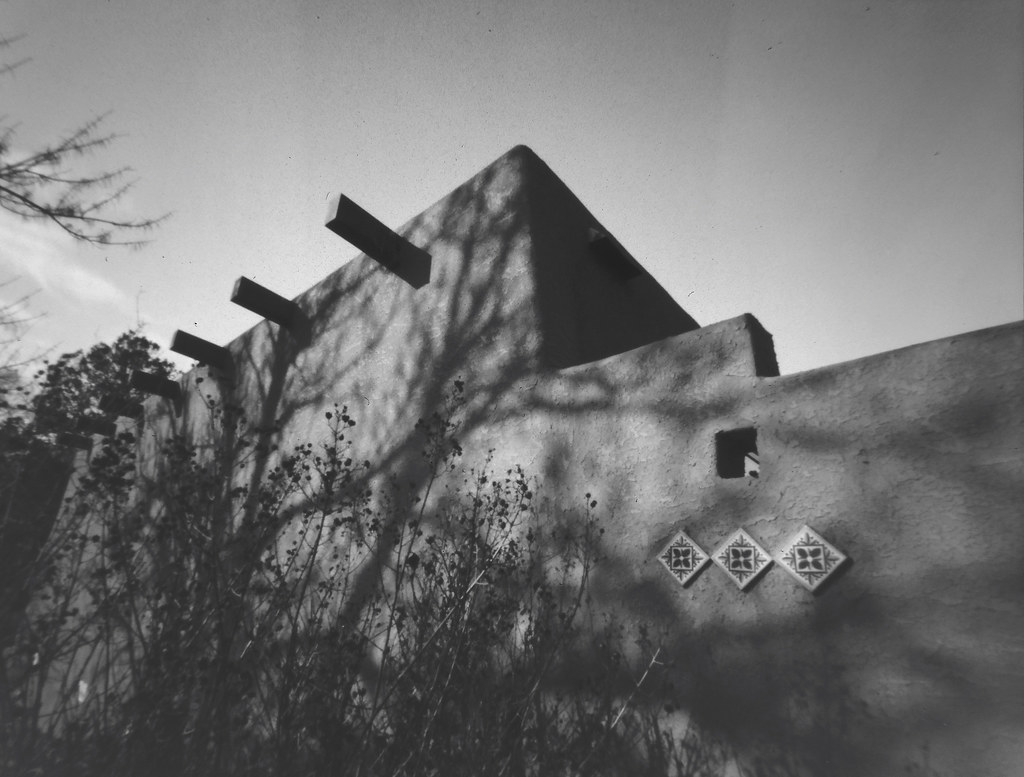
Tract Home, NE ABQ
Labels: pinhole photography Aardvark camera paper negatives Ethan Moses
posted by Joe V at 9:43 PM
![]()
![]()

3 Comments:
Another interesting read, as always, Joe!
Those look great for paper negative pinhole images. I like your paper store too :)
Cool
Post a Comment
<< Home