More Direct Positive Print Experiments
I've continued to make slow but steady progress with reversal processing black & white photo paper, used as an in-camera "film," to make one-of-a-kind monochrome prints. But I have not been working alone. I first heard of this new method from photographer Federico Pitto, who has been pioneering the use of hydrogen peroxide/citric acid as an alternative bleaching agent, making the process less toxic and using more readily available materials.
In case you are not familiar with reversal processing of photo paper, this involves exposing a sheet of paper in a camera, as if it were a sheet of film but with a much slower speed (ISO 1.5-3); much like a paper negative. Then the paper is processed in developer, followed by a rinse. At this point, the paper exhibits a negative image and is still light-sensitive; the areas of great exposure have turned dark, while the shadow areas are much lighter.
Were this a "conventional" paper negative, it would be stopped and fixed, producing a negative image. But instead, the print is placed into a bleaching bath, which selectively bleaches only the metallic silver - the formerly dark parts of the image - while leaving intact the remaining unexposed silver halides in the light parts of the image. Coming out of the bleach, the image is faint and faded in appearance, as the formerly dark (negative) highlights are now bleached nearly white, while the unexposed paper is also white.
Following a brief rinse, the paper is then re-exposed with light, which serves to fog the remaining silver halides that had yet to receive any exposure. Then the paper is once again developed, this time causing the remaining silver halides, that had not been exposed in-camera (representing the shadow areas of the image) but were fogged during the second exposure, to turn dark. The result is a positive image on paper - a direct positive print.
Earlier experiments were successful, but the highlights, or lighter parts of the image, had a strange blotchy, mottled appearance, that wasn't consistent from one test to the next. Federico Pitto came up with the idea that perhaps, during the second exposure, we were grossly over-exposing the paper, and that perhaps the mottling was the result of still unexposed, residual silver halides in the light areas of the image getting a fogging exposure and turning dark after the second development. He therefore did a series of test strips, and determined, using his enlarger as a controlled light source, the optimal settings for this second exposure.
Armed with this new knowledge, I this week attempted to use Federico's settings with my process, and I can report a great improvement in the results. Here is a synopsis of the process (times unless otherwise noted are minutes:seconds):
Expose in-camera at ISO 1.5
Develop in a 1+15 dilution of Ilford Universal Paper Developer (300mL water + 22 mL concentrate) for 1:30
Rinse in water for :30
Bleach in solution of 175mL water + 125mL 35% hydrogen peroxide + 2 teaspoons citric acid for 3:00
Rinse in water to wash off residual peroxide
Squeegee print dry
Expose under enlarger, set to 20" height at f/8 aperture, for 8 seconds
Develop again for 1:30; you can see, under the red lights, the image turn positive
Rinse or stop bath for :30
Fix in paper fixer for 2:00
All of the above is performed under red safelights, until in the fixer for about a minute. The only white light the paper sees during the process is during the second exposure, under the enlarger. I think this contributes greatly to the quality of the highlights.
Because I used multigrade paper for this test (Ilford RC, MG, WT luster finish), the contrast was more than what I'm used to seeing with grade 2 RC paper. But it also opens up a larger source of paper, of various manufacturers and finishes.
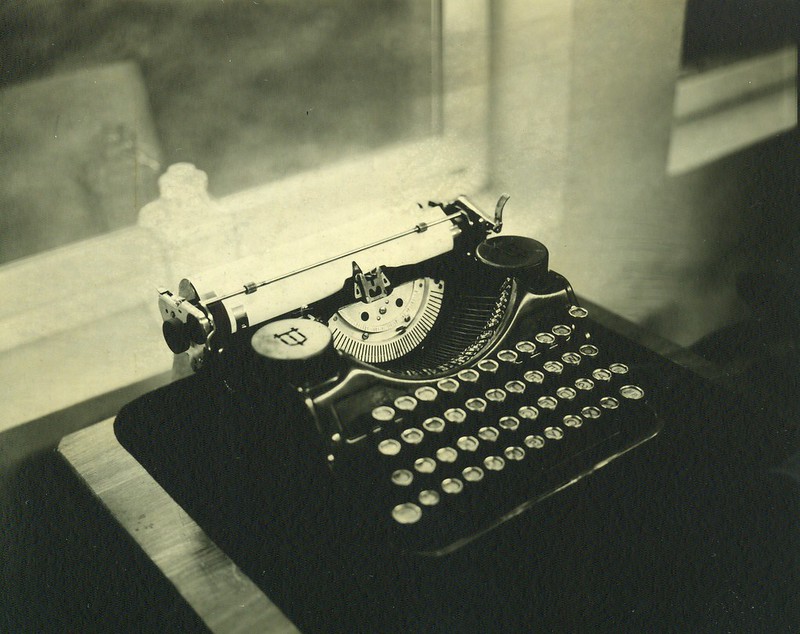
Going forward, there are more experiments yet to do. One, I'd like to do more tests of the second exposure under the enlarger, using colored filters with MG paper, hoping to improve the shadow detail. As you can see from the top image, the shadows are very blocked up, indicative of the high contrast resulting from exposing MG paper under UV-laden daylight. Perhaps less second exposure would result in lighter shadows.
Two, I'd like to do more experiments with pre-flashing the paper. I've been applying a standard pre-flash to the paper during all of these tests, but perhaps it needs more, to get more shadow response. The top image had a pre-flash twice what I usually use, with little in the way of increased shadow detail. So perhaps a combination of the above two ideas might see some results.
I also need to try this new processing method with my older grade 2 paper and see if it also has positive results (no pun).
Finally, since it appears to be a working process, perhaps it's time to break out the 8"x10" box camera and do this on a larger scale! Stay tuned for more results soon.
The top image was made after the developer and bleaching agent had been sitting in their trays for several hours. I also had left the print sitting wet in a holding tray for about a minutes, under red lights, between the bleach and the second exposure, as I had to fumble in the dark with my enlarger timer. Whatever the cause, close examination of the highlights shows a slight unevenness, with faint streaks, still present; this was not present on an earlier image, made when the chemicals were fresh. I need to nail down the cause of this. So, more refinements yet to make.
Here are the first three videos documenting my experiments thus far:
Labels: reversal processing, You Tube
posted by Joe V at 12:44 PM
![]()
![]()

1 Comments:
Hi Joe,
They already looked great, but this is taking it to a new level. Really great work! I will PM you a question at photrio.
Ned
Post a Comment
<< Home