Sunday, August 31, 2014

Pancakes & Giant Bugs

P1080545a

Typecast245

Post-Script: As a way of demonstrating the normalcy of having typewriters around when visiting the grandparents, my young grandson informed his teacher via a grade-school assignment that he would like to give me more typewriters, if he could find them. This seems entirely logical to his young mind, though I do wonder what the teacher thinks about all this talk of typewriters. Perhaps a time will make itself available in the future where I can do a "show-and-tell" for his classroom about my typewriter collection.

Luckily, no bug parts found there way into our breakfast pancakes - that we know of - as we have not as yet displayed any symptoms. And the grasshopper was successfully returned to his natural (so-to-speak) environs.

Photo via Lumix G5 (of mini-pancake remnants, NOT bug parts), typecast via Olympia SM-9 De Luxe.

Tuesday, August 26, 2014

In Storage or on Display?

DSCF2117b

Typecast244

Post-Script: Sure, I'll admit that the resulting typewriter cover is a bit crude-looking. But it's entirely functional and, with having made cardboard templates, I can make others if needed in the future. This also raises the possibility of displaying other typewriters in my collection in a similar manner around the house, using these plastic display covers. I would just need to fashion custom templates for each model of machine.

Here are a few descriptive images on how I made this typewriter cover.

DSCF2115aI measured the machine's external dimensions, then calculated the size of all the panels required for the cover.

DSCF2114aI then laid out these measurements on thin cardboard and cut & taped them into templates. The template for the top panel I only made one half of, in order to save on cardboard. When laying out the template onto plastic film, using a Sharpie marker, I mark one half, then flip it around and mark the other half.

DSCF2122aI've had this low-wattage solder iron for decades. It has a rounded, bevel tip that's perfect for this application. If using a higher-wattage iron, a light dimmer switch can be rigged to reduce the wattage of the iron. Or use more layers of thicker paper. The thickness of the top sheet of paper, the pressure applied with the iron and the speed at which you move the iron all determine the melting/fusing of the plastic film, which also should be varied with the thickness of the plastic itself. You want to fuse the plastic so it doesn't peel apart on its own but without damaging it through overheating. When needing entirely straight seams, a metal straight-edge can be used as a guide for the soldering iron's tip, while this method also permits freehand curved seams to be made, as might be required for the curved gores of balloons.

DSCF2120aClose-up detail of a corner seam. I trim the excess plastic film from each seam, to make it look a bit neater.

Typecast via Corona 4, images via Fujifilm X10.

Sunday, August 24, 2014

What Do You Really Know?

P1080544a

Typecast243

Post-Script: Without getting into the gory details, these thoughts sprung up out of a series of conversations I've had with someone, who I'll just call Saul, wherein he stated that he knew something to be true, yet had never in actual fact personally experienced it. He read what a select group of others had justified in their own minds as true, and came to accept it for himself as true also. Furthermore, the things we were discussing are held to be highly controversial and dubious by the majority view within society.

I contend that for him to "really know" this thing as true would require him to personally experience it.

My contention is, of course, based on my background being firmly rooted in western scientific thought, in that for something to be knowable it has to be capable of being shown to someone else as also knowable; some sort of evidence must be available that most everyone can agree upon.

For example, suppose I was told that so-and-so went on a vacation to some exotic destination. I might not have actual proof of so-and-so's trip, such as a copy of plane tickets or hotel reservations, but I know the claim is not so outlandish as to be entirely impossible. Others have made similar trips, or so I'm told (again, another assumption on my part, entirely unproven in my own internal logic, except to take it on face value as true), and so it's not entirely unreasonable that so-and-so would have also made that trip. My degree of acceptance is based on the test of reasonableness - how likely is it, absent absolute proof.

This comes down to one of my core beliefs, that exceptional claims require exceptional evidence. I don't need proof of so-and-so's claims, since they are not extraordinary in themselves. He could by lying, merely bragging about his vacation, and that would not convince me such a trip is impossible, in theory, only that for him to make such a trip might or might not be true.

But let's say Saul's claims are indeed extraordinary. In this case, I can reasonably remain doubtful of their veracity without violating my own internal beliefs, absent direct evidence to the contrary.

But Saul's own internal frame of reference doesn't require such direct evidence; for him, it is enough that others, who he has some regard for their opinions, hold these beliefs. His own internal weight of evidence is borne up by the credibility of others. And that I can accept. We can agree to disagree and remain conversant as friends, knowing we are each guided by our own internal logic, however divergent they might be.

Typecast via Olympia SM9, photo via Lumix G5 and Minolta MD 24mm lens with close-up macro bellows.

Wednesday, August 20, 2014

Rio Grande Valley Visit

DSCF2088a

Typecast242

Post-Script: It was nice to take the Rocket for a ride. I've also decided to use the Rocket mainly as a portable take-anywhere machine, and have taken the Olympia SM-9 out of storage, replaced the ribbon, and have it sitting on my desk as the office machine.

Bonus images:
DSCF2101a

DSCF2078a

DSCF2080a

DSCF2084a

DSCF2090a

DSCF2093a

Tuesday, August 19, 2014

Hanx Writer Update

DSCF0876a

Typecast241

Post-Script: I'm trying hard not to differentiate too finely the various stages in evolution of personal mechanized writing technology, from manual typewriter to electric typewriter to computer printer, and now to tablet-based virtualized mechanical typewriter software paired to laser printer. The common denominator in all of these methods is paper output of mechanized print, what might be termed "metatyping."

As a thought experiment, it would be fun to imagine our modern world with computers and printers but no email or Internet. You could word process the bejeezus out of a document, but would then have to print it out onto paper, where the quality of print (laser vs inkjet) and paper actually matter, and post it via an envelop and stamp to your intended recipient (keeping in mind that mailing a disc or USB thumb drive is probably more expensive than a paper document). In this regard, the most revolutionary change in writing technology is not the word processor but networked communication.

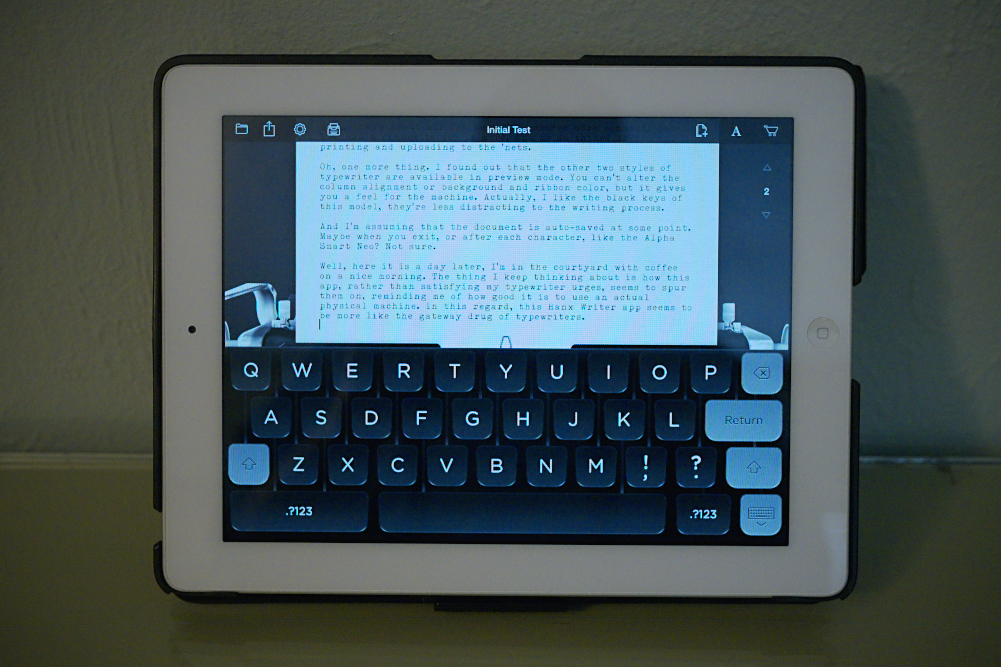
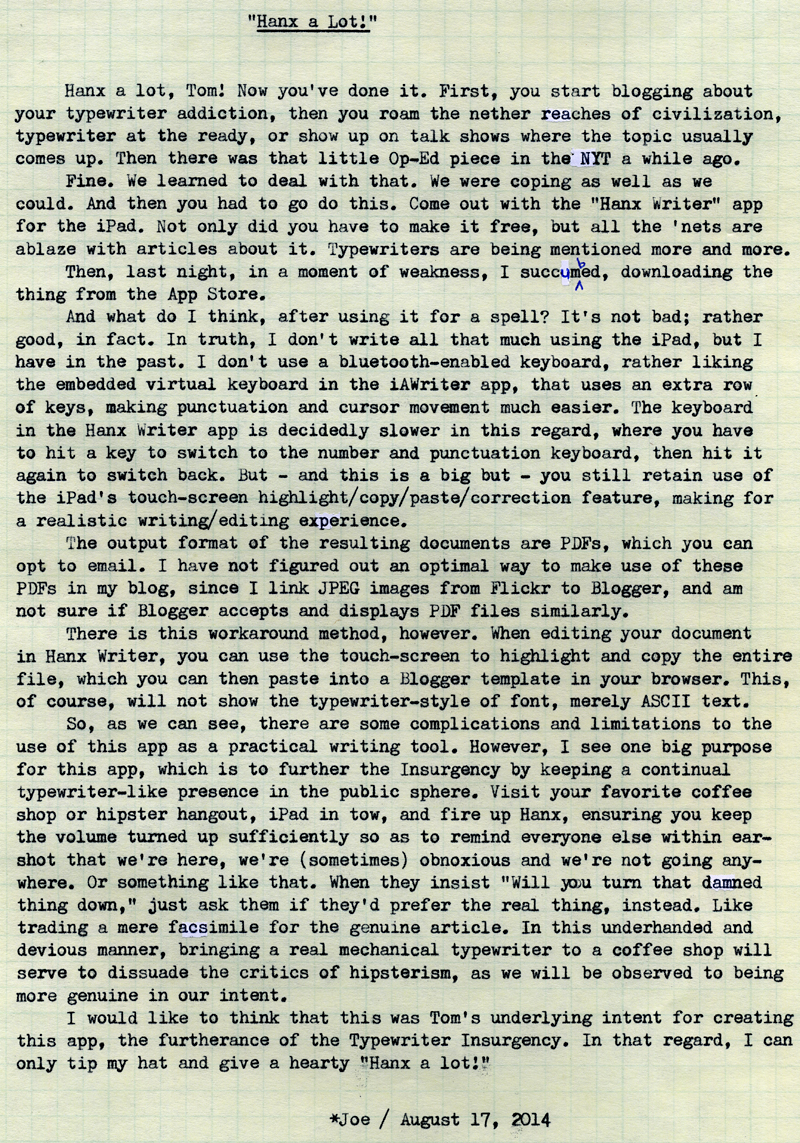
I've received some questions about the Hanx Writer app from my previous blog article, which I answered in the responses section below that article, but to sum up thusly, I've been typing directly onto the iPad's touchscreen using the app's virtual keyboard. I prefer at this time to use the classic mode where the cursor remains stationary in the middle of the line and the carriage & document move left or right. But, I've taken to using the modern correction feature whereby backspacing deletes the previous character.

Another reader inquired as to what document format is outputted. Hanx Writer outputs only in PDF format, which I have not taken the time to understand its compatibility with Flickr and Blogger in terms of file uploads and such.

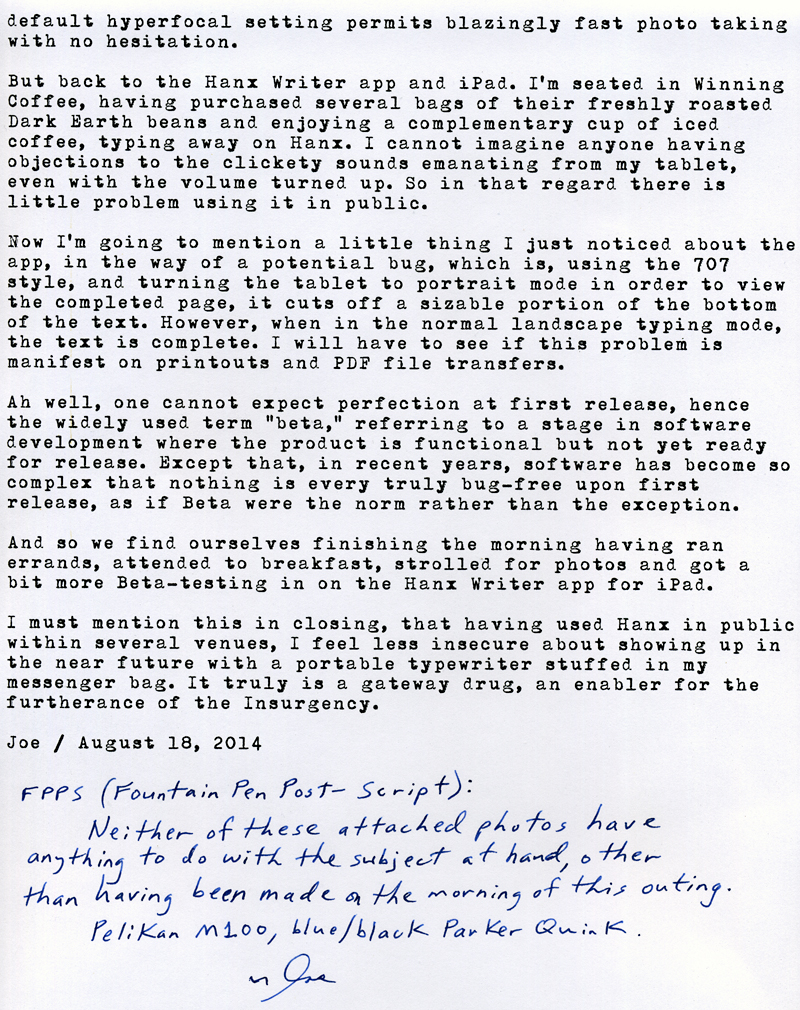
As I've purchased the "Writer's Block" of three typewriter and font styles, so far I prefer the "707" style best. But it's nice to know I have options, should I get bored and need a change. And, of course, there's always the physical manual typewriters in my collection to choose from, too!

The app thus far does not provide for margin adjustments, though I did have this idea of adjusting the left margin by padding the start of each line with blank spaces. This does not work unless you hit a carriage return at the end of the previous line (rather than letting the previous line auto-return to the next). Therefore, by applying manual carriage returns at the end of each line, you can pad the beginning of the next line with however many blank spaces you need, as evidenced by this piece, where I was able to indent the beginning of each paragraph by using a carriage return at the end of the previous line.

It makes me wonder if the developers should have included a feature where the end of a line, after the bell, does not automatically roll over to the next line but instead stops, just like a physical manual typer when hitting the right margin stop.

Here's the link to the Time magazine article that indicates Hanx Writer to be the "number one" app in Apple's iTunes App Store, as of this week.

Finally, as I've laid out my thoughts regarding the commonalities between all writing technologies that employ a keyboard at one end and a printed paper document at the other, which I'm calling metatyping, I will probably terminate this short series of blog articles specifically about the Hanx Writer app with this entry (unless some important update comes my way that warrants a blog article), and instead merely note in the Post-Script section what form of metatyping was chosen for that article.

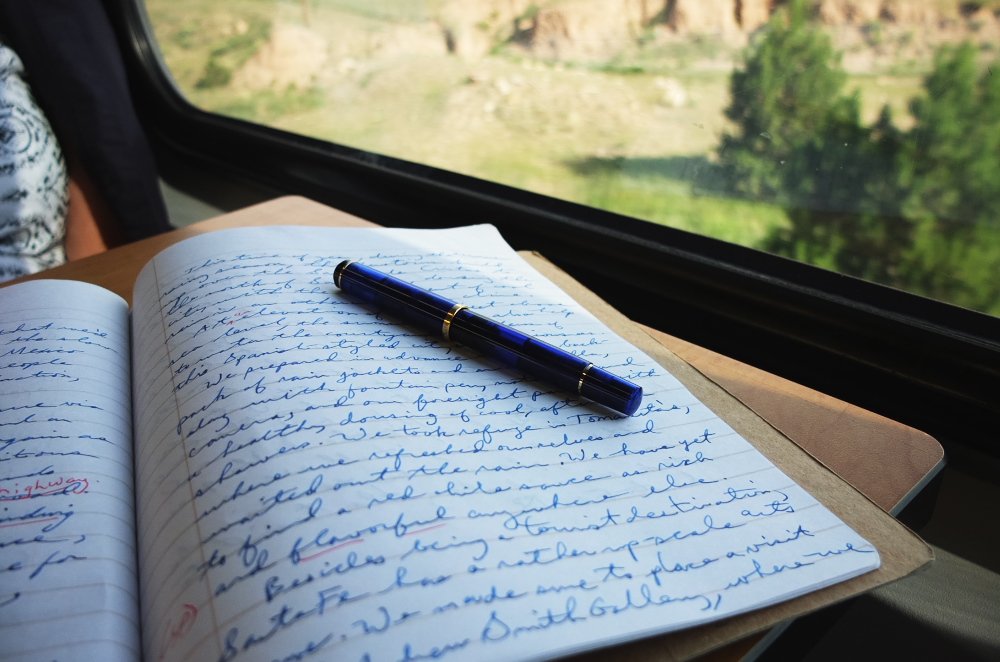
Photo via Lumix G5 (extremely obtuse visual connection to this article's subject); typecast via Hanx Writer 707 on iPad 2 and HP LaserJet P1102W printer.

Monday, August 18, 2014

Hanx-Casting in the Field

P1080532a

Typecast239(continued on page two)

P1080518a

Typecast240

Post-Post-Script: So. My methodology for working with Hanx Writer in this post was to combine the iPad with my laser printer, a combination that produces a paper output very much in keeping with manually typewritten text. One could perhaps argue that black & white, carbon-based xerox toner is more archival than typewriter ribbon ink, if that lends any credibility to the process. I would have preferred using my usual yellow/green engineer's paper, but I have not yet tested running individual sheets of it through my HP printer. And too, the engineer's paper is three-hole-punched, which would interrupt individual words, since there's no provision for formatting or margin adjustments when printing straight from the iPad to my HP laser printer. One quickly thought of work-around might be to type an artificially wide margin on the left side, by adding a padding of blank spaces at the beginning of each new line, something I'll have to test, first.

Bonus points if you can figure out the subtle connection between the attached photos and the text.

Sunday, August 17, 2014

Hanx a Lot!

P1080341a

Typecast238

Post-Script: I like this app, and after purchasing the "Writer's Block" of upgrades, the other two virtual machines are neat, too. I did print out my initial test document from my iPad2 to my HP B/W laser via WiFi network, and it printed nicer than I thought it would. Of course, being a PDF and with little or no formatting capability for such a printed document, the results were pretty good. It looks like, when printing a hardcopy, it somehow autofits the document to a standard sheet of printer paper.

I was also wondering about "saving" these documents as you work on them. I'm assuming here that, like many other iOS writing apps, the document gets saved as you type, or before you exit or turn off the device. Of course, a new document gets a new title, too.

My wife, whose judgement I always trust, says she likes this app. Myself, I'm holding onto the belief that it'll serve as a "gateway drug" for many newcomers into the world of physically real, manual typewriters. And that's not such a bad thing ... except it could serve to further inflate the prices of machines on the seller's market.

Photo via Lumix G5, typecast via Hermes Rocket. Which, by thee way, Tom Hanks mentioned the Hermes Rocket in his New York Times piece from a while back (August 3, 2013 - over a year ago!).

Also, reading some of the online reviews of this new app, there are decidedly mixed opinions. While many expound on the quaintness of the manual typewriter simulation, most every writer applauded the more "modern" conveniences in writing brought about by computers and such, insinuating Hanx Writer to be something less than that. Still, I hang onto Tom's initial reasoning for creating this app, which is to help writers slow down and concentrate on the writing itself. I'm certain we won't hear the last from Hanx Writer.

Tuesday, August 12, 2014

The Trail to Santa Fe

DSCF2046a

Typecast237

The Rail Runner: DSCF1974a

Boarding: DSCF1962a

Leaving Abq: DSCF1964a

In-Transit: DSCF2049a

Cultivated Fields of Sandia Pueblo: DSCF2058a

Dry Wash and Distant Rainbow: DSCF2052a

Recent Floods: DSCF2041a

Nearing Santa Fe: DSCF2031a

Waiting: DSCF2023a

Watch Your Step: DSCF2010a

Tourist Icons: DSCF2008a

Southwest Style: DSCF2006a

City of Gold: DSCF2005a

City of Tourists: DSCF2002a

A Place to Rest: DSCF1999a

Outdoor Ventures: DSCF1994a

More Tourist Icons: DSCF1990a

Architectural Icons: DSCF1982a

Waiting to Leave: DSCF1972a

The End of the Line: DSCF2012a

Post-Script: Photos via Fujifilm X10, typecast via Hermes Rocket from first draft composed via Pelikan M100.

Sunday, August 10, 2014

Sixteen Pages

P1080337a

Typecast236

FOLDING INSTRUCTIONS:

P1080325aStep One: Lay out your sheet in landscape format. The first fold will be the left half behind the right half. See the dashed line for reference.
P1080326aFirst fold completed. The front cover is in the top right corner.

P1080327aStep Two: Fold the bottom half up, behind the top half. See the dashed line for reference.
P1080328aSecond fold completed. The front cover is on the right.

P1080329aStep Three: Third fold marked as indicated by the dashed line. Fold the left half behind the right.
P1080330aThird fold completed. The front cover is on top.

P1080331aStep Four: Staple the booklet together along the spine. Note that the book is cover-side up, the staples' ends will be crimped along the inside middle of the book.
P1080332aStapling completed. Note the staples crimped along the inside middle fold of the book.

P1080333aStep Five: Cut a bit of paper off the two edges with their pages folded together. DO NOT CUT THE SPINE BY MISTAKE.

P1080335aStep Six: (OPTIONAL) Round the corners using a corner punch. Do so by punching out one half of the pages at a time, so as to not overwhelm the punch.
P1080336aThe completed book, ready to be decorated or used as-is.

Post-Script: Photos via Lumix G5, typecast via Hermes Rocket. The corner punch is an option you might want to consider, as it lends a nice touch to the overall look. Another option is to use as thick of printer paper as you can find (90+ pound), along with an optional card-stock front cover, which will give you a full 16 pages of interior volume to work with. These can make simple gifts for kids of all ages.

There are a number of ways, described online, to make simple books like this, most of which involve folding, slitting and taping, and result in books with double-folded pages, not as neat as a professionally made book. This method I prefer to those others, as it looks in appearance closer to a Moleskine-style booklet. Though it requires a standard-sized stapler, it doesn't use adhesive tape, and I think will serve a person better, both for oneself and as a gift.

Finally, if you feel really creative, you can figure out how to make a PDF template for creating laser-printed booklets, like for mini-zines, tracts or hand-outs. You'll want to start by making a blank book, but don't yet staple or trim the edges. Instead, mark each page with its number and top orientation. Then unfold the sheet and you'll see how to layout your document's individual pages in software to result in a professional-looking mini-zine or tract.