Sunday, August 27, 2017

Direct Positive Print Experiments
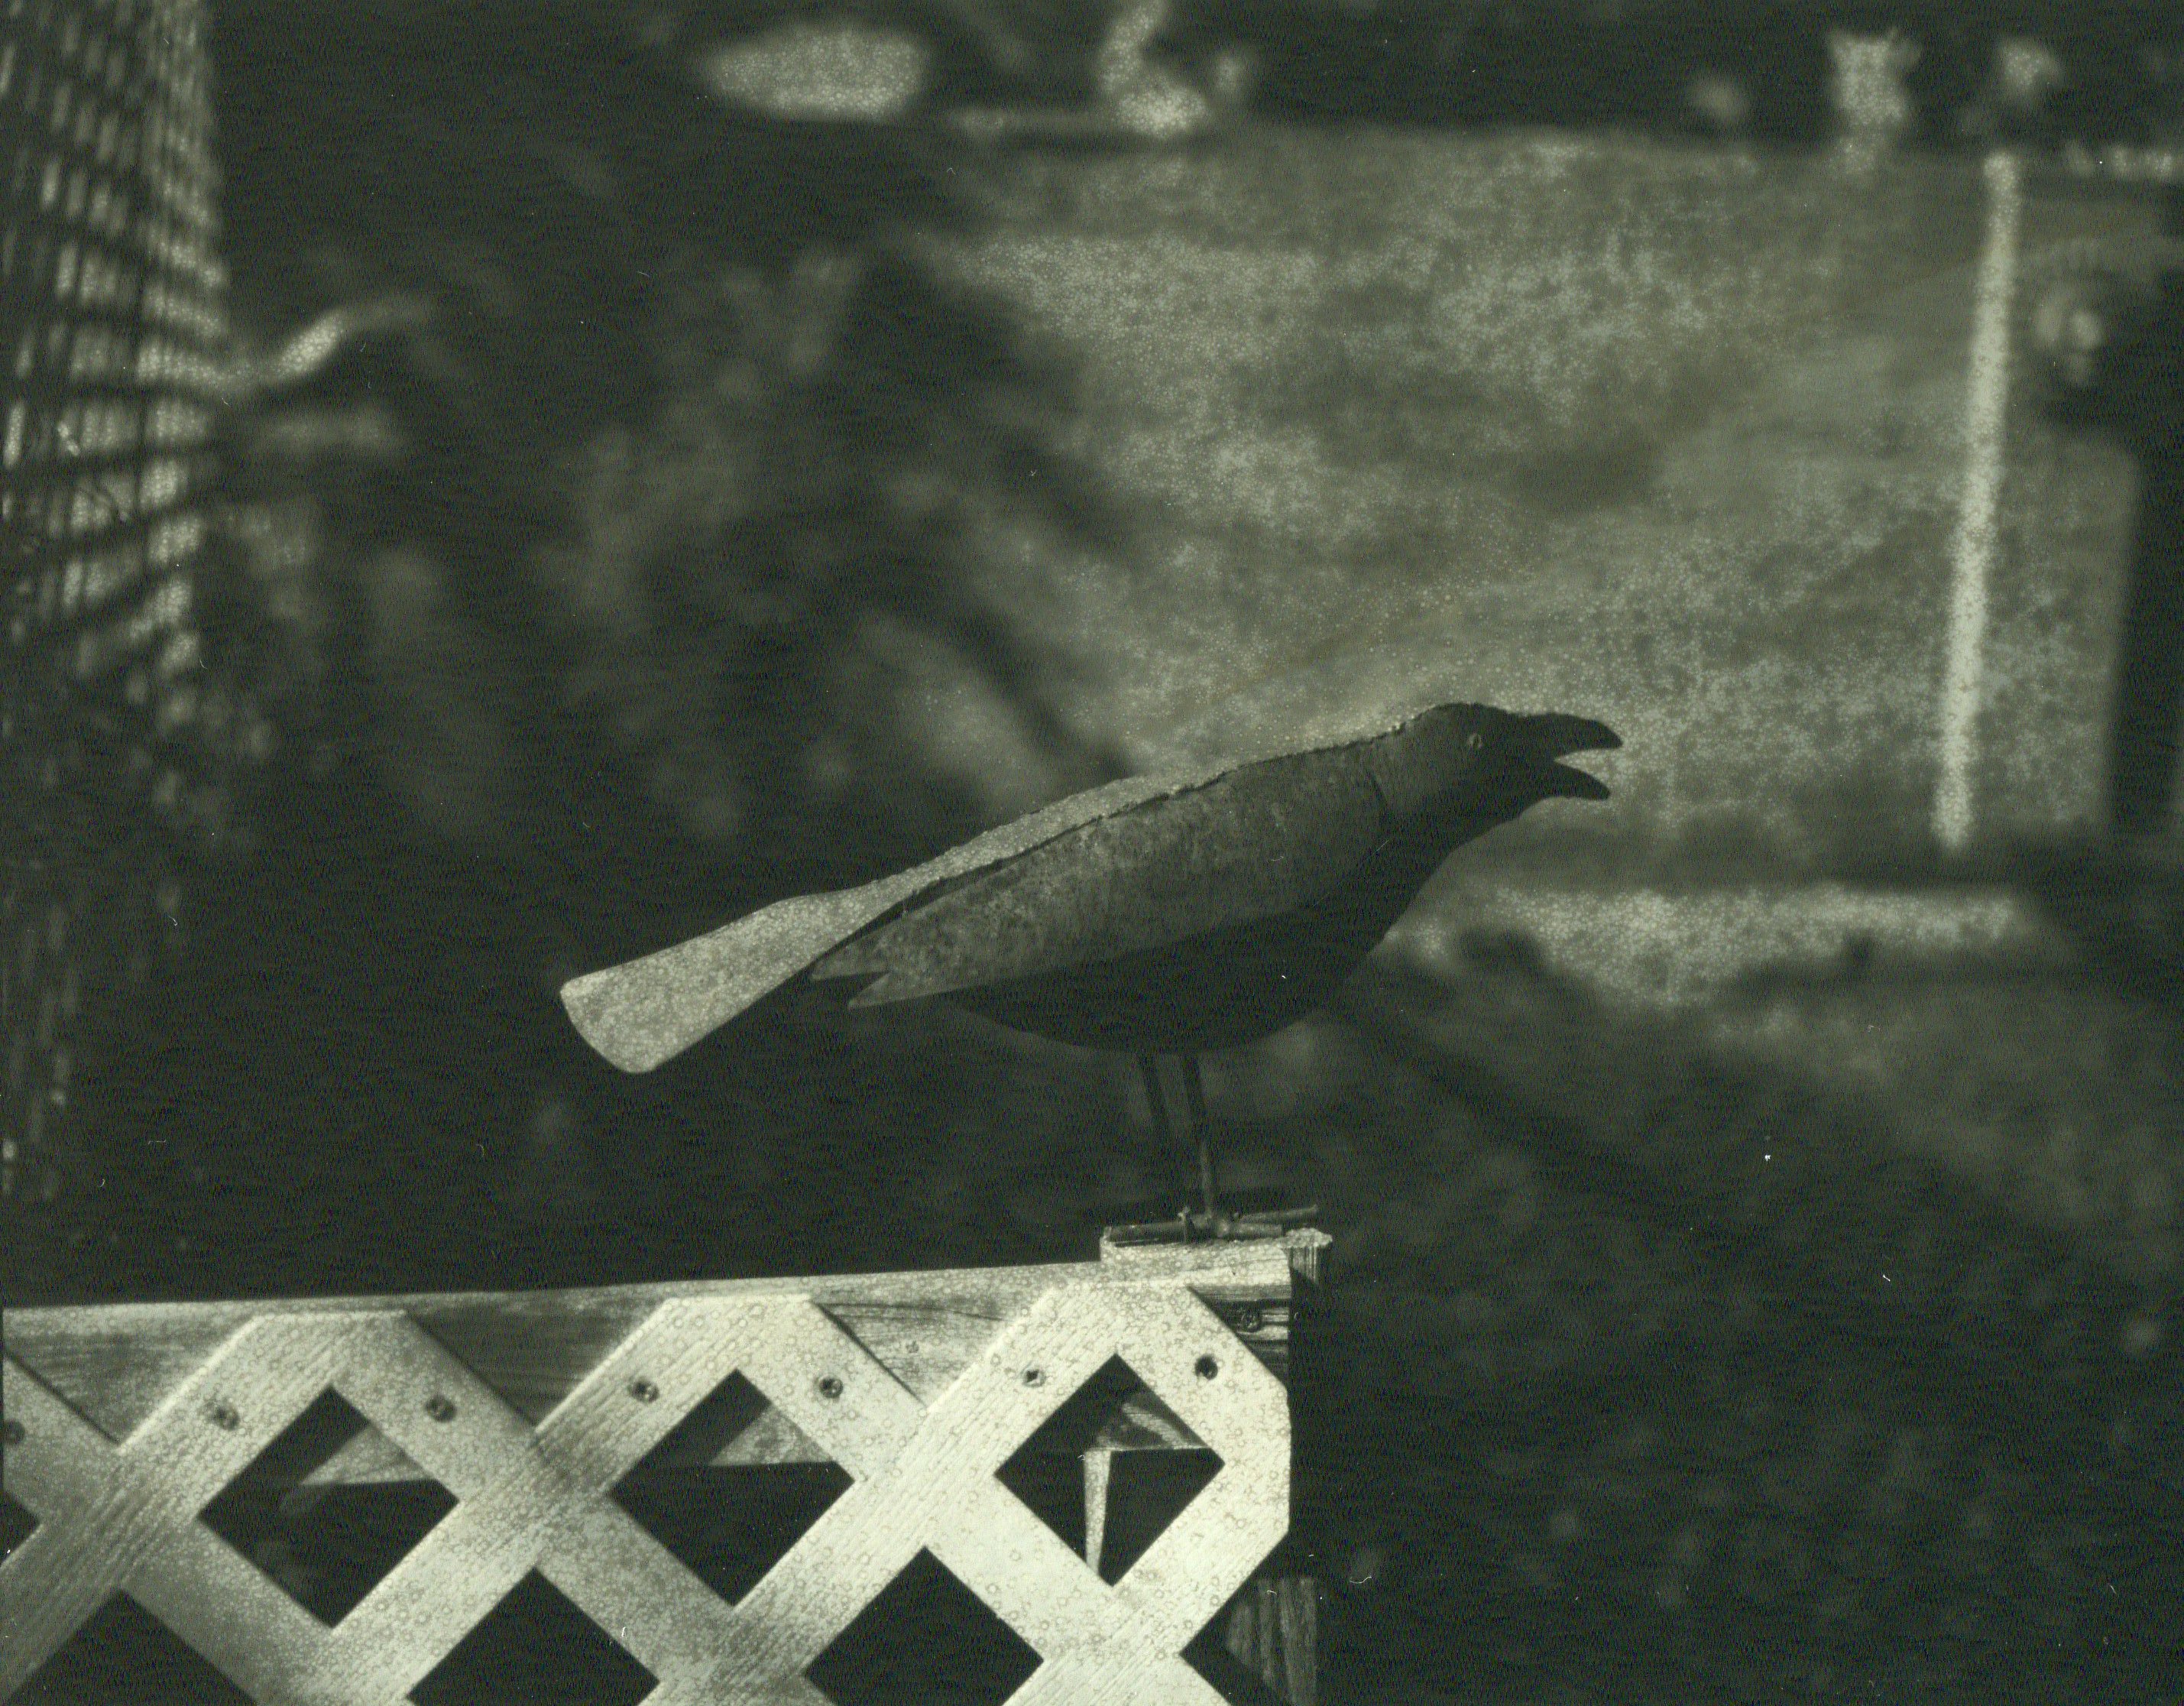
Reversal Raven001Exposure: 1/8 second at f/5.6 in morning light

There was a time, only a year or so ago, when I took for granted that Harman's Direct Positive Paper would be available for us creatives to use. But it seems that change is the only constant in life. In case you haven't heard, Harman/Ilford have been experiencing manufacturing difficulties with their direct positive paper and so, for the time being, it is no longer available.

So, what is direct positive paper? Think of it as a wet-processed Polaroid print. You fit sheets of the fiber-based print paper into your large format camera's film holders, expose it as a very slow-speed film, then process it in standard black-and-white print chemistry (developer, stop bath and fixer) to get a one-of-a-kind, fiber-based positive print. Were you to do that with conventional black-and-white printing paper, you'd end up with what we call a paper negative: a photographic negative on a paper supporting medium. Harman's Direct Positive Paper represents a kind of hybrid process, combining the best of modern chemistry with traditional alternative photographic processes.

There have been methods for creating such direct positive prints in the past, using exotic and dangerous chemicals in what is termed a reversal process. This is what happened inside those old-fashioned photo booths, the ones that spit out a strip of black-and-white prints. These traditional reversal processes used a dichromate-based bleaching compound and chemical fogging agent to do the reversal part of the process. Theoretically feasible at home, yes, but impractical for most of us and requiring considerable care in handling, storage and disposal of chemicals.

Several weeks ago, through some fortuitous Internet surfing, I happened upon several blog posts that describe a different chemistry for achieving the chemical bleaching part of the reversal process. Rather than using toxic chromic acid-based compounds, the method described uses hydrogen peroxide and citric acid. Armed with little more than these blog articles to go on, I decided to try my hand at it.

The first step was acquiring a more concentrated solution of hydrogen peroxide than the 3% topical solution found in the drugstore. The blog articles describe using a 9% solution in the bleaching agent formula. I was able to source a local supply of 35% hydrogen peroxide at the same place as the citric acid powder, strong enough to be diluted down for my purposes.

Pause must be made at this point to remind anyone contemplating doing this that, although this new formula isn't toxic like chromic acid, concentrated hydrogen peroxide deserves to be handled with respect, as it is a strong oxidizing and corrosive agent, will do direct harm to your body if it makes contact and will react violently with many flammables, including spontaneously combust. You must wear protective gear on your exposed skin, including shielding your face and eyes, (and think about protecting your legs and feet if something erupts at table-height) and mix it only in a safe location, away from flammables and other corrosives. This warning is not intended to scare you off from considering doing this process, only as a common-sense precaution, since the laws of physics don't care who you are.

I purchased a 1 liter plastic bottle, which was kept refrigerated at the store. I therefore decided to store my bottle also in a refrigerator, which helps reduce its reactivity during storage and prolongs it shelf-life.

The basic reversal process is this: develop the exposed paper in standard paper developer, then a quick rinse or stop bath. Next is the bleaching bath, in this case comprised of a dilute hydrogen peroxide solution with citric acid added. Next is a quick rinse, then the front of the paper is squeegeed dry, and the paper is then exposed directly to a bright source of white light, to fog the remaining unexposed silver halides in the emulsion. Then the paper is developed, stopped and fixed as normal. These last steps, from the fogging to the fixing, can be done in normal room light.

How the image reverses from a negative to a positive is that the bleaching agent acts selectively only against the developed metallic silver, produced by the first developing step, that represents the highlights of the scene. These dark silver molecules are bleached near paper-white, while leaving the unexposed silver halides intact in the remainder of the emulsion. Then the fogging with light exposes those remaining silver halides which, after the second development, turn into dark metallic silver and represent the shadow portion of the image.

The articles reference using a pH meter to accurately determine the acidity of the bleaching agent. Since I don't have such a device, I decided instead to employ empirical testing. I used Freestyle Photo's Arista grade 2 RC paper, initially rated at an ISO of 3 (I normally rate this paper at ISO 12 as a paper negative; it seems the reversal process requires a denser latent image to work properly). I mixed a 300mL solution of bleaching agent using 77mL of 35% peroxide and 223 mL of water, to which 2 teaspoons of citric acid powder was thoroughly dissolved. This amounts to a 9% concentration of hydrogen peroxide. To do this safely, I performed the mixing out doors, wearing protective gear, diluting the peroxide into the water, thoroughly stirring, then adding the citric acid powder after, with more stirring.

For my initial tests, at ISO3, I developed the paper for 2 minutes, bleached the paper for 5 minutes, fogged the paper under bright light for several minutes, then finished the process with a 2 minute develop, 30 second stop bath and 2 minute fix (pretty standard times for developing print paper). My developer was Ilford Multigrade concentrate diluted 1:15. After the bleaching step I rinsed the paper and turned on the white lights. The paper had a negative image with an irregular brass-colored mottling. Fogging the paper with direct exposure to light didn't change its appearance. But it did dramatically change when put back into the second developing bath, where the image quickly went from negative to positive.

Though the results were promising, the contrast was very low and the intensity of the highlights was very muted. You'd need to view the print under bright illumination to see the image with any kind of clarity. I next decided to add more citric acid to the bleaching agent, but the results didn't improve.

So I decided to make two changes at once: 1) increase the exposure by reducing the ISO to 1.5 (since my new meter only goes down to ISO3, I simply used the next slower shutter speed); and 2) double the concentration of hydrogen peroxide, from 9% to 18%. It turns out that this makes mixing the bleaching agent more convenient, as I can mix a 1:1 solution of 35% peroxide with water. So 150mL of 35% hydrogen peroxide to 150mL of water, plus 2 teaspoons of citric acid powder, makes the new solution.

The results are very promising, as evidenced by the above image. Coming out of the bleaching agent the highlights were already reversed white, even before the light fog and second development; it seems the bleaching agent activity determines the highlight density. The print has a nice warm tone to it, although the background shadows have a somewhat mottled appearance, evidencing its experimental nature. Held in hand, it's not much different from the Harman paper, other than color tone and the RC paper's surface finish. In processing this print, I reduced both development steps to 1:30, reduced the bleaching step to 2 minutes and the fogging step to 1 minute under a strong LED lamp of 5000k color temperature. I use the same developer tray for both development steps, to make things more convenient; which works well as long as you remember to thoroughly rinse the paper after the bleaching step.

It's not as convenient up front to process print paper this way, as compared to the Harman Direct Positive paper. But what you use in time up front you save on the back end of the process, since the RC paper only requires a brief rinse aid treatment and 5 minute wash, then can be quickly dried to completion, using a squeegee and hair dryer. Contrast this with fiber prints, that require an hour of rinsing and hours of drying time, taped flat to a sheet of glass to prevent curling.

I'm excited to try this process with other RC papers in my collection, including multigrade warm tone papers with a luster finish. I might also try increasing the concentration of peroxide to about 20-25%, and see what effect it might have on the results.

I'll be happy when Harman/Ilford returns their direct positive paper to the market, for the sake of others who would like to dabble in this interesting alternative process but don't want to get more involved than standard print chemistry. For myself, I'm grateful that this shortage has forced me to seek alternatives, as it has opened up a new avenue for my creative expression.

Post-Script: There is a photographic paper called Galaxy Direct Positive Paper which has entered the market recently. Despite its name, it does not produce a direct positive image in standard print paper chemistry, but rather requires a reversal process, like what I've described above. Still, I'd like to try it out, since it's supposedly very similar to the old photo lab print papers and has a thicker, more silver-rich emulsion.

Labels: ,

Thursday, August 17, 2017

Typing Scrolls Revisited


I'm certain I've blogged about this before. Using rolls of paper for typing, like the way that Jack Kerouac did with an early draft of On the Road, where he used a roll of teletype paper. Why a person would want to do so today has nothing to do with wanting to mimic the Beats. The Beat Movement is pretty much dead, last time I checked. And so are typewriters, except actually they're not; there's a revival in progress. Which is all the more reason to resurrect the idea of typing on a seemingly endless roll of paper - no more stopping in mid-thought to change paper. Just keep banging the keys and slinging the carriage back after the bell dings, and watch the paper pile up behind the machine on the floor; a more certain measure of one's writerly output.

Years ago, after this idea struck me (and inspired by a visit to the Palace of the Governors Museum in Santa Fe, which was hosting the On the Road manuscript scroll in its long glass-topped display case), I went in search of rolls of paper. Adding machine paper was too narrow, unless all you were interested in writing was short haiku poems. There were brown masking paper rolls, 6 inches wide, available at hardware stores; but I didn't want to type on brown paper. And there was white paper rolls in craft and art stores, but in widths much wider than the standard 8-1/2 inches.

After a bit of Internet searching I found a 6 inch wide roll of white paper, in 700 foot lengths, used for masking in the automotive painting industry. A local search found some at the Napa Auto Parts painting supply store. I ended up buying a damaged roll (the inner cardboard core was deformed) for less than half the price of new.

This paper I used for a time for typecast blogging. With the margins set to ~1/4 inch in from either edge, I could get long enough lines of text sufficient for this blog's template. But the paper was thin and crinkly, and didn't take ink all that well. I think, being engineered for painting, its surface was hydrophobic and hence repelled the ink, which would also easily smear. So after some time, I set that roll aside and looked for another solution.

A search on Amazon revealed rolls 8-1/2 inches wide of what was described as "teletype paper," but after receiving an order I found the quality of the paper was about the worse I'd ever seen. I should have known; I think Western Union quit the teletype business some years ago. Essentially like the very cheapest newsprint art paper, off-white and very fibrous, it doesn't take correction tape, and is mostly useful only for rough-draft writing where no one else will see the finished results. You wouldn't want to type that letter to dear old Aunt Mary with this stuff, or she'd take you out of her will.

This last week I once again found myself in the local big-box office supply retailer, when I happened across a roll of white "banner" paper 17 inches wide by 50 feet in length, for $5. It doesn't take a math whiz to figure out that 17 inches is twice 8-1/2, and I at once began thinking that perhaps my miter saw could cut it in half sufficiently neat to make the effort and cost worthwhile.

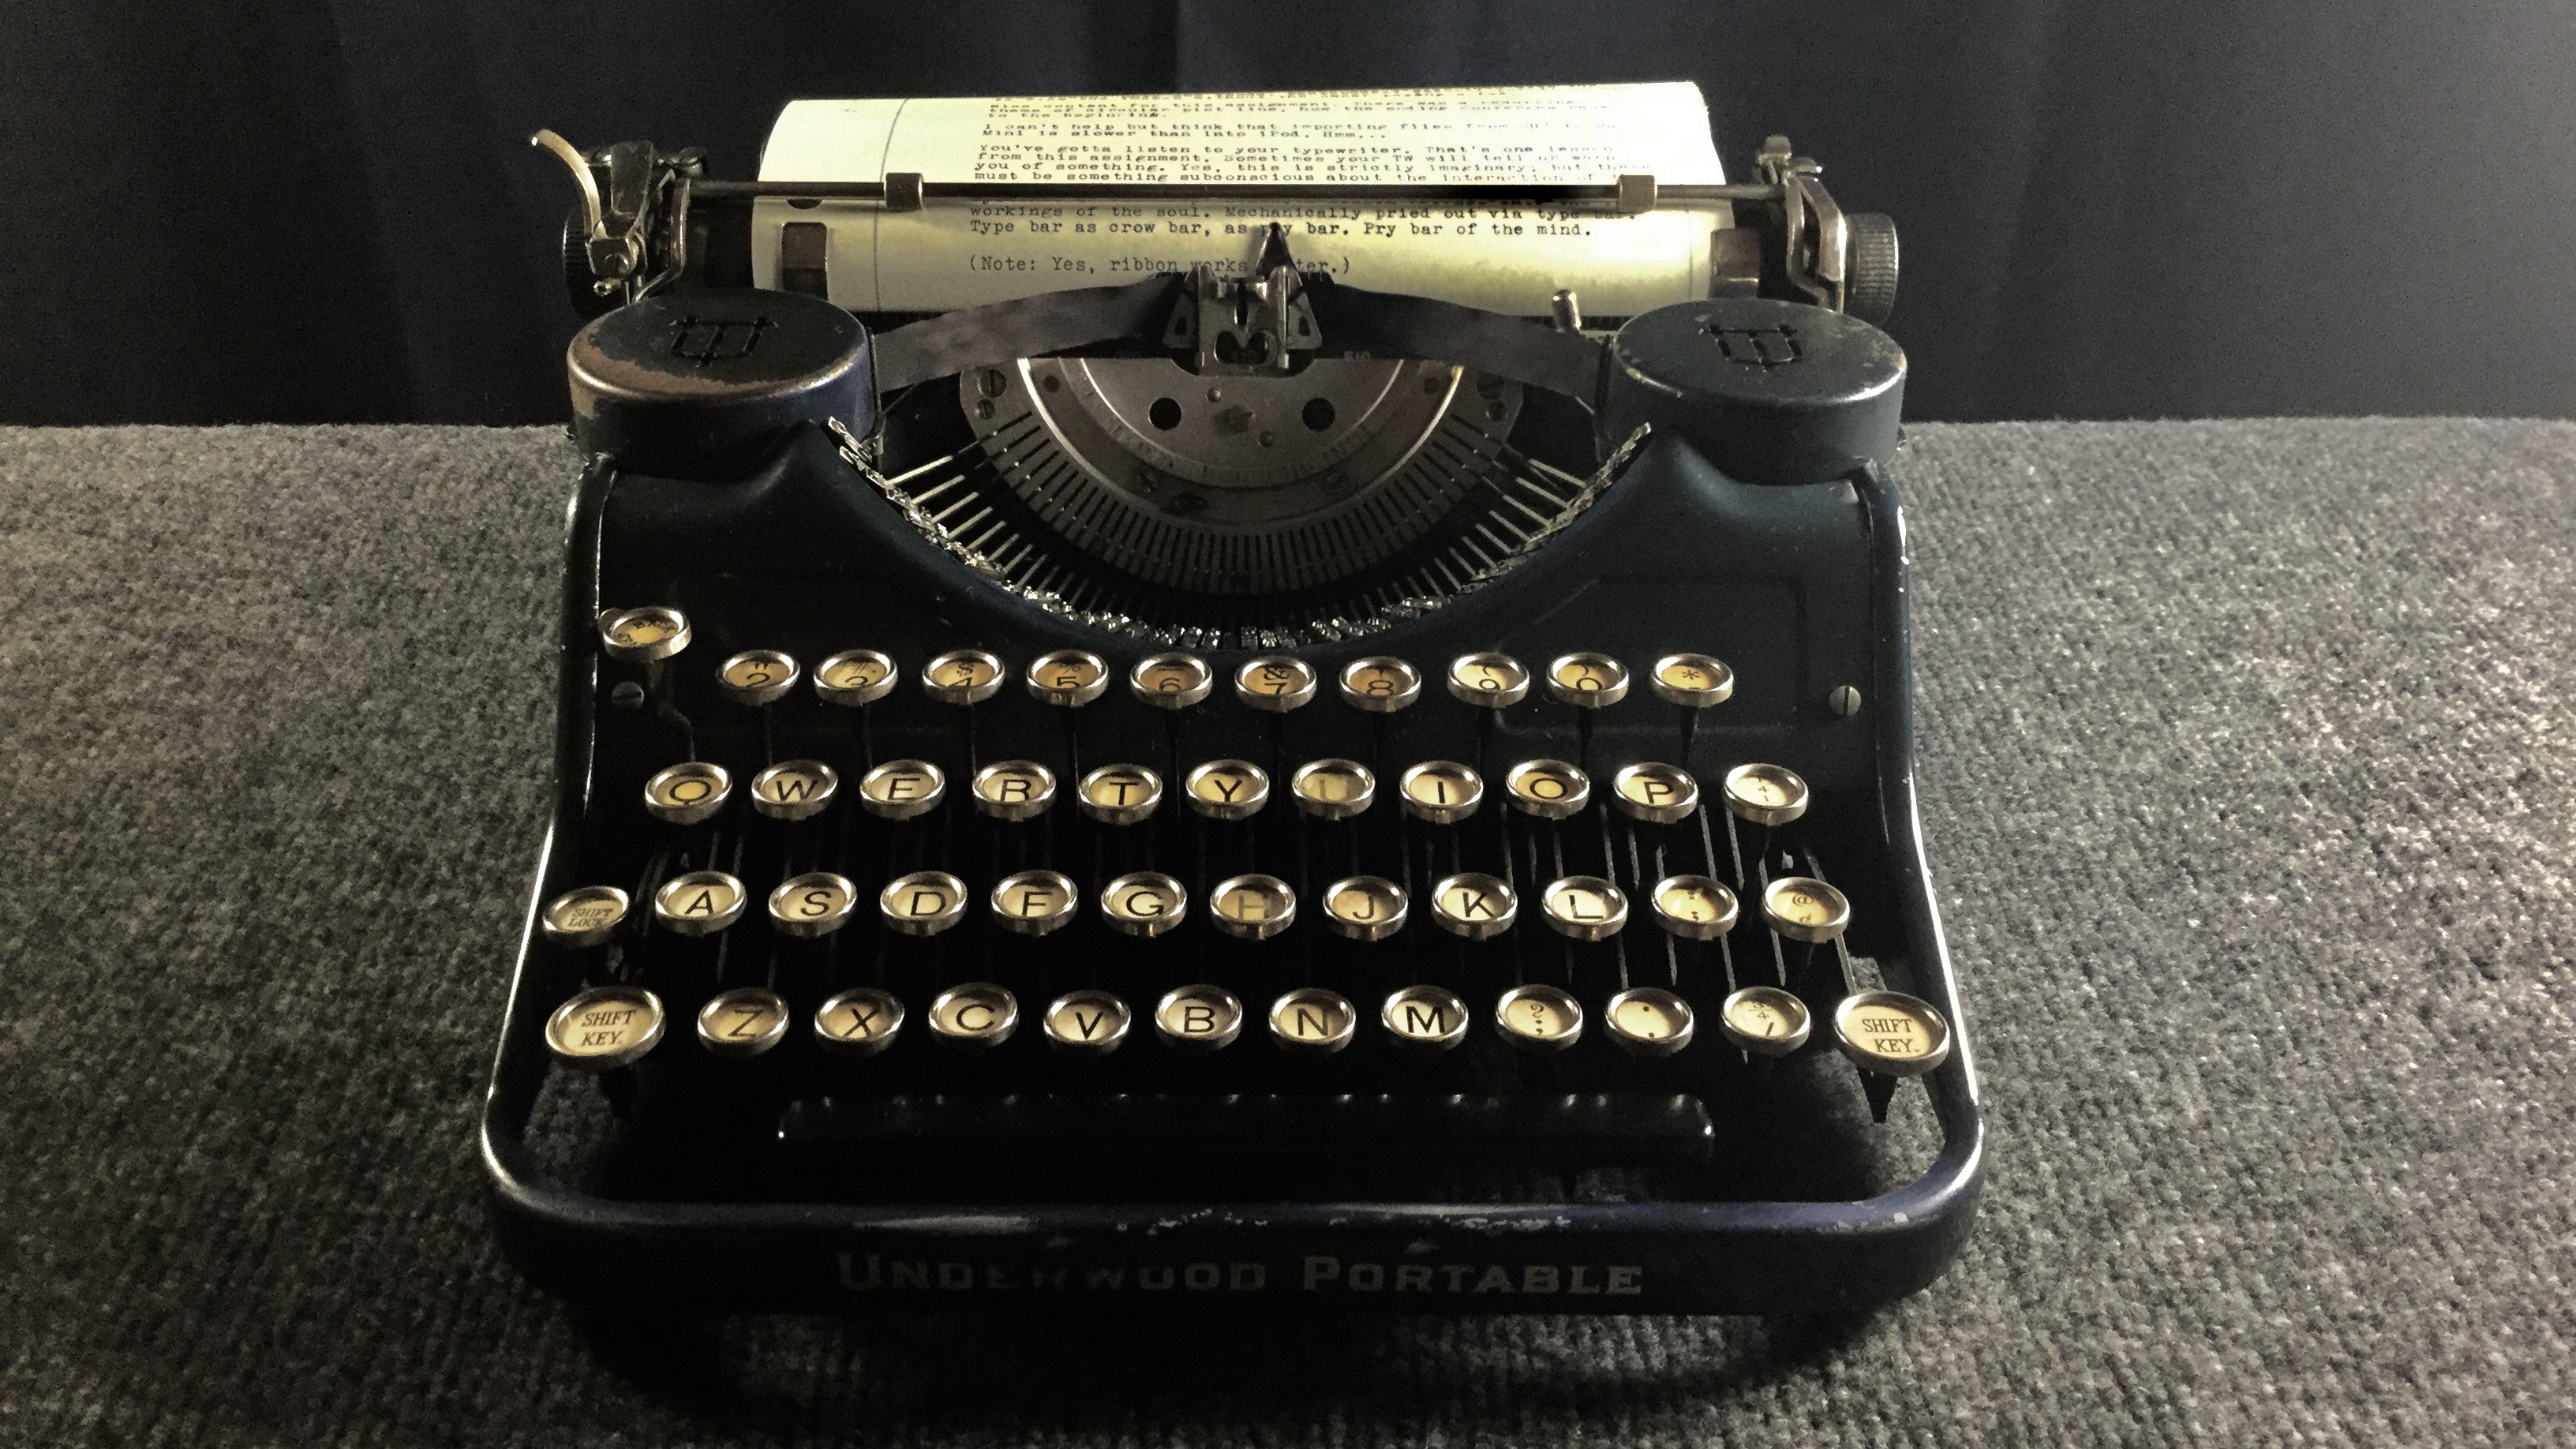
And yes, it was worth the cost, even the effort required afterward of cleaning up the garage because of the surprisingly messy cloud of shredded paper dust kicked up by the saw. But the cut was very smooth, and the resulting roll of 8-1/2 inch by 50 foot-long, white bond paper is nicely threaded up in the old Underwood Portable on the tray table, with the roll snuggled nicely between the scissor legs of the folding table using a piece of wooden broom handle. And a backup roll, from the other half, waits in the wings. $2.50 per roll is not a bad price. Maybe next time I'll do the cutting out of doors. Live and learn.

The paper takes typewriter ink very nicely, and has a very nice feel to it. I threaded up the paper in the machine so as to oppose the natural curl of the roll, hoping it helps in flattening it out. We'll see. Some of this paper, made from recycled pulp, can achieve a semi-permanent curl if left threaded around the platen too long.

So now I can say that my long search is over for an inexpensive source of good quality, white, typewriter-compatible paper rolls. I just need to set my butt down in front of that typewriter and start banging out some words. Which only I can do.

Labels: , , , , , ,

Wednesday, August 16, 2017

Ice, Ice Baby!

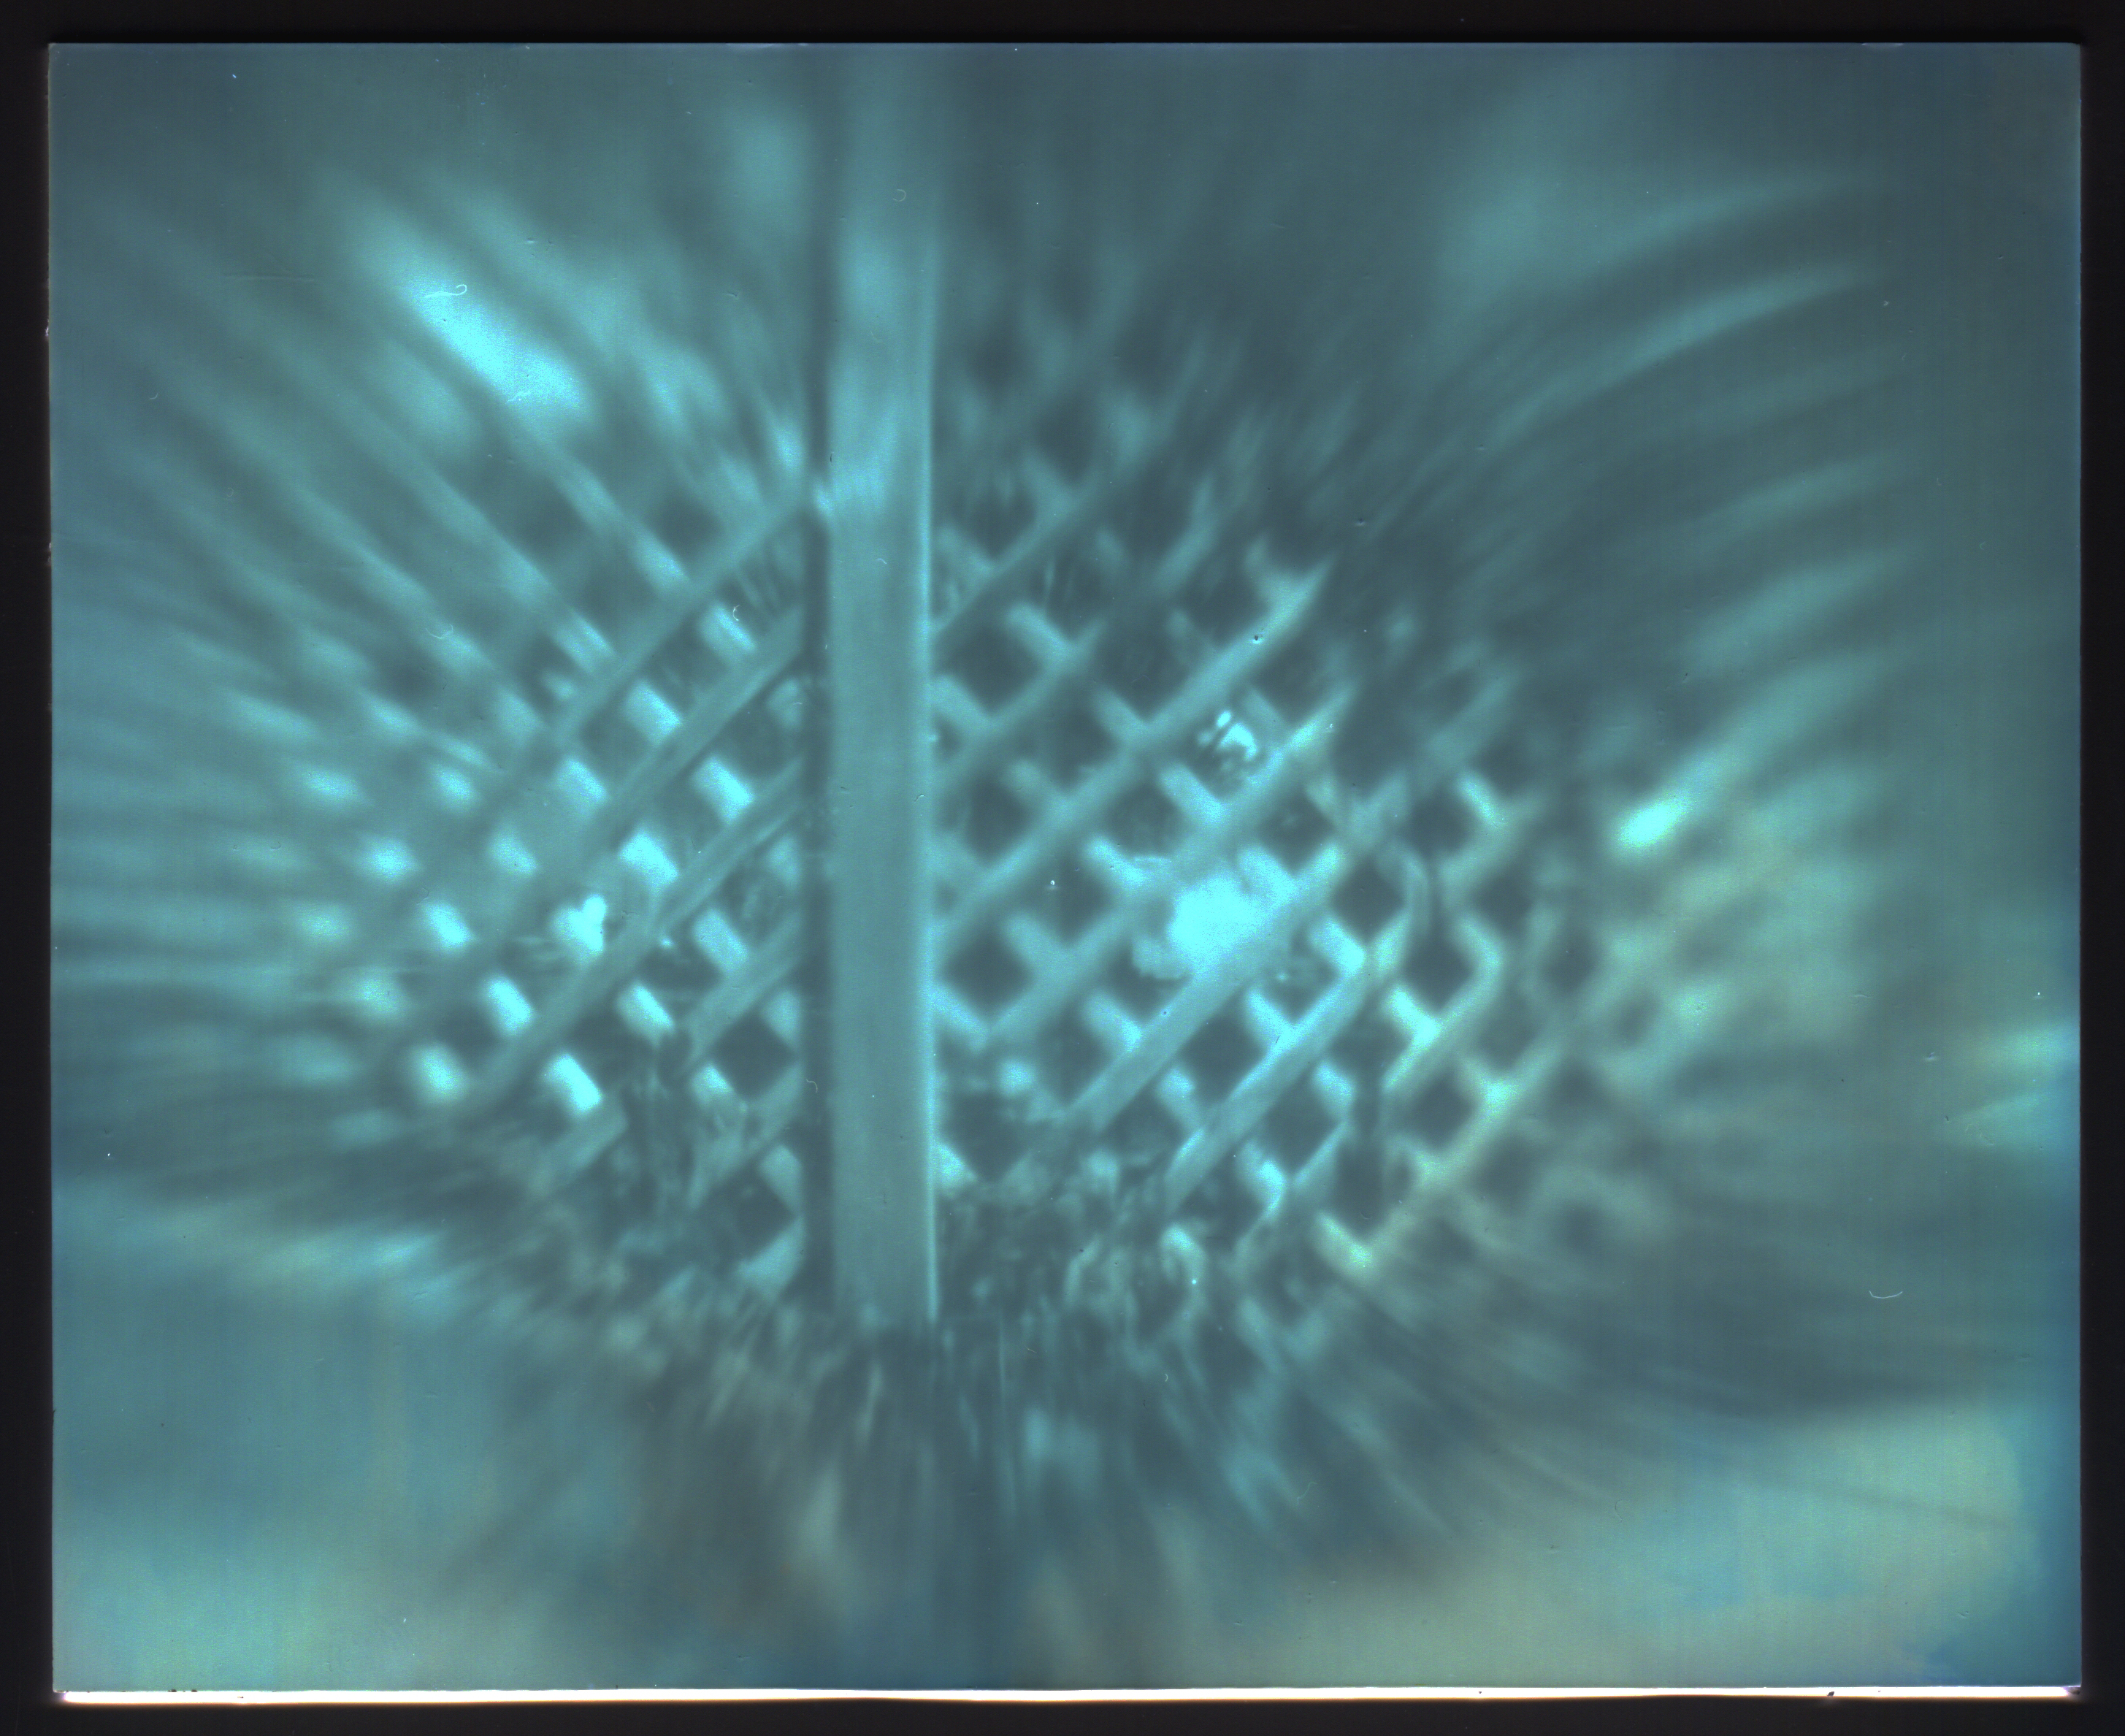
Trellis002a

I'm posting an article about a photography project that I have not yet made. I don't actually know how successful it will be, truth be told. But I'm posting this in the hopes that, come winter and the cold climate, you'll hold me accountable by ensuring that I haven't forgotten.

The idea is simple, and has probably already been done. Uniqueness isn't the objective (pardon the pun), however. I'm merely curious to know if it'll work, and to see the resulting images for myself.

Back about 150 years ago, photographic technology was cumbersome and the processes trouble-prone, not because people purposefully sought after difficulties, but because the state of the art was primitive. And yet many of them succeeded, remarkably so. My idea is entirely cumbersome and somewhat difficult, and entirely impractical; you wouldn't want to go off and start creating images this way, even considering alternatives such as wet plate collodion, which might be easier to achieve than what I'm thinking of doing.

I want to make a liquid-proof camera that uses an ice lens. A simple, single-element meniscus lens, made from ice, with a paper negative as the light-sensitive medium. And I want the water making up the ice to have about 1/15th of its volume to be concentrated liquid paper developer.

When you mix a working solution of paper developer from liquid concentrate, in a dilution of around 1:15, the solution is slightly yellow in tone. This shouldn't be a major problem for forming an image, as people who do dabble in paper negatives are known to use a yellow filter over their lens to filter out the blue light and therefore make multigrade paper achieve a bit less blown-out contrast in daylight conditions.

My purpose for using frozen paper developer as a lens is not to make it yellow colored (that's merely a side attribute), but for the developing process after the exposure is made. I want to cap the lens, then somehow make the lens fall into the back of the camera, after which the camera will be taken into a warm indoor climate and I'll wait for the lens to melt, then gently agitate the camera so the paper negative will develop an image. After sufficient development time, I'll take the camera into the darkroom (or a changing bag), pour out the melted lens solution and fix the negative.

The camera needs to be made from some waterproof material like opaque plastic, so it will function as a developing tank.

I still haven't figured out how to make the lens fall into the back of the camera after the exposure is made. But I'll figure out something.

Obviously, doing this in sub-freezing temperatures will make the whole process a bit easier.

I don't know how transparent the lens will be, however. Looking at ice cubes coming out of the freezer, some are clear and others frosted over. I suppose a quick spray of water might clean off any frost. I can also foresee the lens frosting over once it's taken outside, if the temperature and/or humidity is not correct. I don't know how to predict what will happen without simply trying.

To mold the ice lenses, I was thinking of finding a certain kind of ice cube tray that make round, cylindrical cubes with a convex, rounded bottom. Then fill each section up to only fill the bottom, rounded section. The result should be a Plano-convex lens shape. A tray with a dozen compartments should give me enough lenses for experimentation.

I'm only assuming that the 1:15 solution of developer and water will still freeze somewhere around the same temperature of regular water.

Totally impractical, right? You wouldn't want to go off and start a portrait business using ice lenses. But it does sound like a fun project, impractical as it might be.

Just ping me with an email come December and remind me to work on this, will you? Thanks!

Post-Script: The top image is a positive inversion of a lumen print, made by exposing light-sensitive paper in a camera without subsequent development; the color change is due to auto-development of the silver halides.

Labels: , , ,

Typing Assignment No.7


Here we are with Typing Assignment No.7. Our last assignment was to write about a notable person in your life, and we had some very interesting stories. This new assignment is to "Climb the Highest Mountain." Describe a time in your life when you achieved something significant, or overcame a major obstacle. Or perhaps you did climb a literal mountain!

I'd like to think that story telling is the essence of writing; humans have been telling stories since the beginning of human history. And what better source of good stories than one's life experience. Perhaps this is why so many legendary writers also lived colorful, story-filled lives themselves.

For this new assignment, you'll dig into your life's experience and find something significant that you achieved, or a major problem you overcame. Perhaps you might think you've never accomplished much, never tackled some significant feat that's worthy of note. But to ourselves, in our internal life experience, many things loom large that might otherwise be seen as insignificant to others. Our job as writers is to communicate the magnitude of our internal experience to others in a way that they can appreciate; to enable them to enter into our personal experience.

I also like these kinds of writing assignments because they force us to dig deep into our selves, and in the process perhaps find something that might surprise us. I hope you find some personal reward in this work. Myself, I don't yet know that I'll write about, but am certain something will surface.

As in previous assignments, post a legible image of your typewritten piece to a publicly-accessible photo hosting site; then post the link to that image either in the comments section below, in the comments to the YouTube video, or email the image to me at: jvcabacus@yahoo.com

I look forward to reading and sharing your work. Have fun, dig deep and climb that mountain!

Labels:

Sunday, August 06, 2017

Typing Assignment No.6


Midway through last week I put together the video for Typing Assignment No.6, and failed in my haste (and work schedule) to post the accompanying blog article, which this represents. But you are a resourceful lot, and have already figured out, many of you, that you can post a link to your written work as a comment to the video itself.

For those of you traditionalists, or those sticklers for exactitude, please leave a comment below with a link to your written piece.

And, as usual, should you have issues with either method, feel free to email me with your piece as an attachment, if that works better for you.

We all have someone in our lives who represents a story waiting to be told. That story could be uplifting, or not. But that's the way true-to-life stories are; not all fairy tales and happily-ever-after and Prince (or Princess) Charming. But a story, waiting to be told, as a typed, one-page composition. It's your story, to share with others. I'll be looking forward to seeing your story, studying it and making notes to myself for the post-slideshow talk within the upcoming video.

I haven't yet ran out of ideas for upcoming typing assignment themes; but if you do have something you'd like to see us tackle, please leave a comment below and I'll be happy to consider it.

Happy writing. Keep fingers on keys and the ribbon properly spooled in the machine.

Labels:

Musings on Writing

Underwood Portable
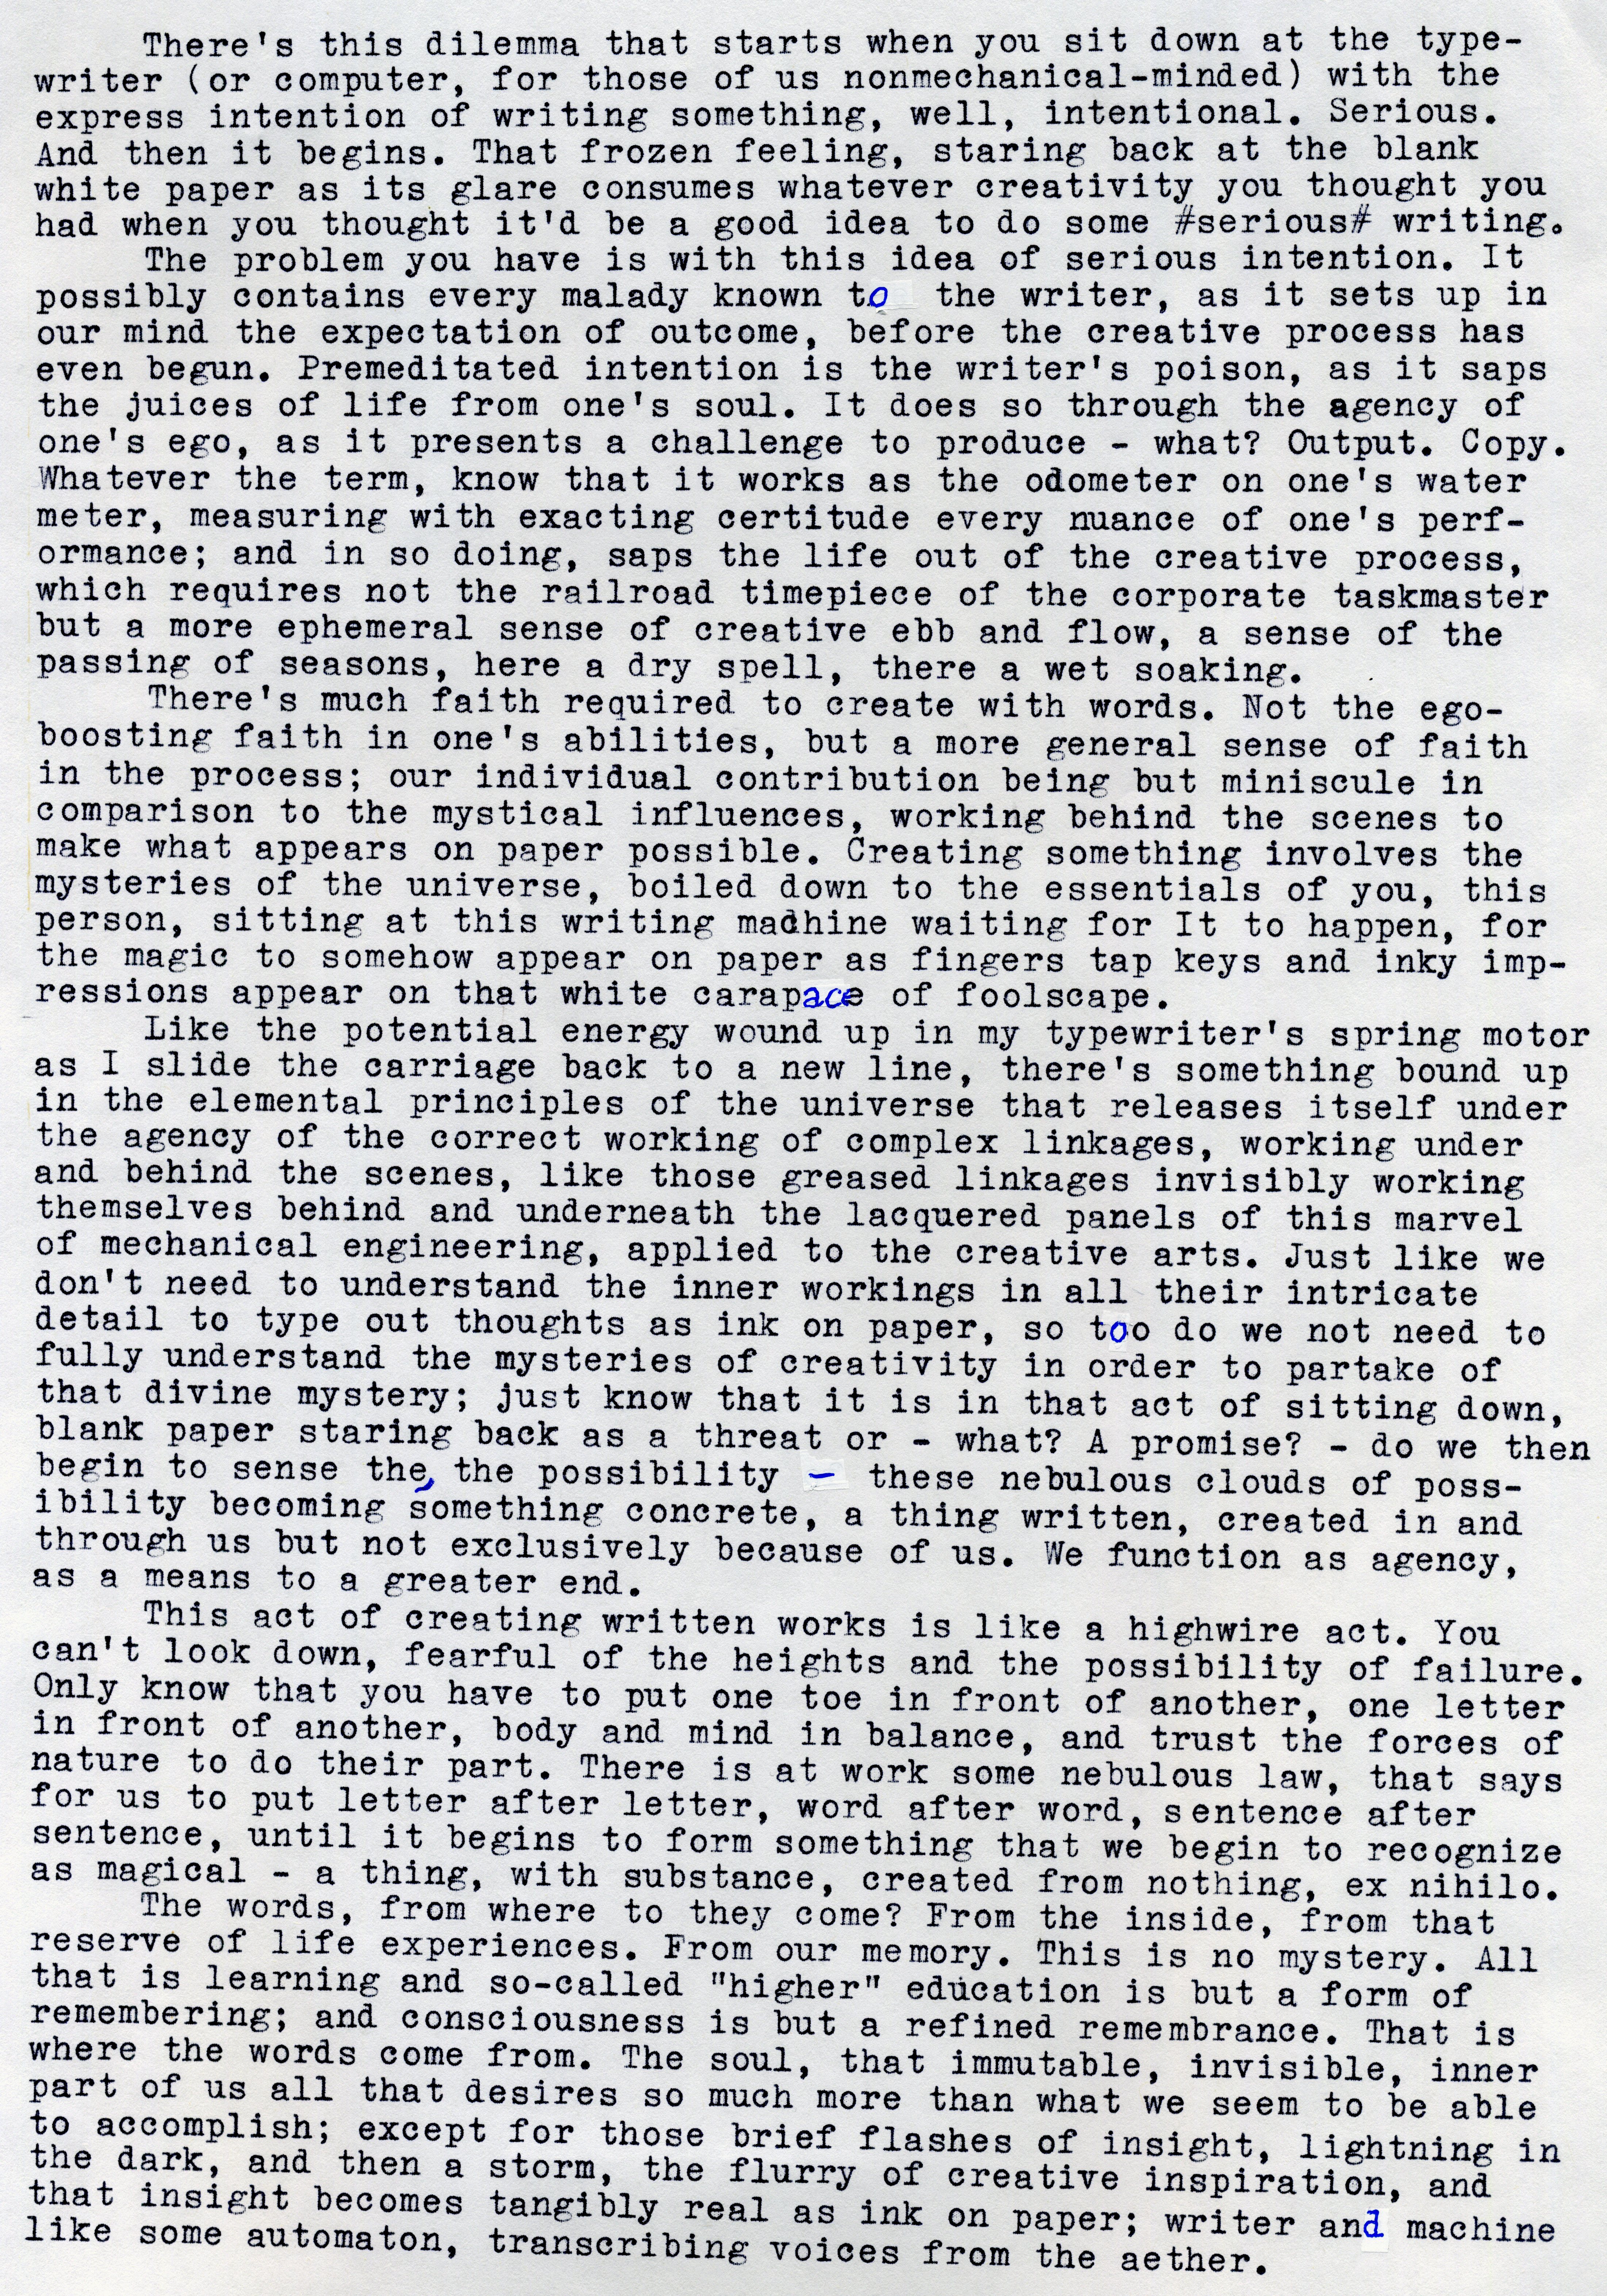
Typecast005

Post-Script: I had to do a bit of tinkering with the Underwood Portable, as it seems the ribbon advance was a bit wonky. It liked to prematurely reverse direction midway through the lefthand spool. I found the margin release linkage was interfering with the left spool auto-reverse mechanism, which required "reforming;" and I also adjusted the heights of the spool drive shafts, so they would turn freer. To test out my work, I began typing nonsense on a scrap of paper, but then decided to take advantage of this opportunity and not be as wasteful of ink, so moved the operation out to the Man Cave Shed and began some more premeditated writing, ribbon covers removed. Thus far, my work seems to have been useful, but I haven't gotten entirely to the end of the ribbon to test the reverse from the left spool.

I also added one more turn of tension to the spring motor, and the carriage return feels entirely normal. Not that I was experiencing any issues with lighter tension, but I didn't want to induce any problem in the future.

I also typed a piece of remembrance concerning my dad, whose birthday would have been on August 8. I'll use this for Typing Assignment No.6; which reminds me, I forgot to post the blog article accompanying the video, so I'll get that out today also.

Labels: , , , ,