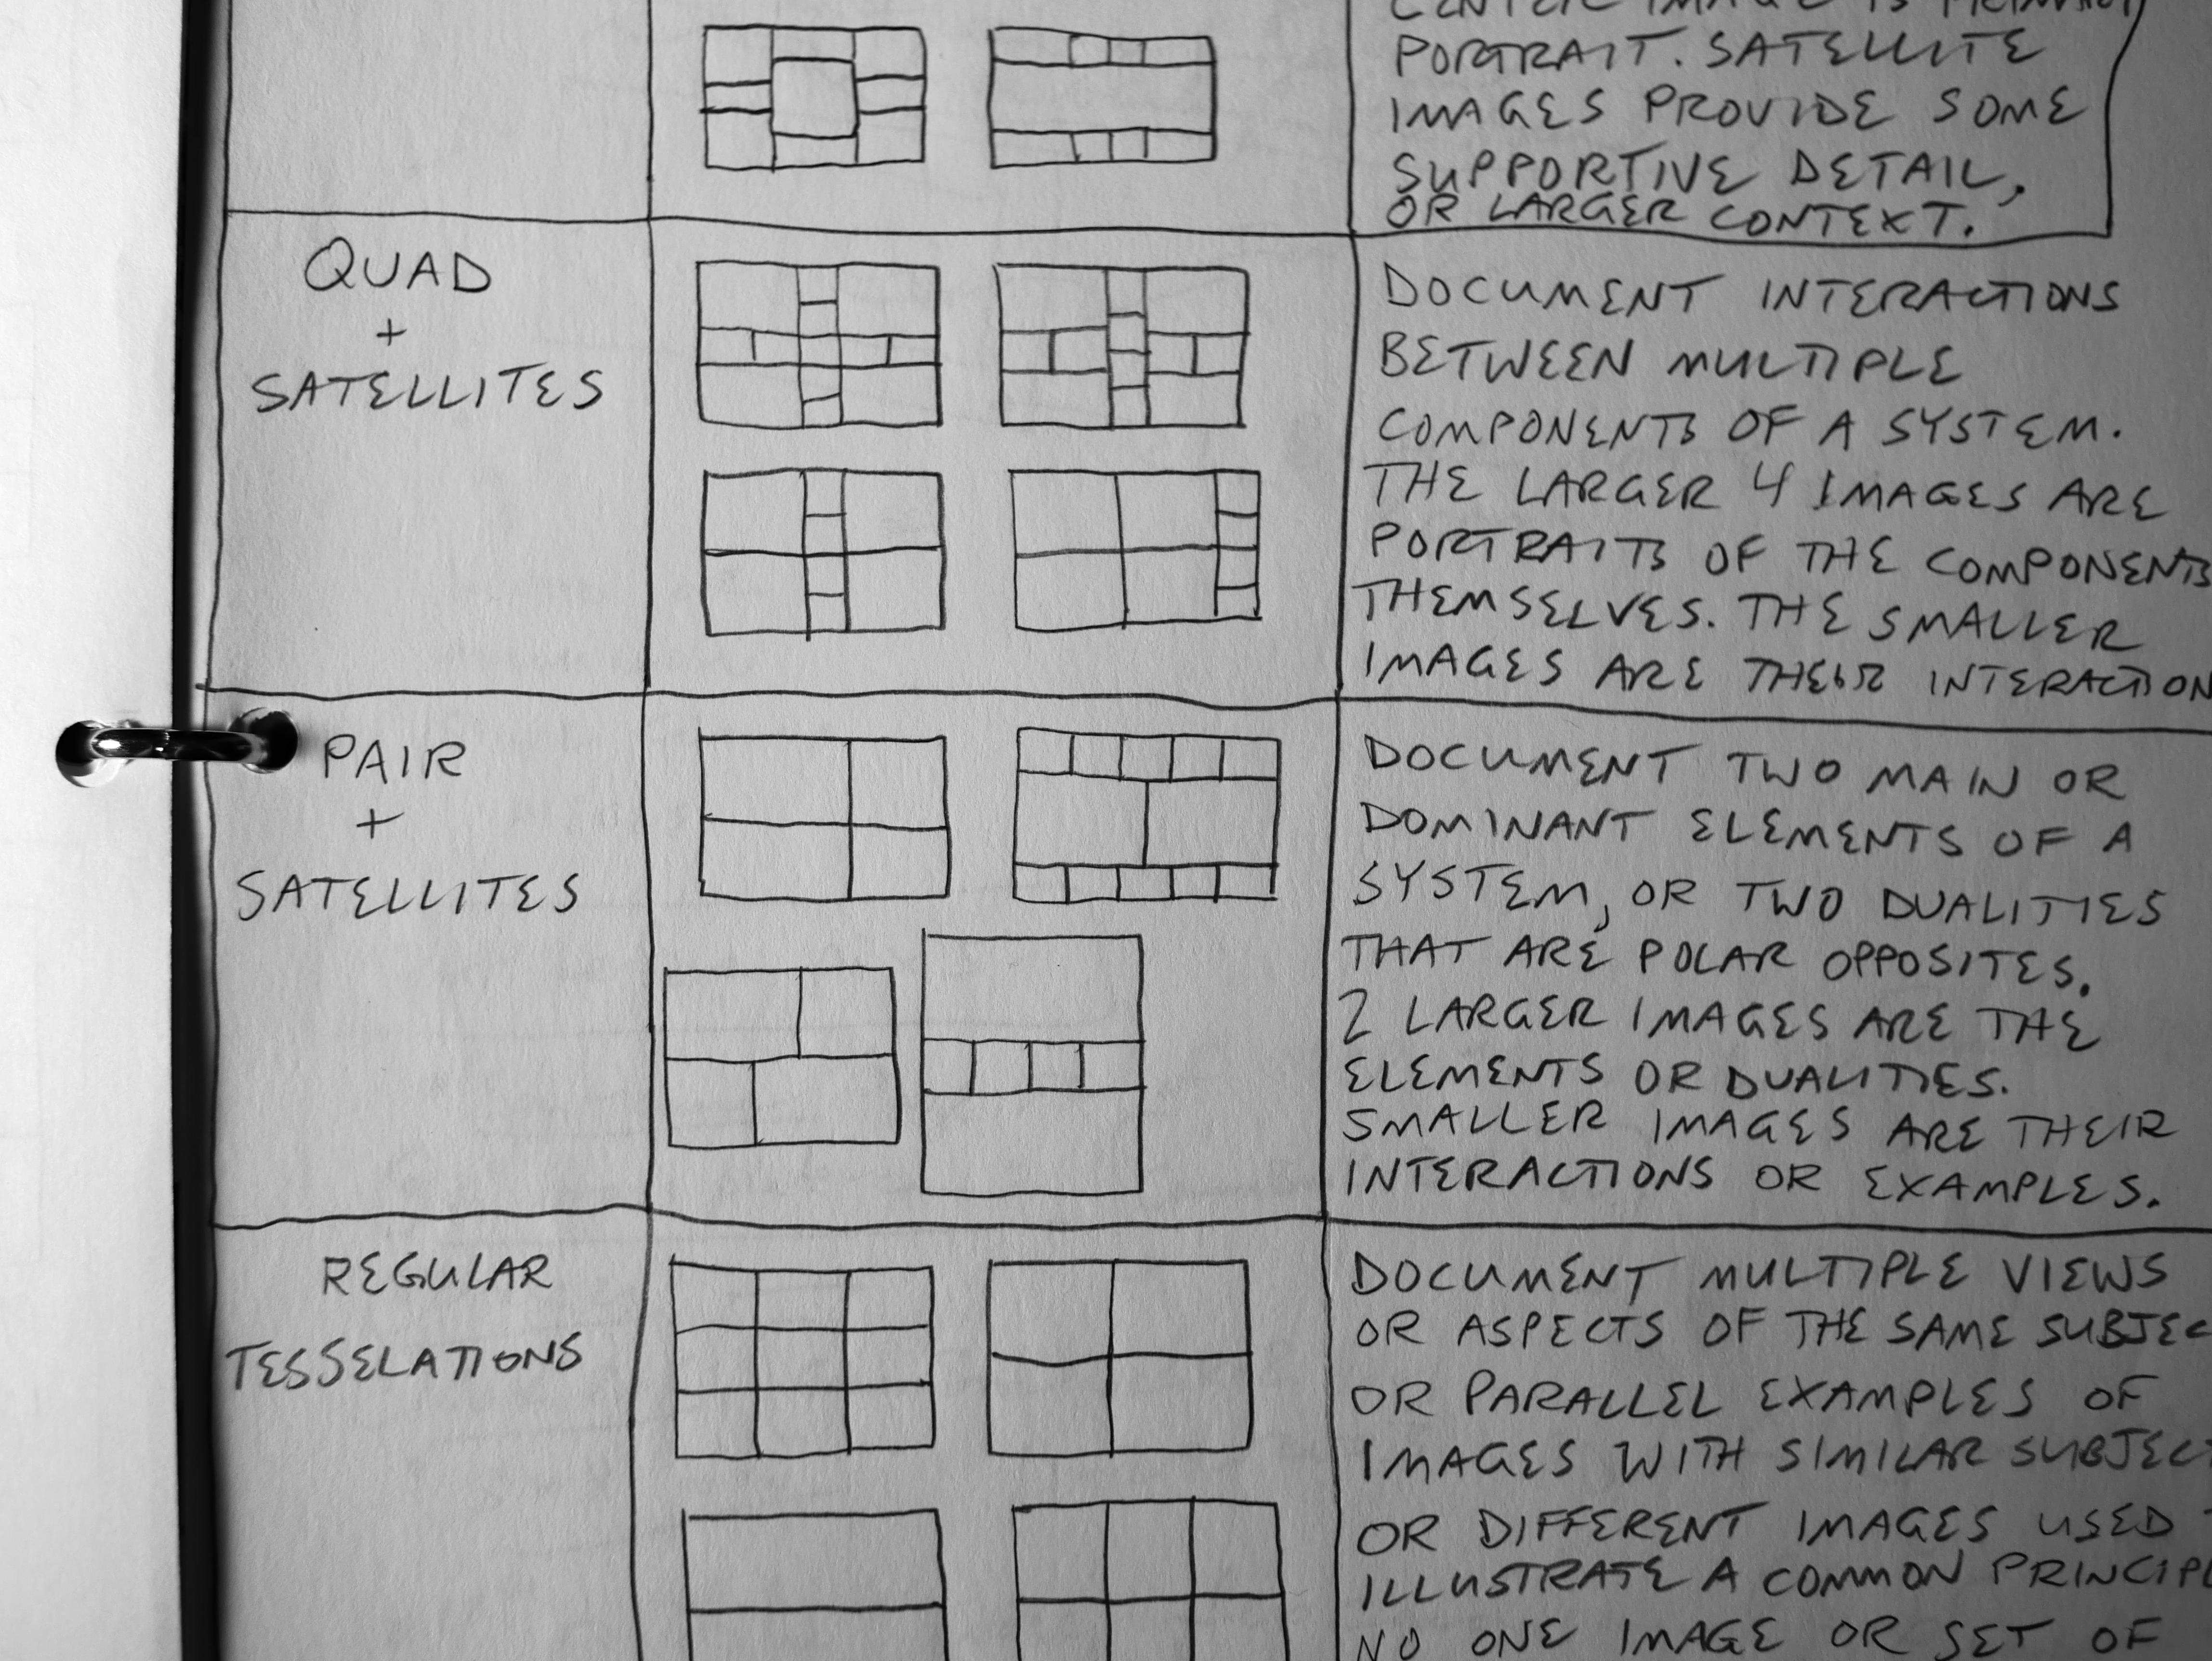
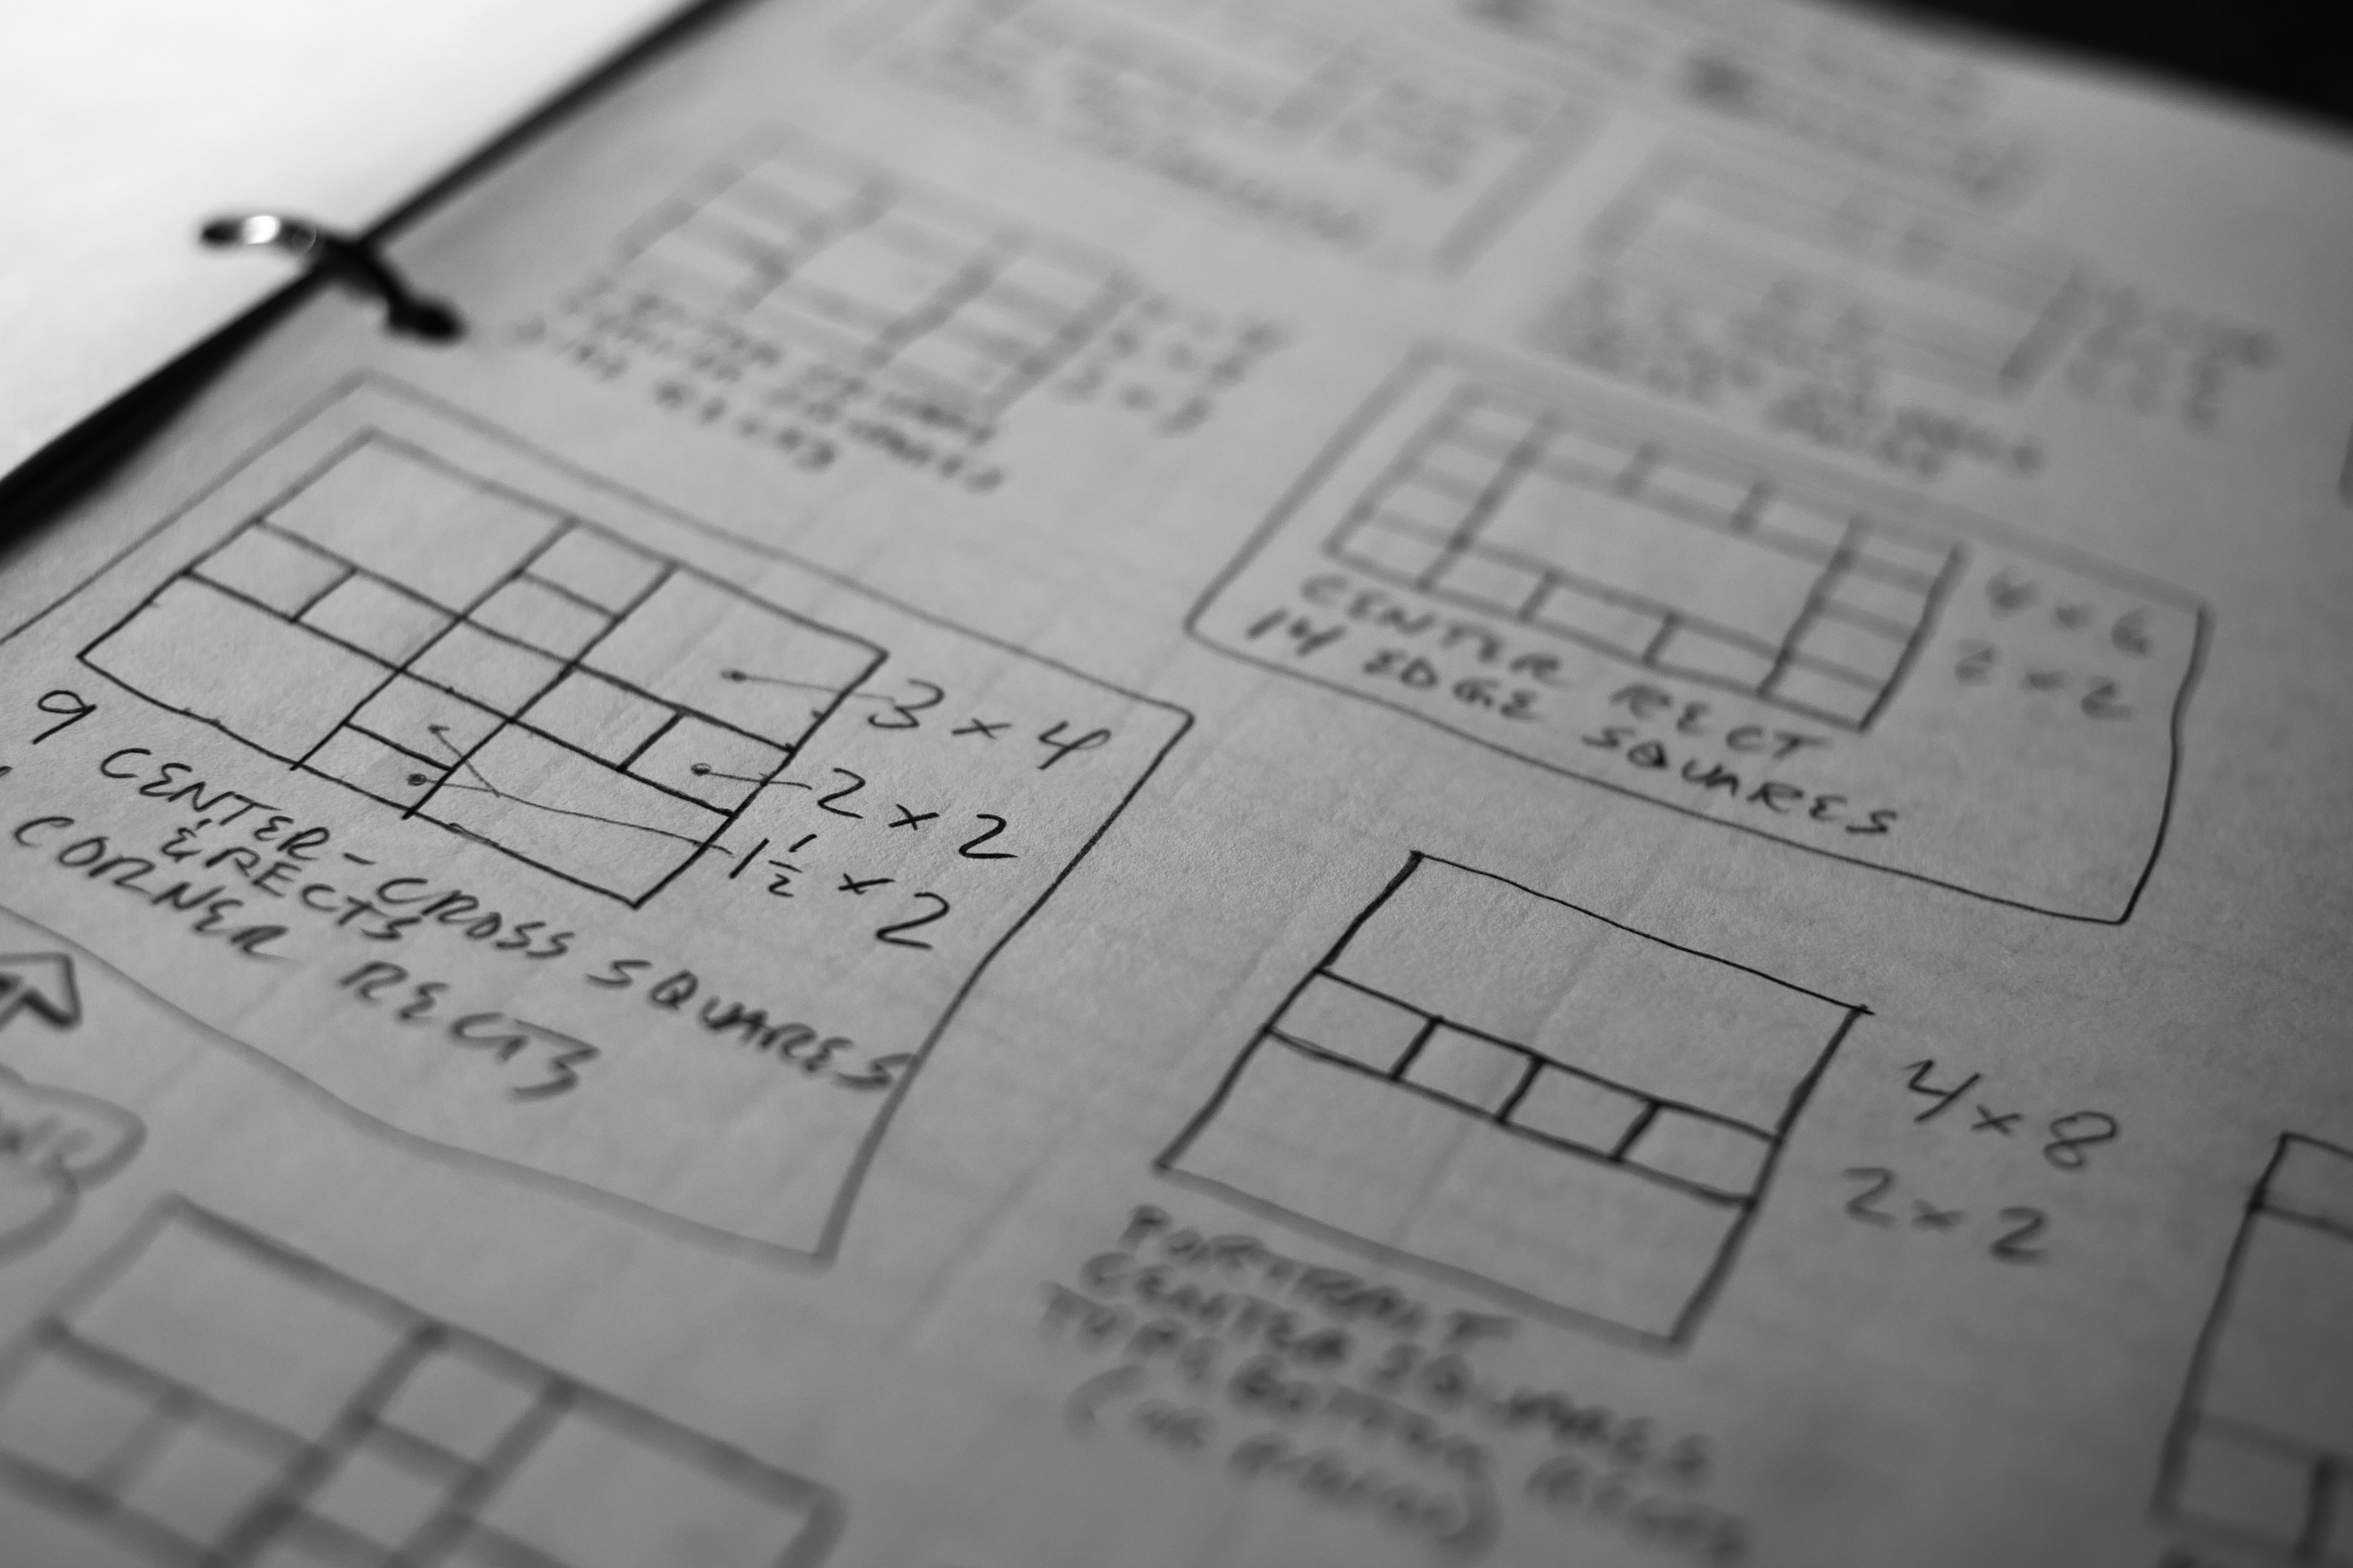
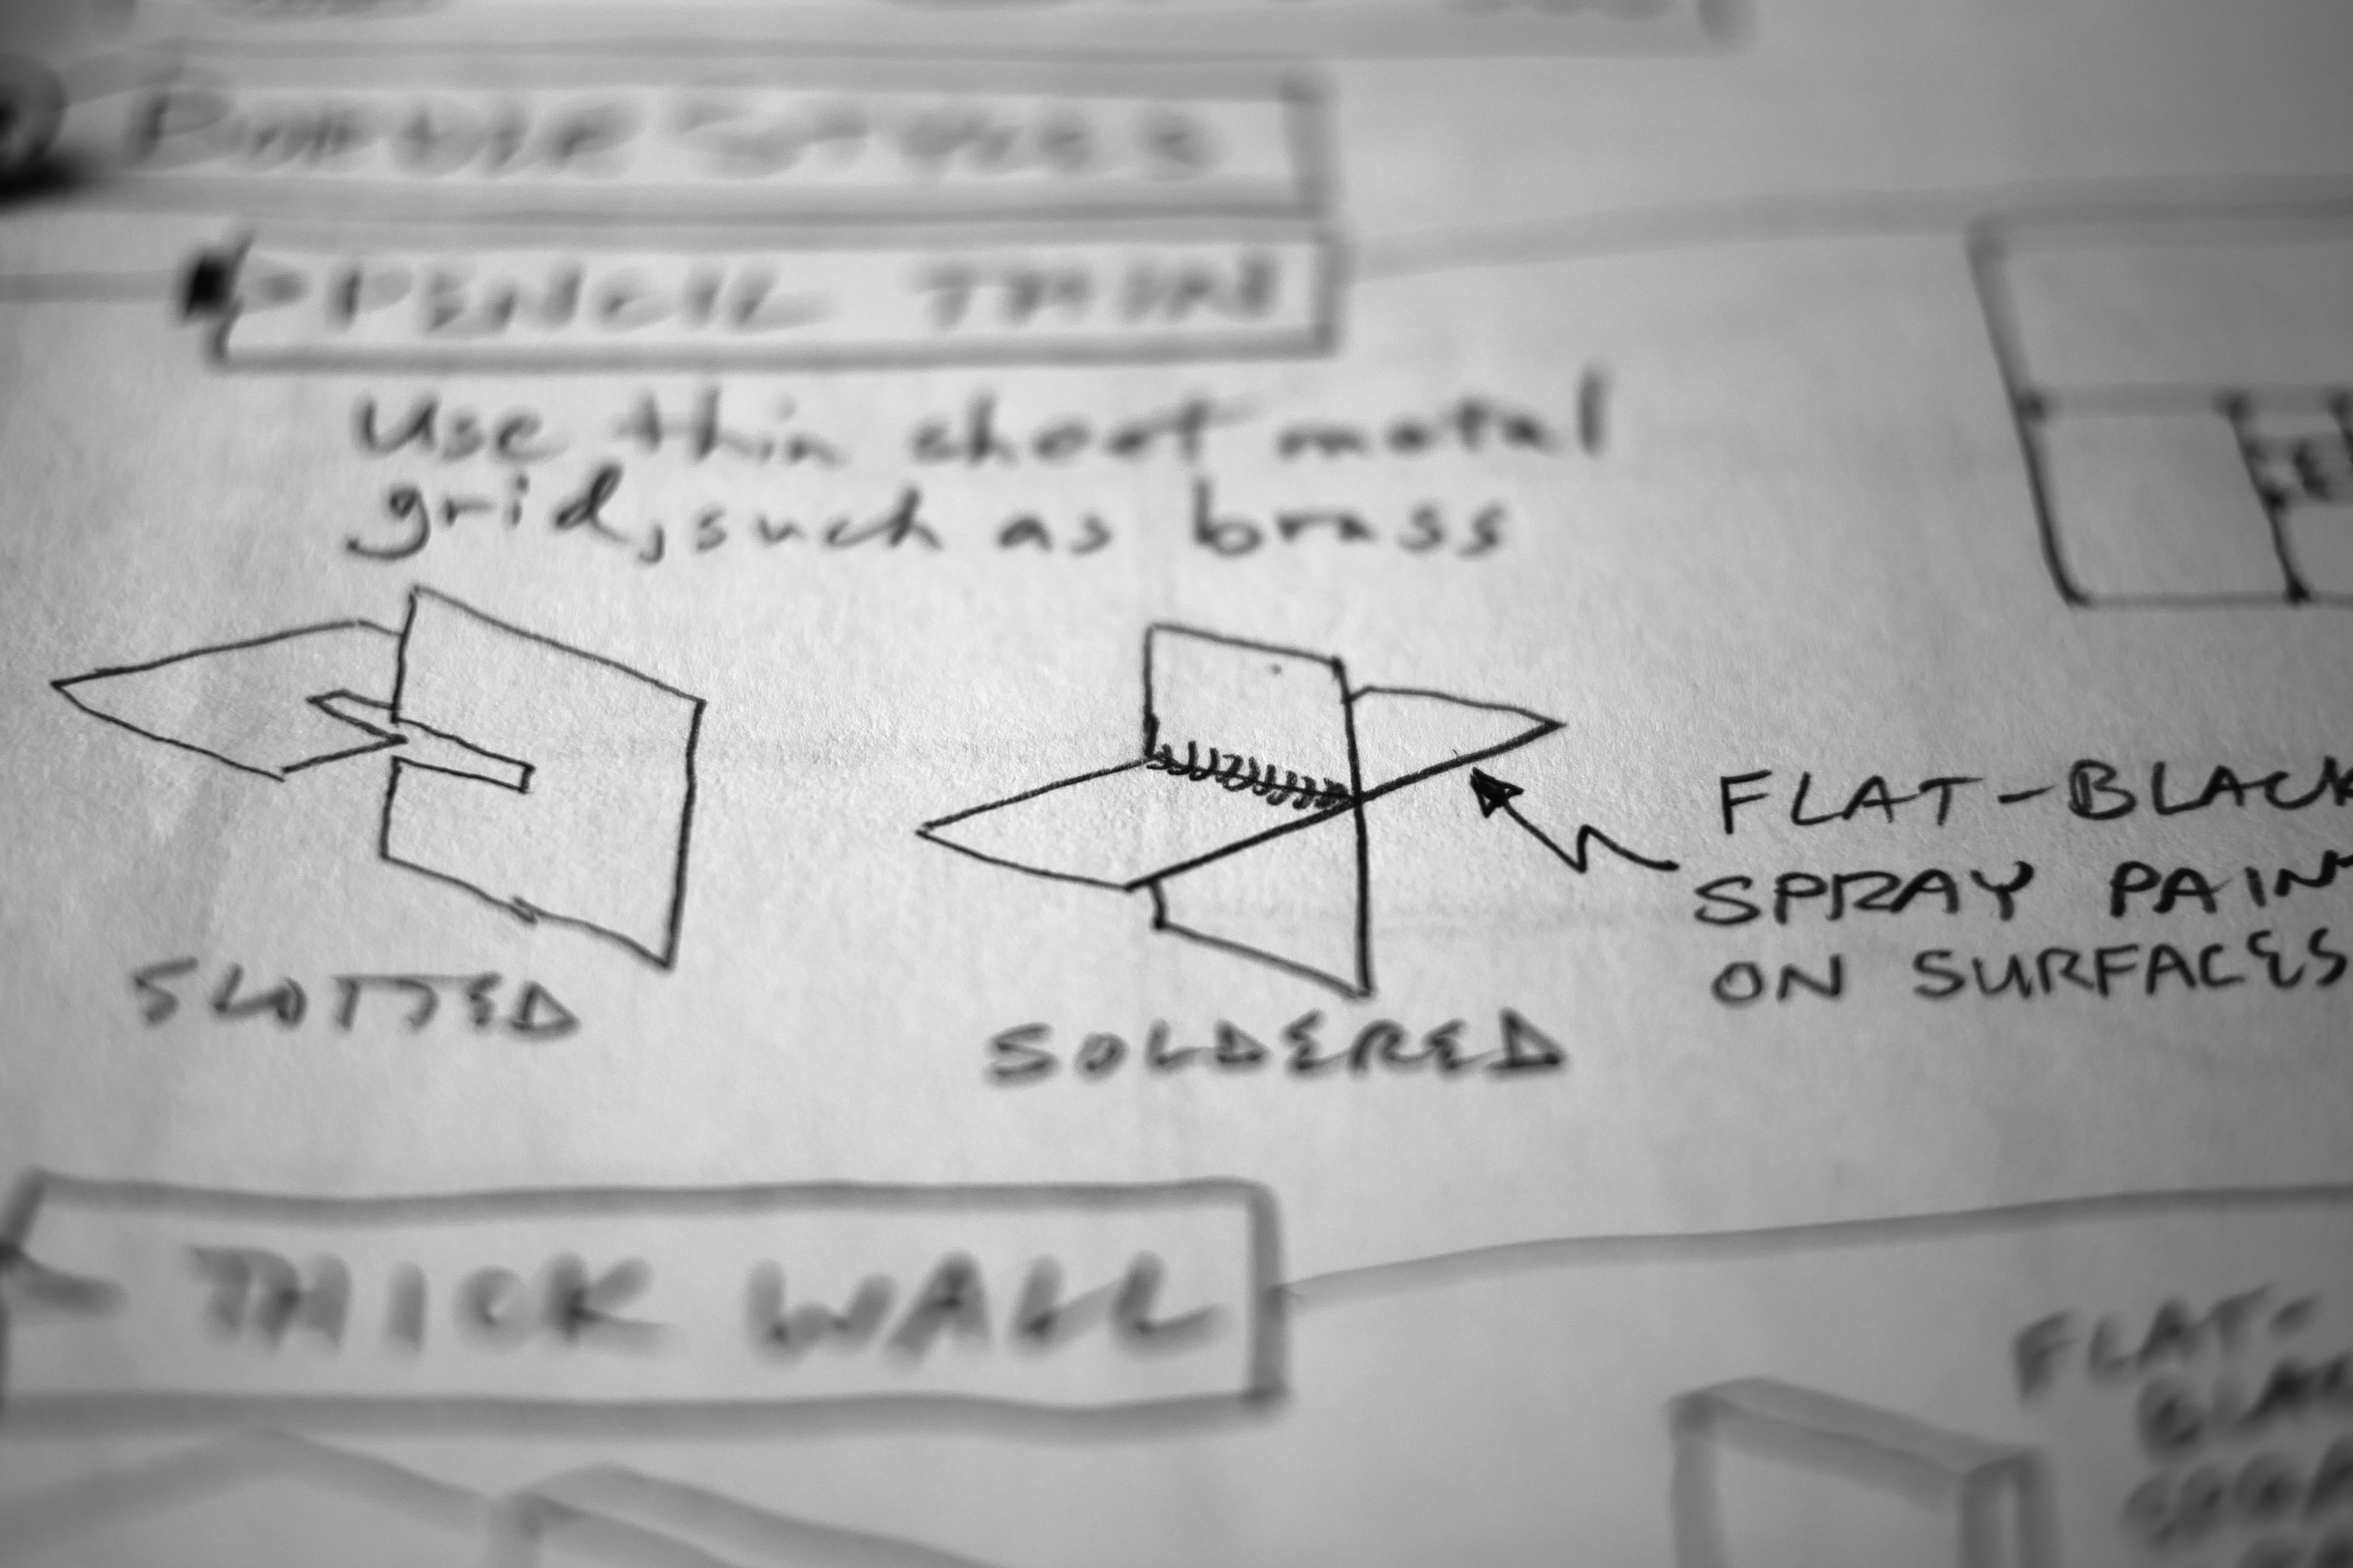
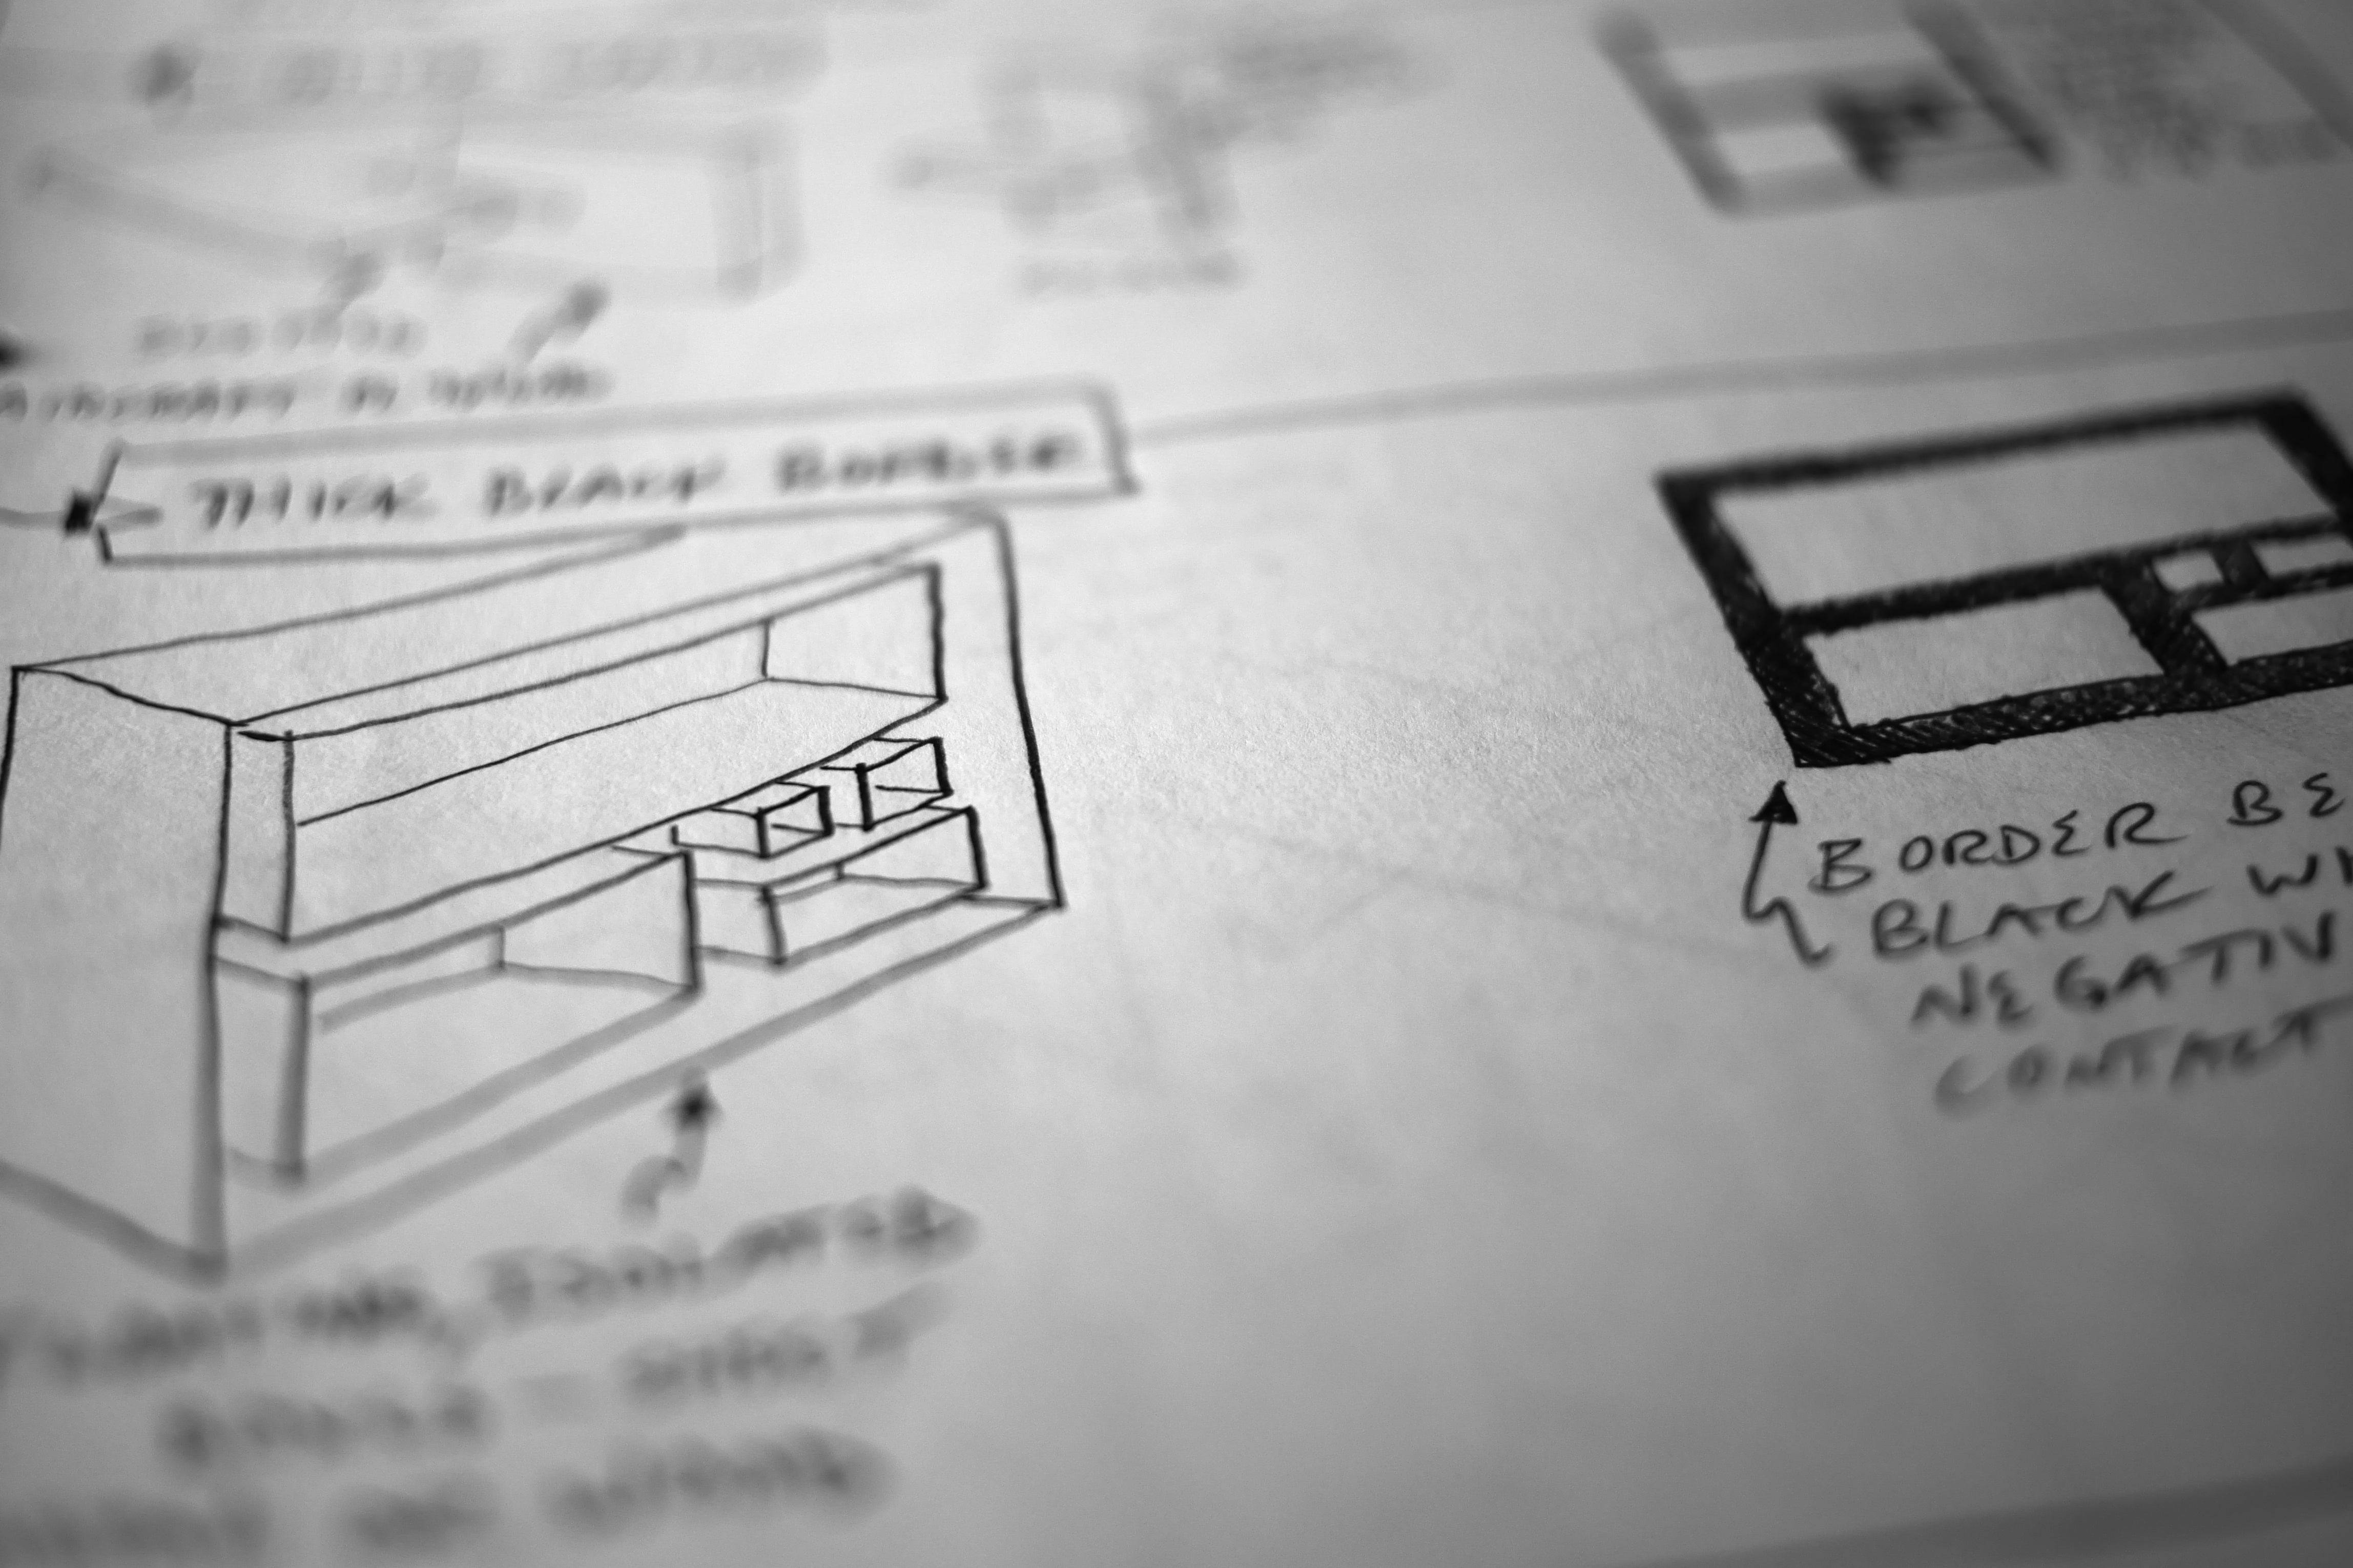
Friday, June 19, 2020

Experimental Camera Sketching

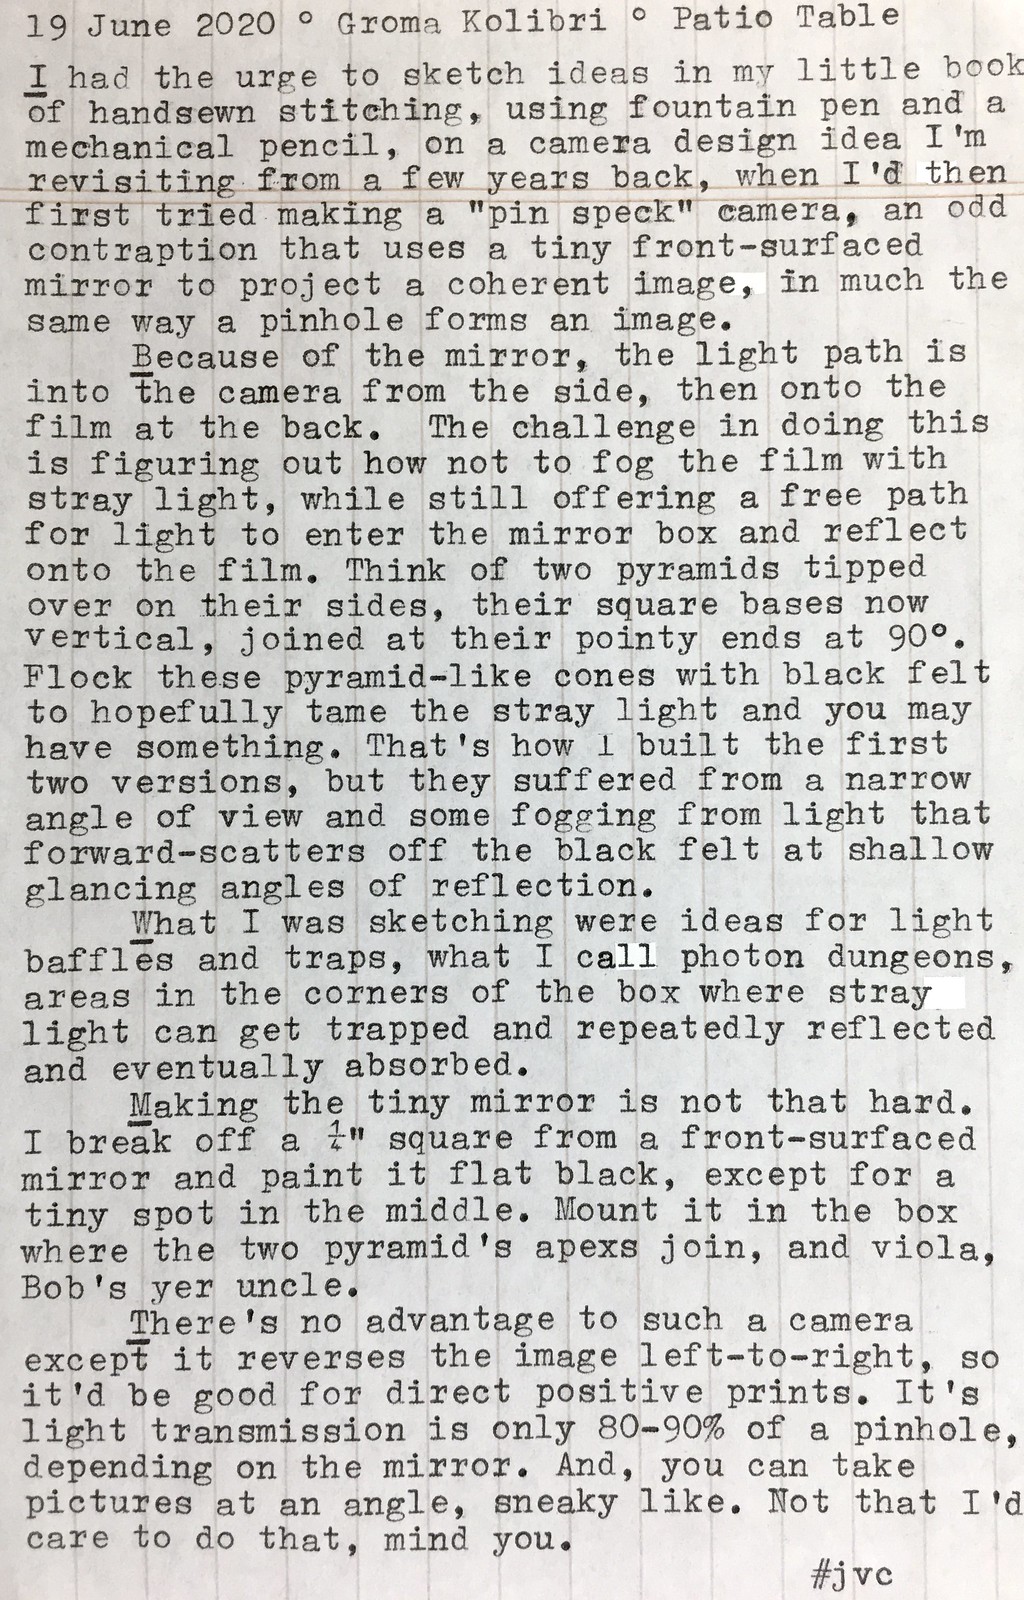
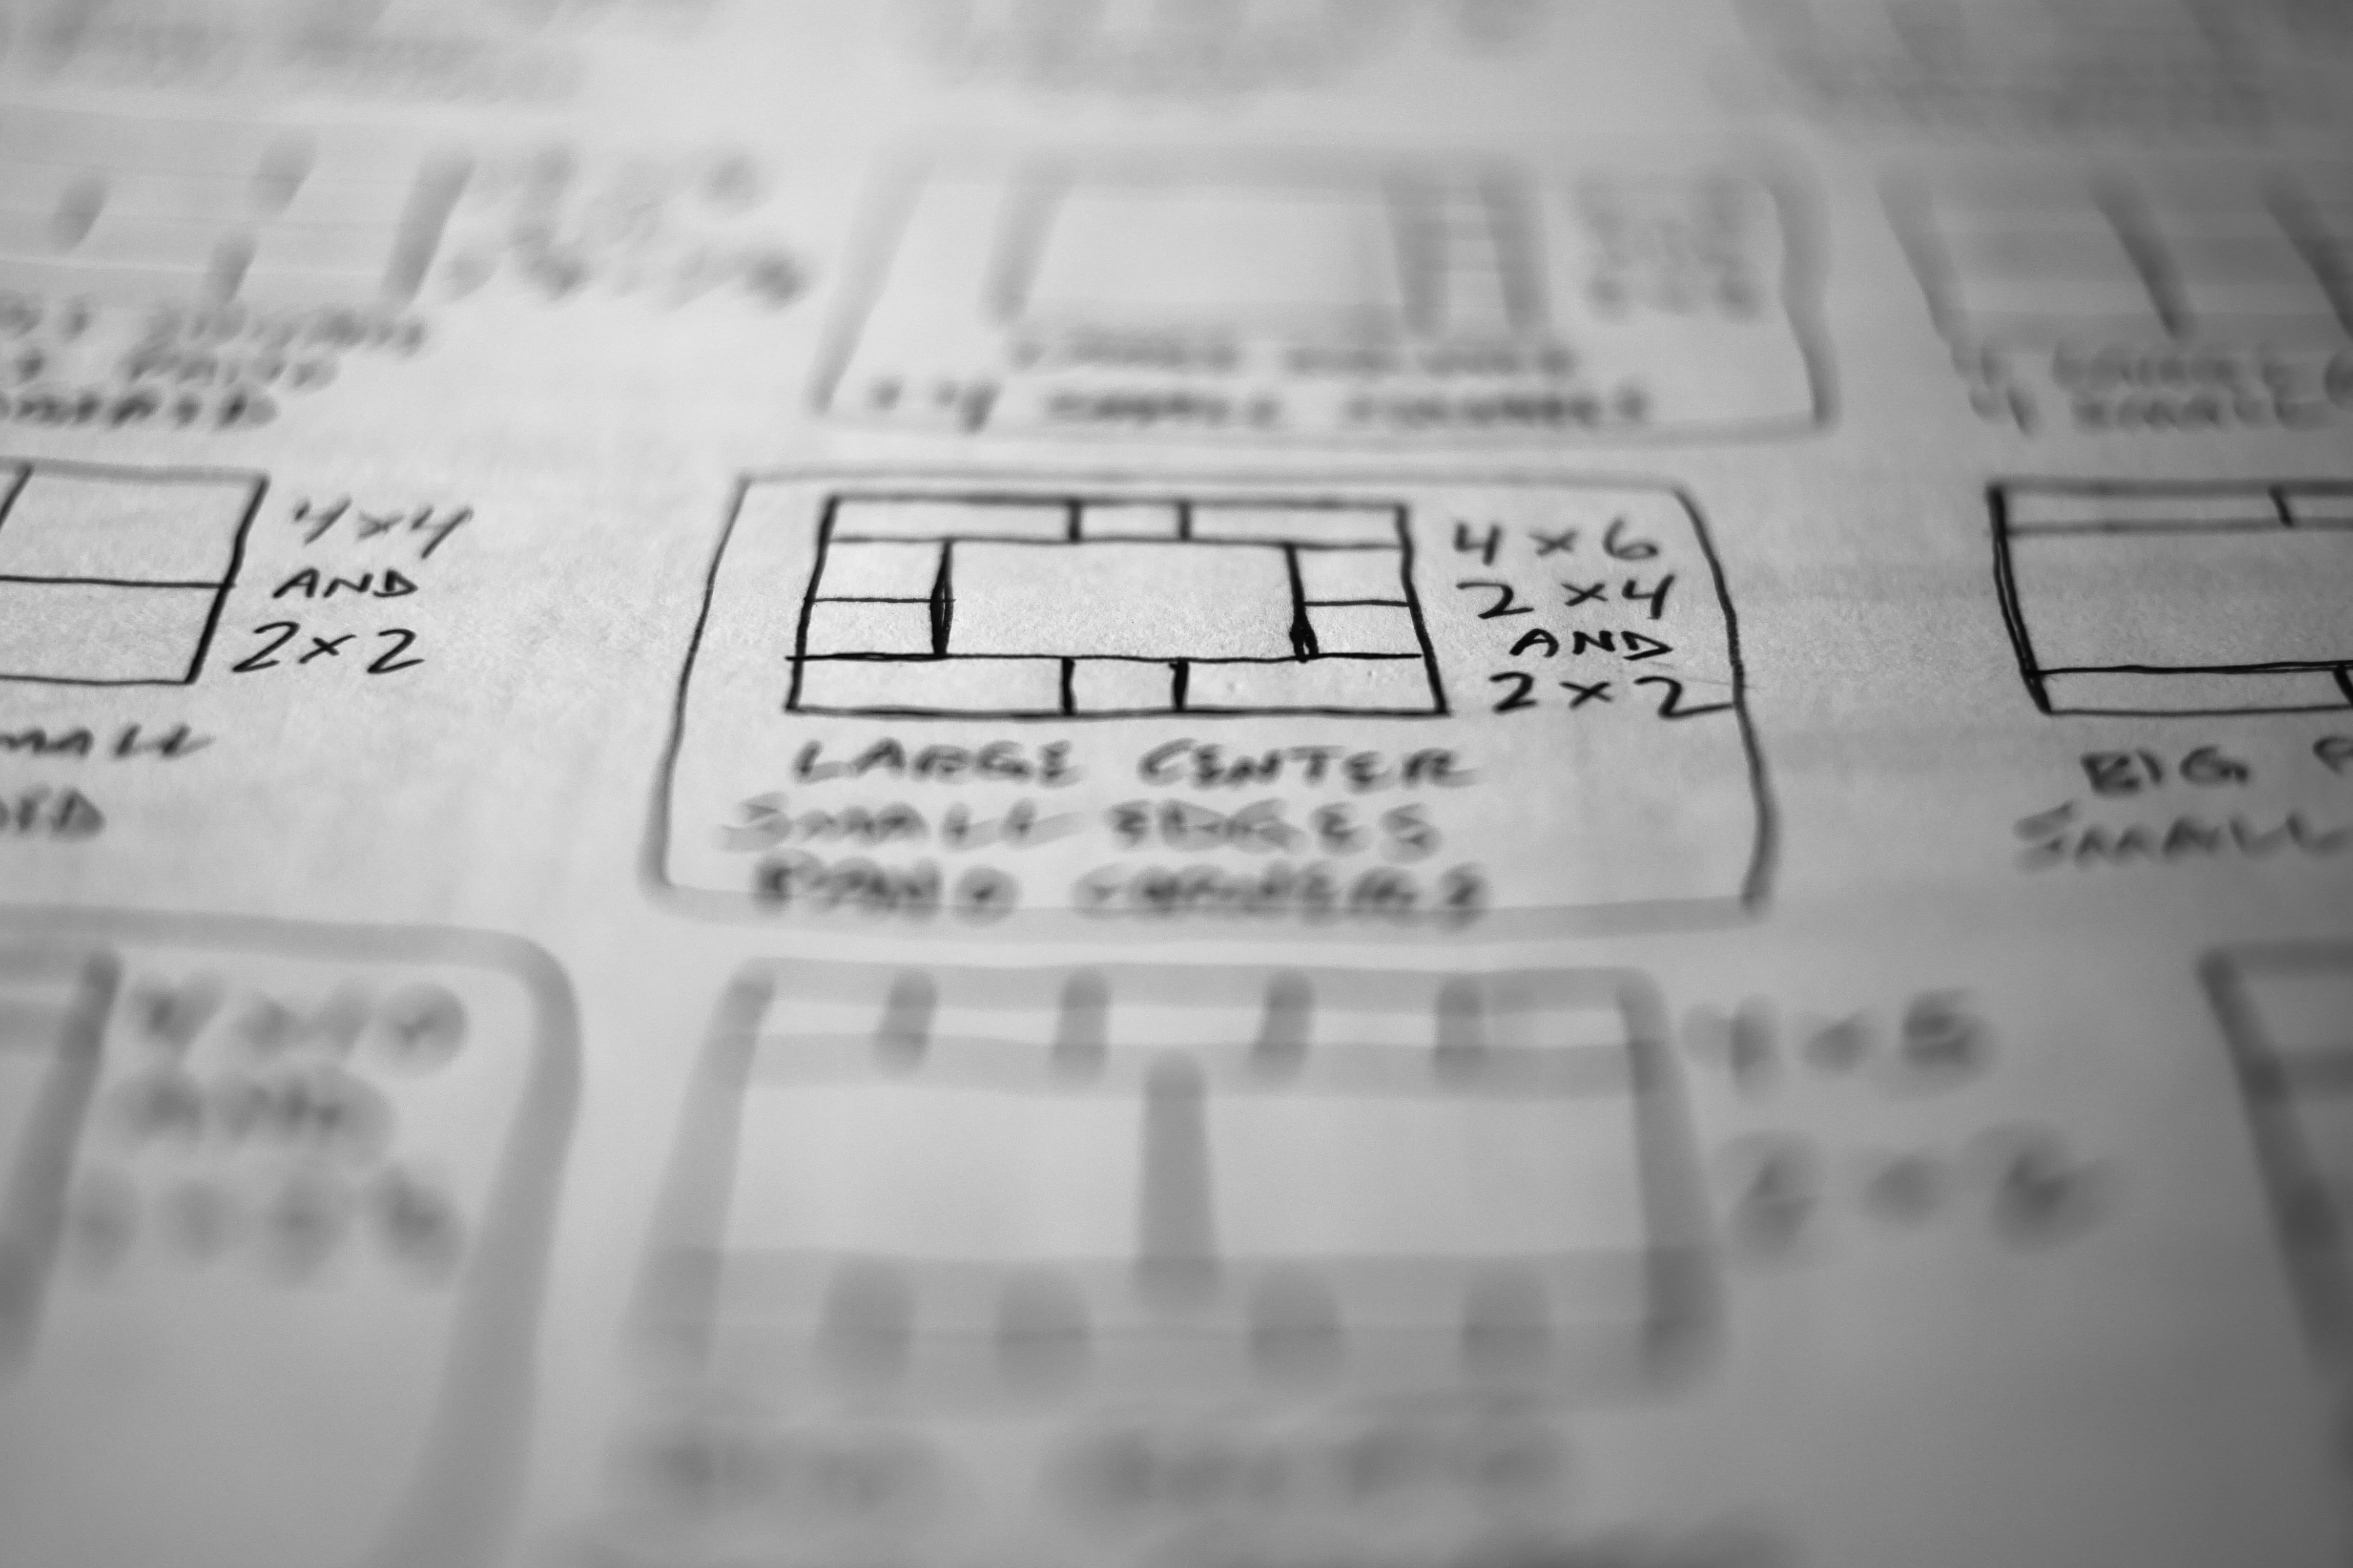
60 Degree Pin Speck Camera Sketch
Camera Sketching

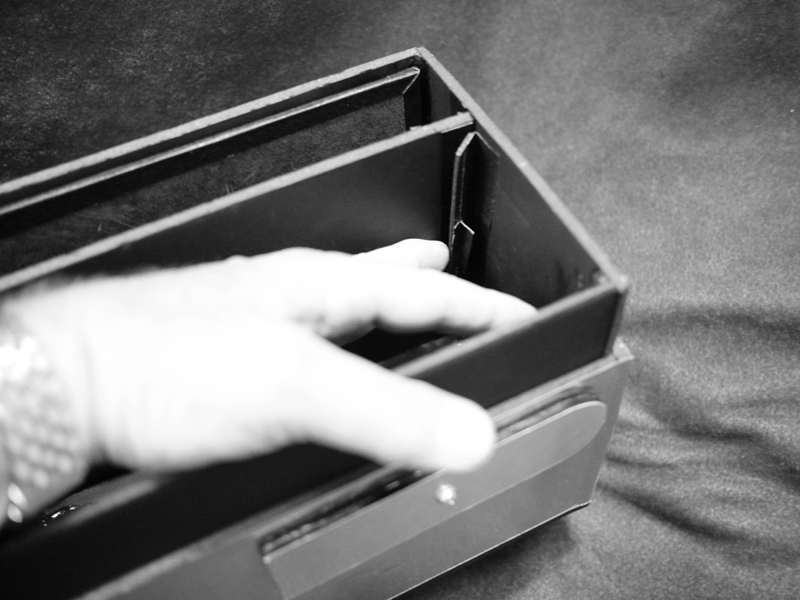
In the top right hand portion of my sketch journal, the light path is defined by the dashed ink lines, which enter the camera on its left, into the mirror box area, then down onto the film. The various pencil lines define primary and secondary sources of potential light fogging, which I've attempted to minimize using various baffles and other means.

Here's a crop of a sketch of a simpler design that uses an angle of view just under 45 degrees, without all the complicated baffles:

45 Degree Pin Speck Camera Sketch

The tiny mirror is in the upper right corner of the box. The light enters the box from the left, reflects off the tiny mirror to form a coherent, pinhole-like image, and onto the film at the bottom. The diagonal wall protects the interior from stray light. Any stray light that glances off the upper wall, past the mirror, will hopefully be absorbed by the flocked interior walls before fogging the film. These narrower angles of view are relatively easy to achieve. Still, an earlier test camera, from circa 2013, only showed marginal success:
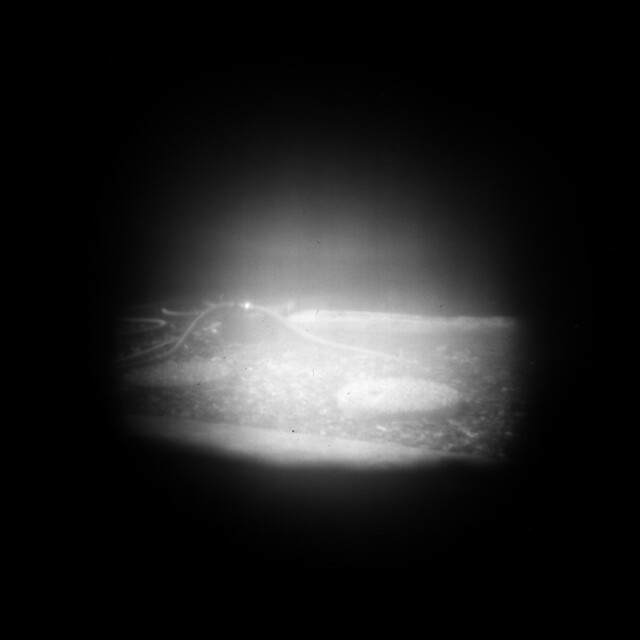
Pin Speck Test Image

As you can see, the image above was partially obstructed by the black felt covering the surfaces near the mirror box. The more felt used to cover the interior surfaces, especially near the mirror itself, the more obstruction results; less felt gives a wider angle of view but doesn't absorb stray light as well.

My newer design idea (at the top right sketch journal photo) is for a camera with a 60 degree angle of view, much more challenging than the 45 degree version. As I alluded to in the typed piece, even black felt can reflect light, if it's off the surface at a slight glancing angle, so-call "forward scattering". This new idea permits the film to "see" a black chamber behind the mirror, a space mostly devoid of stray light.

The primary fogging light comes from the left, through the gap between the open edge of the diagonal dividing wall and the mirror, then on to the right side of the camera. Here I've made a "photon dungeon", a space with non-parallel walls covered in black felt that will (hopefully) absorb the stray light, using a baffle wall that keeps this light from fogging the film. There's a secondary potential source of fogging, a view from the film to just left of the edge of this baffle wall, then into the upper right corner of the box behind the mirror. This corner space could be fogged by stray light from the primary fogging source, so I've included another wall dividing the two. So the film should "see" a mostly black space just to the right of the mirror.

Another decision is the lower wall of the inlet pyramid, on the left side of the camera. I could flock it with felt and make it follow just outside of the light path, but this would risk forward-scattering of light into and around the mirror box. Instead, I've chosen to make this side of the camera be the outer side of the diagonal dividing wall itself, with the light inlet mask at the left opening providing a shadow for this surface. Yes, light will reflect off this wall, but not at such a severe glancing angle.

There are further light baffles, providing photon dungeons, in the upper left corner of the drawing.

Another insight I had was the volume and size of the camera has a direct effect on the efficiency of the light-absorbing properties of the photon dungeons. Even though the film format may be, say, 4"x5", if the camera is made much larger, say at least 10" wide, those darkened interior spaces opposite the film, being much larger, will do a better job of absorbing light, due to the inverse square law causing more light intensity fall-off of stray light.

The thickness of the main diagonal dividing wall has a direct effect on the size of the gap between the open edge of the wall and the mirror. A thicker wall, flocked much heavier, will need a larger gap, in order not to obstruct the 60 degree angle of view; which in turn will cause more stray light to enter the camera. A thinner wall means its open edge can be closer to the mirror, providing a smaller gap for stray light to enter; but can a thinner wall still have low reflective (and forward scattering) properties? Maybe I need some of that new "vantablack" material, made from carbon nanotubes, that has less than 1% reflectivity.

Stepping back from the technical minutia of this project, there is no practical reason to build such a camera, except to be able to say that I built it. Conventional pinhole cameras do just fine. As do modern digital cameras and smart phones, for capturing photographic images. So what's the point? I think for me it's somehow tied into my long history of camera-making, especially oddball cameras employing strange or novel ideas. It's doing it for the sake of doing it.

Labels: , ,

Wednesday, January 15, 2020

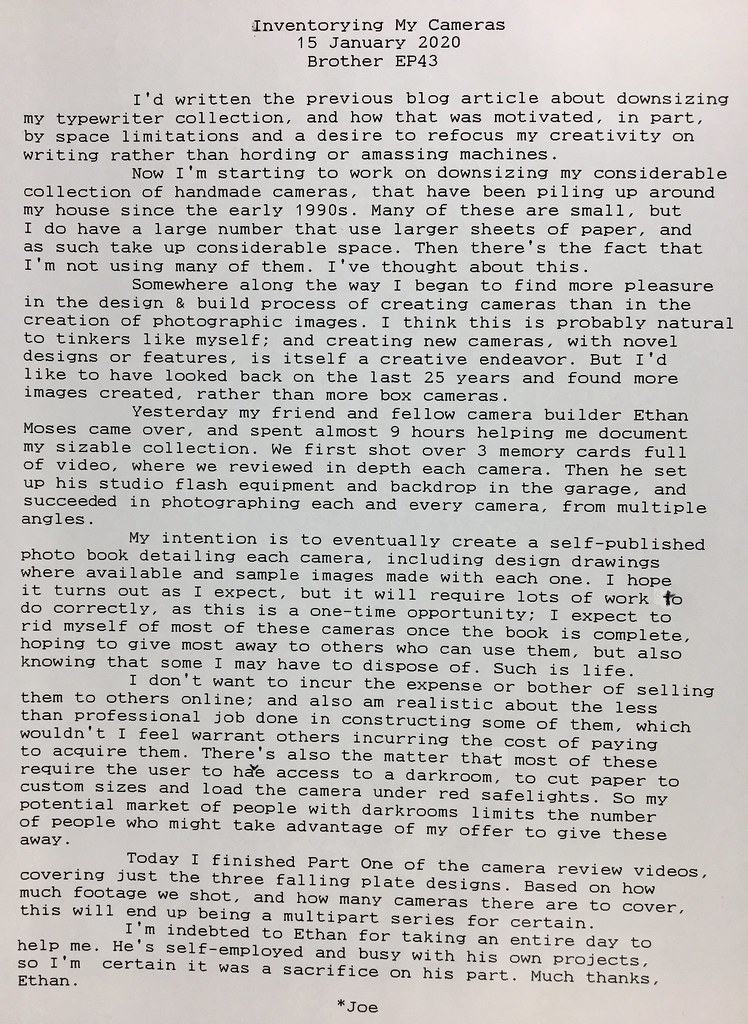
Inventorying My Cameras

P1140557a
“Inventorying My Cameras”

So, what's a person to do, the day after deciding to downsize their handmade camera collection? Simple: build another camera, that's what!

This sounds like madness, right? Perhaps. But really, in spite of all the various camera designs I've explored, I still have a few ideas rattling around in my noggin. One of these ideas is to take a spare steel 35mm developing tank and turn it into a "self-developing" pinhole camera. I've been using these tanks for years, minus the film reels, with small sheets of photo paper, wrapped front-side-inward around the inside of the tank and secured with a loop of masking tape on the back side, as a makeshift rotary processor. They have that all-important lid with a light-proof pour spout, permitting liquids to be poured in and out without fogging the paper inside.

Drilling a small hole in the side of the steel tank was not easy. I couldn't ding a starting dent with a metal punch, so the drill bit wanted to dance around and not penetrate the metal. I ended up using a drill bit on a high-speed rotary tool to work a small starting dimple into the surface, after which my drill press and larger bit would catch enough to start cutting. I kept the bit lubricated with light oil, which helped.

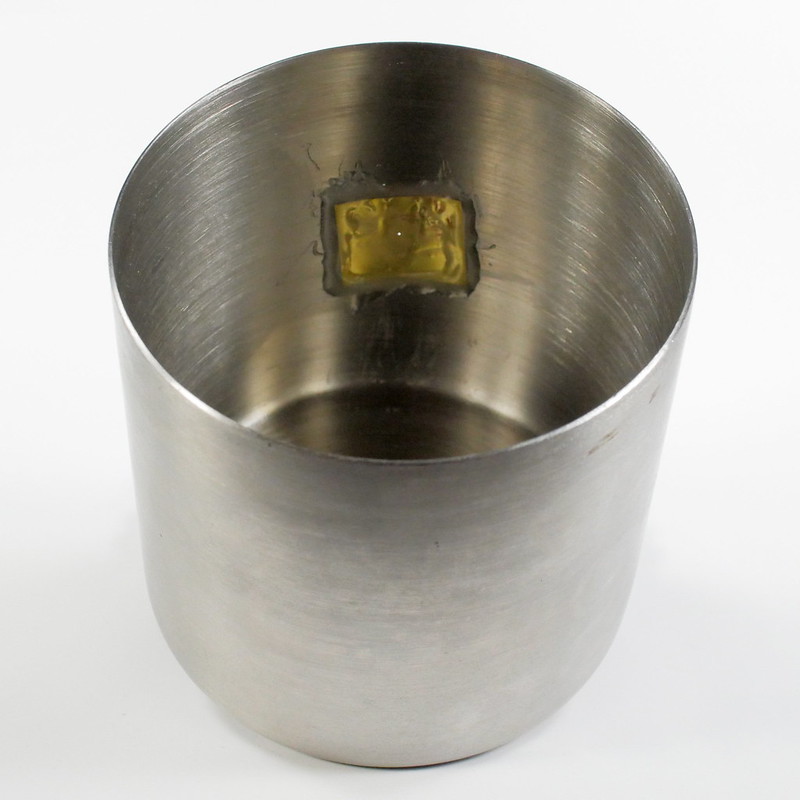
The focal length is 85mm from one side to the other, so I made a 0.3mm pinhole in a thin sheet of brass, which I epoxy glued to the inside, ensuring all four sides of the brass square were sealed with glue.

P1040623a
I'll be using a makeshift gaffers tape shutter for now, but may resort to a rotating plastic sleeve shutter, the kind I've used on 35mm film canister cameras.

P1040624a

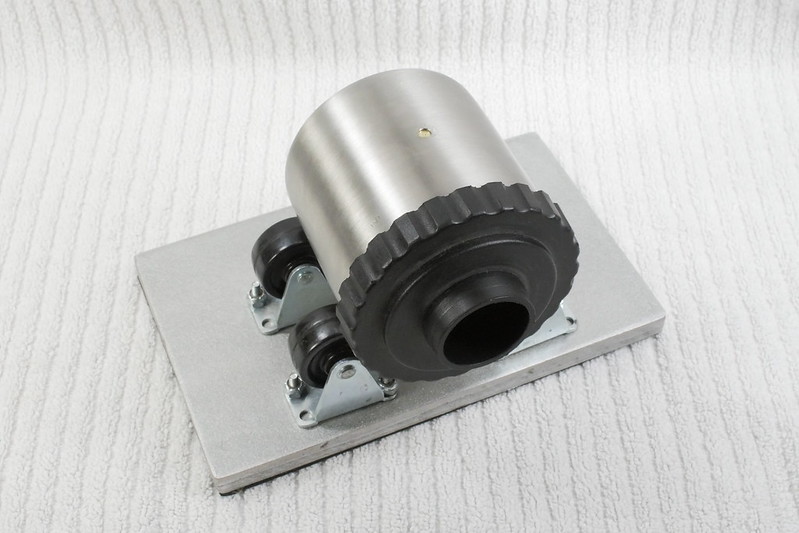
Naturally, a person would wonder if the processing chemicals, especially stop bath (acetic acid) will corrode the brass and pinhole. The answer is most likely yes, which is why, when I rotary process the paper, I won't be doing entire revolutions of the tank, instead will be rocking it back and forth, with the pinhole face up on the top, as the tank sits on its side on my rotary base.

P1040625a

This little tank camera, along with a kit consisting of small containers (<100mL) of processing chemicals and a changing bag, would essentially provide the features of an Afghan Box Camera, if using Harman Direct Positive Paper. Alternately, the citric acid/peroxide reversal process could be employed, but it's very slow and the already long exposure times required by the pinhole aperture would be impractical. I hope to at least be able to do still-life and scenic images and process them in the field with the Harman paper.

Certainly a glass-lens self-developing camera would be more practical for portraits, as the faster optics would require much shorter exposure times. Perhaps that'll be the next project.

Here's Part One of my pinhole camera overview series, with Ethan Moses:

Labels: , ,

Monday, July 09, 2018

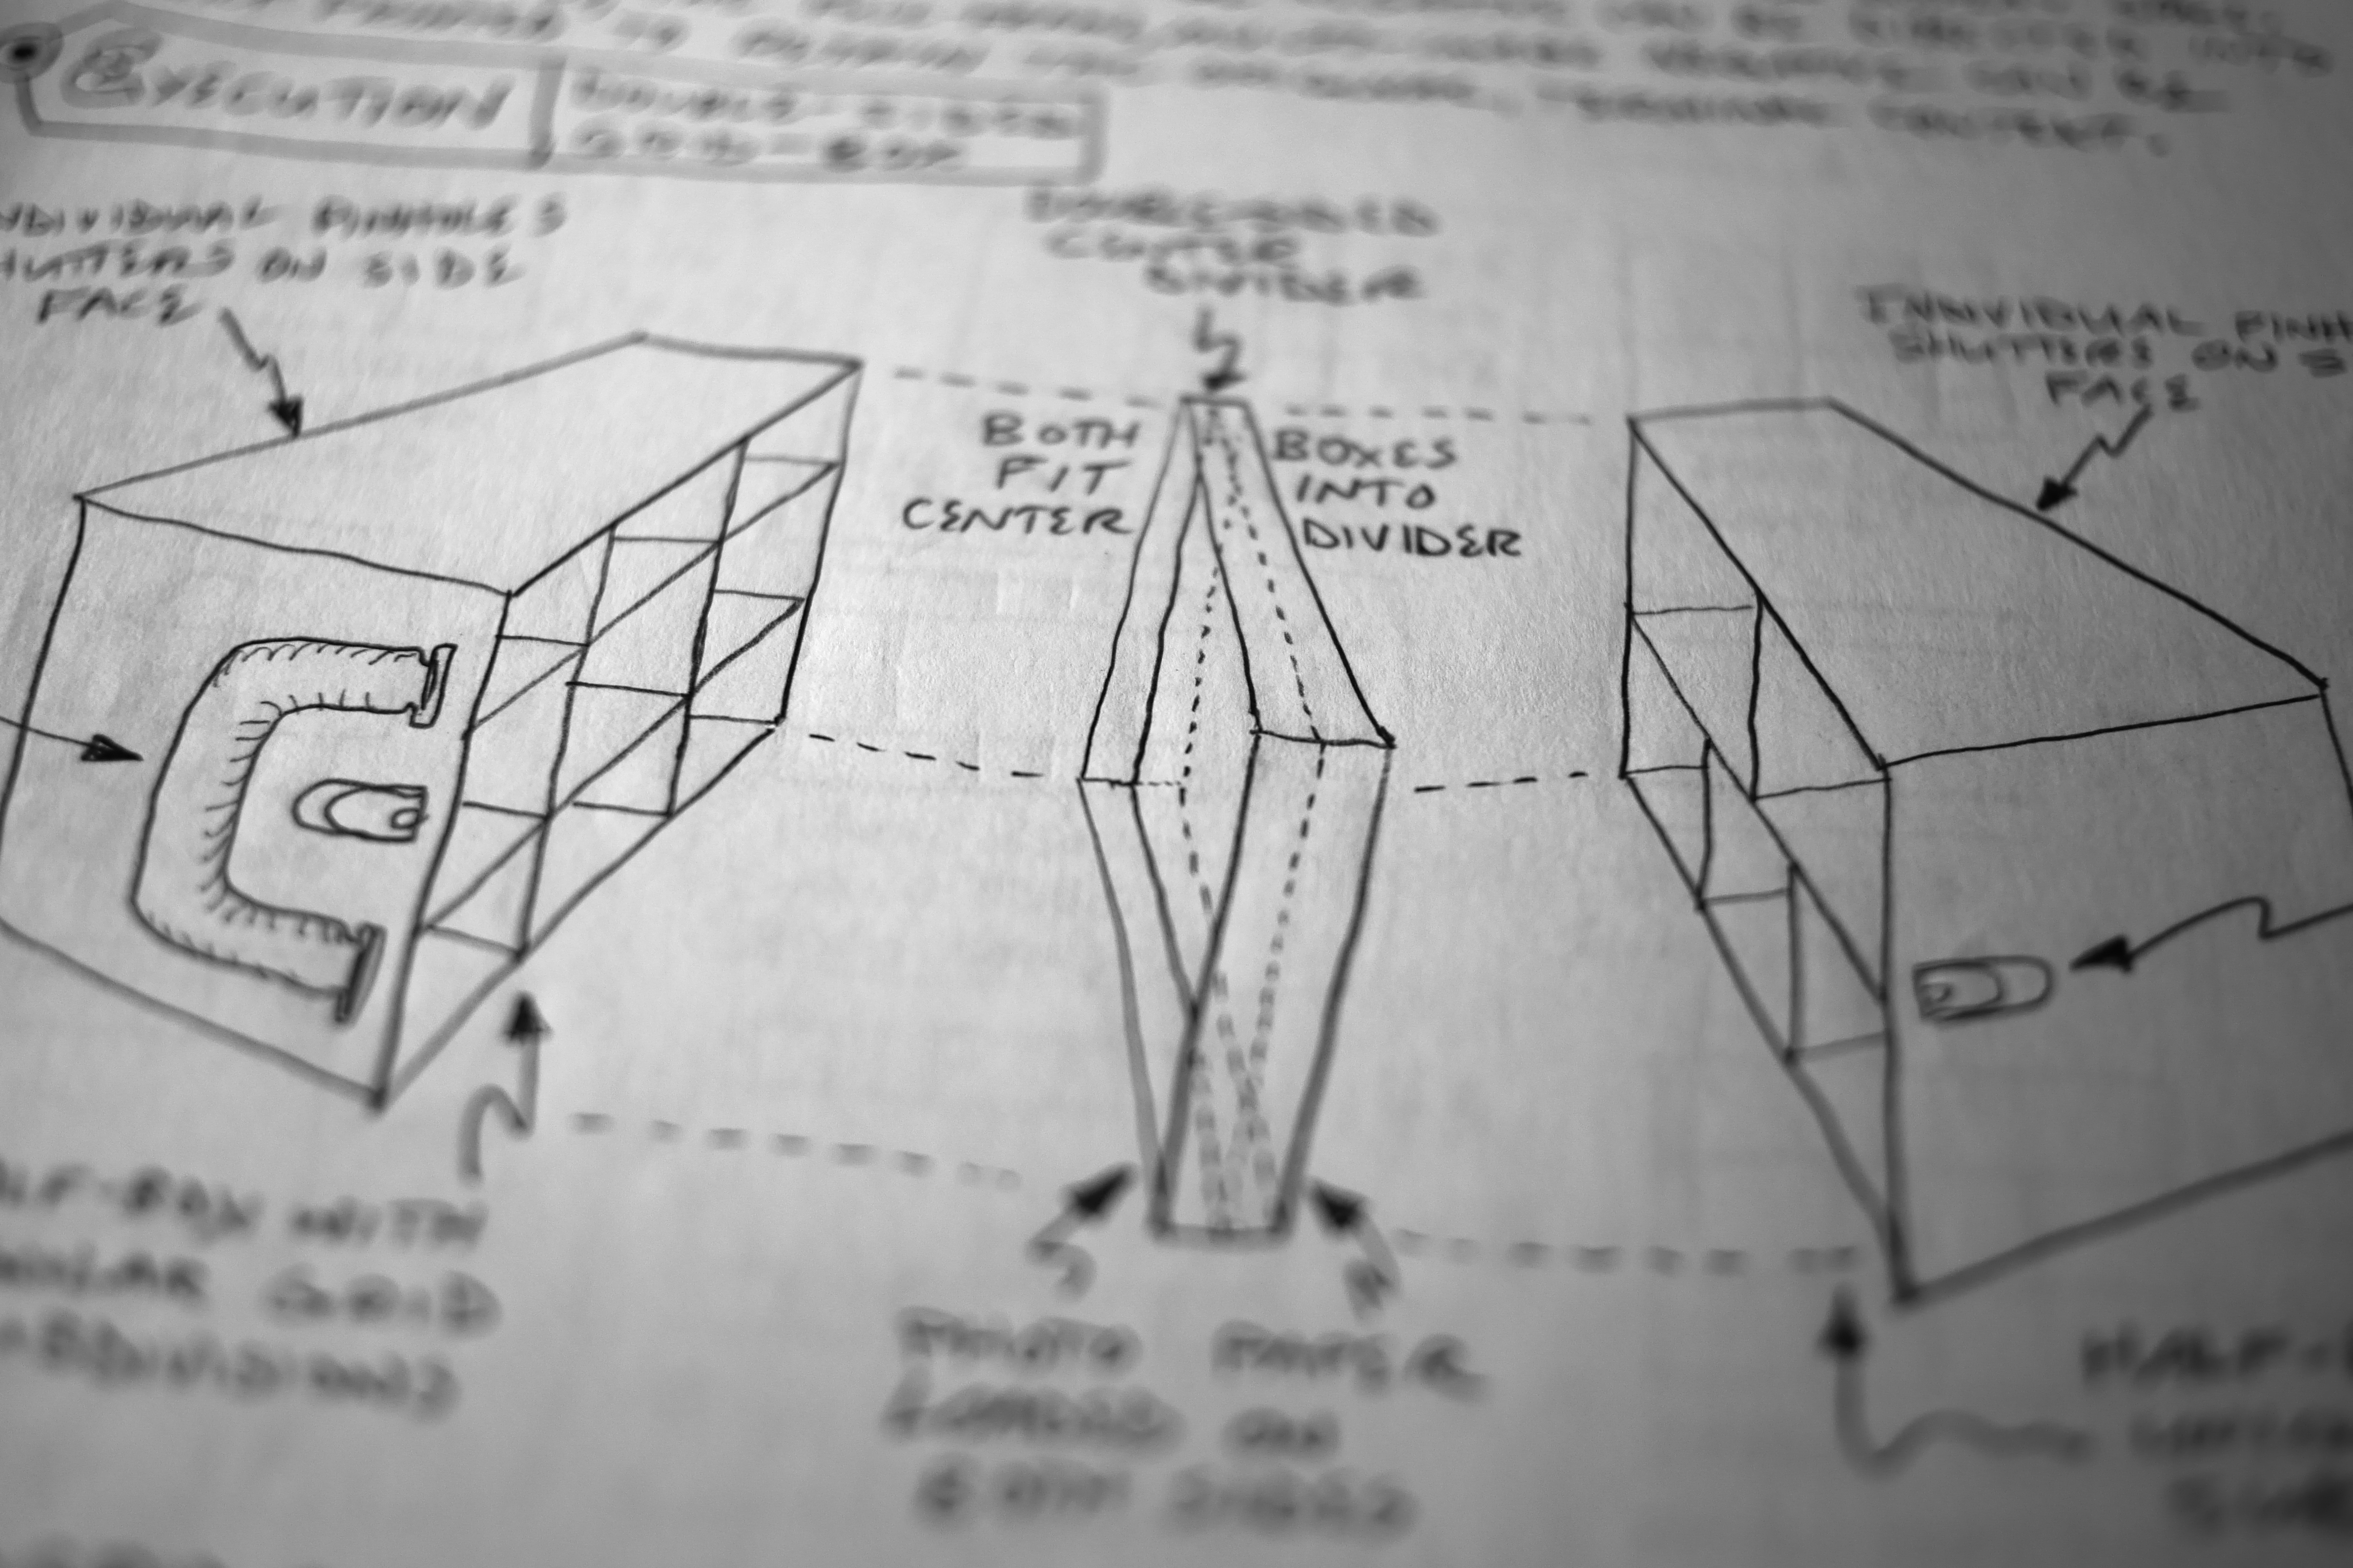
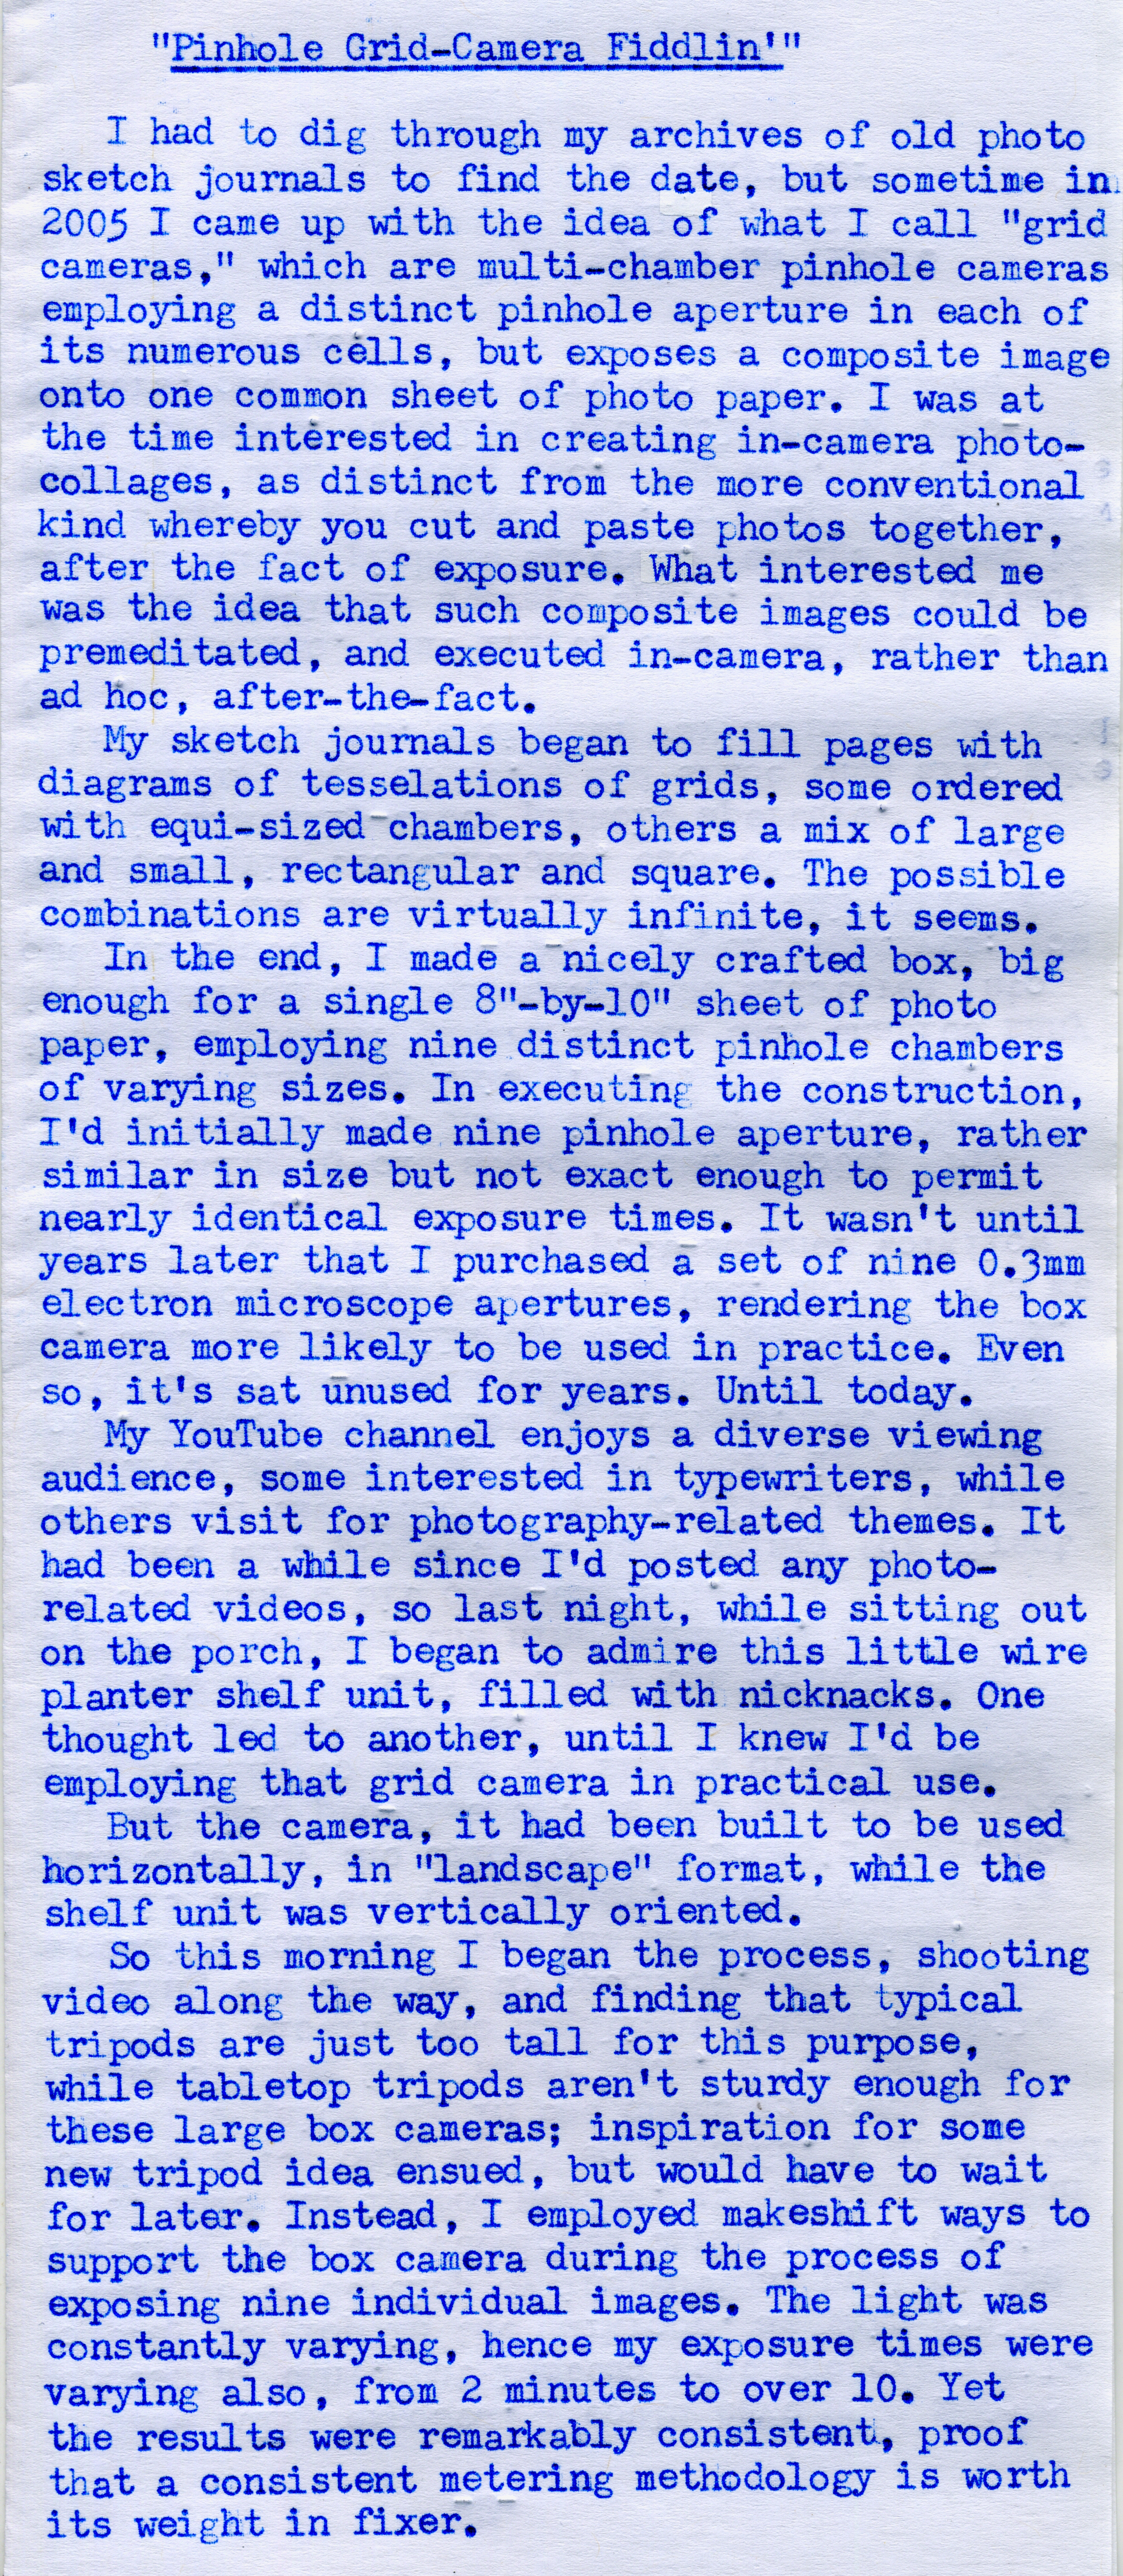
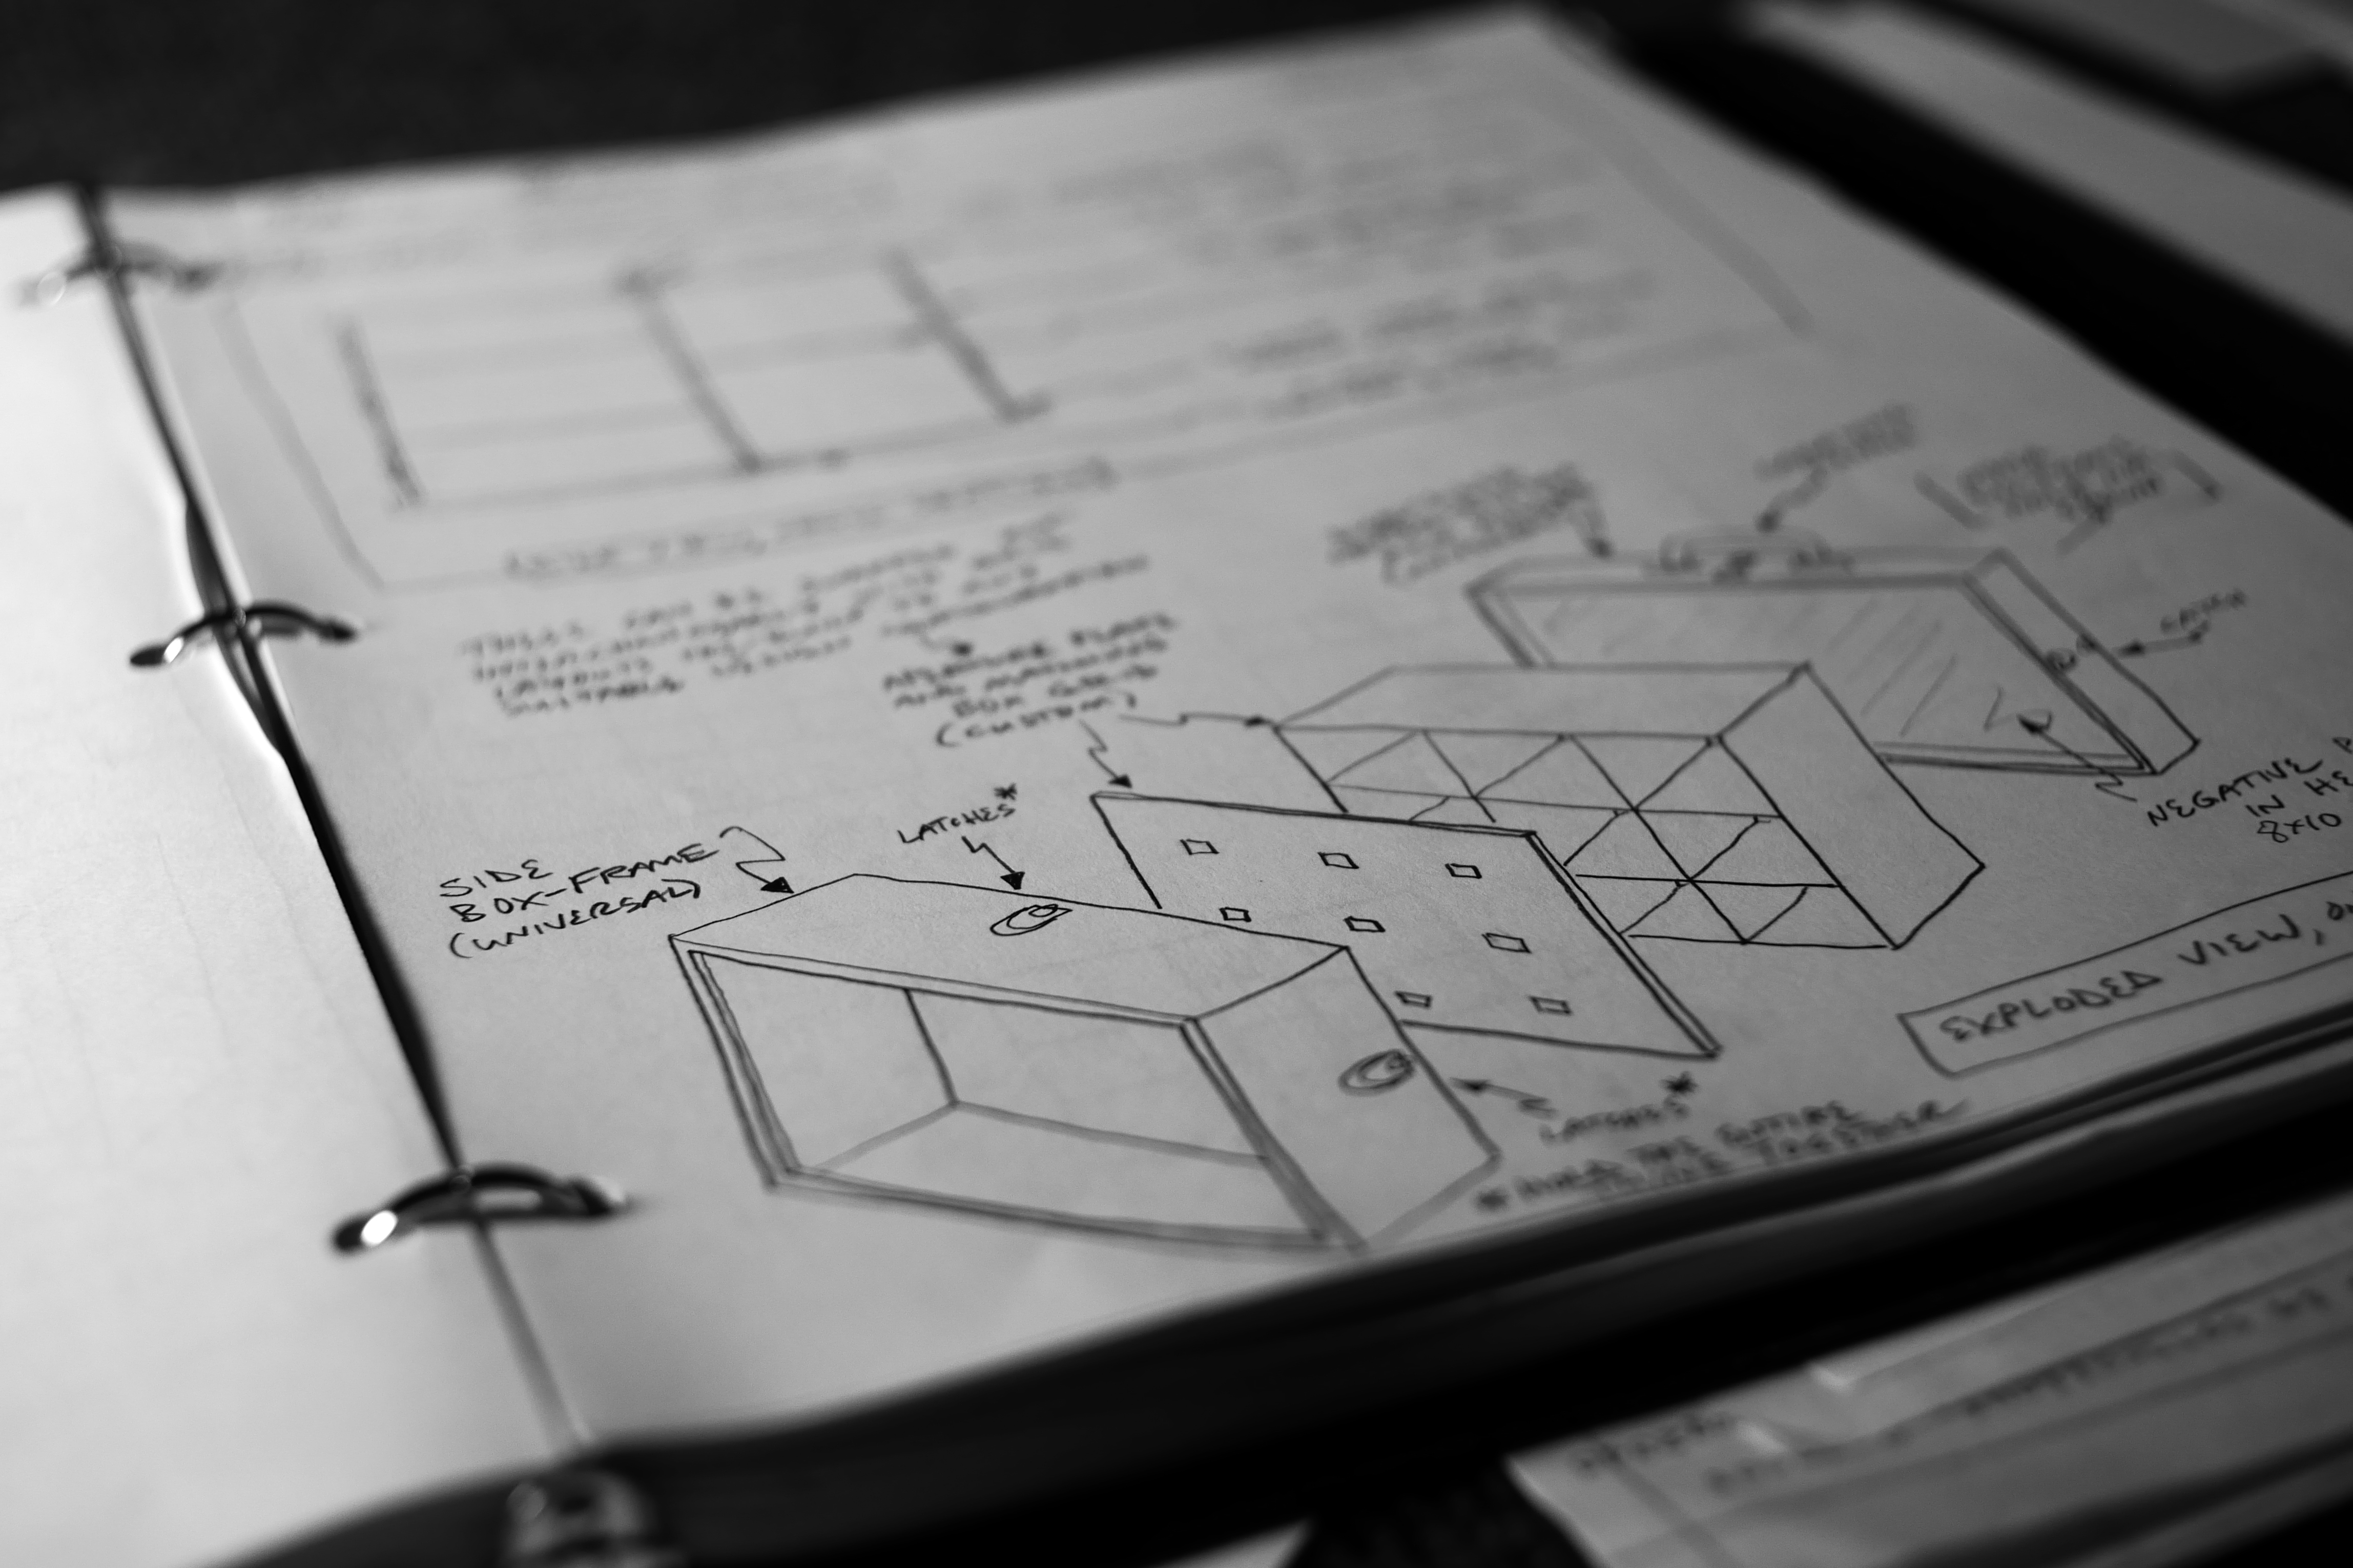
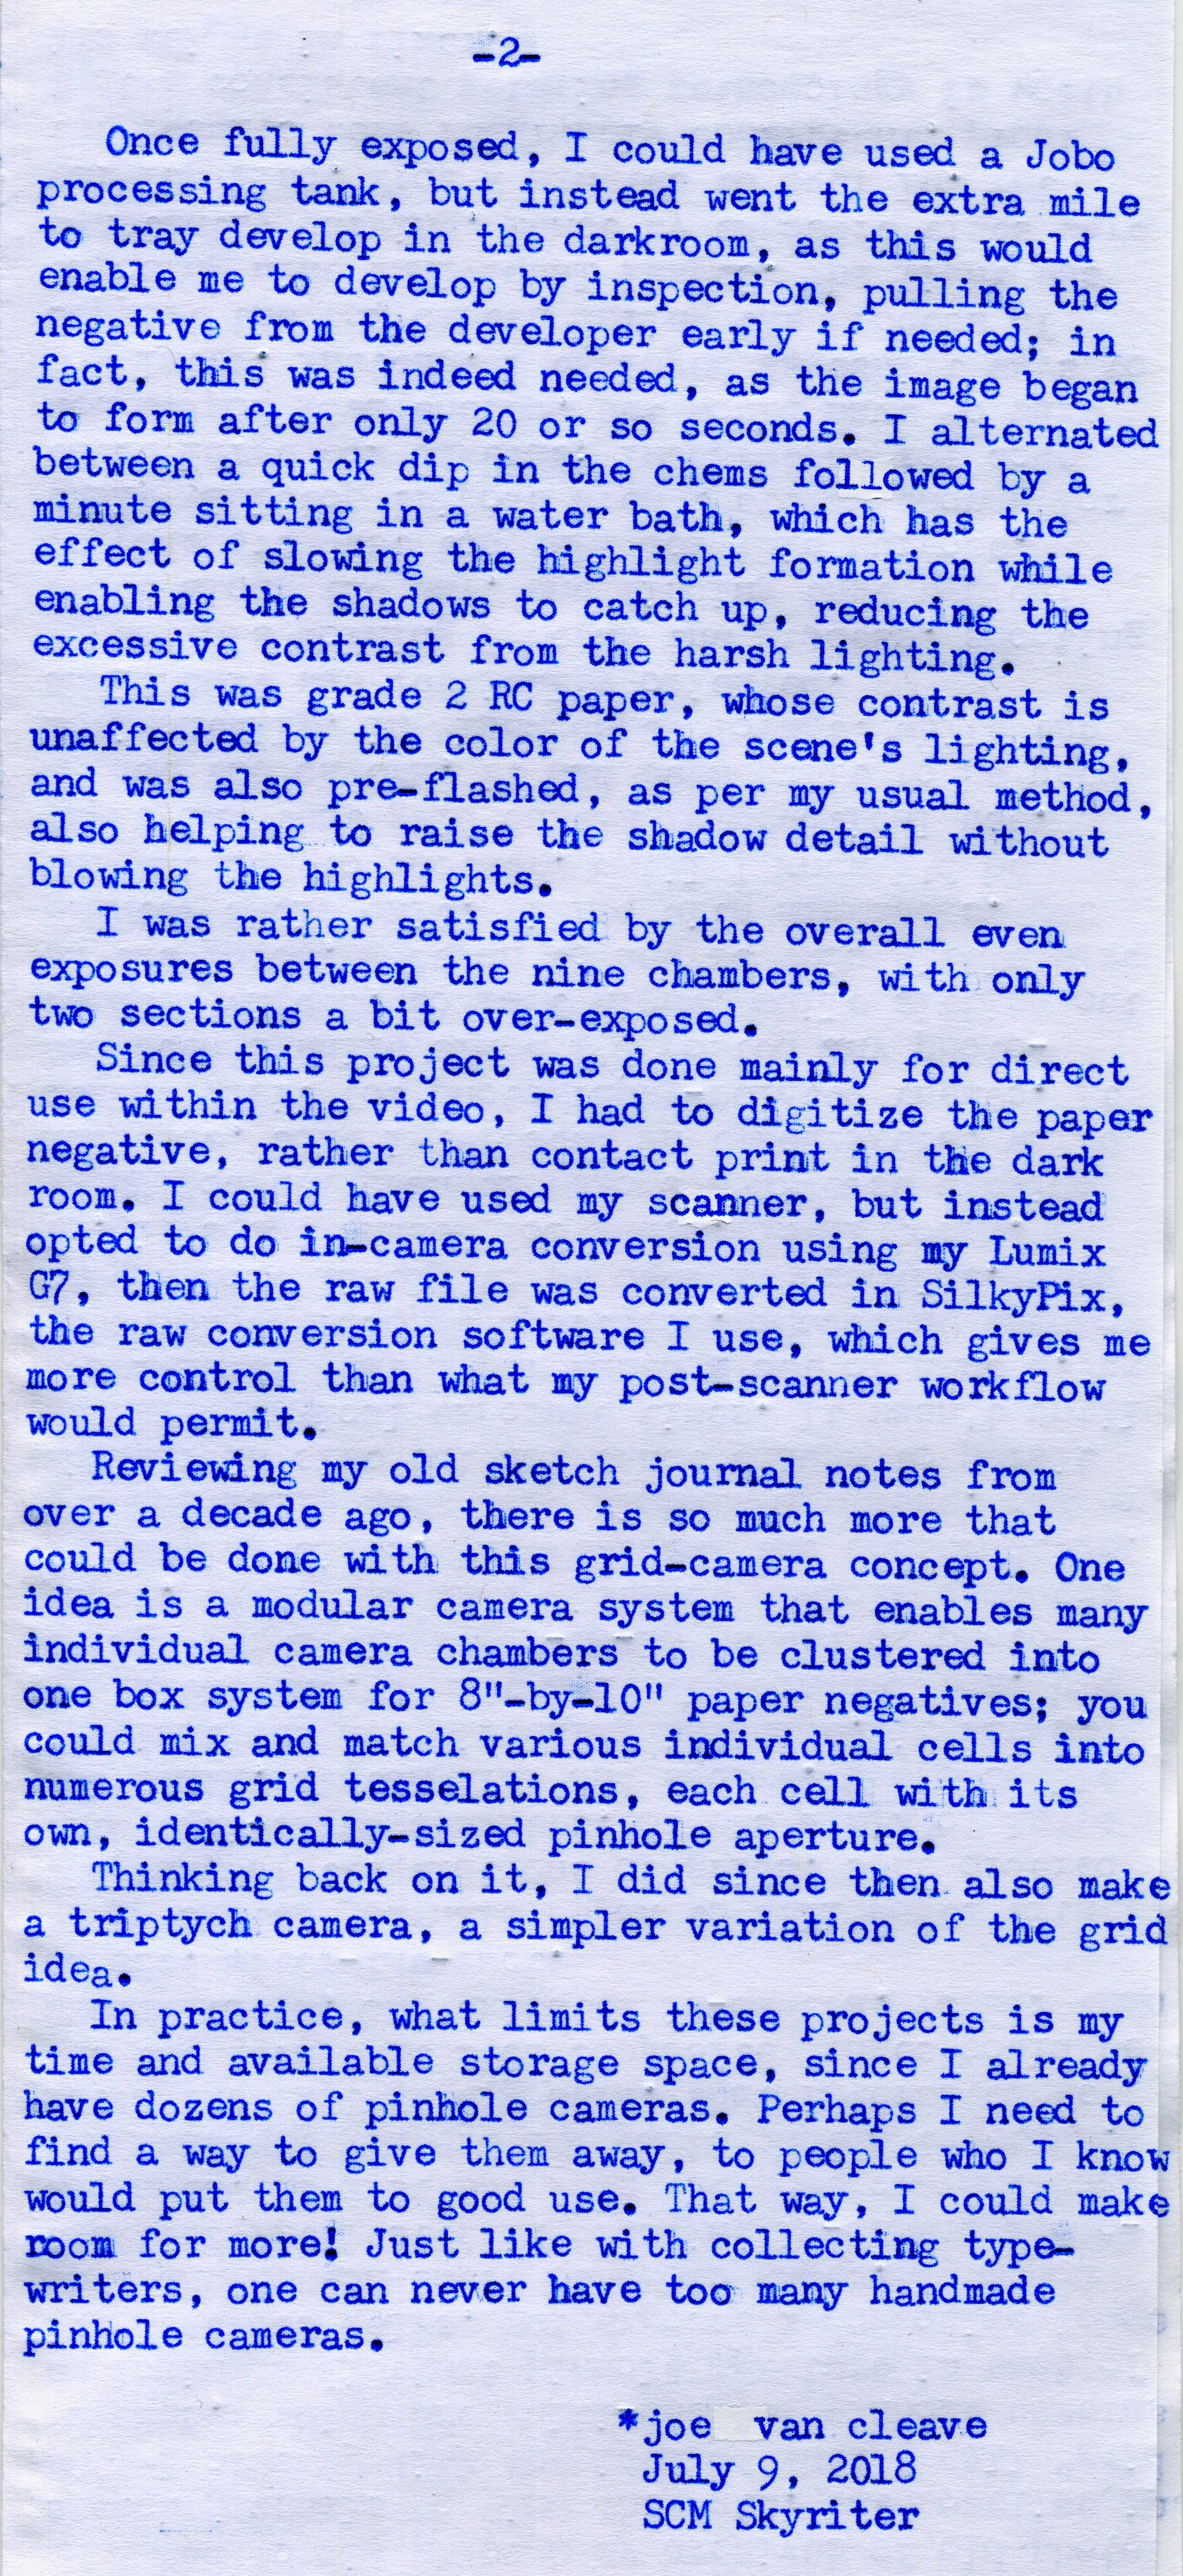
Pinhole Grid-Camera Fiddlin'

P1010844a
Typecast027
P1010848a
Typecast028
P1010841
P1010850a
P1010849a
P1010847a
P1010846a
P1010845a

Post-Script: Here's the YouTube video of this project.

Labels: , , , , , , ,

Tuesday, January 23, 2018

Ephemeral Images

P1000531a
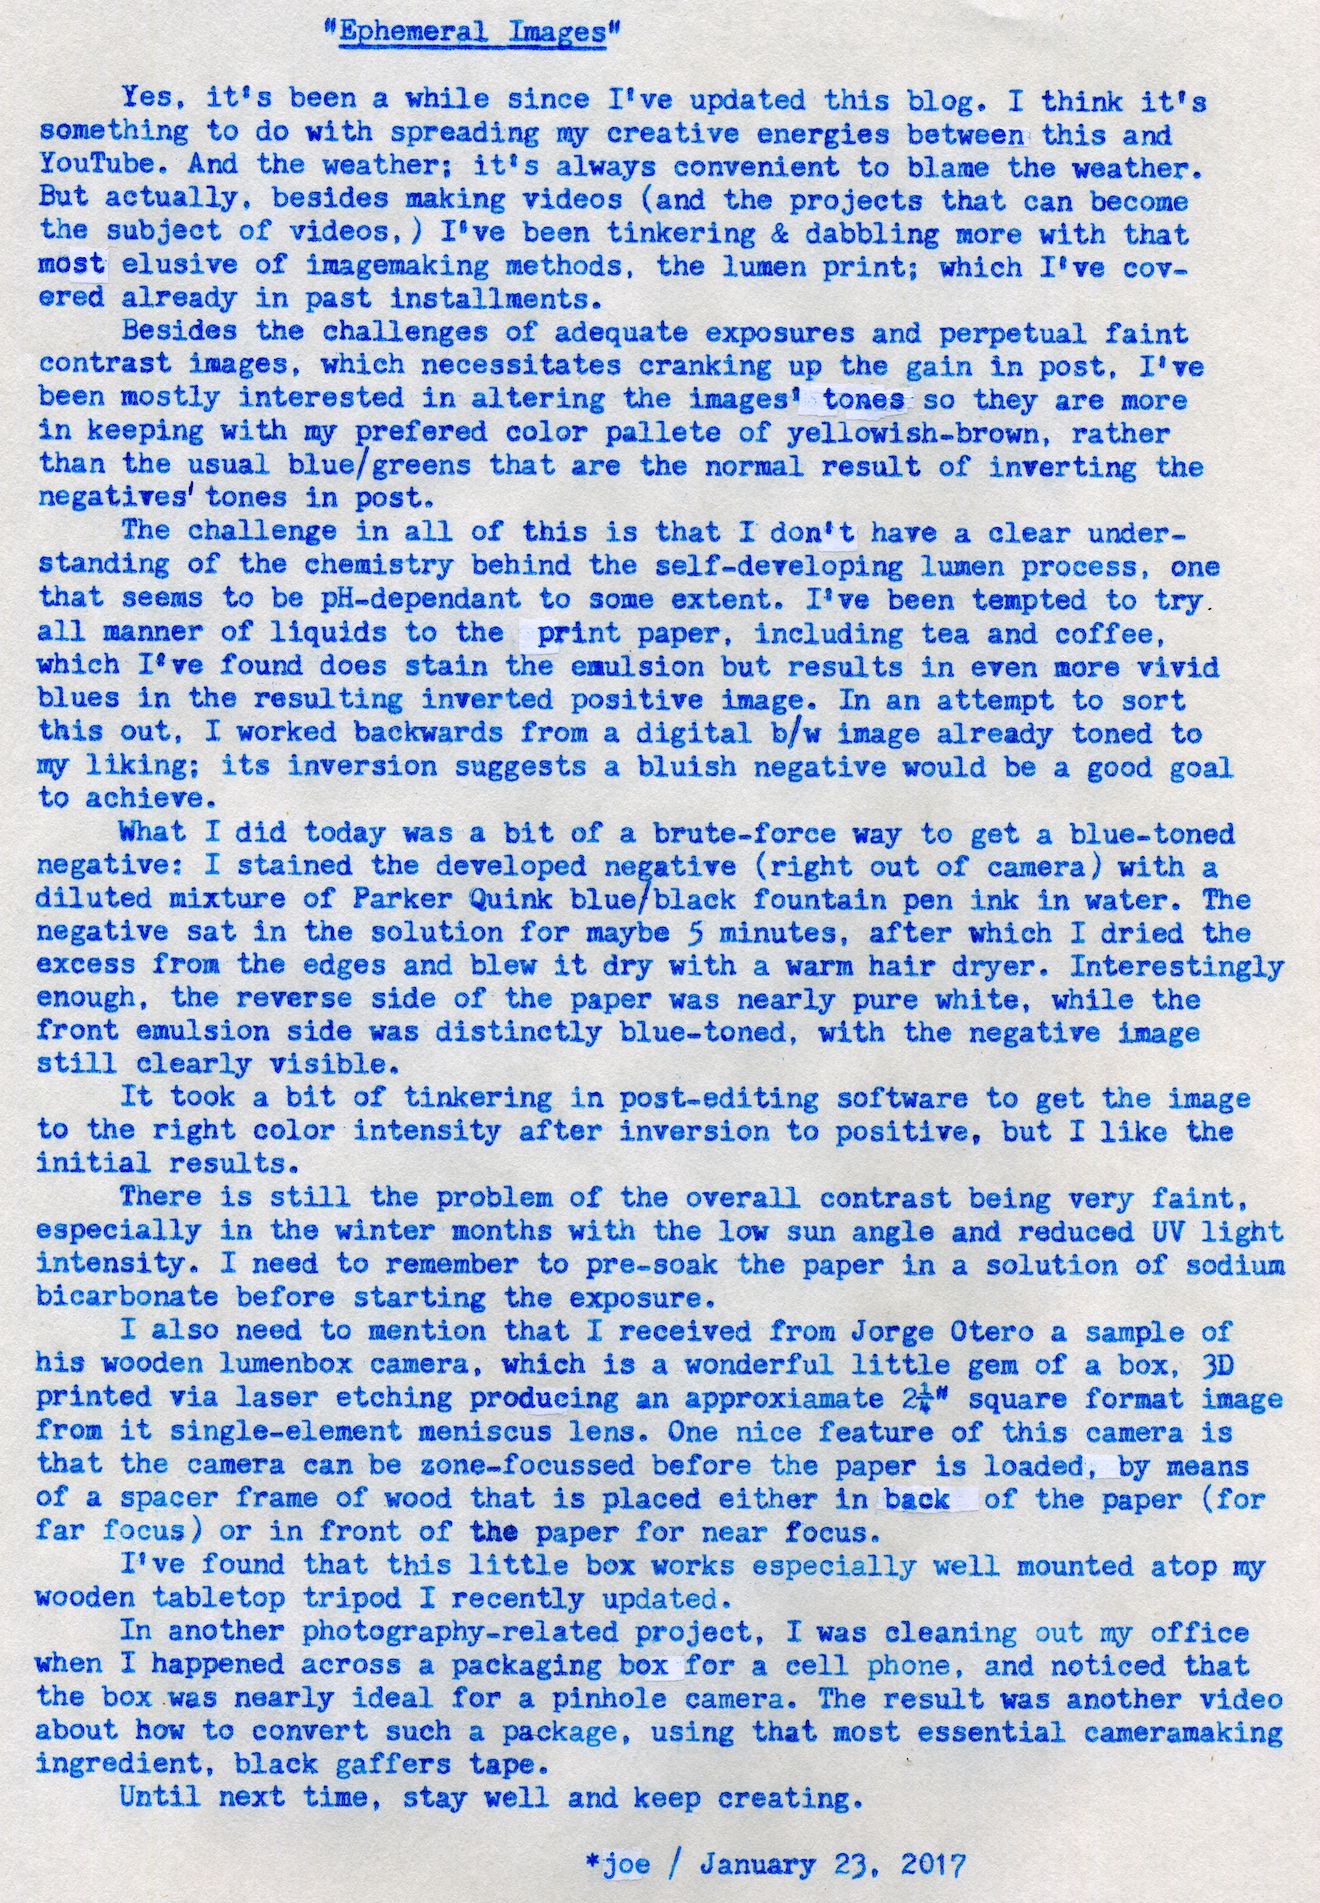
Typecast013

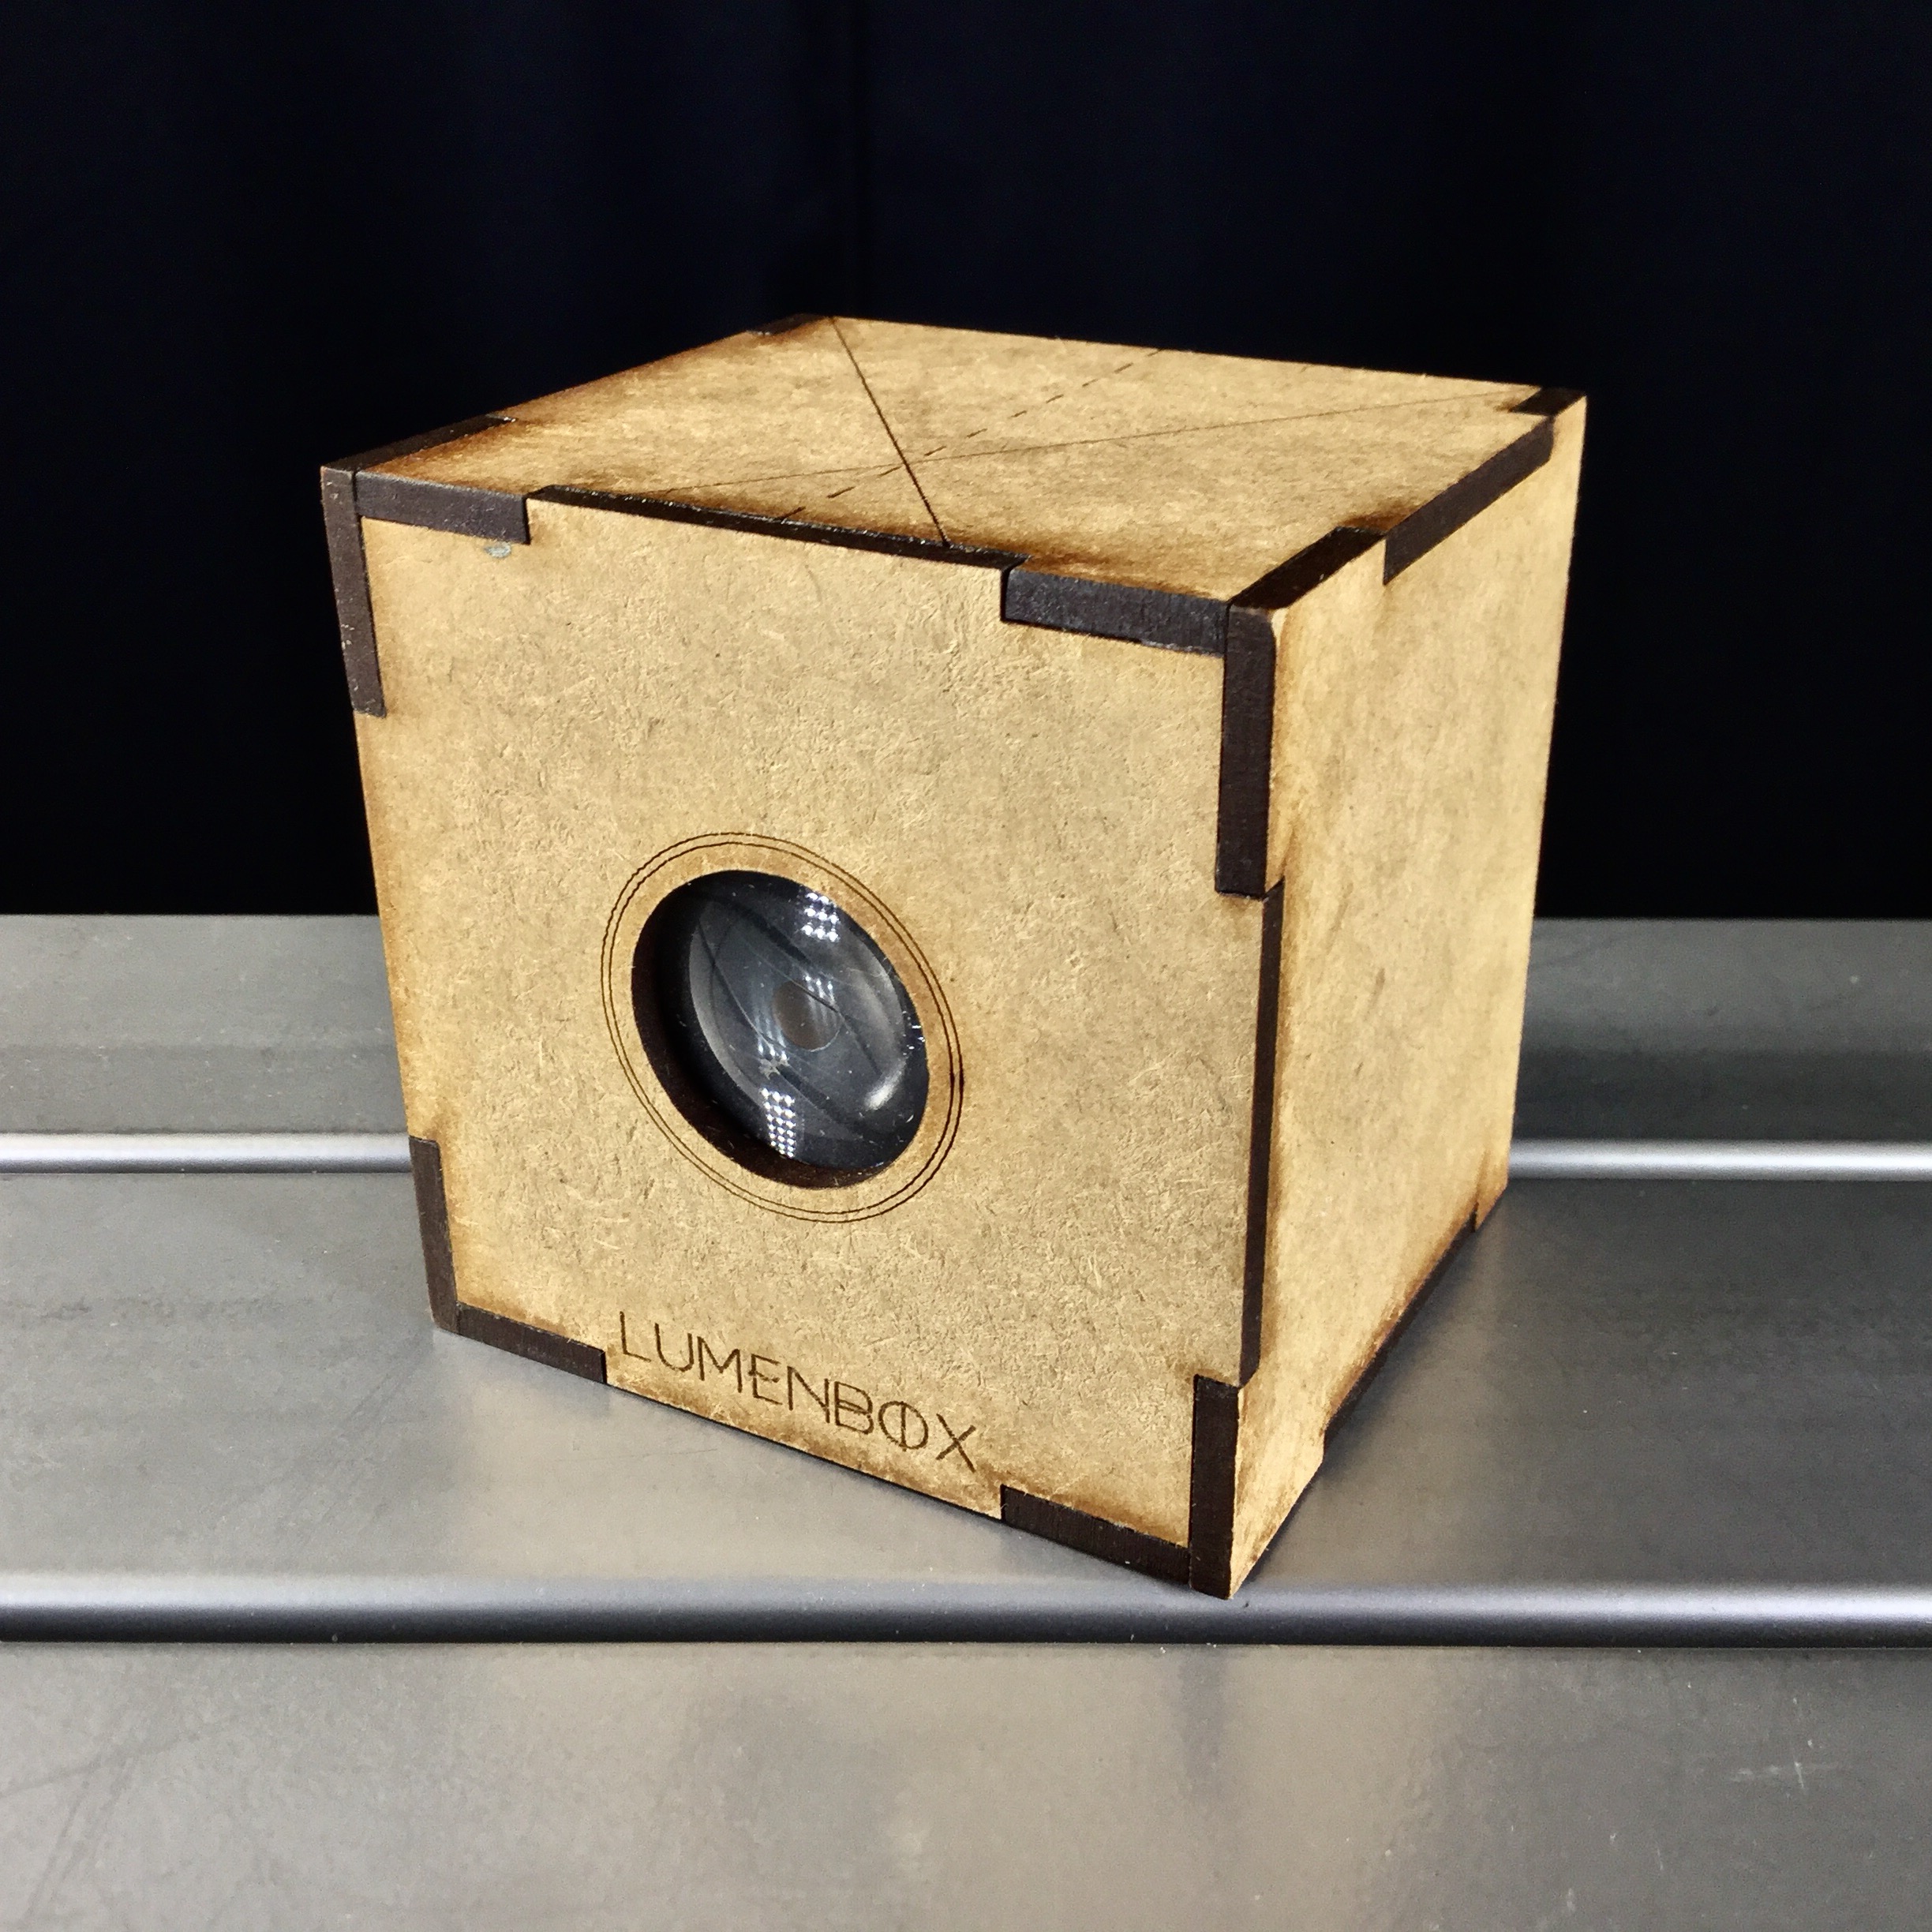
Here's a still shot of Jorge Otero's Lumenbox camera:
Lumenbox Camera

Here's a recent video about the wooden tabletop tripod:


Here's how I used an experimental bellows project to make a 5x7 format lumen box camera:


Here's a video on recent experiments on tinting lumen print negatives:

And here's how I converted a cell phone packaging box into a pinhole camera:


Typecast via Smith-Corona Electric (with blue ink ribbon) onto Strathworth erasable typing paper.

Labels: , , , , , ,

Thursday, October 26, 2017

Lumen Print Camera Build


The last few weeks have seen me struggling to achieve consistent results with an experimental method of reversal processing black & white photo paper, using a mixture of hydrogen peroxide and citric acid as a bleaching agent. As interesting as that is, the lack of consistent results has me temporarily seeking solace in another experimental photographic technique, one that seems in comparison much easier to tame: lumen prints - technically a paper negative image created by the auto-development action of light itself against grains of silver halides, no chemical processing required.

Lumen prints have been created by artists and other creatives for many years, often using a pinhole camera placed outdoors, pointed at the sky, recording over a long period of time the path of the sun. But using the lumen print process to create more conventional photographs is a bit more esoteric. Just the thing to interest me.

I first heard of this by way of Jorge Otero, a lumen print artist and purveyor of nice wooden lumen print cameras he calls Lumenbox, on Etsy. I wrote a blog article about him recently.

This week I decided to make a more serious lumen camera besides the crude cardboard, duct tape and plastic fresnel lens camera I'd cobbled together earlier. The process requires a fast lens, in order to shorten the othewise lengthy exposure time as much as possible. I looked through my assortment of optics and decided, for an approxiamate 4x5 sized image, that only two lenses would suffice: an improvised binocular lens, of 150mm focal length and a wide-open aperture of f/3; and the original lens to my Speed Graphic camera, the Kodak Ektar 127-f/4.7.

I decided to experiment with the binocular lens on the Speed Graphic, while at the same time I was cobbling together a camera for the Ektar lens. The exposure times used with this process are often 20-30 minutes in bright sun, slow enough to permit me to also work on the camera while shooting some footage for a documentary video on the subject. The binocular lens has a relatively sharp central portion of its image, with the rest all a mess of swirly and cloudy artifacts. Artsy might be a good description. While the Ektar lens is clinically sharp, center to edge.

I had considered building a camera from scratch, but then looked at the stack of pinhole cameras accumulating in one corner of my darkroom. I decided on a wooden craft box, purchased some years ago from Hobby Lobby and made into a pinhole camera, might fit the bill. It had about the required size and the sturdiness of wooden construction over many of my other cameras that are built from foam core board.

I drilled a hole in the front of the box big enough for the Ektar lens, then proceeded to figure out how best to mount it. It turns out that the box would be a bit too deep for achieving infinity focus with the lens mounted to the front, so I had to resort to mounting the lens inside the front of the box, mounted backwards to gain access to the shutter. A sliding section, made from salvaged foam core board and hot glue, made for a convenient focusing method. The lid of the craft box fits snuggly over this sliding section. I'm using a thin sheet of lucite plastic, sanded smooth on the front side, as a makeshift focusing screen for the camera. I remove the back, focus and compose, then the camera is ready to receive paper.

After a first abortive attempt at making an exposure, in which the paper slipped off the rear flange of the sliding section, I modified it with a thicker flange surface, necessitating a smaller film format size, just about 4" square. A piece of craft paper, taped to the bottom of the flange, serves to hold the bottom edge of the paper in place when loading the camera. It's all experimental, this cobbled-together camera, and will most likely require modifications going forward.

This lumen process is a bit non-intuitive. It uses light-sensitive paper, but because chemical developers are not used, relying instead solely on the auto-development action of light against silver halides, the paper can be handled under subdued lighting with little concern for fogging the paper. Being as Jorge Otero has discovered the process works faster when the paper is wetted with water, I simply took the rear box of the camera into the dark room, cut a sheet to size, wetted it, then carried the paper through the house to the front porch, where the camera was situated already focused on the subject. I then loaded the paper directly into the box, in bright daylight. And waited. For about an hour - I wanted to ensure good first results.

The auto-development process produces a color change with silver gelatin paper. I'm not enough of a scientist to understand the details, but do know that there are various types of silver halides used in these printing papers, and have seen various tones of browns, yellows, pinks and purples result, depending on the intensity and color of light. Experiments I did last week, using grade 2 paper, fell flat on producing good results; this process requires a high-contrast emulsion, which multi-grade paper provides. I'd advise anyone interested in this process to use both a fast lens, and multigrade paper, pre-wetted with water.
Once exposed, the paper negatives are still light-sensitive. So it's best to store them in some light-proof envelopes or sleeves. I made some crude sleeves from black craft paper and gaffers tape, but there's probably a better solution out there.

This is a hybrid process. To produce a usable image, scanning the negatives and entering into a digital work flow is mandatory; unless the negatives themselves are treated as some esoteric form of fragile paper art object, viewed under subdued lighting. I scan them, then invert the tones to produce a positive. In doing so, the colors also invert, from the warm tones mentioned earlier into blues and greens. One can also convert the image to monochrome and dispense with the color. Personally, I'm a bit torn on which to do. I really like Otero's resulting monochrome images, but there remains something intriguing about the resulting colors that has me interested. In the last image I created yesterday, the inverted positive has blue skies and green leaves on the tree. Weird. Almost like a color process, but I know just enough to know that ain't so. Still, when you see green leaves resulting from black and white paper, it makes you stop and think.

My old flatbed scanner is less than optimal for this process. And I lack completely a photographic quality printer. But this process has me interested in creating fine prints that will do this process justice. More experiments are in order. Best of all, this process is pure fun. With just a bit of waiting time thrown in. Just enough time to sit down at the typewriter and ponder.
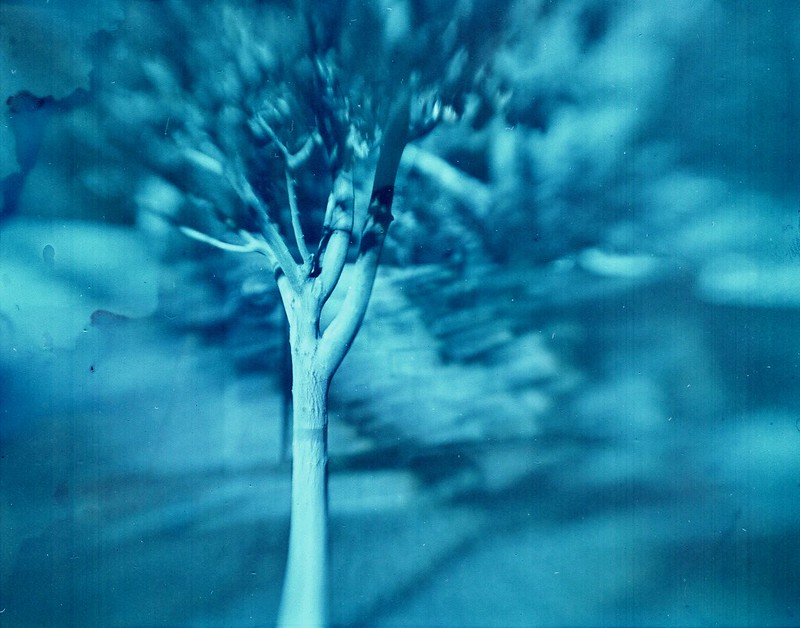
Tree Test001 (1)
1 hour exposure on Ilford multigrade paper. 150mm-f/3 binocular lens on Speed Graphic.

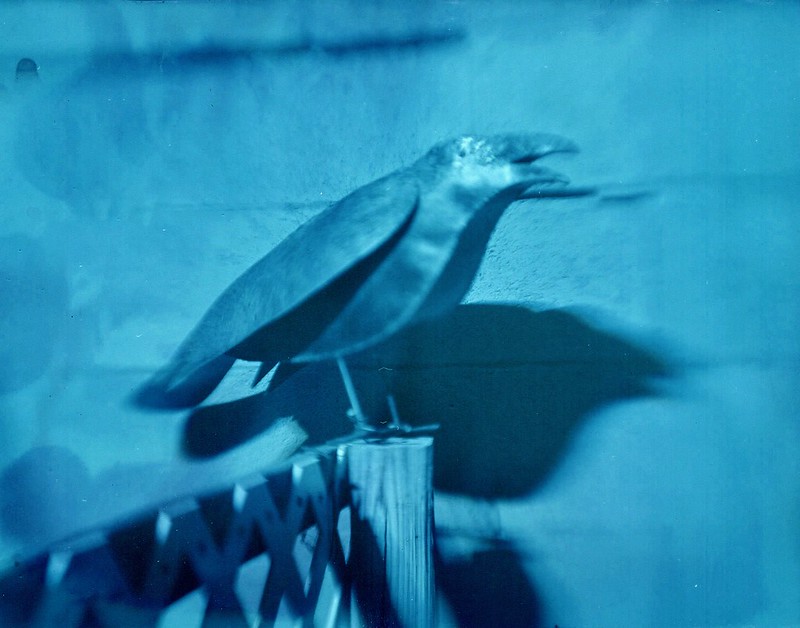
Raven Test001 (1)
1 hour exposure on Ilford multigrade paper. 150mm-f/3 binocular lens on Speed Graphic.

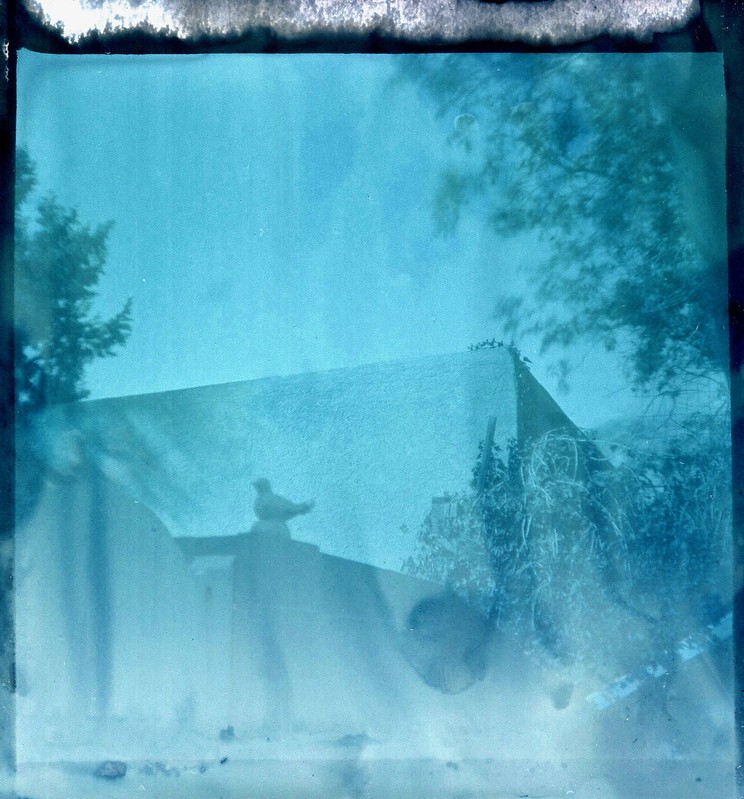
House Test001 (1)
1 hour exposure on Ilford multigrade paper. Kodak Ektar 127-f/4.7 lens in Cinema Lumen Box camera.

Labels: ,

Wednesday, August 16, 2017

Ice, Ice Baby!

Trellis002a

I'm posting an article about a photography project that I have not yet made. I don't actually know how successful it will be, truth be told. But I'm posting this in the hopes that, come winter and the cold climate, you'll hold me accountable by ensuring that I haven't forgotten.

The idea is simple, and has probably already been done. Uniqueness isn't the objective (pardon the pun), however. I'm merely curious to know if it'll work, and to see the resulting images for myself.

Back about 150 years ago, photographic technology was cumbersome and the processes trouble-prone, not because people purposefully sought after difficulties, but because the state of the art was primitive. And yet many of them succeeded, remarkably so. My idea is entirely cumbersome and somewhat difficult, and entirely impractical; you wouldn't want to go off and start creating images this way, even considering alternatives such as wet plate collodion, which might be easier to achieve than what I'm thinking of doing.

I want to make a liquid-proof camera that uses an ice lens. A simple, single-element meniscus lens, made from ice, with a paper negative as the light-sensitive medium. And I want the water making up the ice to have about 1/15th of its volume to be concentrated liquid paper developer.

When you mix a working solution of paper developer from liquid concentrate, in a dilution of around 1:15, the solution is slightly yellow in tone. This shouldn't be a major problem for forming an image, as people who do dabble in paper negatives are known to use a yellow filter over their lens to filter out the blue light and therefore make multigrade paper achieve a bit less blown-out contrast in daylight conditions.

My purpose for using frozen paper developer as a lens is not to make it yellow colored (that's merely a side attribute), but for the developing process after the exposure is made. I want to cap the lens, then somehow make the lens fall into the back of the camera, after which the camera will be taken into a warm indoor climate and I'll wait for the lens to melt, then gently agitate the camera so the paper negative will develop an image. After sufficient development time, I'll take the camera into the darkroom (or a changing bag), pour out the melted lens solution and fix the negative.

The camera needs to be made from some waterproof material like opaque plastic, so it will function as a developing tank.

I still haven't figured out how to make the lens fall into the back of the camera after the exposure is made. But I'll figure out something.

Obviously, doing this in sub-freezing temperatures will make the whole process a bit easier.

I don't know how transparent the lens will be, however. Looking at ice cubes coming out of the freezer, some are clear and others frosted over. I suppose a quick spray of water might clean off any frost. I can also foresee the lens frosting over once it's taken outside, if the temperature and/or humidity is not correct. I don't know how to predict what will happen without simply trying.

To mold the ice lenses, I was thinking of finding a certain kind of ice cube tray that make round, cylindrical cubes with a convex, rounded bottom. Then fill each section up to only fill the bottom, rounded section. The result should be a Plano-convex lens shape. A tray with a dozen compartments should give me enough lenses for experimentation.

I'm only assuming that the 1:15 solution of developer and water will still freeze somewhere around the same temperature of regular water.

Totally impractical, right? You wouldn't want to go off and start a portrait business using ice lenses. But it does sound like a fun project, impractical as it might be.

Just ping me with an email come December and remind me to work on this, will you? Thanks!

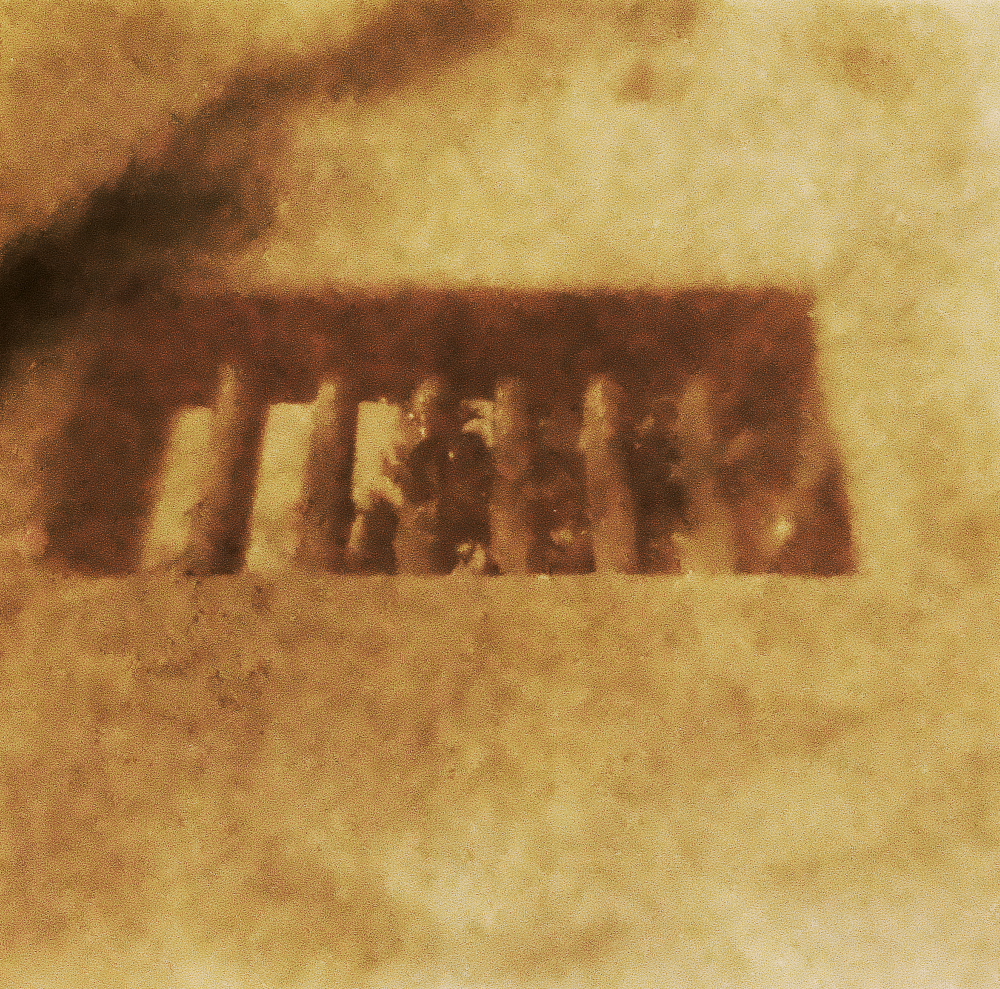
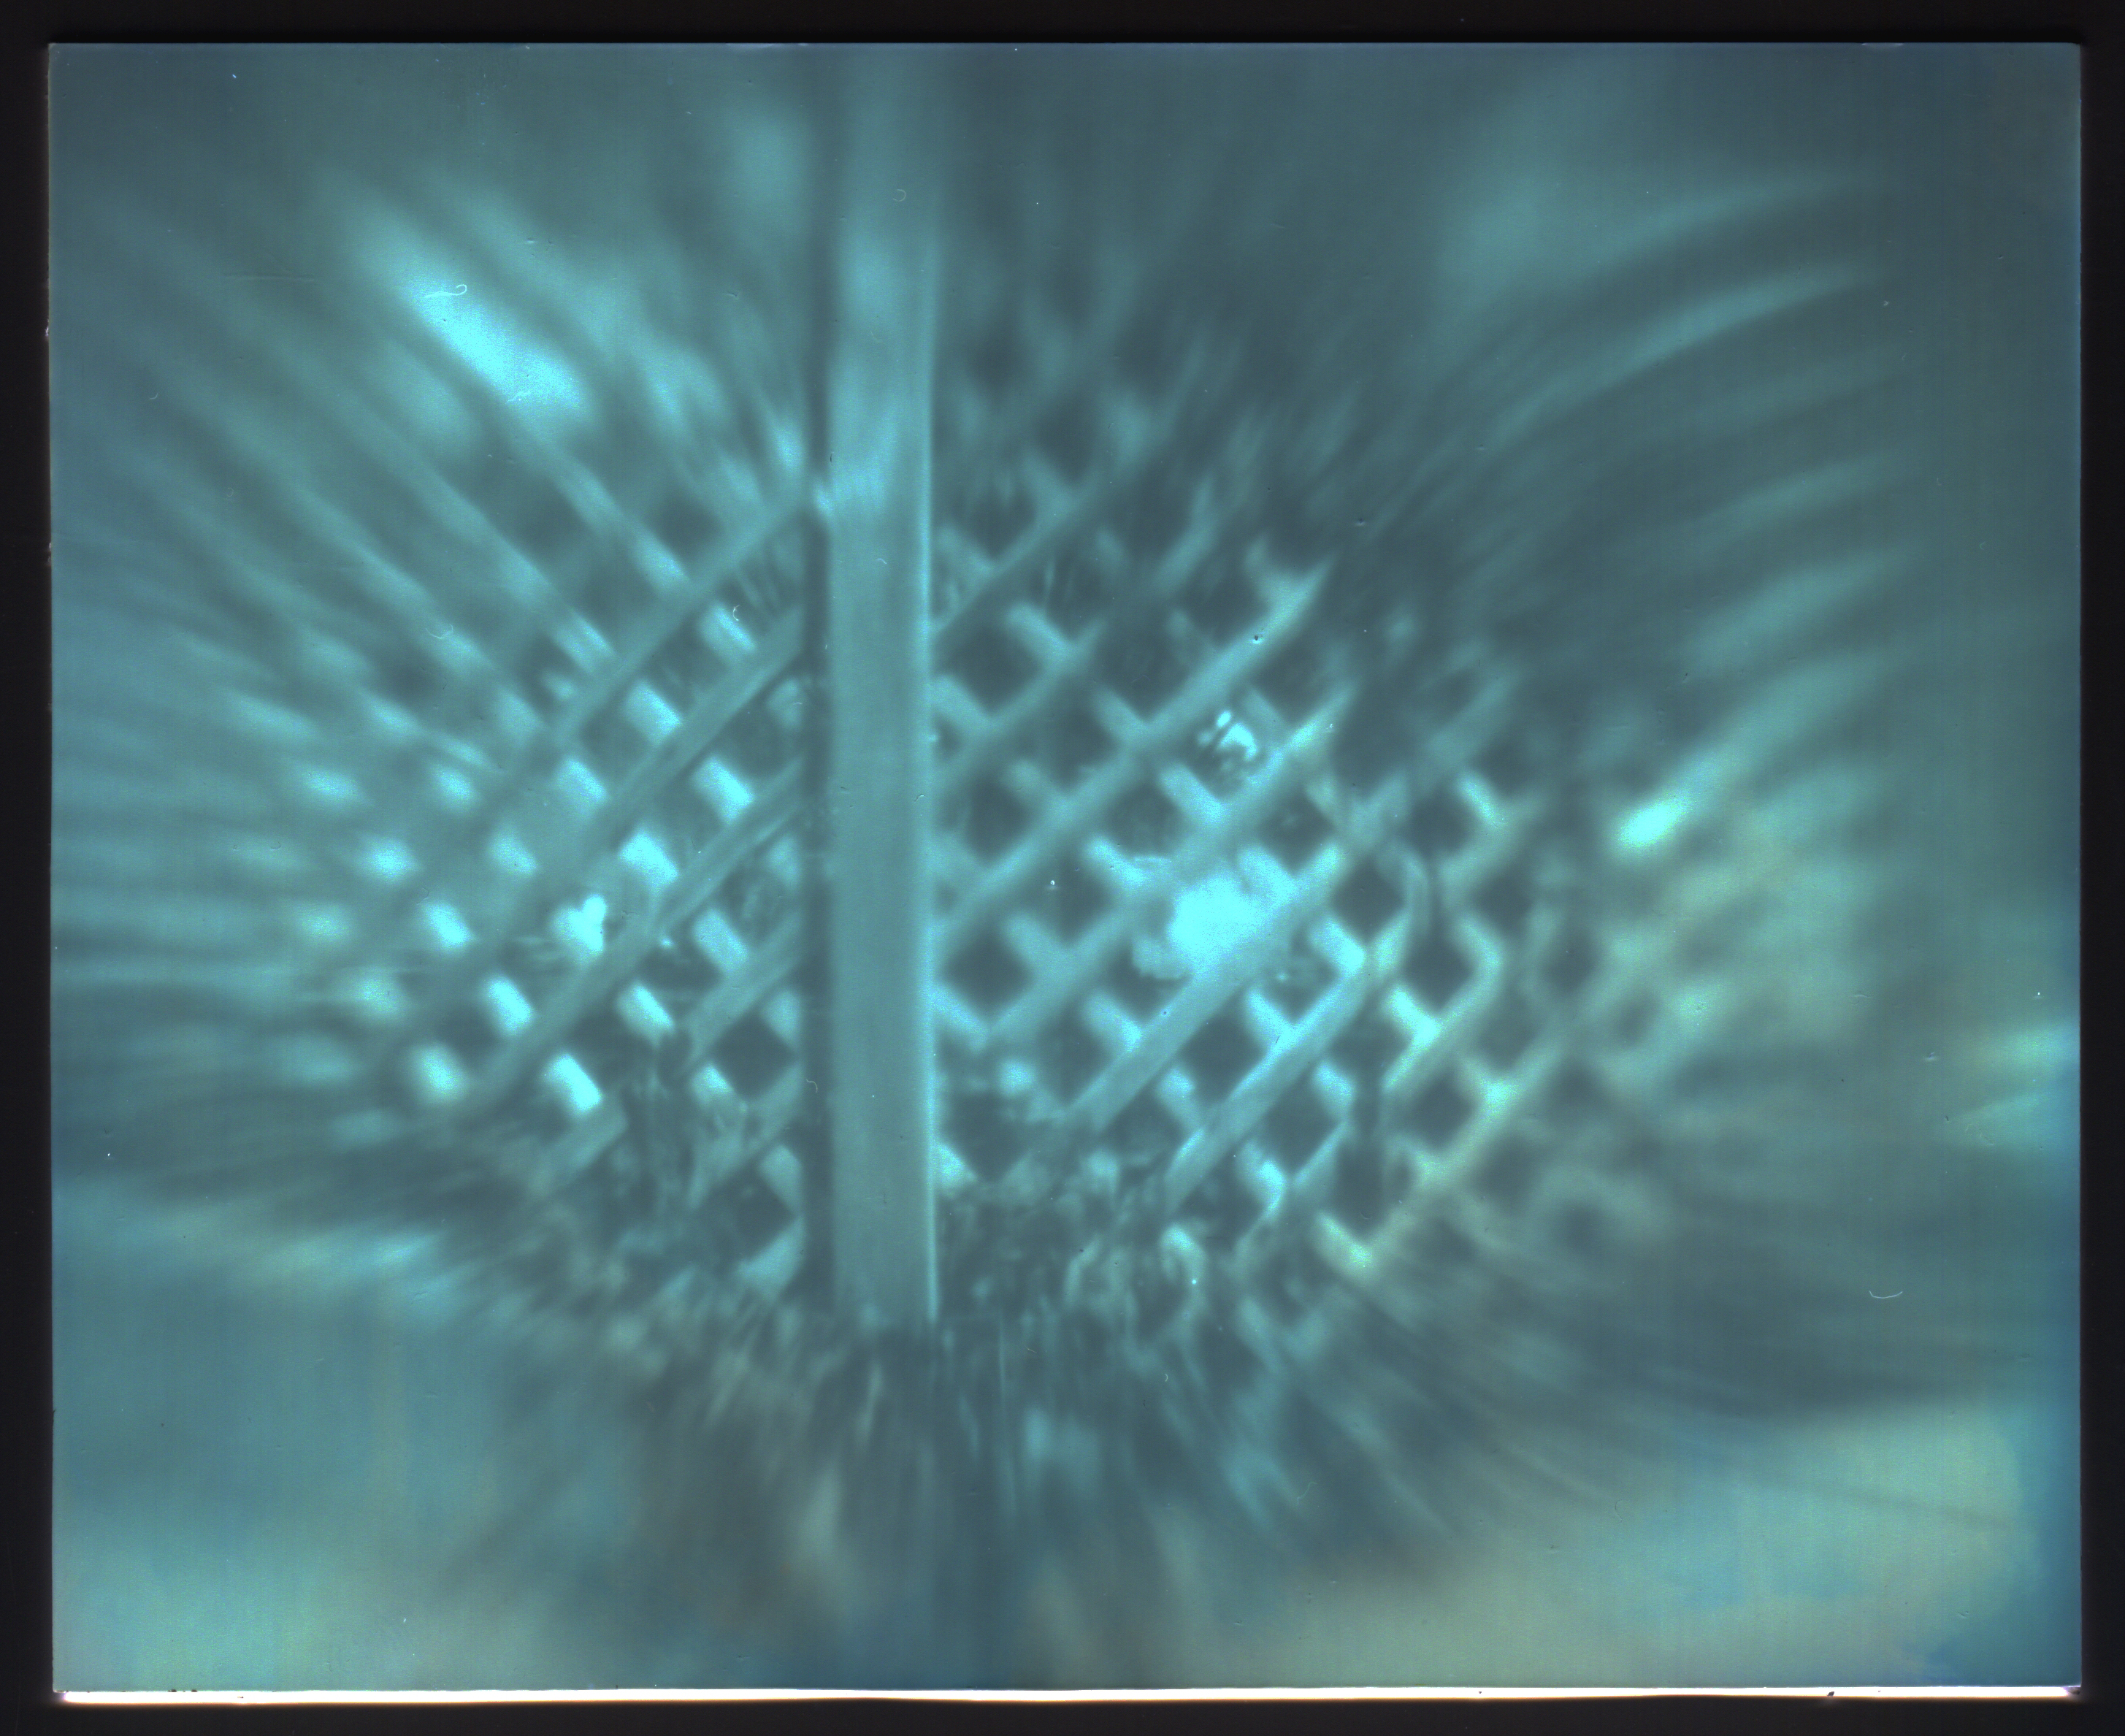
Post-Script: The top image is a positive inversion of a lumen print, made by exposing light-sensitive paper in a camera without subsequent development; the color change is due to auto-development of the silver halides.

Labels: , , ,

Tuesday, October 18, 2016

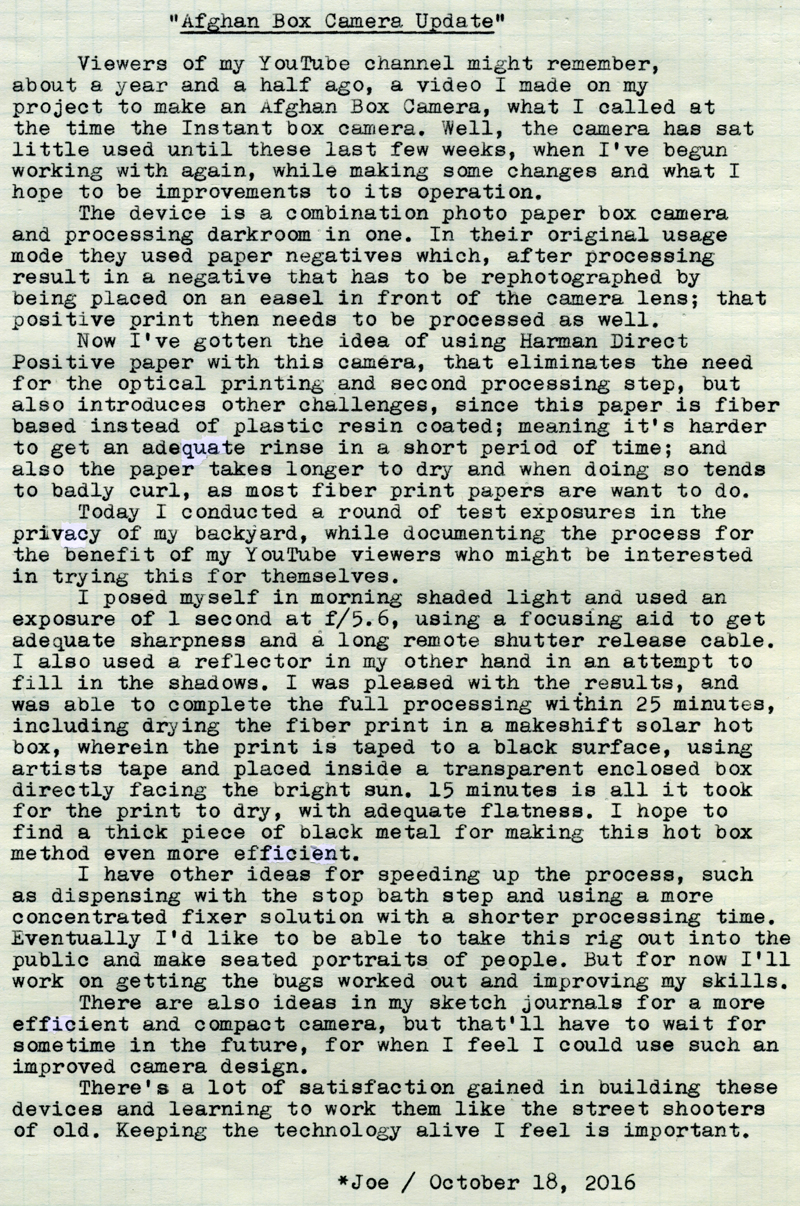
Afghan Box Camera Update


Typecast194

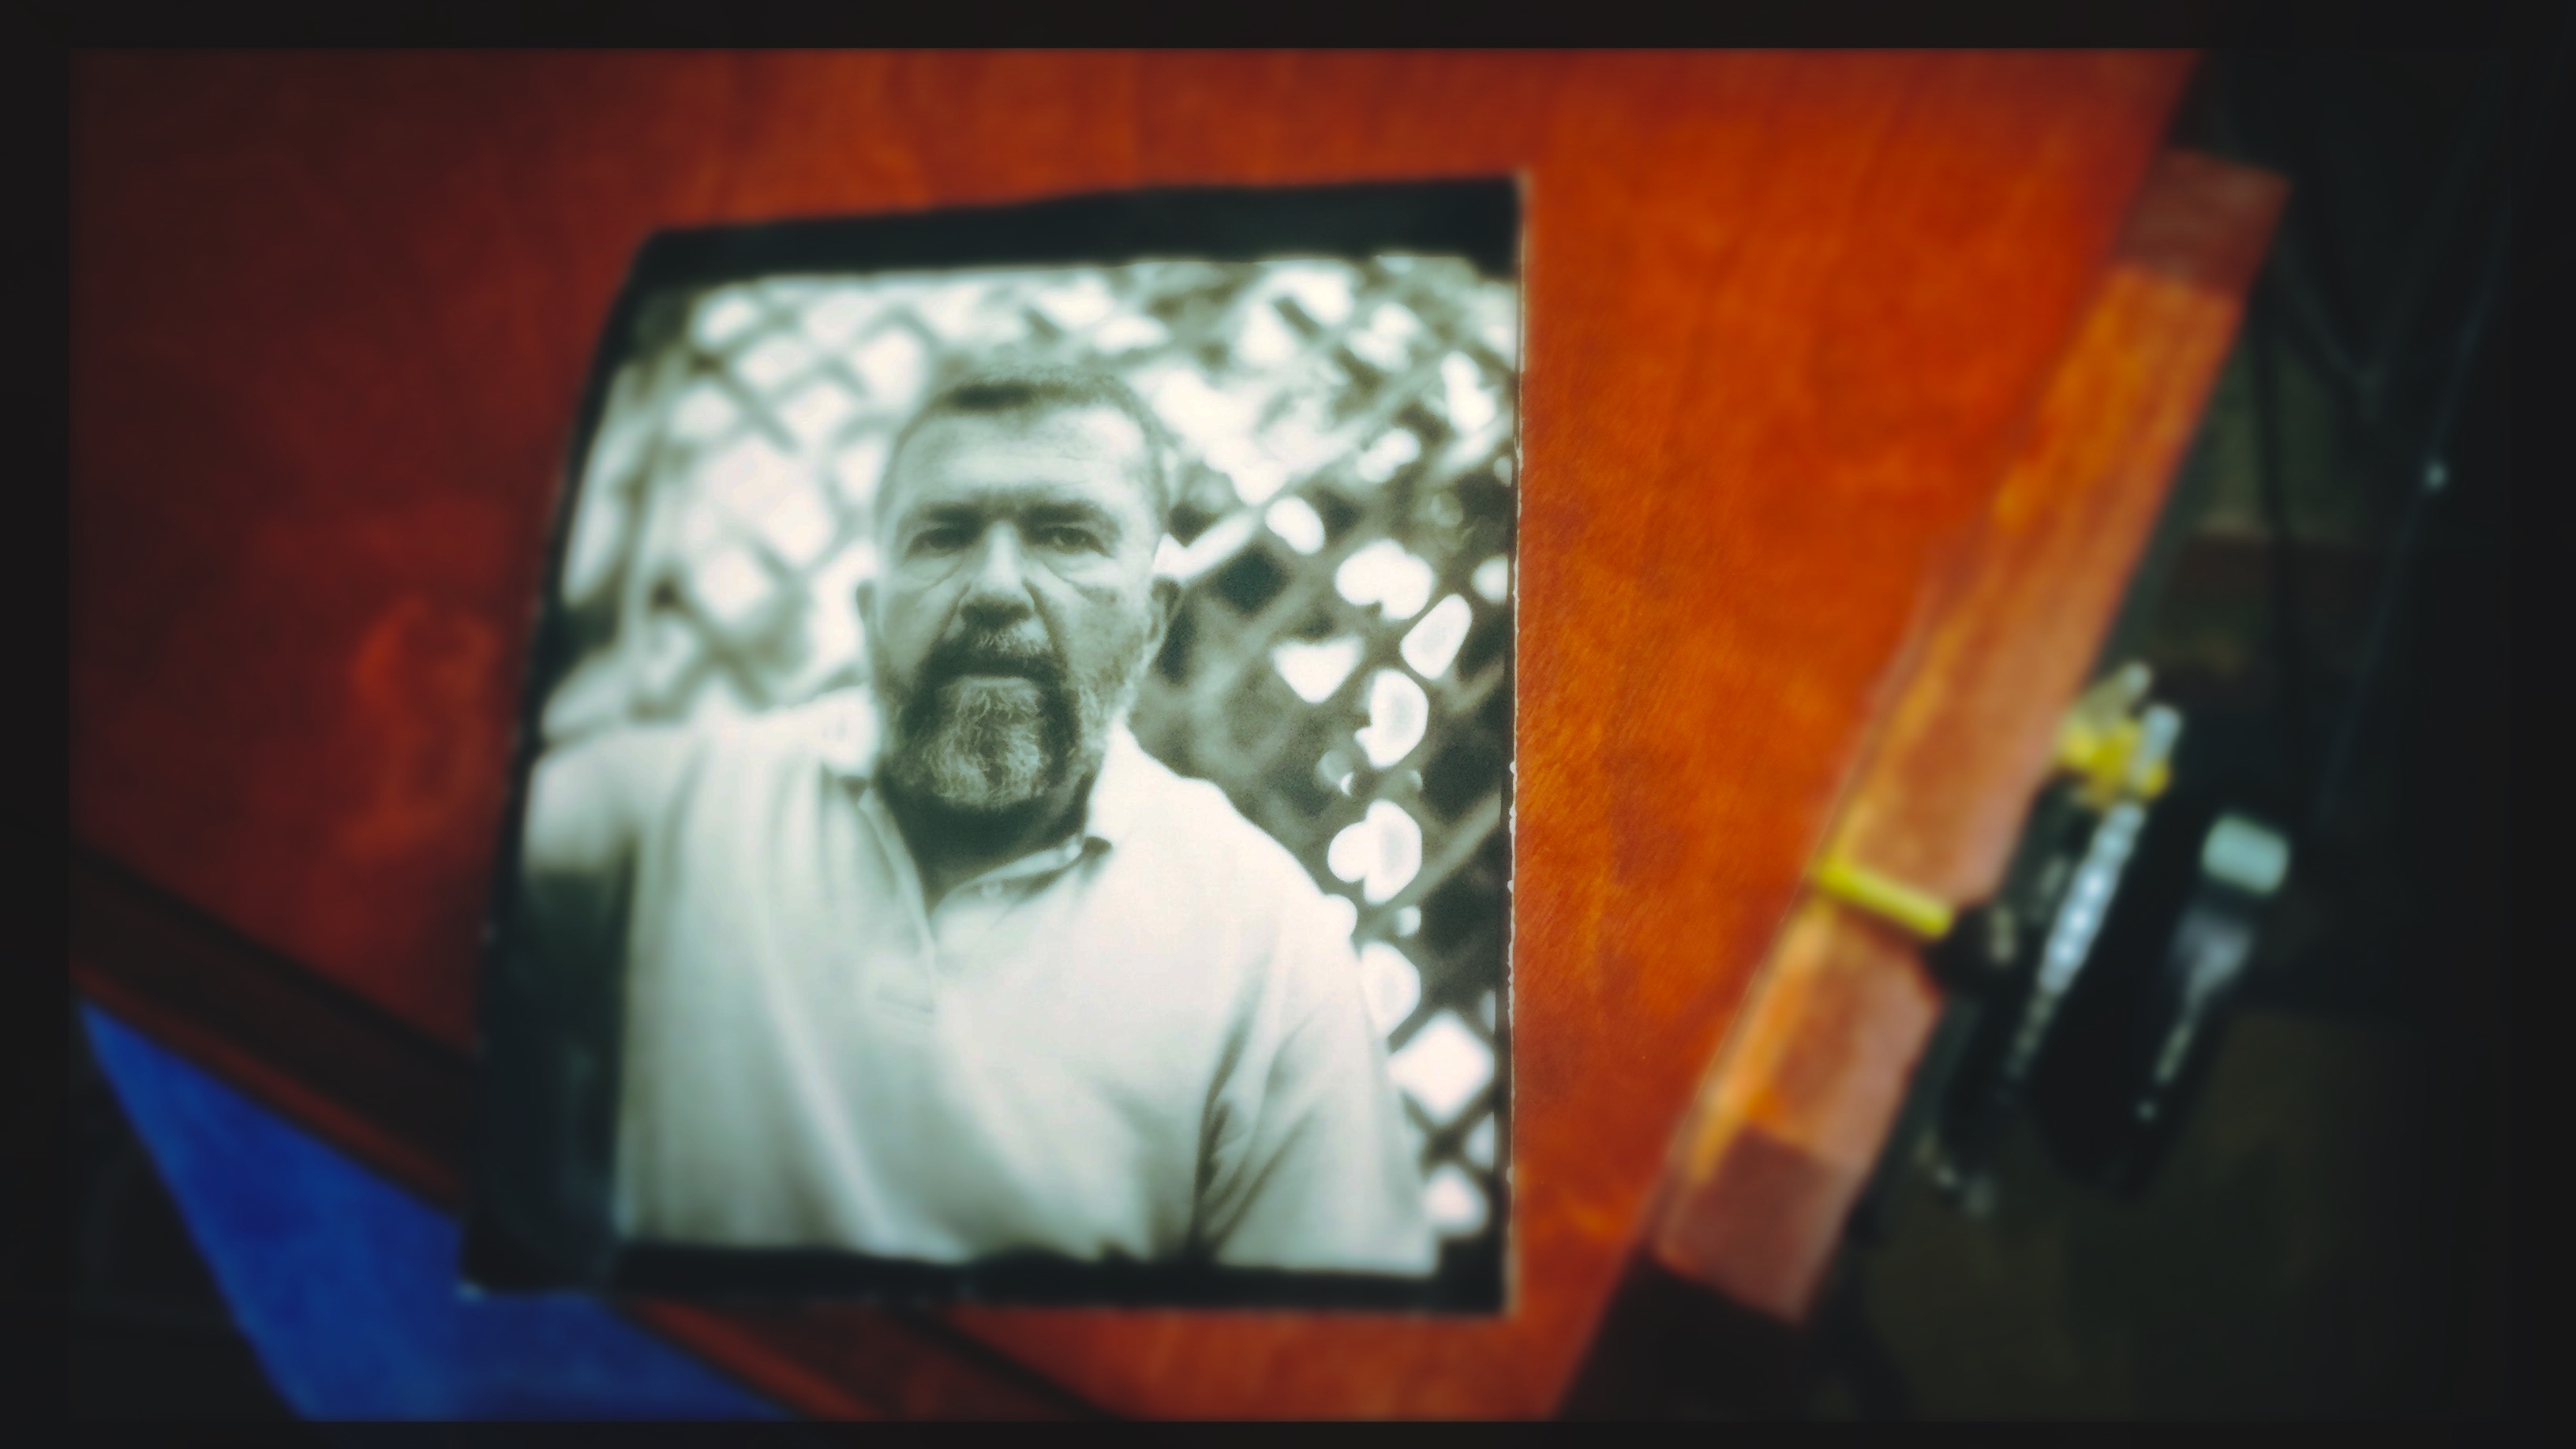
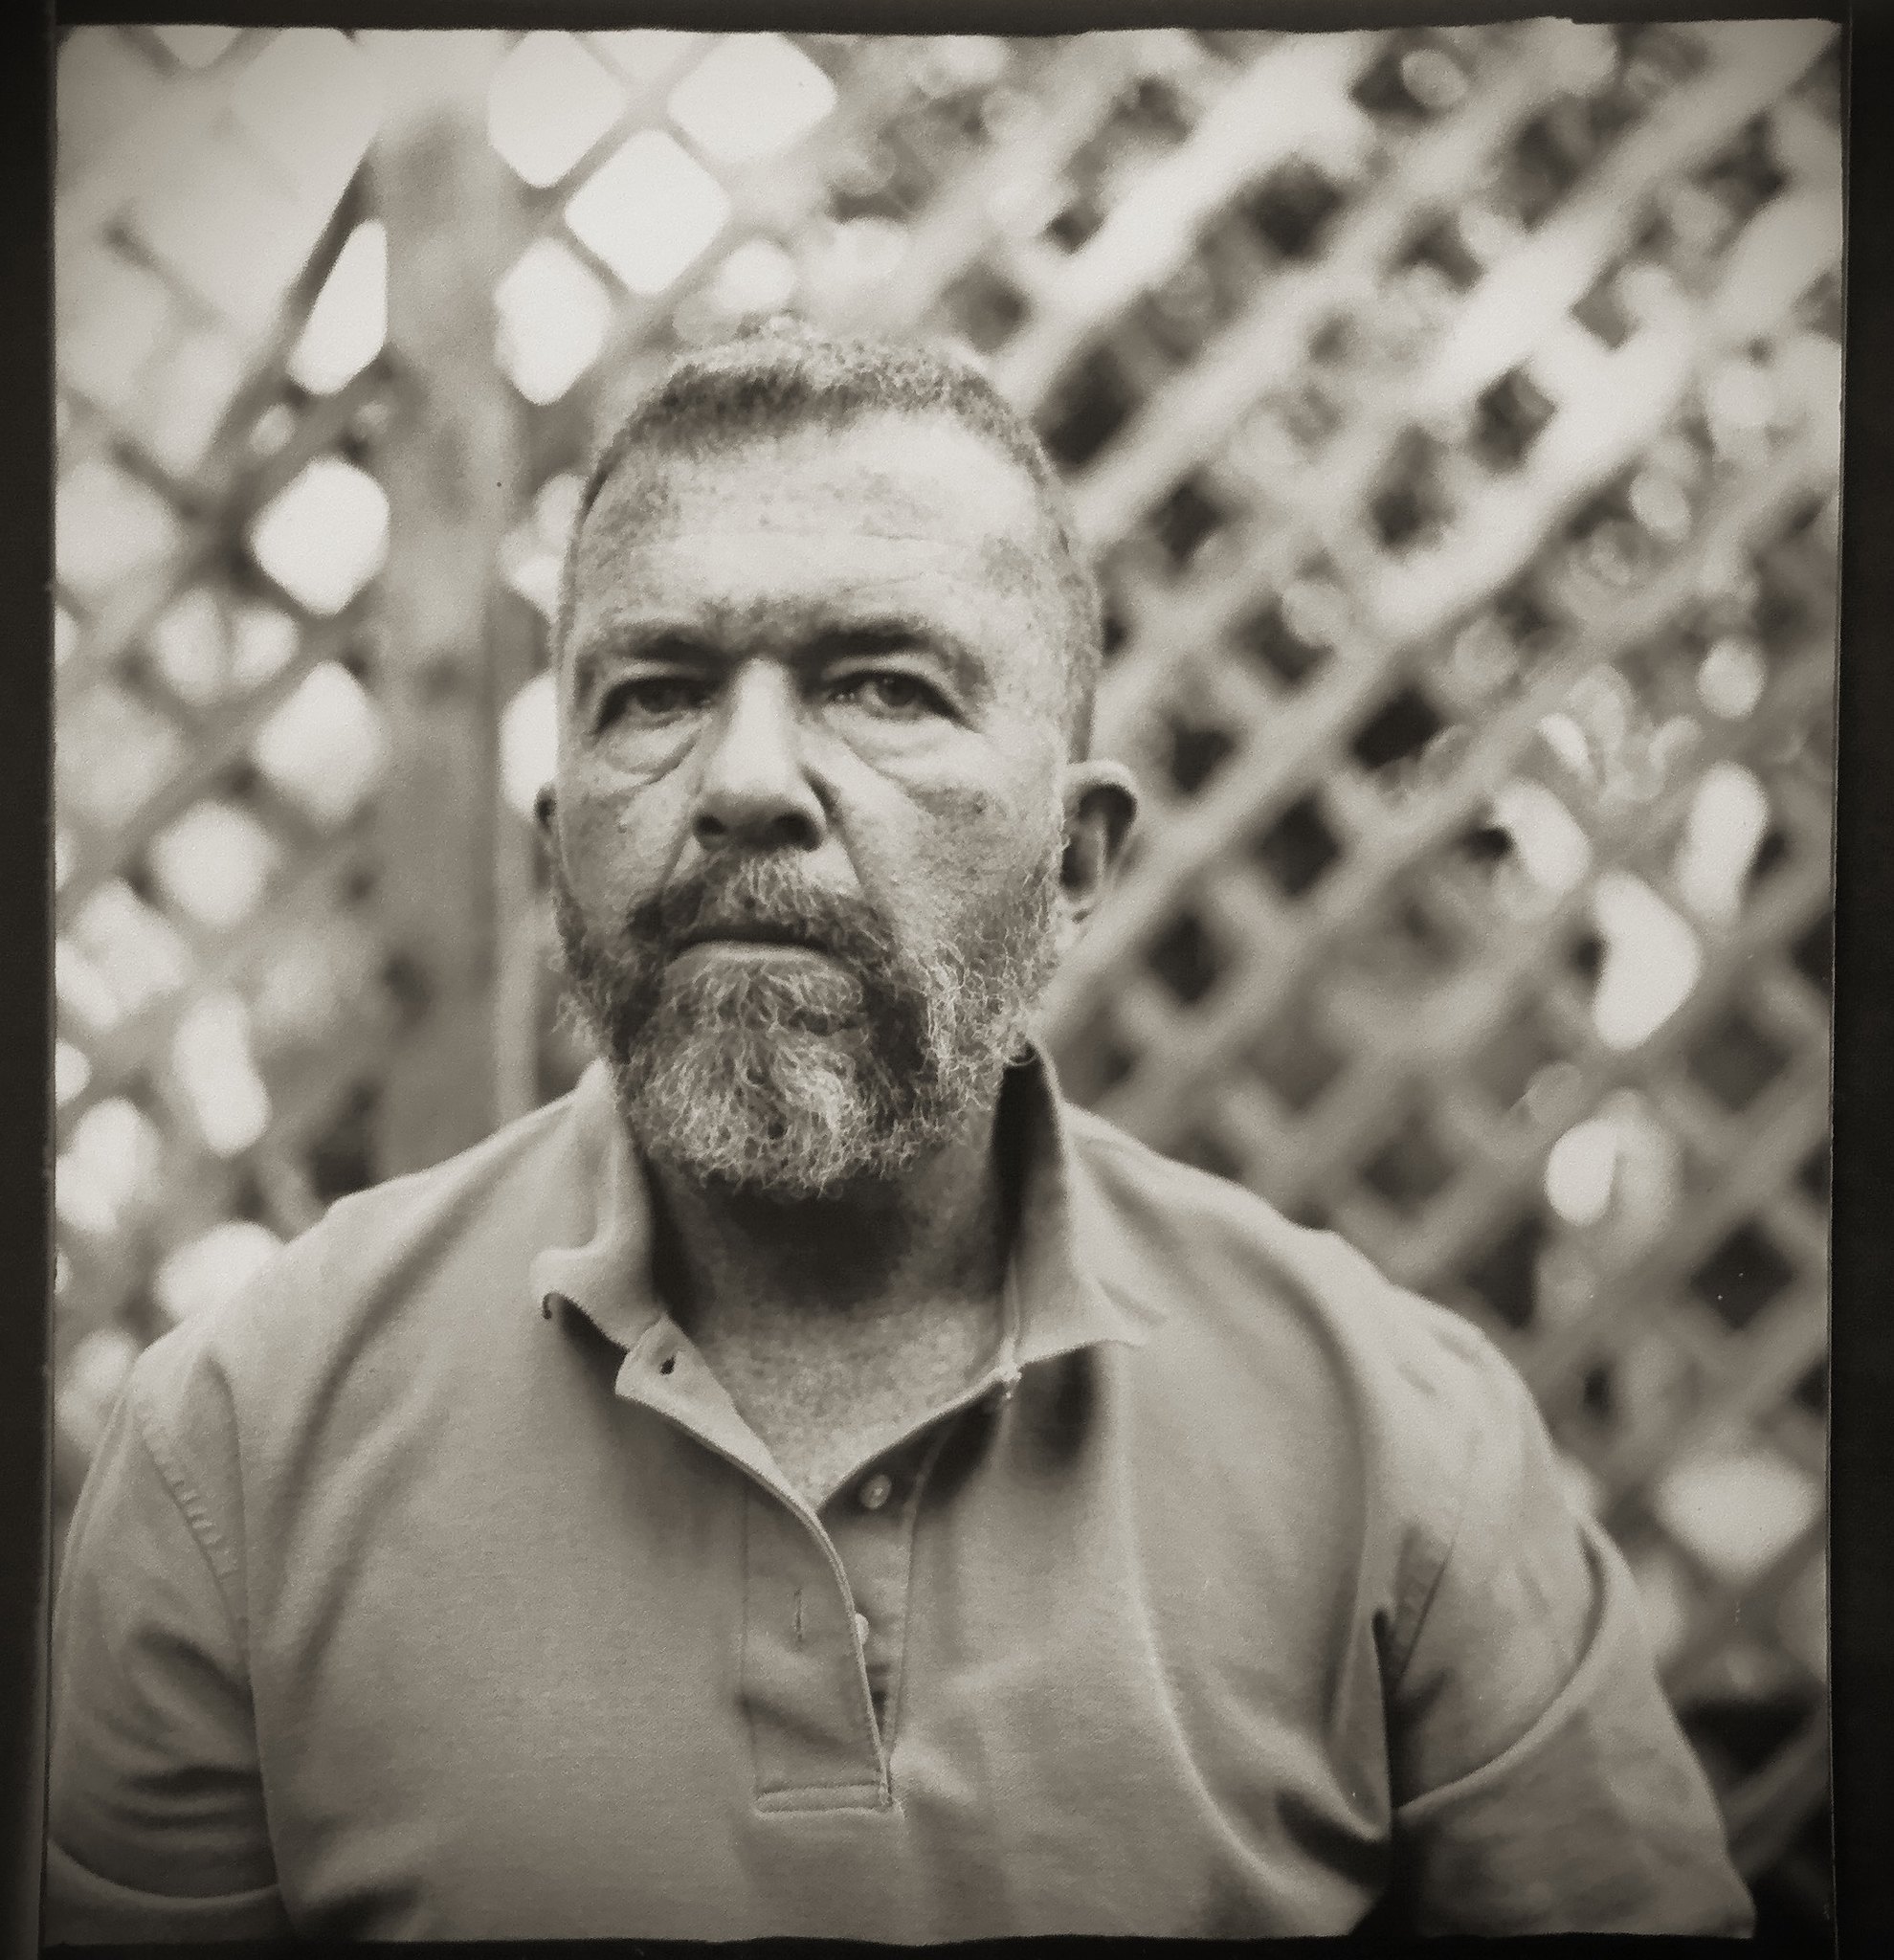
Afghan Box Camera Selfie, Harman Direct Positive Paper
The Hipstamatically soft thumbnail image for the video

Post-Script: This was an enjoyable project to work with again, as was the video edit itself. I hope to provide more updates as they warrant; hopefully a bit more timely than the year and a half gap since the project's inception.

This marks the first time I've used my Android tablet for video production, enabled only after an extensive period of fiddling around yesterday. I had to purchase a video editing app, learn to work it, then figure out how to transfer files from my camera. What ended up working the easiest and quickest was simply to transfer the camera's micro-SD card to the tablet.

Transfering and managing files on the tablet was only possible with a file transfer and management app, also acquired yesterday. Once the video edit was completed and finalized, I had problems uploading the video to YouTube via the tablet's browser, something I've been able to consistently do with my iOS devices. I ended up wiring the tablet to my desktop PC via USB and transferring the finished movie to its hard-drive, after which it was relatively painless to get it online. So while it worked, it isn't conducive for video production on the road, which will have to rely on the iOS platforms instead.

It's all too easy to get inundated in the minutia of the technology and forget what the purpose is for, which is why I like solutions that are less error-prone. The only advantage the Android tablet offers me is an expanded memory size, since I can use external SD cards instead of, in the case of iOS devices, having to rely on their internal, unexpandable memory.

Typecast via Olivetti Underwood 21, the subject of a recent episode of the Typewriter Video Series. And I liked using once again the green engineering grid paper.

Labels: , ,

Wednesday, October 12, 2016

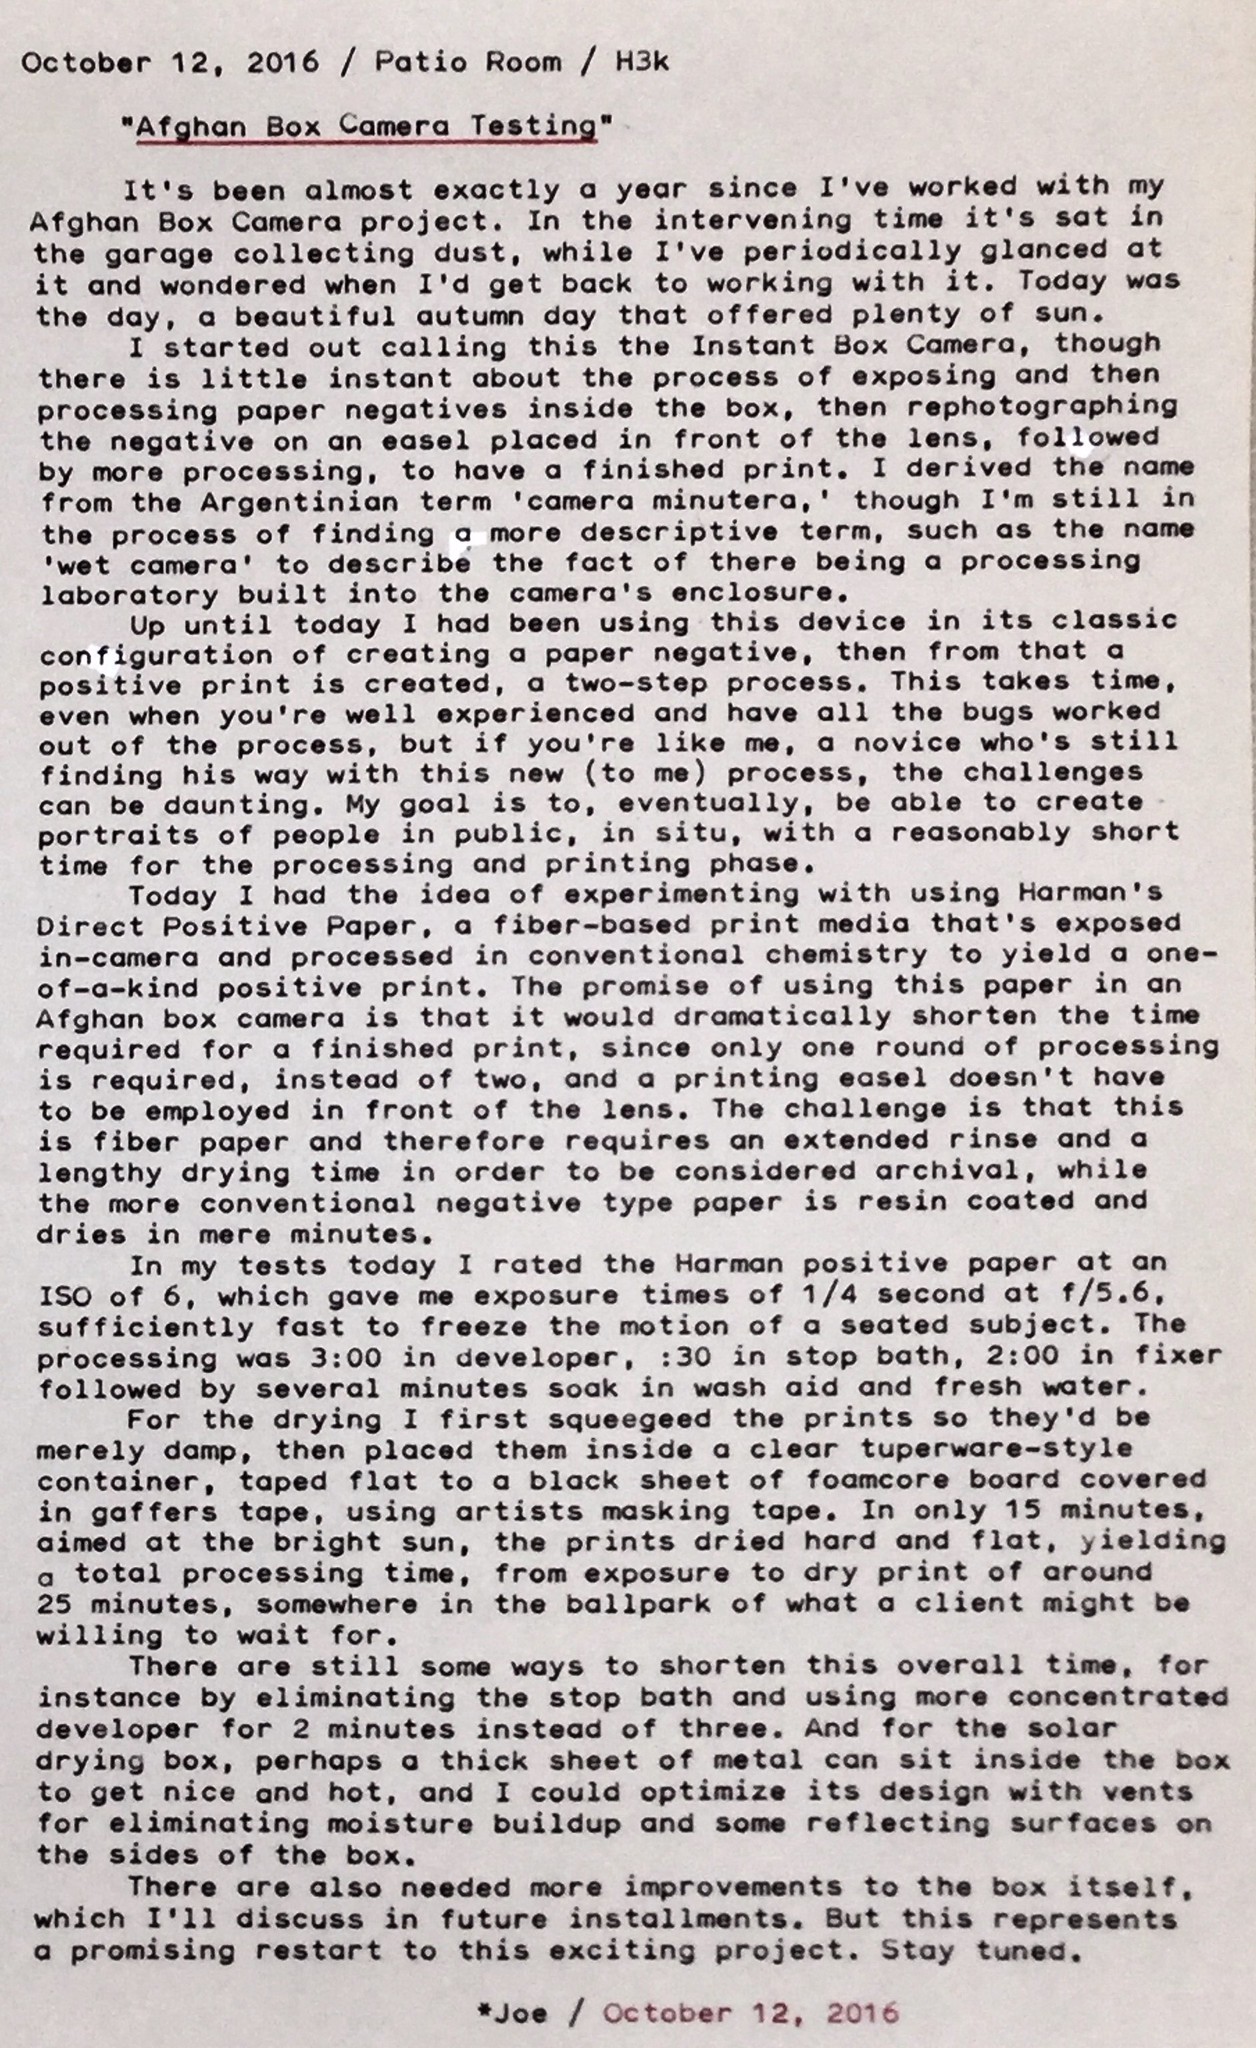
Afghan Box Camera Update

Paper Negative Selfie

Afghan Box Camera Testing

Post-Script: I was surprised how fast the fiber prints dried inside a little hot box aimed at the bright midday sun. Optimizing the efficiency of the drying box will certainly speed up the overall process.

For the exposures I was reflective metering my face, situated in bright shade, with the Harman paper rated at around ISO 6. Eventually I'm going to want to also use some reflectors to get better portrait lighting, but I don't want to be encumbered with excessive amounts of gear, since I foresee doing this alone, with no assistant to help. I think if I hold a collapsible reflector it should work fine; I couldn't do that today because I had the shutter release cable in one hand and a focusing target in the other,and I was the seated subject.

The way I managed these selfie tests was to use a second tripod where I would be seated, with a focusing target, attached to the front of the camera with a string stretched tight and taped to the tripod. Once I focused the camera on the target I removed the tripod and put my chair in its place. When seated in front of the camera, I would stretch the string tight and place the target adjacent to my eyes, then adjust my head position up, down and sideways relative to the front of the camera; then slowly lower the target and, without moving my head or blinking, click the shutter.

Were I making someone else's portrait I'd have a free hand to manage a reflector.

I mentioned some changes I want to make to the camera. If I dispense with the stop bath tray, I can move the developer tray back to the middle of the box, giving me more room up front, under the lens, for a bigger and easier to operate paper safe for direct positive paper. Another thing is that the film format size, being 4-5/8" by 3-3/4", was designed to fit the film plane mechanism, rather than the other way around. It would be nice to enlarge the format size a bit, ideally to 4"-by-6" so that framing and display of the prints would be easier on the clients. I'm not certain if I can enlarge the film plane mechanism and it's focusing rod system without totally rebuilding the box; which if I had to do, would be easier just to build a new box from scratch.

I've had a newer design sketched out for a while, with vertical processing slot tanks, a vertical slot paper safe and a layout with the camera part on top and the processing area below, with the arm sleeve in between; think of a box that looks something like the shape and size of a desktop PC chassis sitting on the short end and you get the idea.

Labels: , ,

Tuesday, May 31, 2016

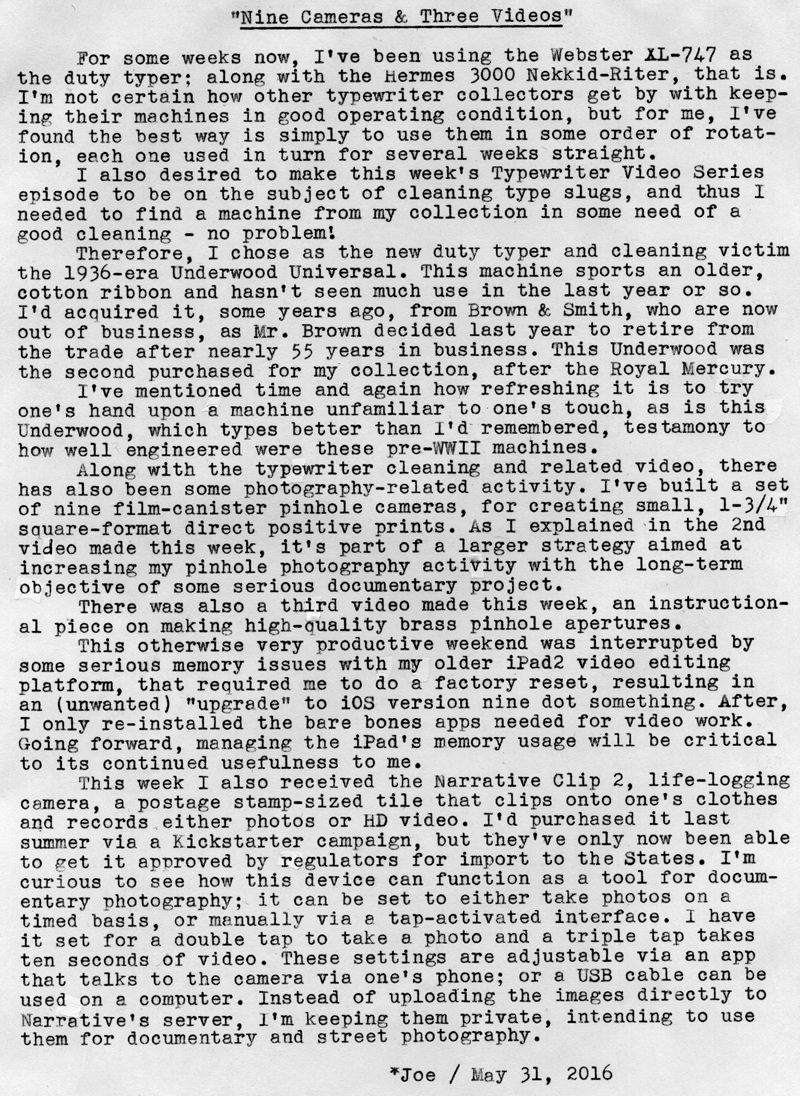
Nine Cameras & Three Videos


TWVS Episode 16: Cleaning Type Slugs


Making Pinhole Camera Apertures


Film Canister Pinhole Camera Project
Typecast173

Post-Script: I suppose, counting the Clip 2, it would be ten cameras.

I did an initial round of test-exposures for the nine little pinhole cameras, and everything worked as expected. My hand-fashioned pinholes are close enough in size to each other that I don't need a different focal ratio (and hence exposure time) for each camera; which was my objective.

The Narrative Clip 2 is really designed for life-logging by people who are always connected via smart phone; whereas my objective is more purposeful. I also don't want all those many photos uploading to someone else's server, I'd rather sort through them myself, delete the junk files (because a life-logging camera will produce a ton of junk images, at a rate of one per every 30 or 60 seconds, for example), and keep (and control the usage of) the rest. But the app enables one to also control the settings of the camera, including how often pictures are automatically recorded, and the length of video clips, etc. Though I haven't tried it with the new iOS version 9-dot-something on my iPad 2, I couldn't download the Narrative app with the older version 7-dot-something; nor was the Android app version compatible with my Dell tablet; hence why I'm for now using the PC version and downloading the images via USB straight to my hard drives.

And just in case you were wondering, I don't carry a "smart" phone, instead opting for a "dumb" (i.e. "flip") phone, whose service plan only costs me $15 per month. Not because I'm a Luddite but because, one, I'm cheap; and two, I have a "smart" phone for work, and detest the thing's constant desire to be fondled and caressed, like some poor, neglected child with psychological issues. Also, I enjoy ending calls by slamming the flip-phone shut, with that satisfying, tactile ker-thwack; much better than poking at a smudgy glass screen.

Typecast via Underwood Universal.

Labels: , , , , , , , , ,

Tuesday, May 10, 2016

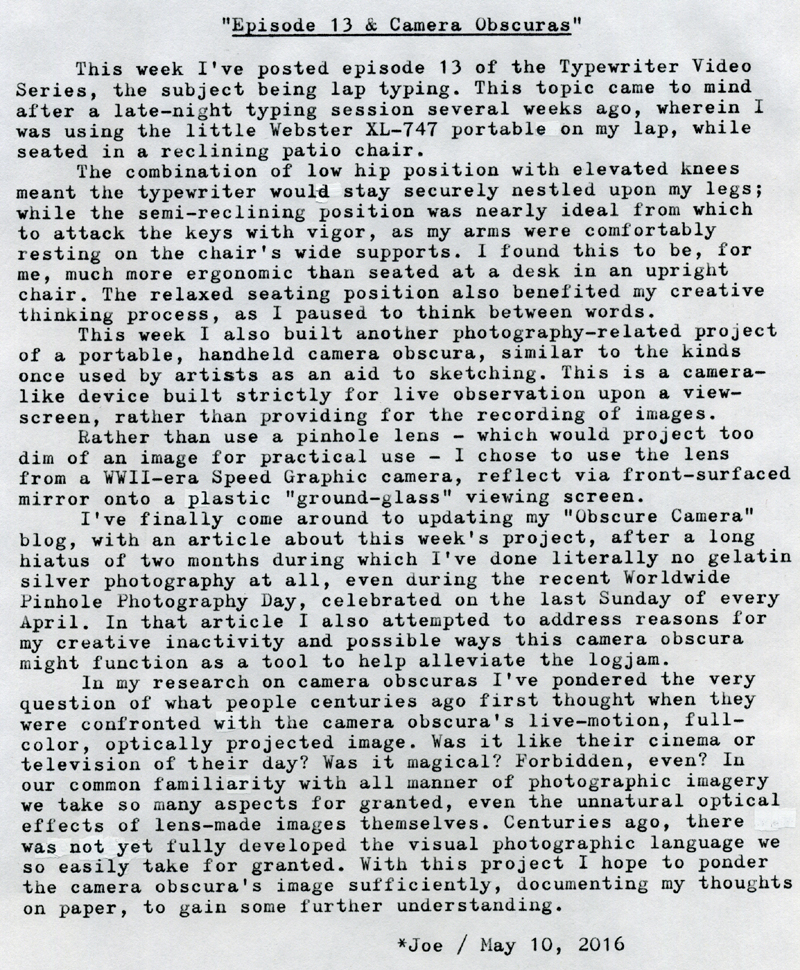
Episode 13 & Camera Obscuras


Typecast170

Post-Script: My Obscure Camera blog article is here.

Here's the website for Worldwide Pinhole Photography Day. Be sure to check out all the gallery images from pinhole photographers around the world.

Typecast via Hermes 3000 "Nekkid-Riter."

Labels: , , , , , , ,

Monday, February 01, 2016

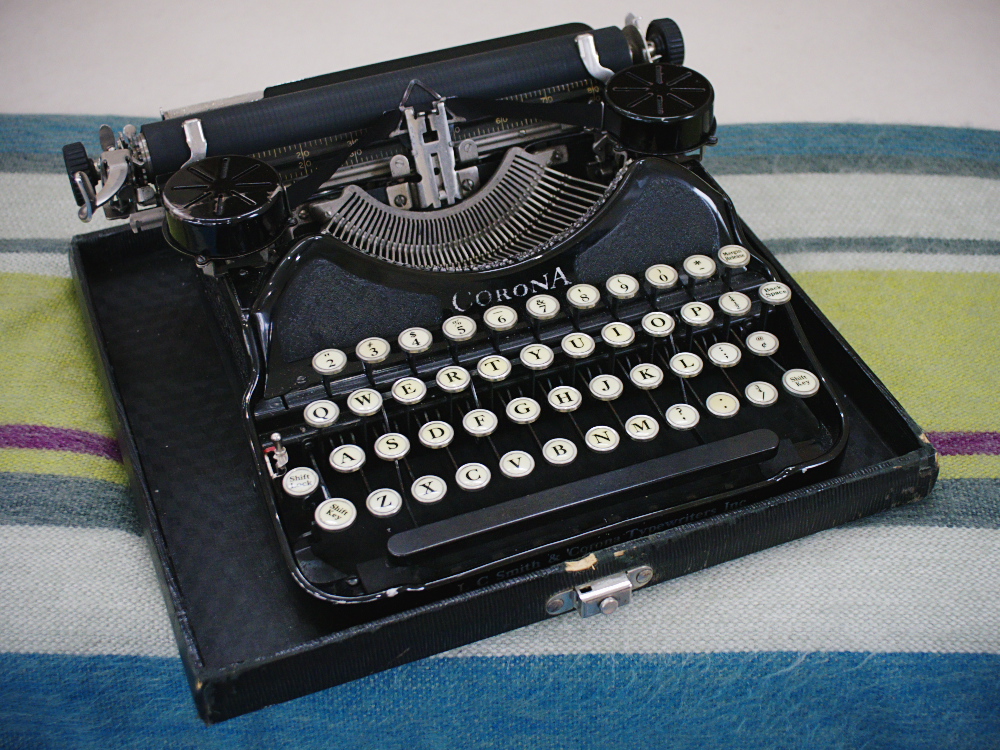
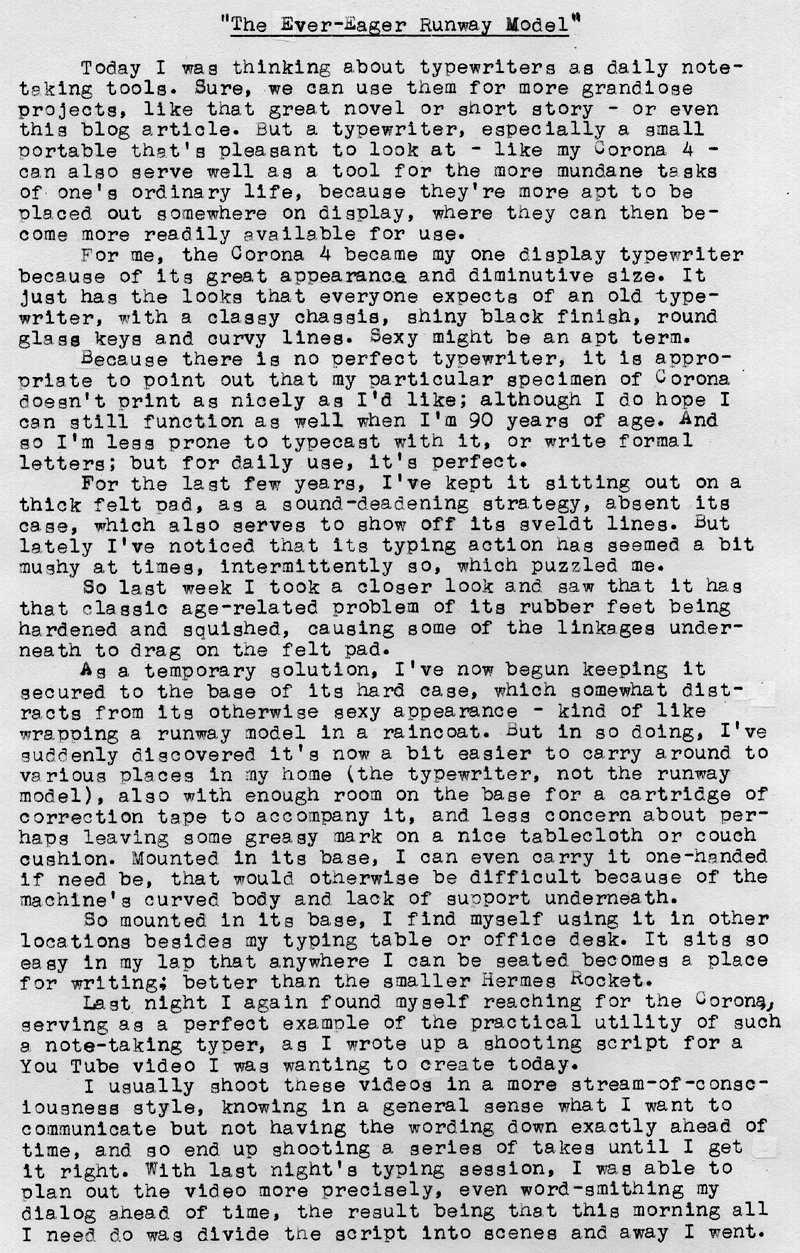
The Ever-Eager Runway Model

P1110634a
Typecast133
P1110635a
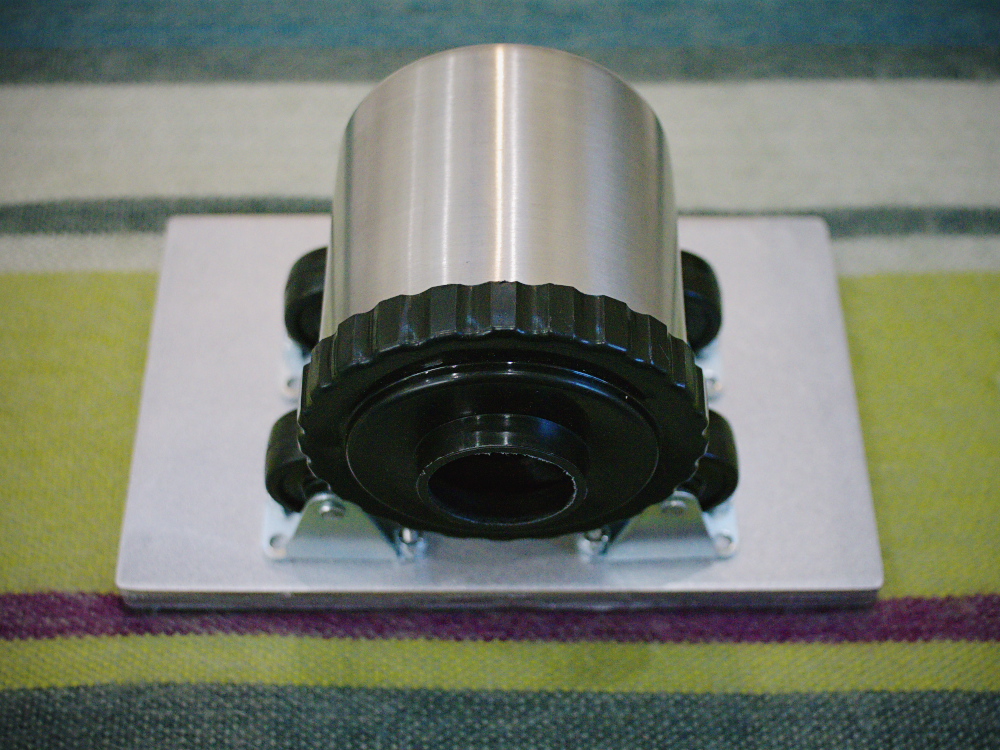
The subject of today's video, a roller base for 35mm development tanks
Typecast134
Post-Script: Though I've kept the Corona 4 on display for some years, I haven't paid it as much attention as it deserves, hence why I only found out last week the problem with its feet. If after I replace the feet I decide to continue using it inside its base, I might add a thin sheet of craft foam underneath, to dampen the sound; it's noticeably louder now, absent the thick felt pad.

Should you be interested, here's an embedded link to the You Tube video I was working on, about a project for making a roller base for 35mm film development tanks, for use with rotary processing small direct positive paper prints.


Photo via Lumix G5.

Labels: , , ,

Monday, January 25, 2016

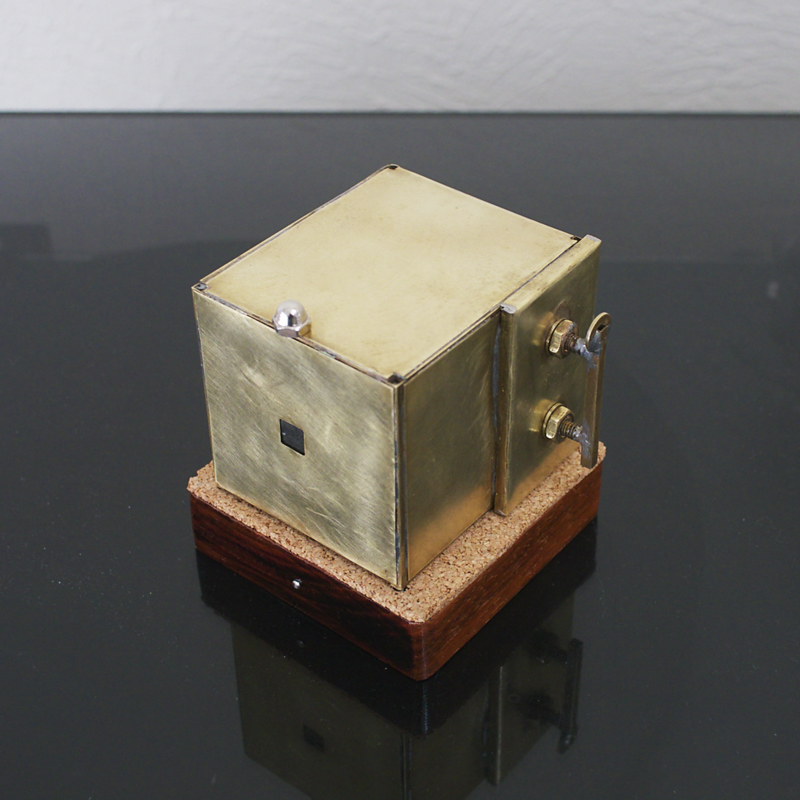
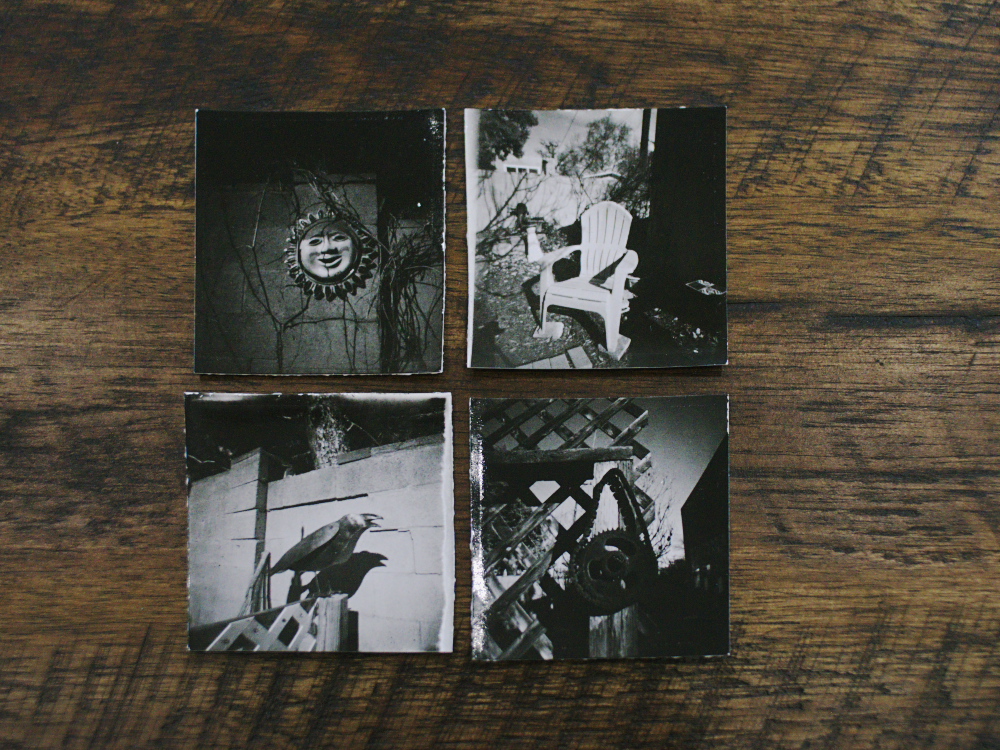
One Flew the Coop

P1110609a
Typecast131
P1110605a
Typecast132

Post-Script: Here's a link to Harman Direct Positive Paper at Freestyle Photo. In case you're curious, here's a link to the corresponding article on my photography blog. And here's a link to my You Tube videos.

Typecast via Smith-Corona Galaxy 12.

Labels: , , , ,