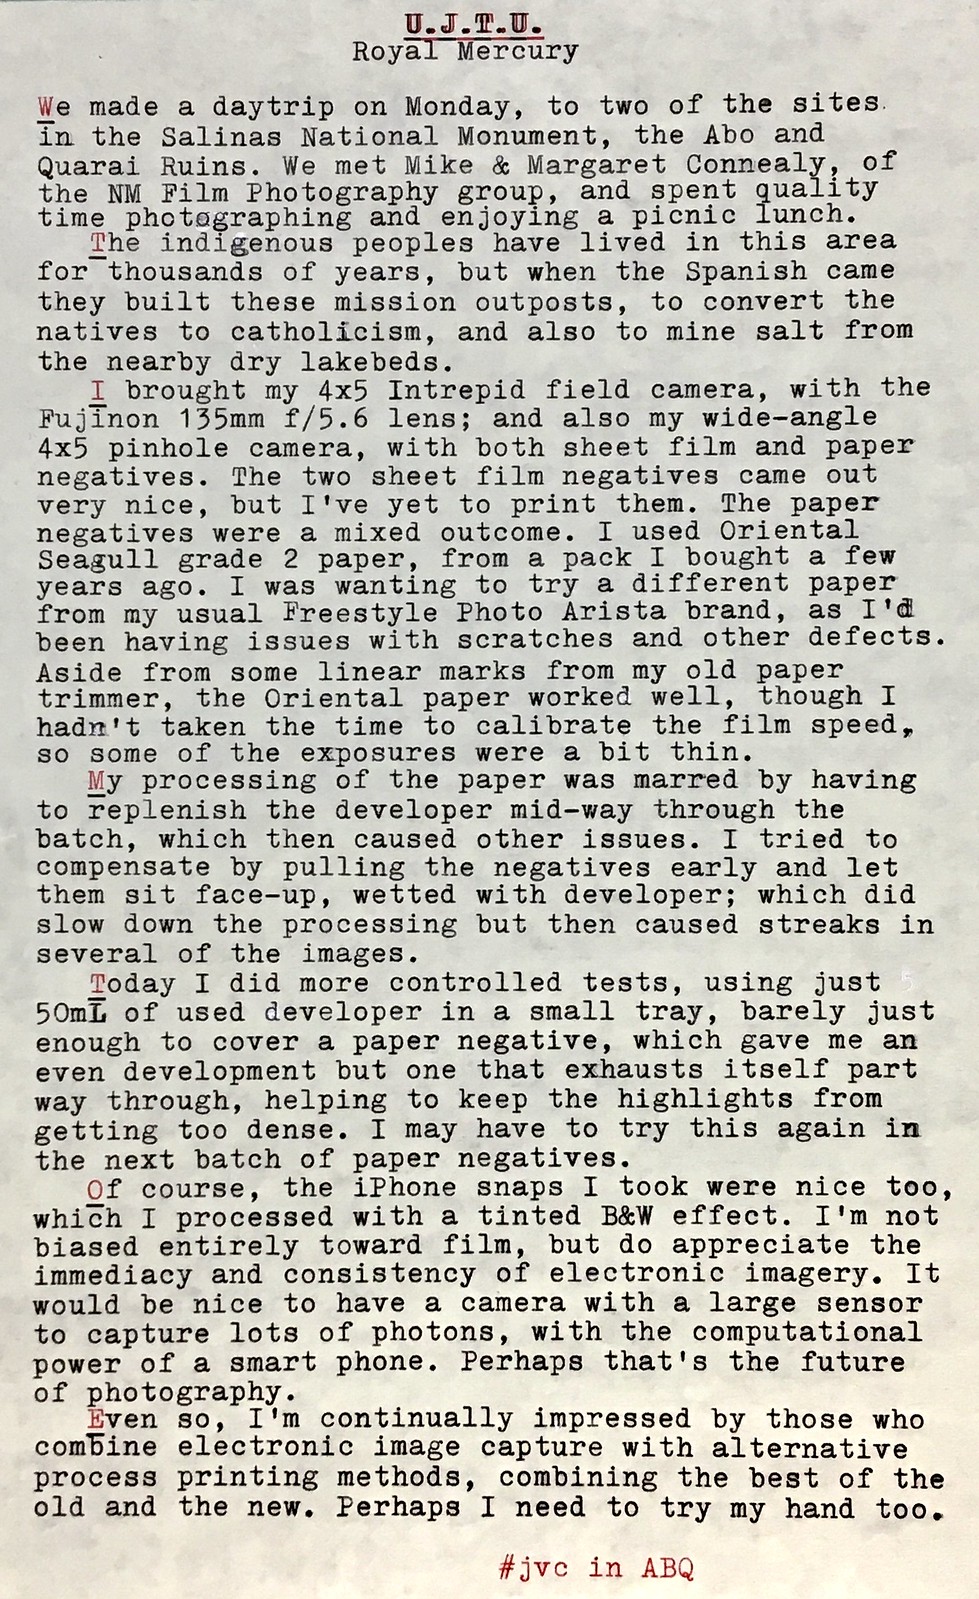
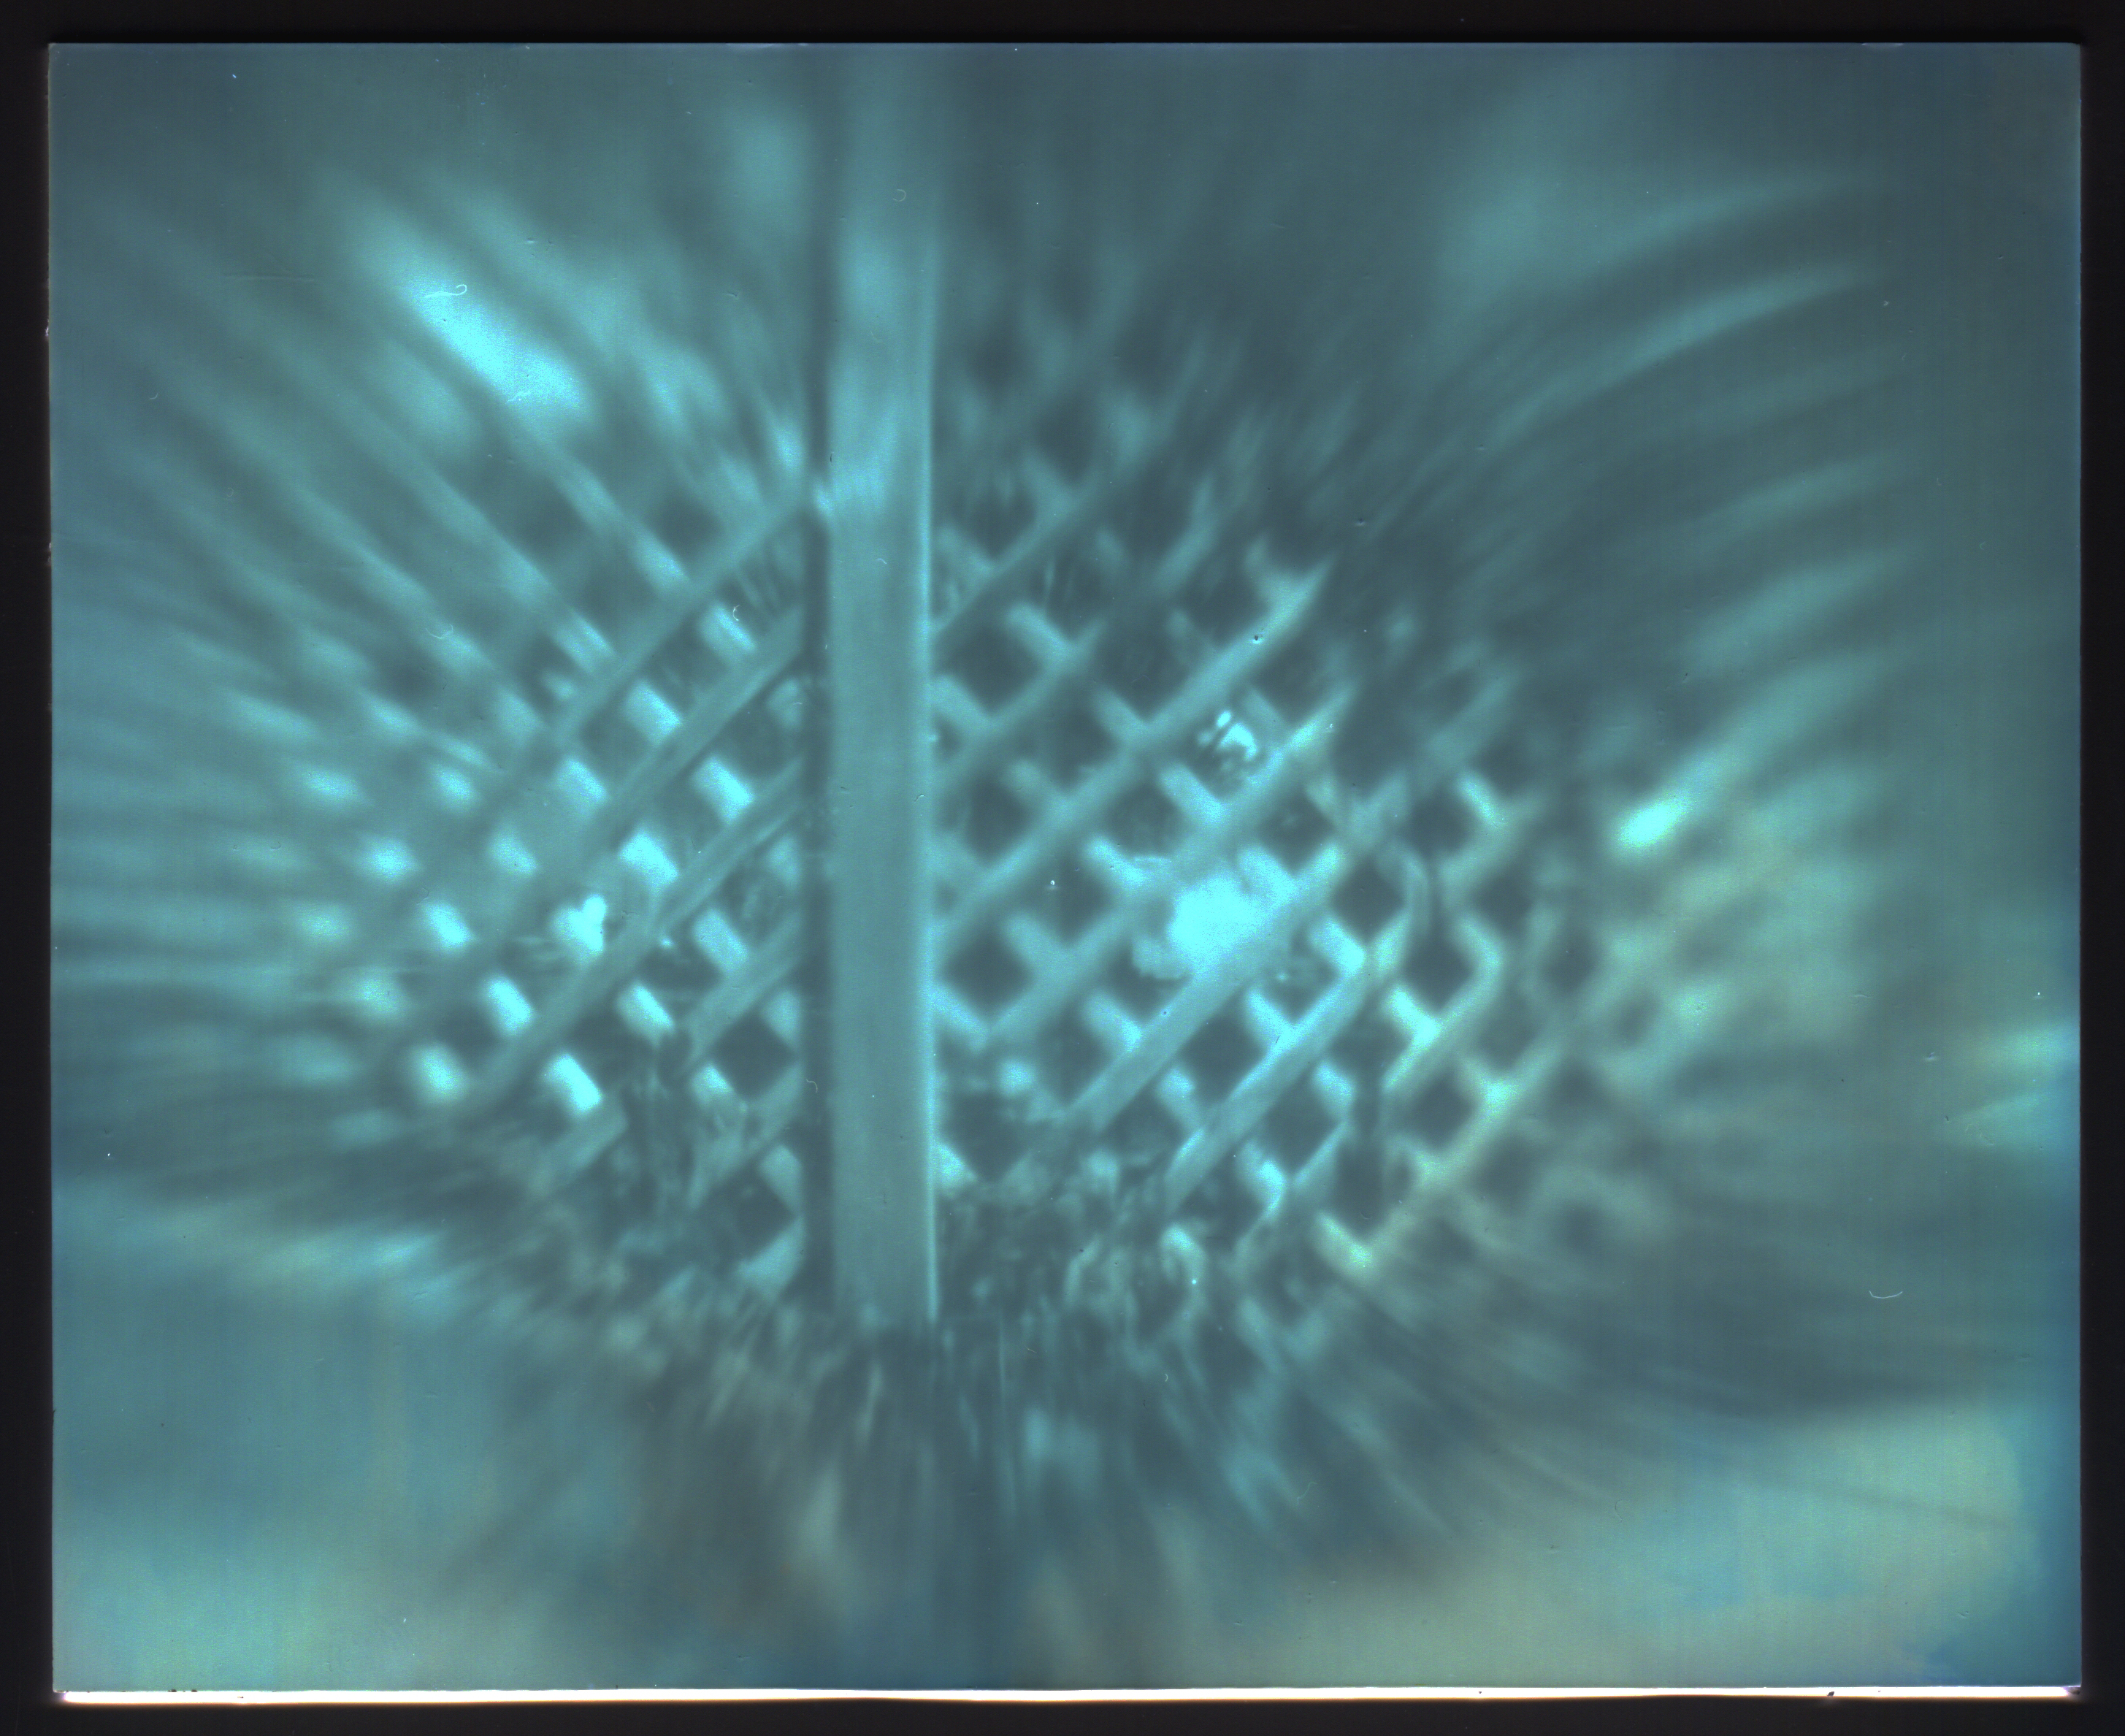
Here's one of the paper negatives from the wide-angle pinhole camera, with "processing artifacts" in the sky.
I actually like it, though I can't take credit for an accident. This is one of those examples where a true artist would know how to embrace serendipity in their process; whereas myself, as more of a technician than artist, just sees fault. I think it's important that photographers learn to inhabit that space where the unpredictable arises as a result of a continual process of experimentation. It's all too easy to get wrapped up in the classic 20th century photographic techniques, that were refined more for commercial purposes.
My mistake was sloshing an unmeasured quantity of fresh developer in the tray as a replenishment, which then proved too strong, as the subsequent negative got too dense too fast. Then, to compensate, I pulled the next negative out after only 20 seconds and let it sit face-up, in an attempt at compensating development (where the shadows continue processing but the highlights slow down), but this resulted in the uneven tones.
As I mentioned in the typecast, today I did a controlled experiment, using only 50mL of used developer, merely enough to barely submerge a 4x5 negative in a 5x7 tray, and with sufficient agitation (intermittent but thorough) the result was rather nice.
Note the compensating effect, as the sky retains some detail that might otherwise be lost. This technique certainly deserves more testing.
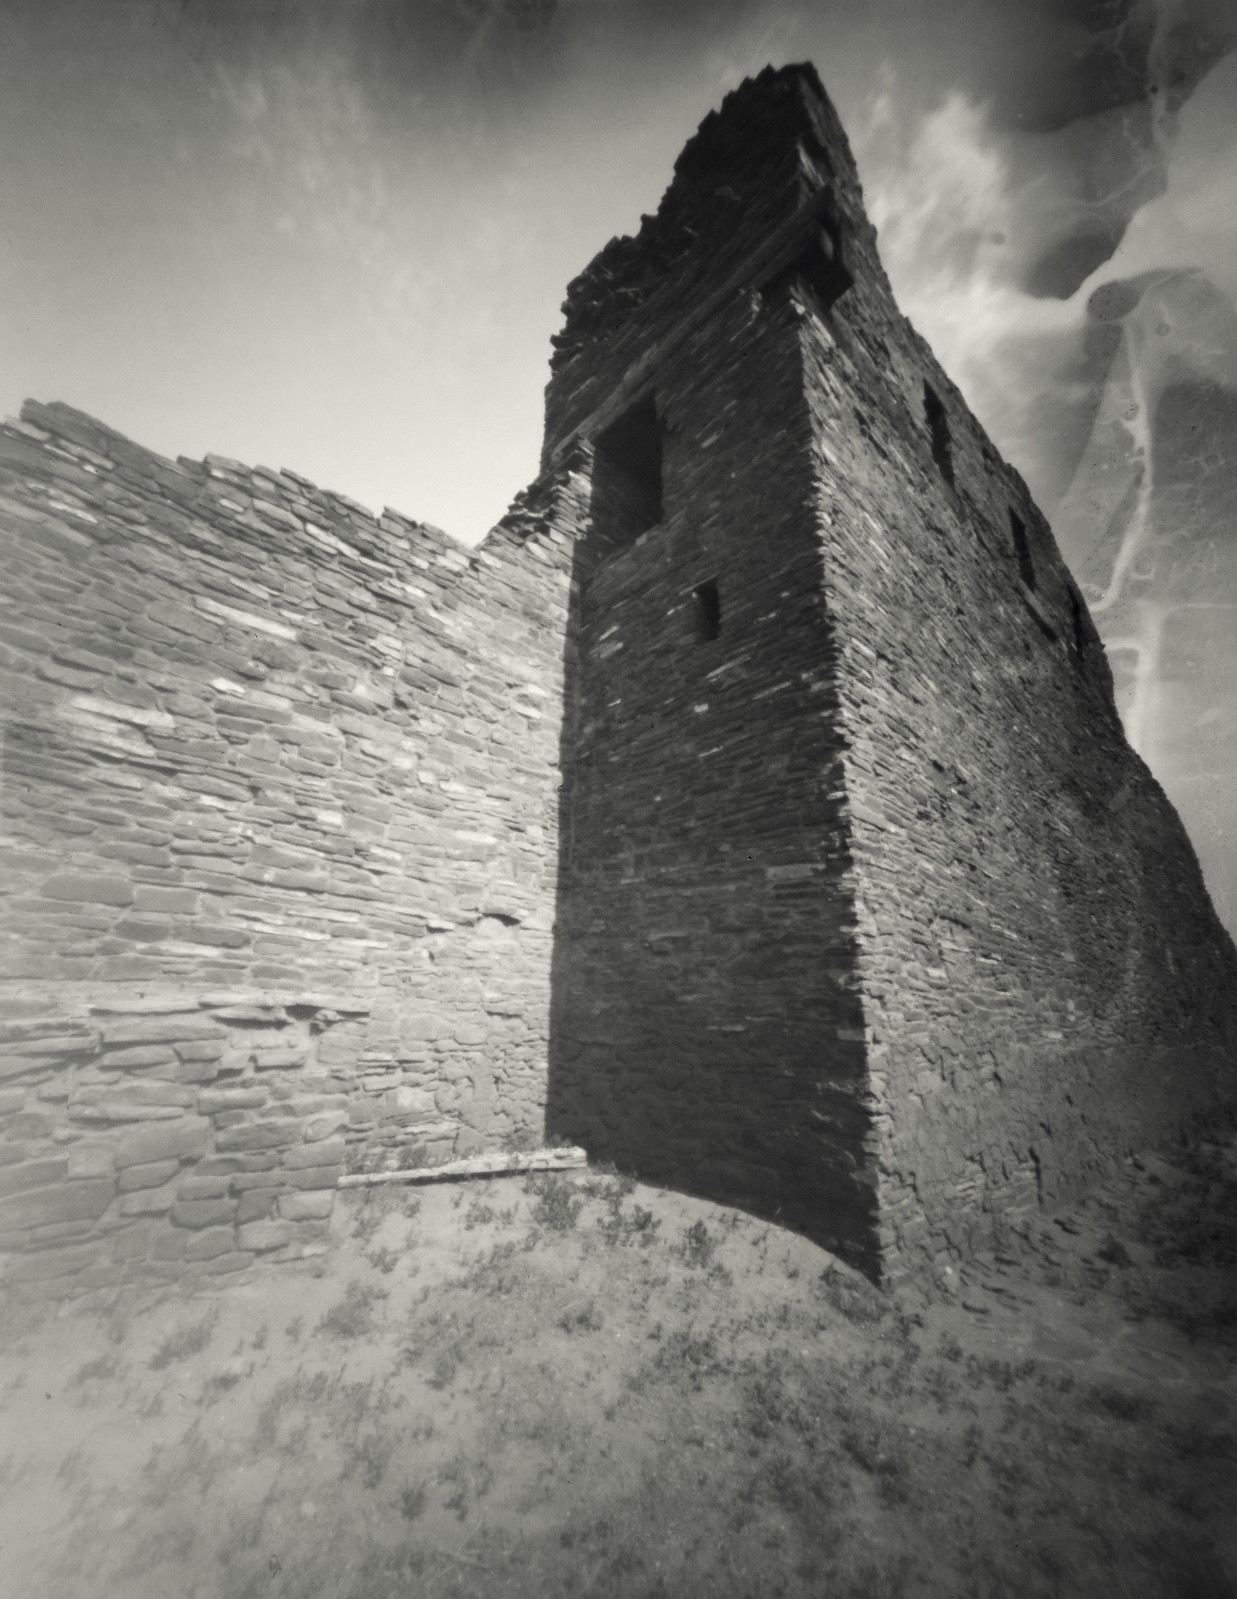
Here's another iPhone image I like:
Here I purposefully exposed for the clouds to retain some detail (since digital sensors can so easily over-expose the highlights), then pulled up the shadows and adjusted the tones afterward.
Certainly, casual photographers for decades have avoided the minutia of the intermediate process by choosing cameras and formats that offer a more instant picture-making experience. The average person couldn’t be bothered by F-stops and ISO numbers, they just want to push a button and see a photo. Which may be one reason why smartphone photography is so popular; the intermediate process happens behind-the-scenes, in software code and microscopic circuits, the modern-day equivalent of the point-and-shoot camera.
Processing Harman Direct Positive black-&-white paper through its regimen of developer, stop and fix (or in the case of reversal processing print paper: developer, stop, bleach, re-exposure and developer) certainly represents some kind of intermediate processing; it’s not as instant as a Polaroid, say (or Fujifilm’s Instax). But it’s more immediate than film, especially so when considering the many people who still use film do so as an intermediate image-capture medium that’s then scanned-to-digital and subsequently processed a second time around in order to arrive at a digital print, a kind of double-intermediate processing.
There’s also no arguing that prints exposed in-camera and processed directly afterward lack the flexibility that we have come to expect of modern image-making systems. Their usefulness is limited: the selection of large format lenses, apertures and focal lengths is limited; the tonal range is limited; the photographic sensitivity of paper is limited. But one often finds, to their surprise, that such limitations present a challenge that fosters a renewed sense of creativity; boundaries are often healthy for the creative process. In my case, I'm more satisfied by the immediacy of the direct print process, and willing to accept the tradeoffs in image quality or flexibility.
These days, I’d rather return from a photo outing with one good print in hand than a roll- or card- full of mostly junk. It’s a refreshing change, embracing direct positive prints and eschewing the intermediate process.
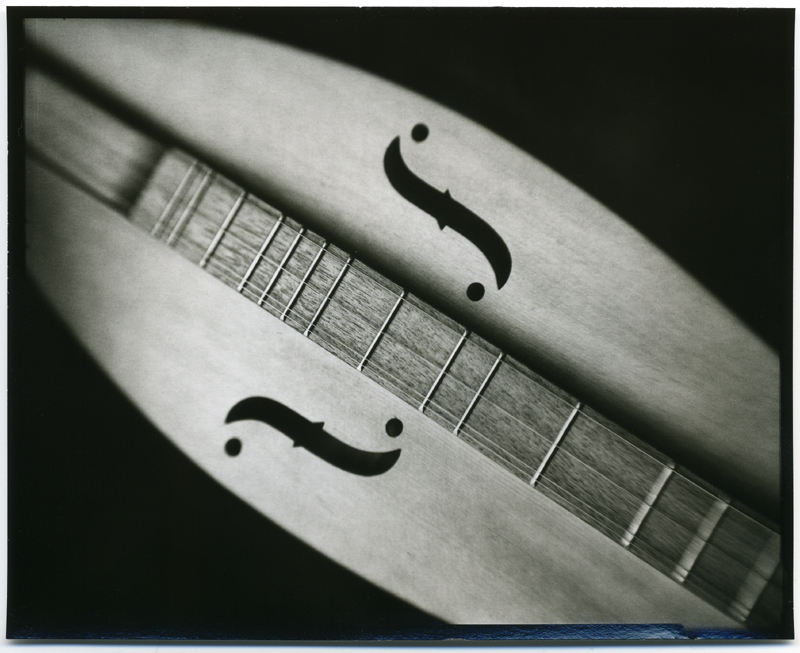
A sample image, exposed and processed in-Pinholio.
I just finished replacing the worn feet of this Torpedo 18 with some hardware store rubber feet and decided it needed a test typing, as I’d recently installed a dark and inky adding machine ribbon. So I grabbed this grid paper, upon which was a bit of cyphering I’d done for the video, and proceeded to let the Muse have her way.
I love these late-night, impromptu typing surprises using such fine machines like the Torpedo. It looks like it’s been through the ringer, but can it type!
WPPD 2018, Grounded Rocket and Addiator Pouch Repair
This previous Sunday, the last Sunday in April, was Worldwide Pinhole Photography Day. While I don't practice the craft of pinhole as prolifically as I once did, I try to make an effort to get out with a pinhole camera on this day, if for no other reason than to remind myself why it is that I have a virtual mountain of pinhole cameras (mostly collecting dust) that deserve to be employed in the pursuit of that elusive image.
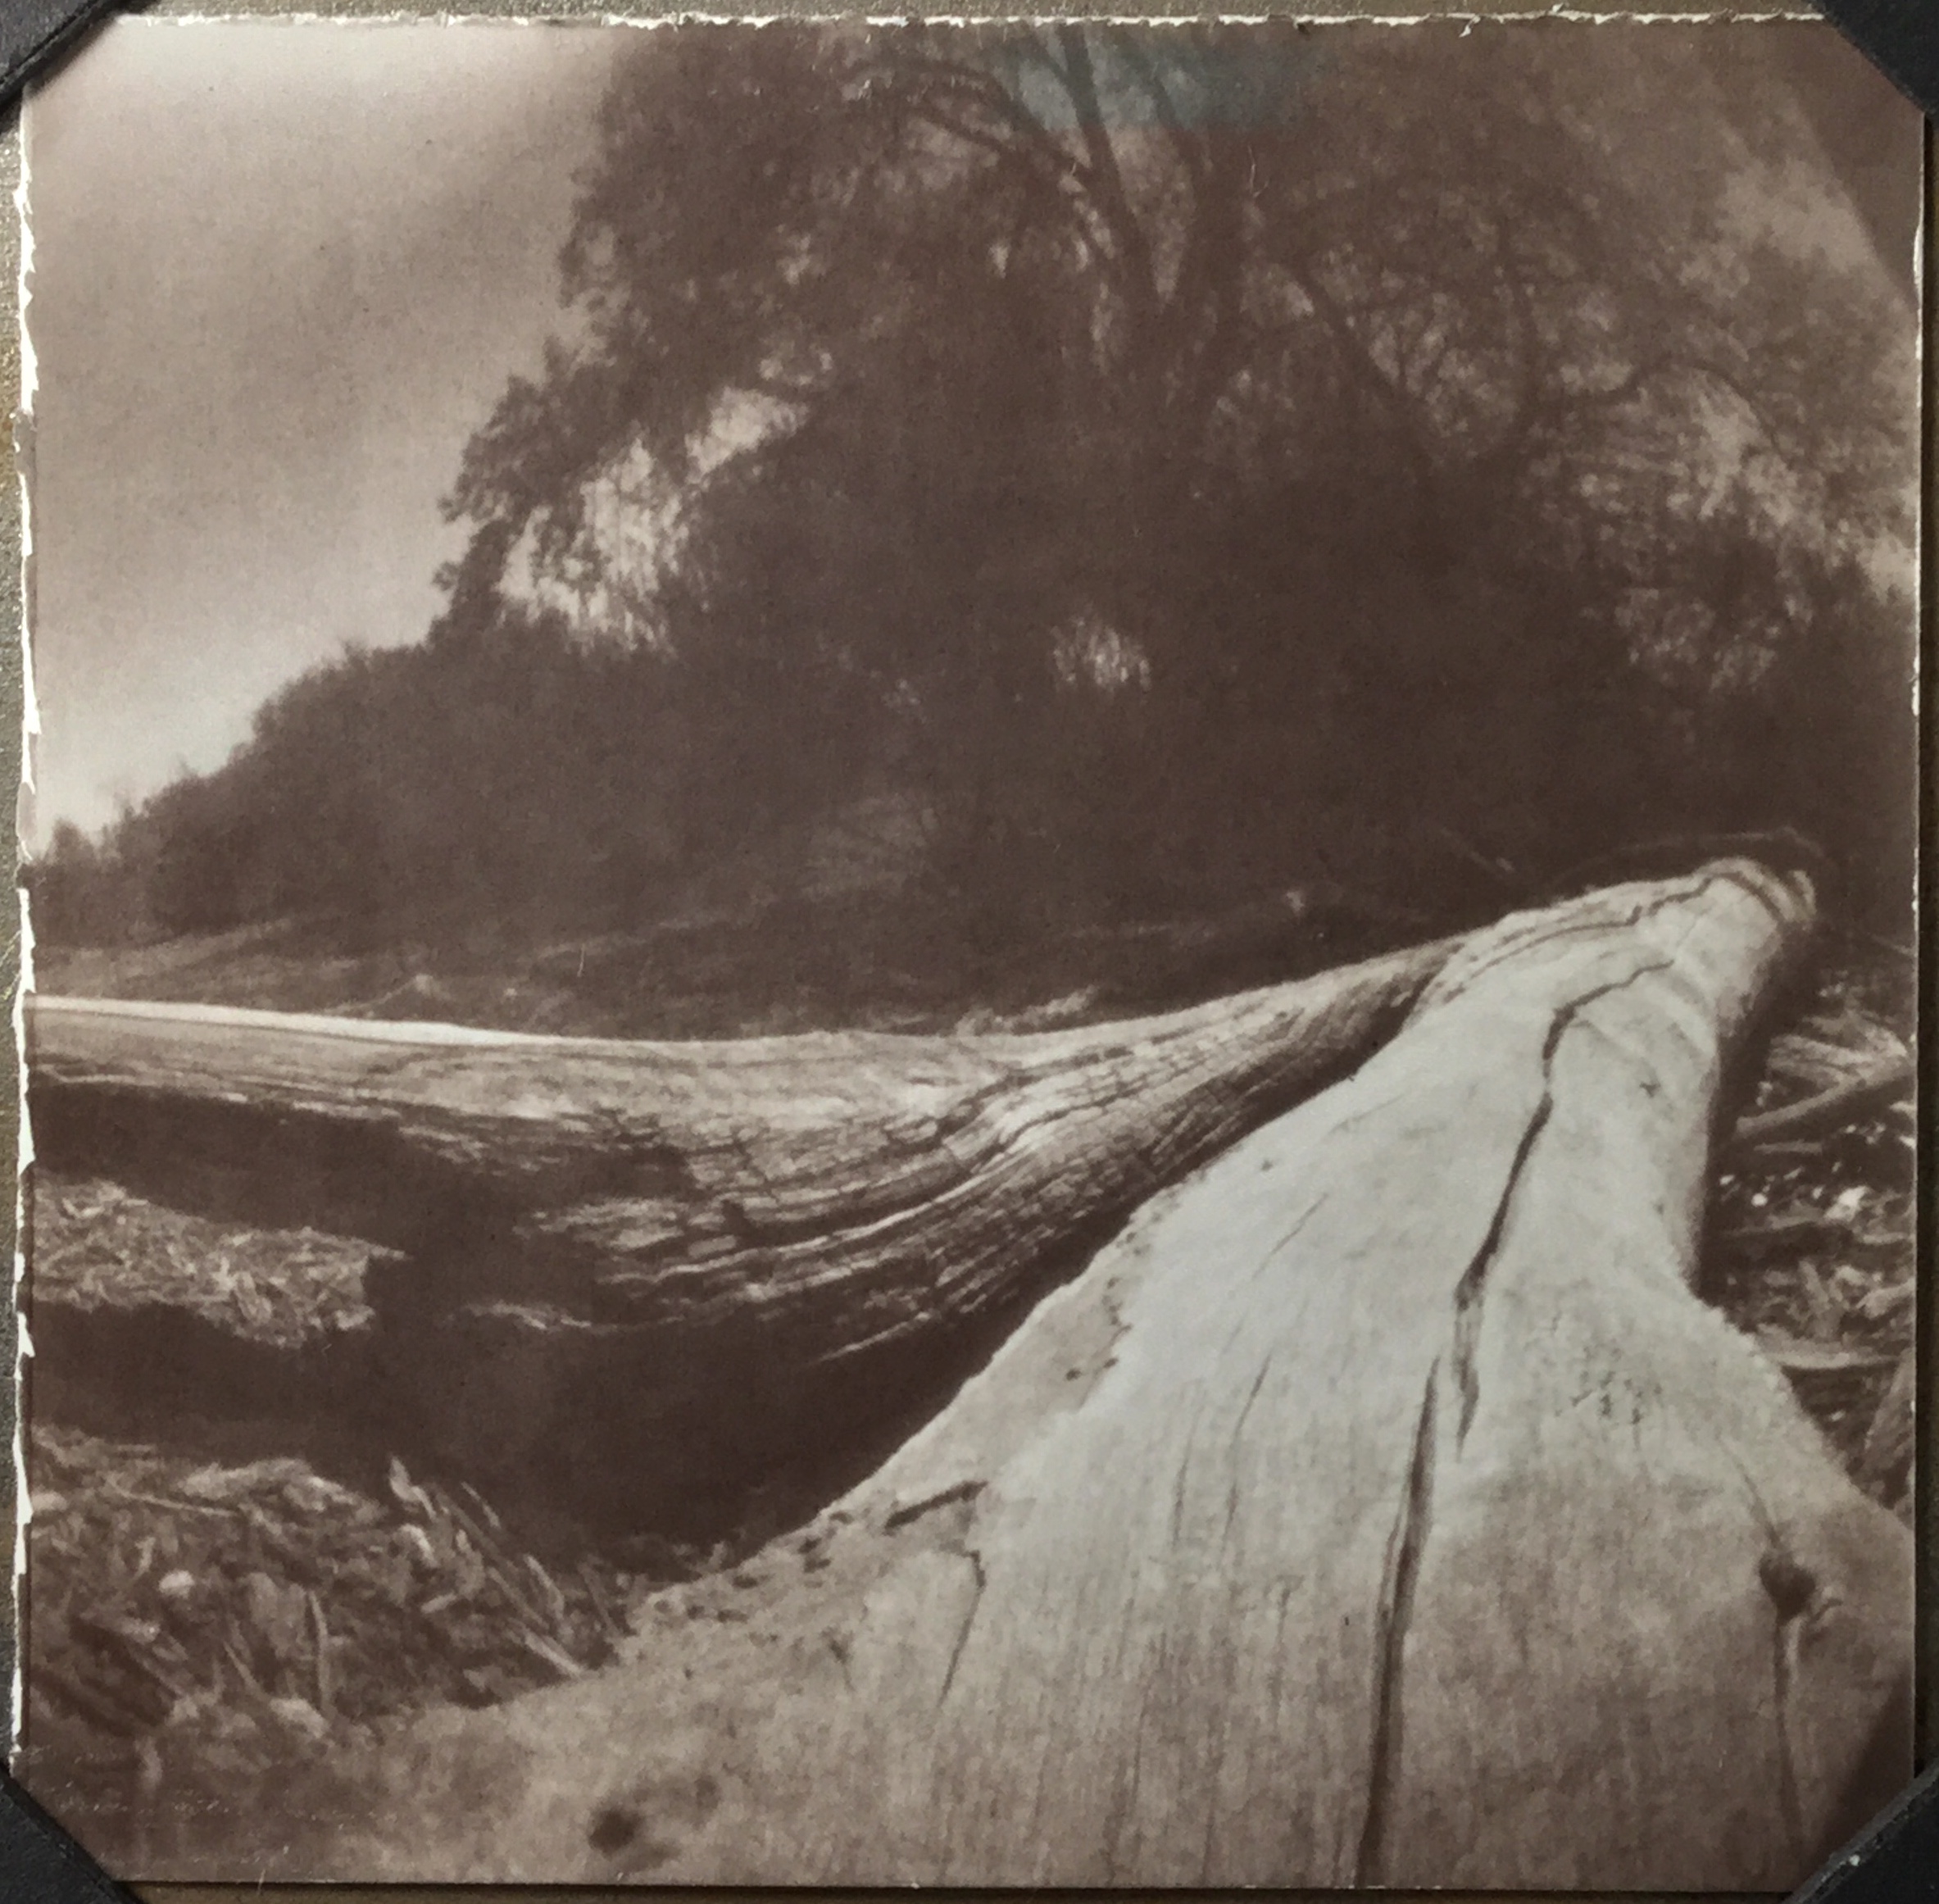
This day, I chose to stroll the river forest of the Rio Grande, just north of Albuquerque, with two small one-shot cameras, both made from 1.5" PVC pipe and employing a curved film plane with 2.5" squares of Harman Direct Positive Paper. While I've been trying to conserve this paper, due to it limited supply, these small prints are just big enough to hold in your hand and appreciate up close, while being diminutive enough to not be wasteful of paper.
I developed both images in a steel 35mm developing tank, sans reels, with the prints taped to the inside walls of the tank and rotary processed on its side. This method uses only 100mL of chemistry and produces very consistent results, while also not requiring a full darkroom with open trays of chemicals - ideal for those with limited space or, like me, desiring to process in the comfort of one's kitchen.
Being fiber-based prints, I archivally washed them using my recently devised method of employing a slow trickle of garden hose water under the canopy of a tree in my yard, which serves to wash the prints while also watering my landscaping - we do live in a desert, as we are apt to say. After, I selenium toned them and completed another wash.
The prints were dried flat by being superficially squeegeed, then taped face-up to a sheet of glass, using drafting tape, and placed in my film drying cabinet.
I was please with the way these came out; I'll have to do this more often, with more of my pinhole cameras.
There's something very satisfying about creating one-of-a-kind direct prints on fiber paper. Each is a unique object, and usually intimate in size as are these.
Here's a video documenting the process:
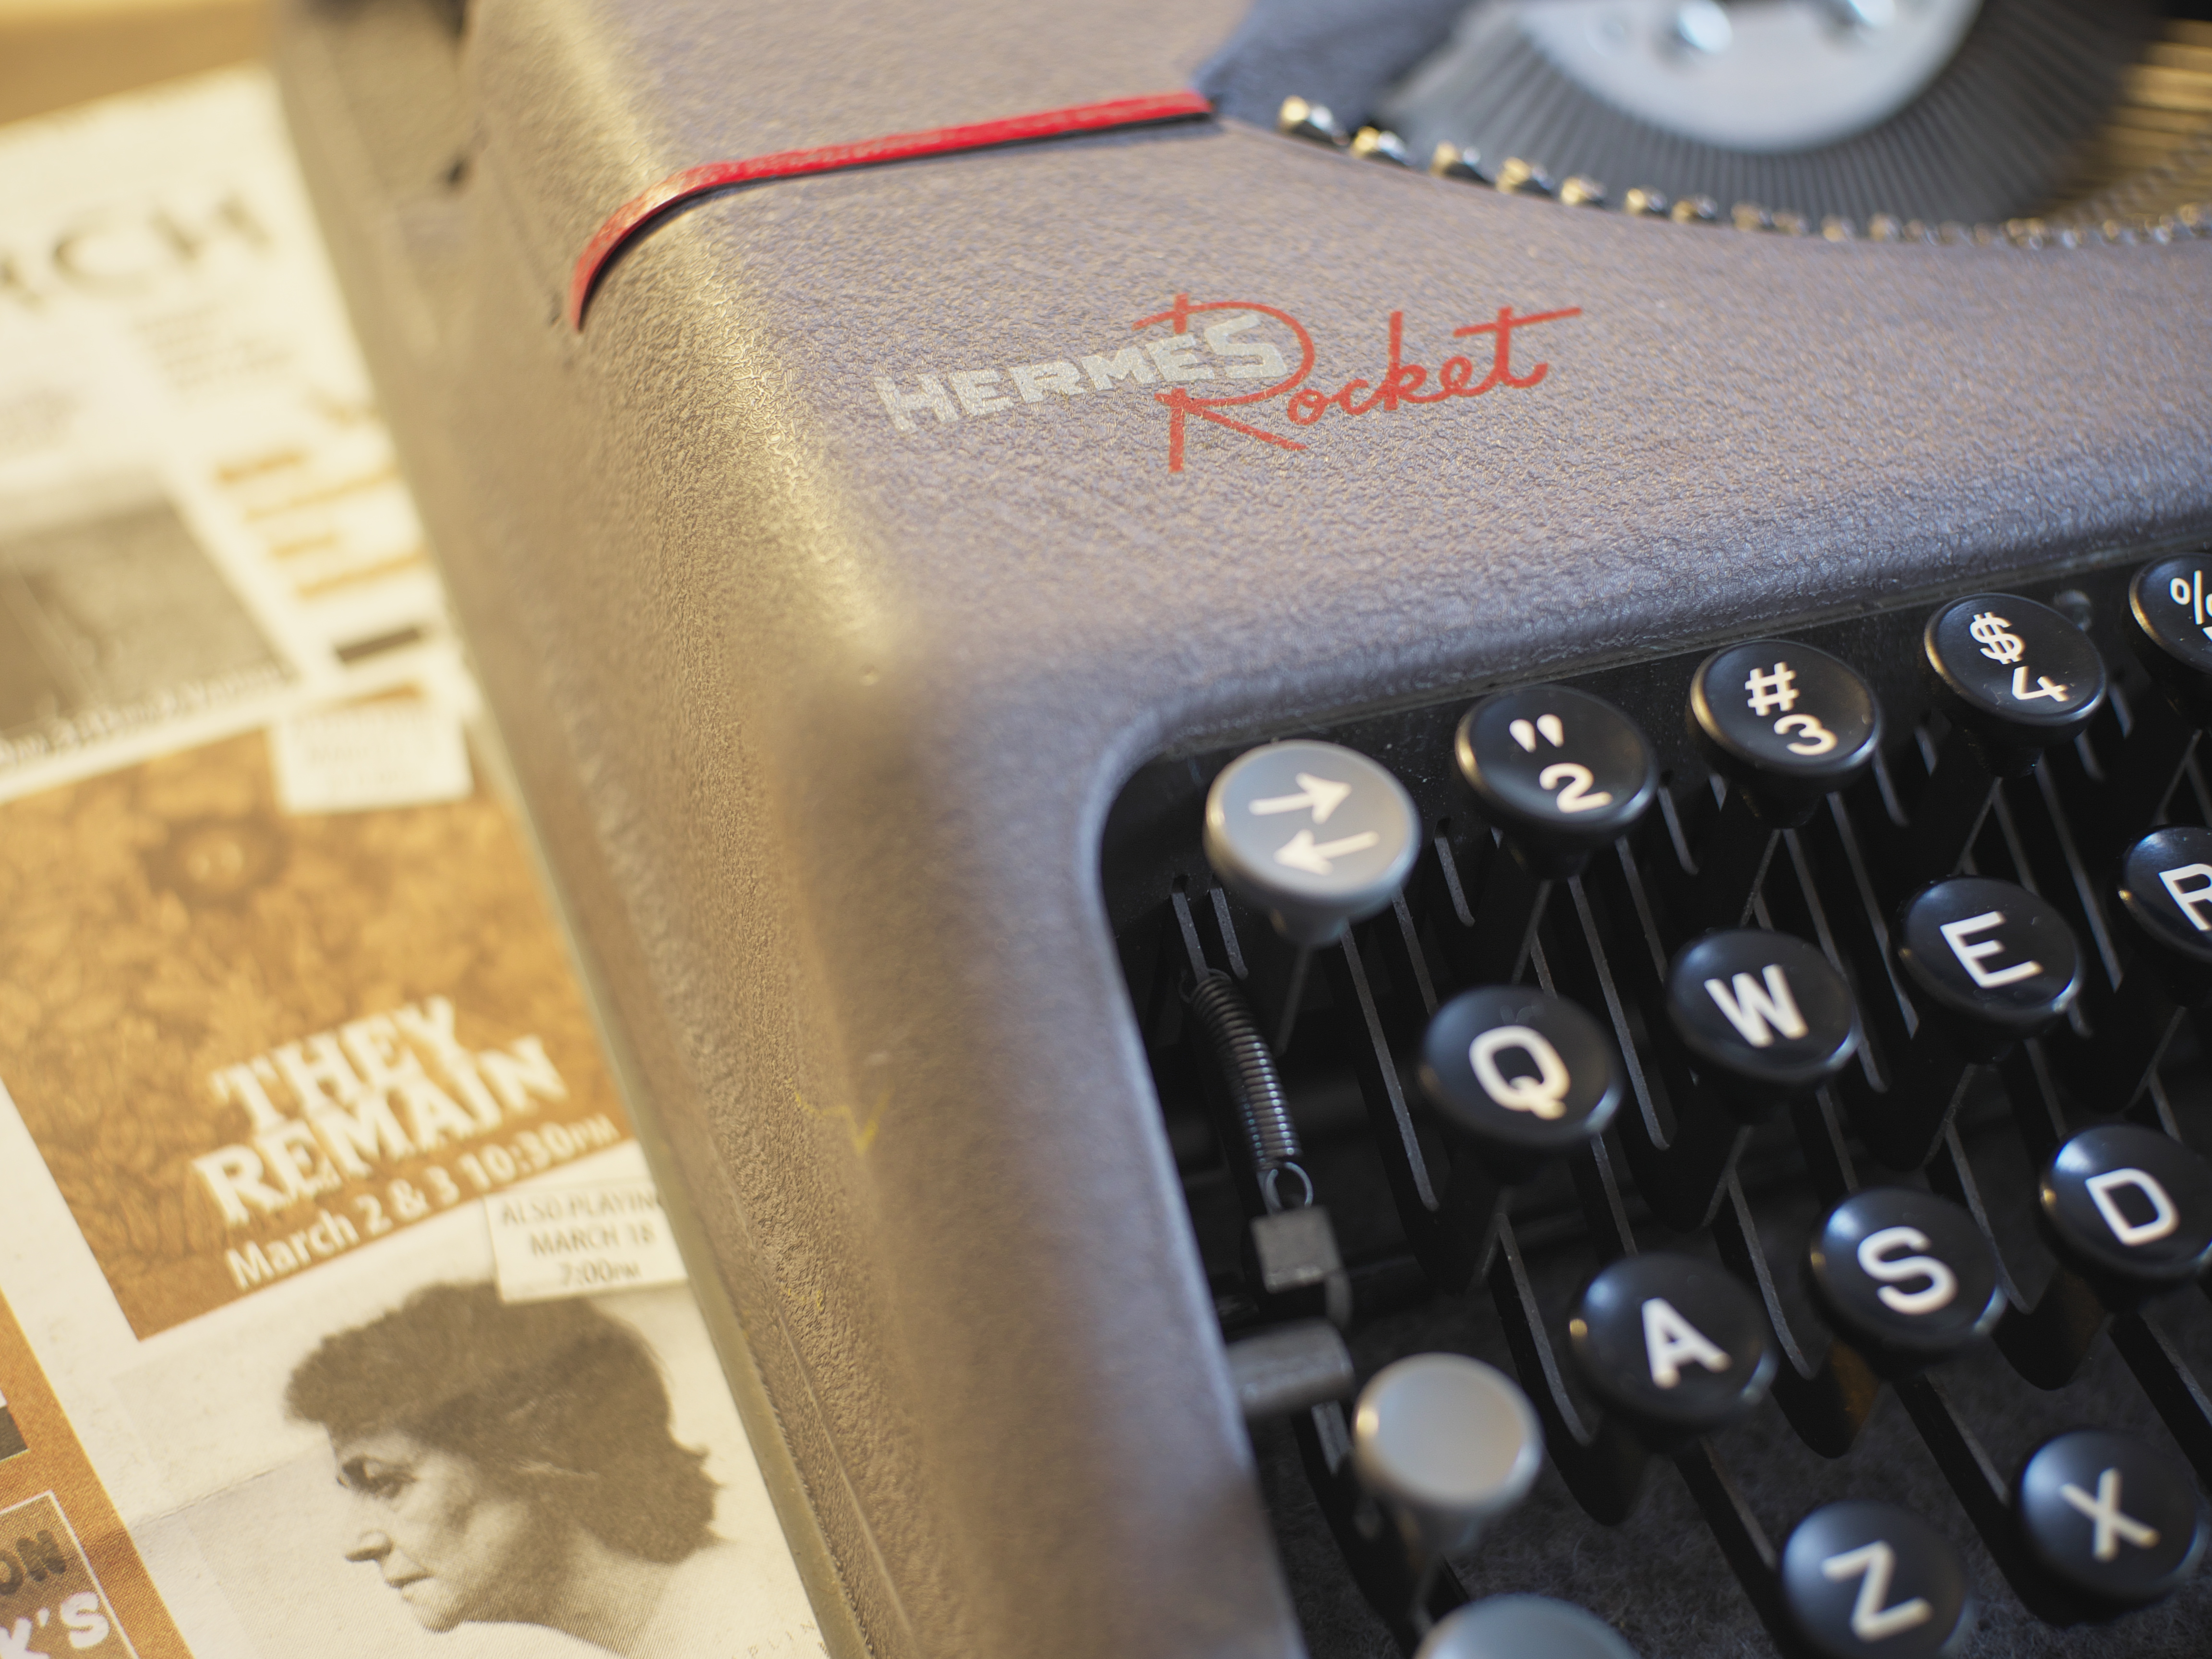
Now onto some sad news. During last weekend's Spring ABQ Type-Out I brought my 1953 Hermes Rocket, which performed fine during the event. Then this last Sunday, while typing up a story for Typing Assignment No. 16, I noticed the carriage was intermittently skipping spaces. This has been a recurring problem with this machine for a long while, one of the reasons why I haven't used it much. I know from previous experience that the problem has been related to the carriage release lever arm, which connects to the rack gear and serves to pivot the rack gear away from the escapement cog when releasing the carriage. This arm appears rather soft and is easily bent. Usually reforming it back into shape solves the problem. But this time I couldn't fix the issue; it seemed the rack gear just wasn't meshing tight enough with the escapement cog.
So yesterday I decided to dig in and see if I could make it better. I started disassembling parts of the carriage, in order to remove the rack gear. In the process, I decided to disconnect the draw band from its anchor on the right side of the carriage. I tried to be careful to let the tension of the spring motor relax itself as I wound the draw band back onto the drum of the spring motor. But evidently I wasn't careful enough, because suddenly the spring motor made an awful noise, and now it's dead.
I also spent many hours afterwards, into the wee hours of the morning, getting the carriage back together. I still have one spring under the paper table that provides pressure for the rollers that isn't properly installed. So now I have a broken Hermes Rocket, in need of a spring motor. I can't see any way to regain tension on the old motor. Attempting to turn it, it just spins; I can't see where the anchor point is, unless it's somehow in around the central hole where it mounts to a bolt-like fixture.
Live and learn. That's why I have 19 other typewriters in my collection, right? Seriously, I wasn't going to be using that machine much in the future anyway, because of its known fragility. Perhaps I can find a working spring motor from a donor machine.
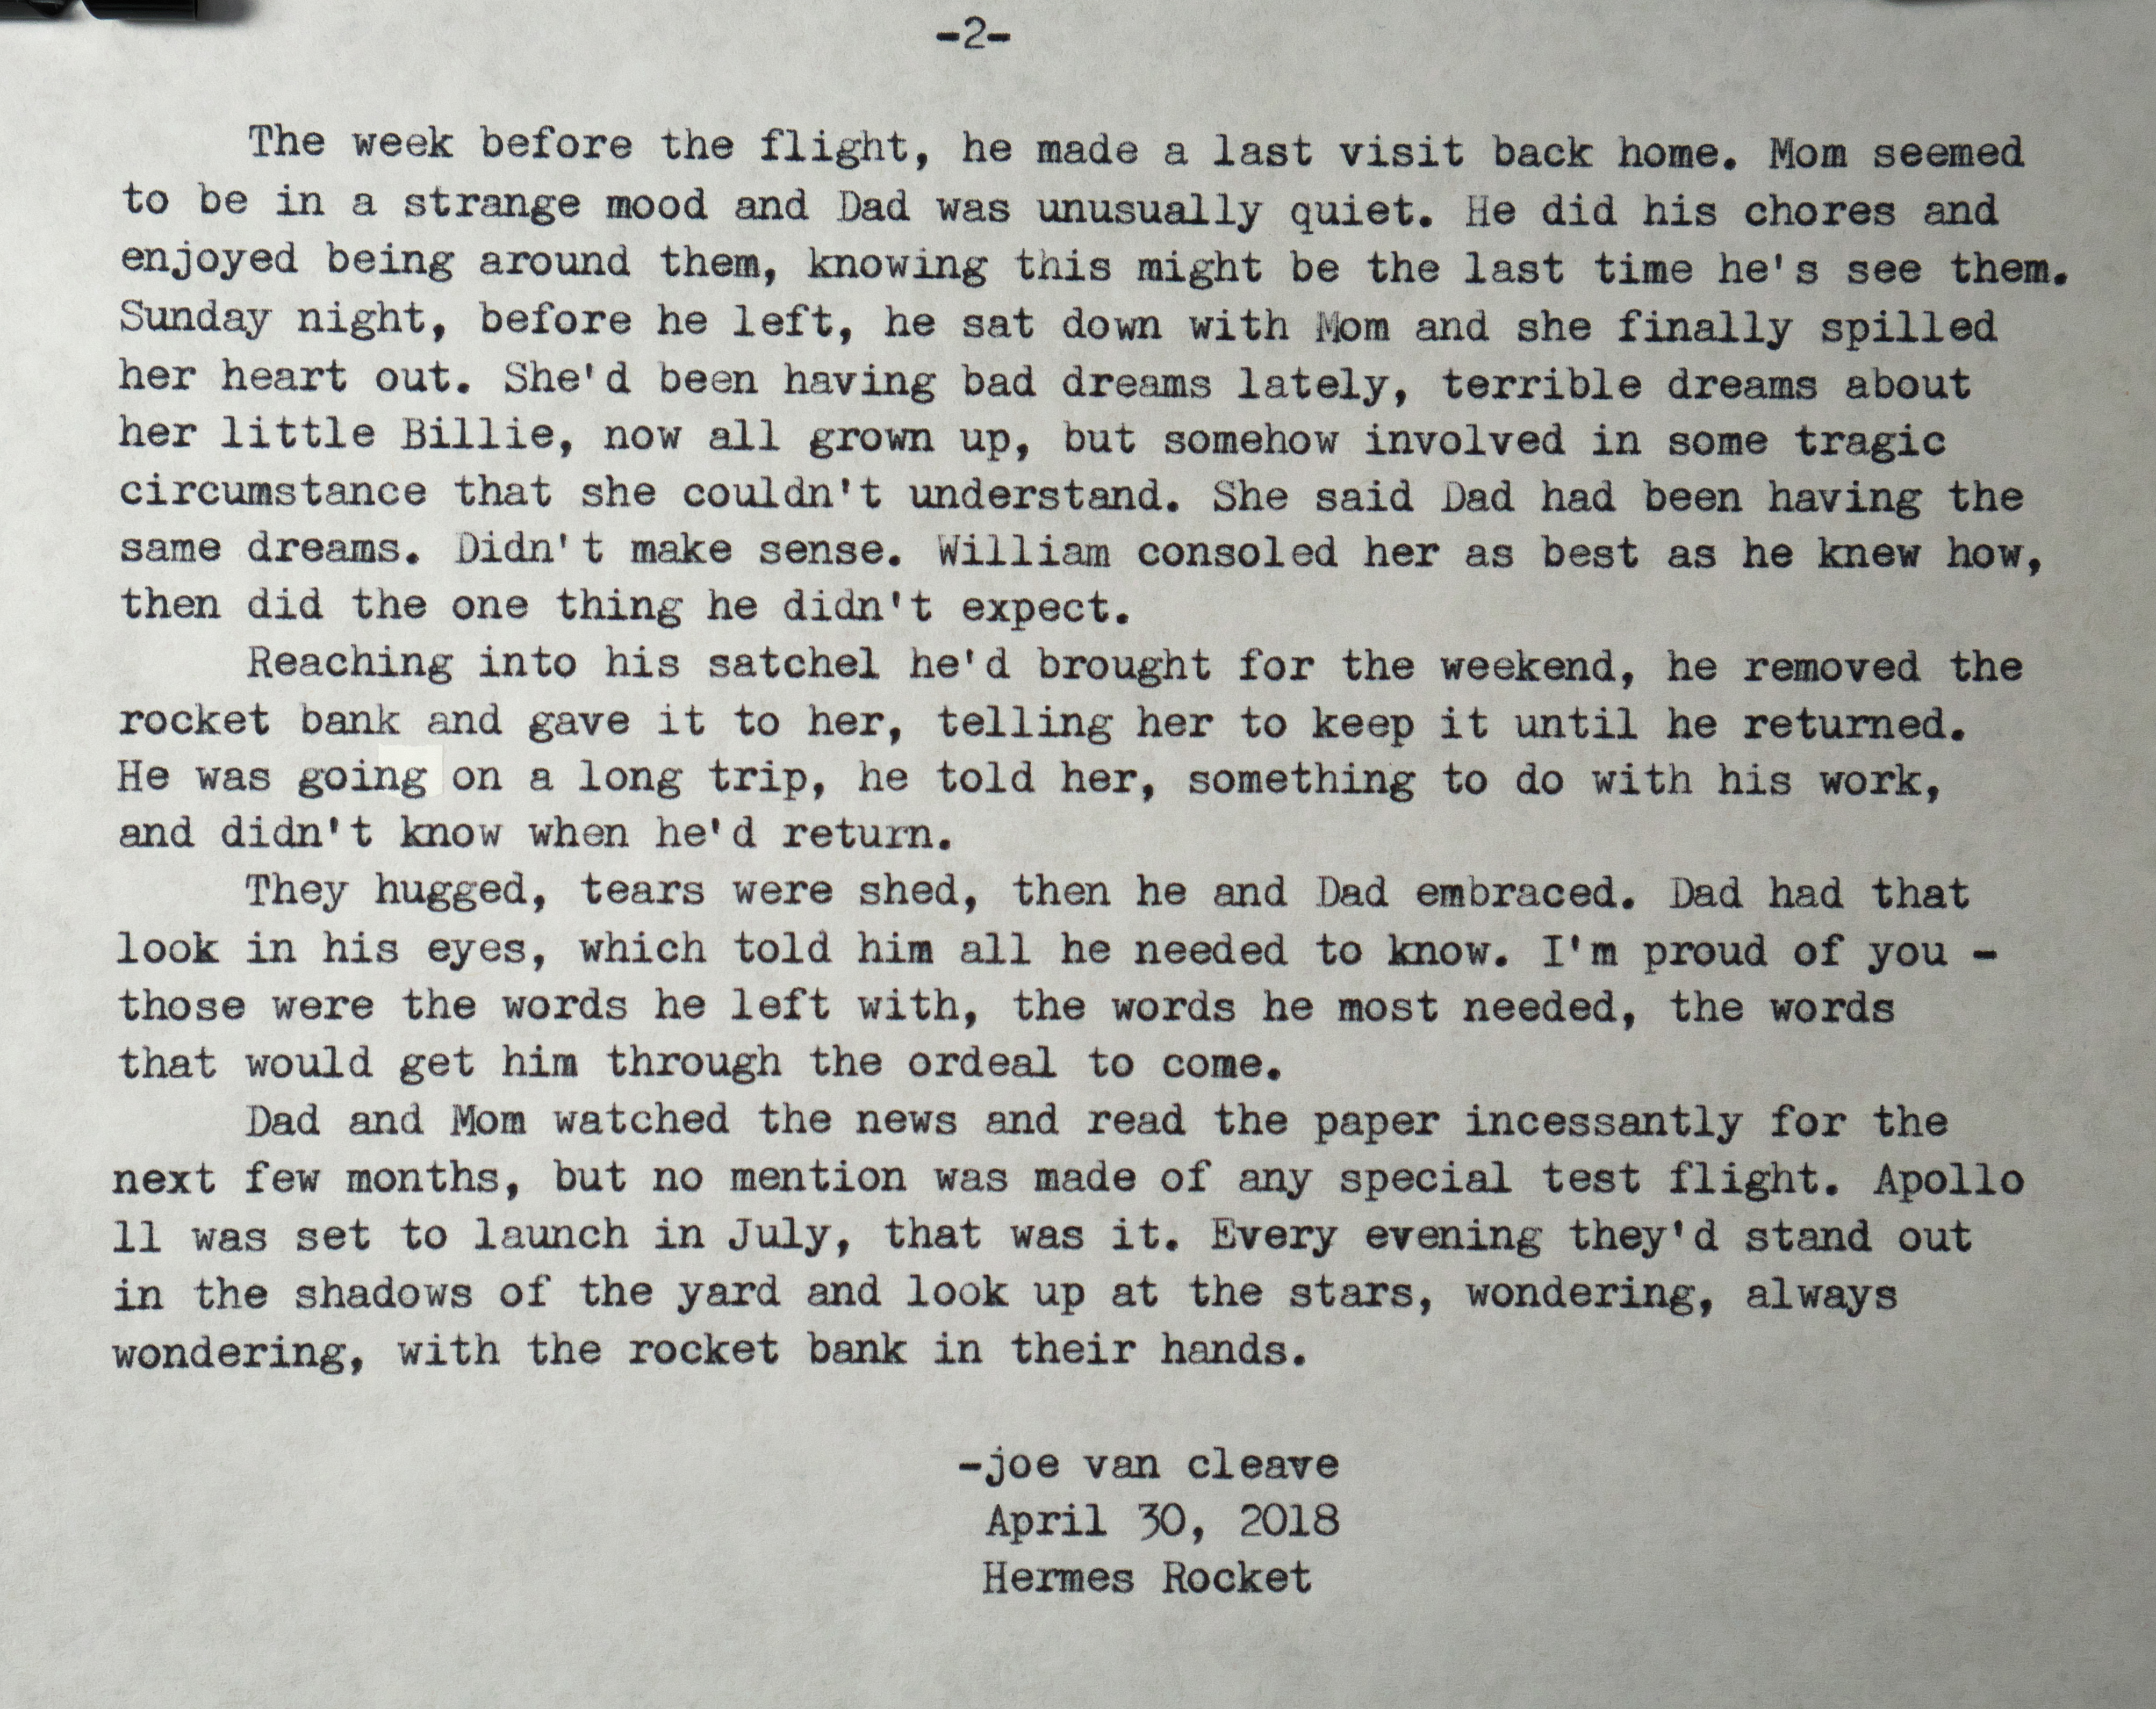
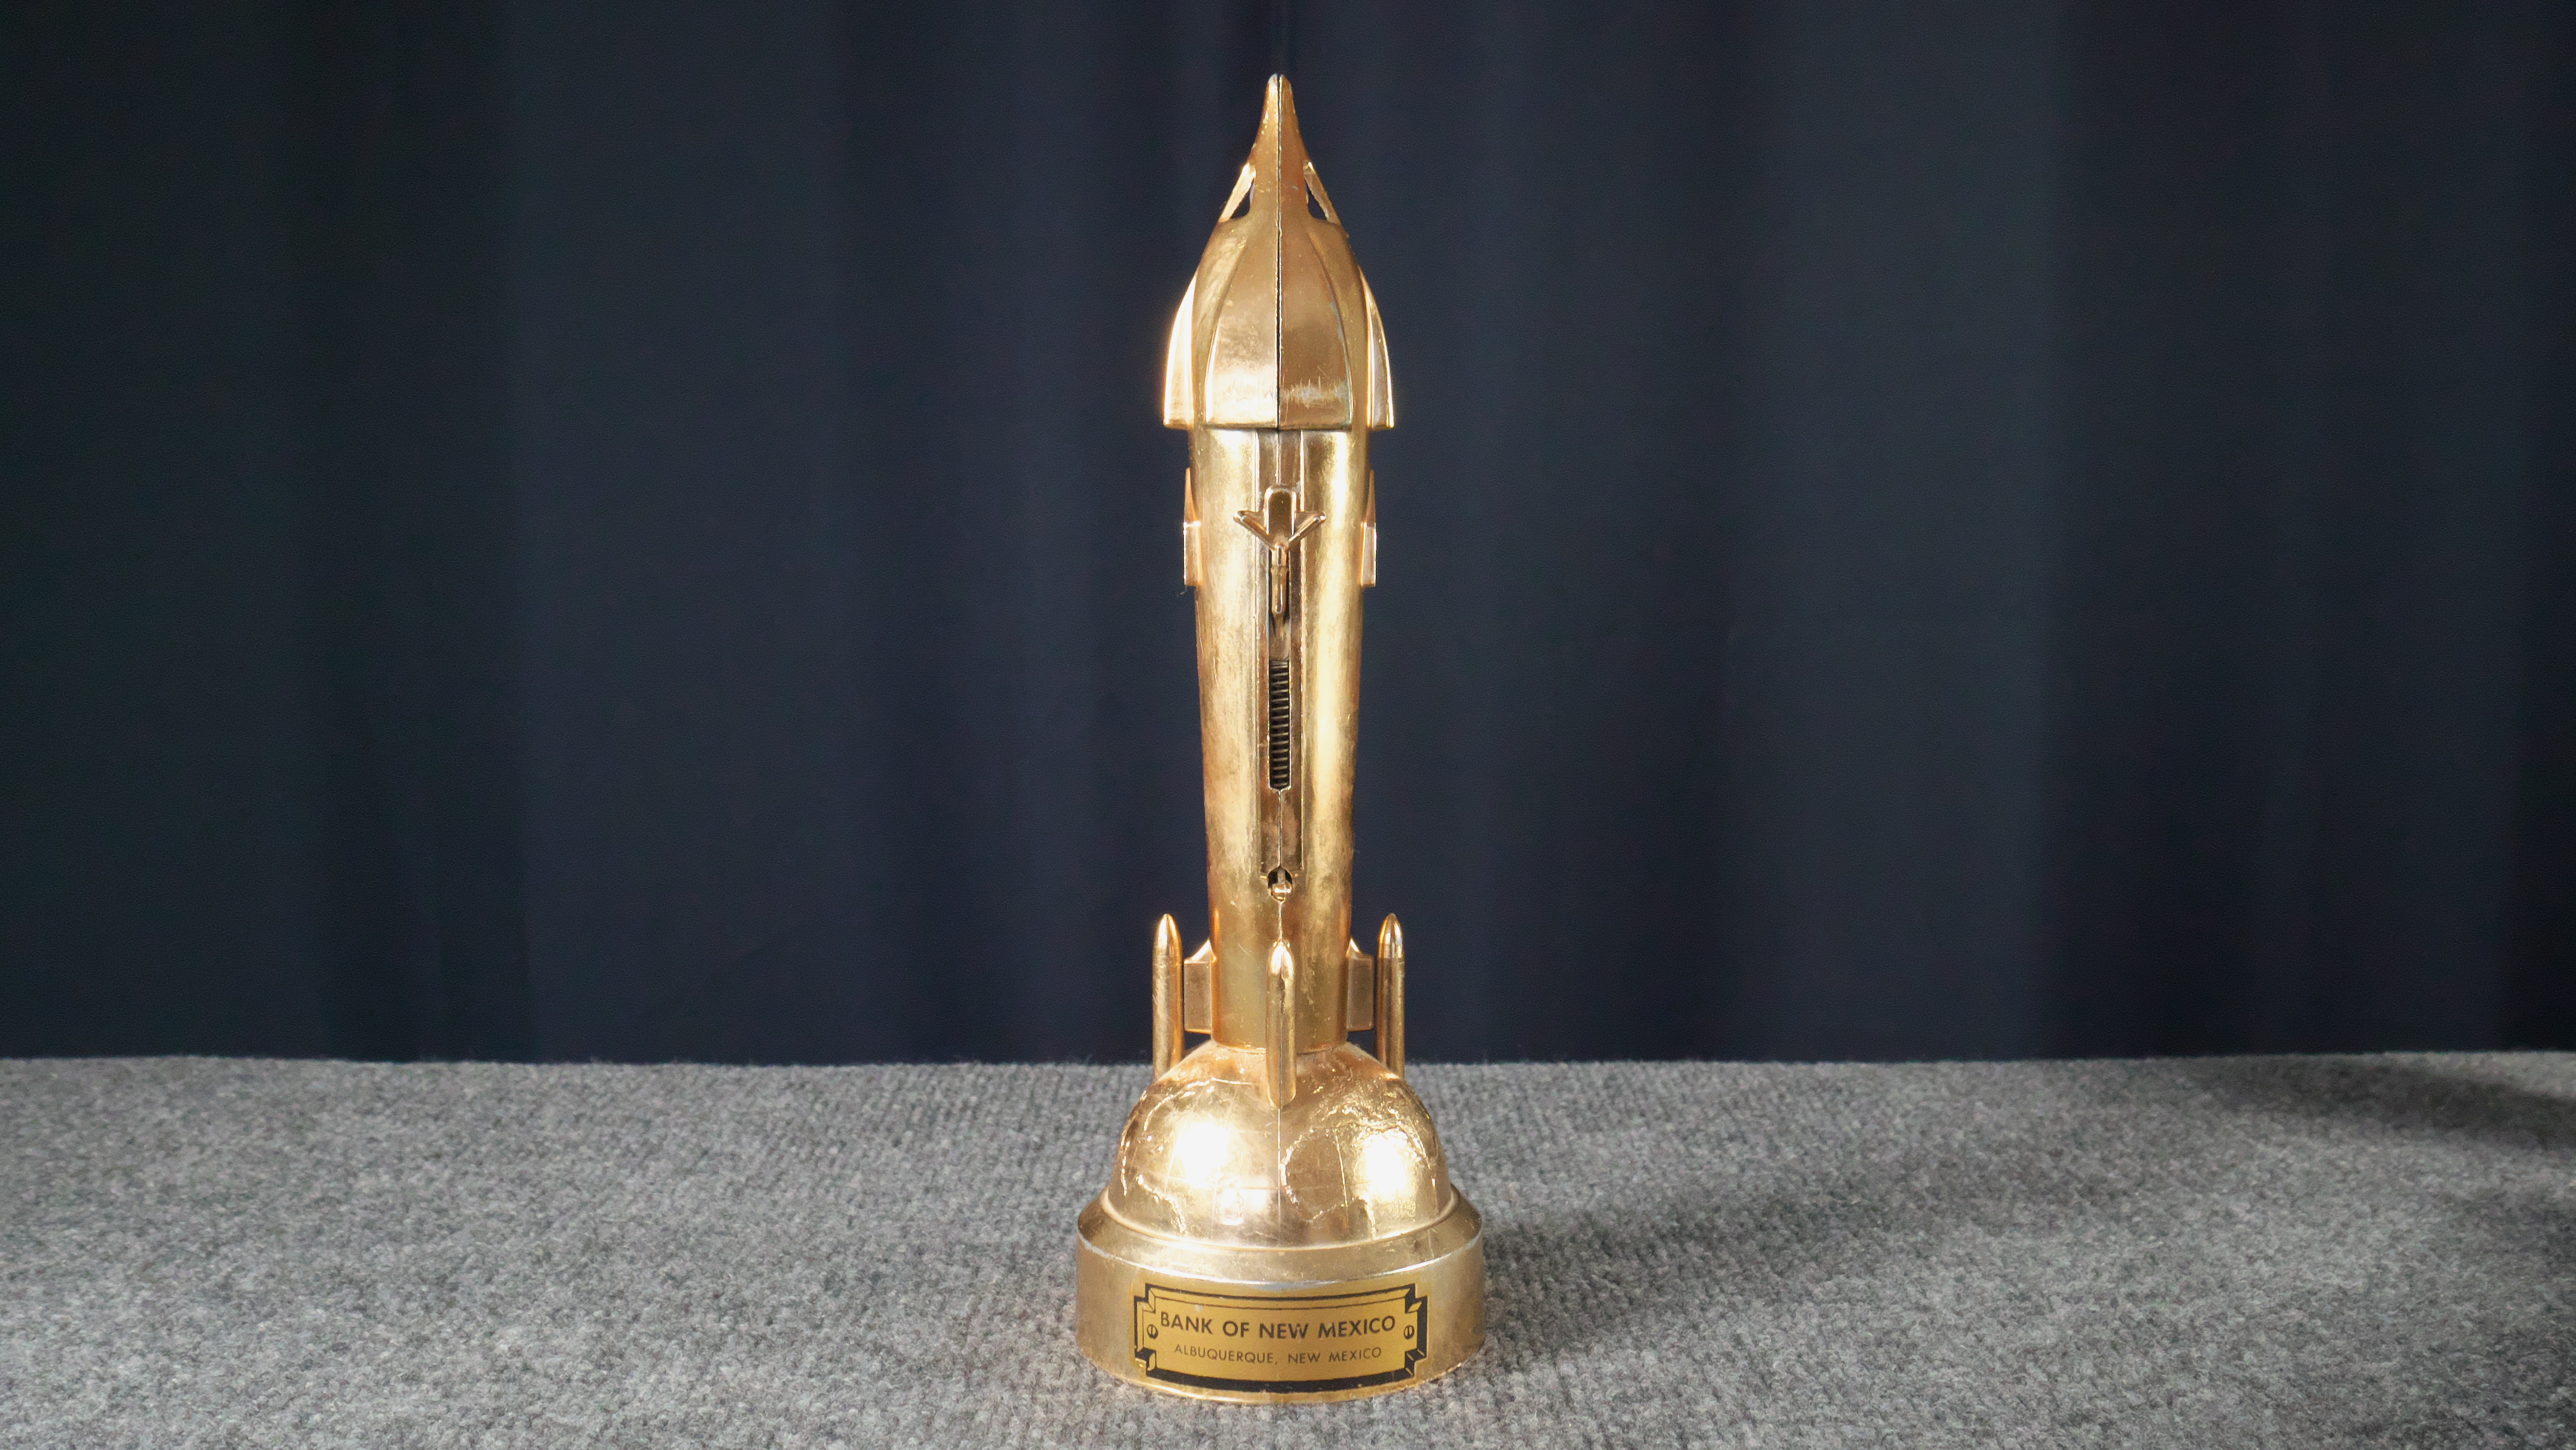
But the story I wrote for Typing Assignment No. 16 will most likely be the last piece of writing done with that machine. The subject of the assignment was to write a one-page piece inspired by some artifact of your possession. My artifact was an old 1950's-style rocket spaceship bank. The protagonist of the story has a similar bank as a kid, which inspires him to become a rocket scientist.
Now here's where this story gets interesting: my Hermes Rocket typewriter, circa 1953, was originally owned by an Air Force officer and engineer who was one of the principal engineers working on the design of the SR71 Blackbird's engines.
Here's the story, the last piece typed on the Hermes Rocket:
And here's the bank itself:
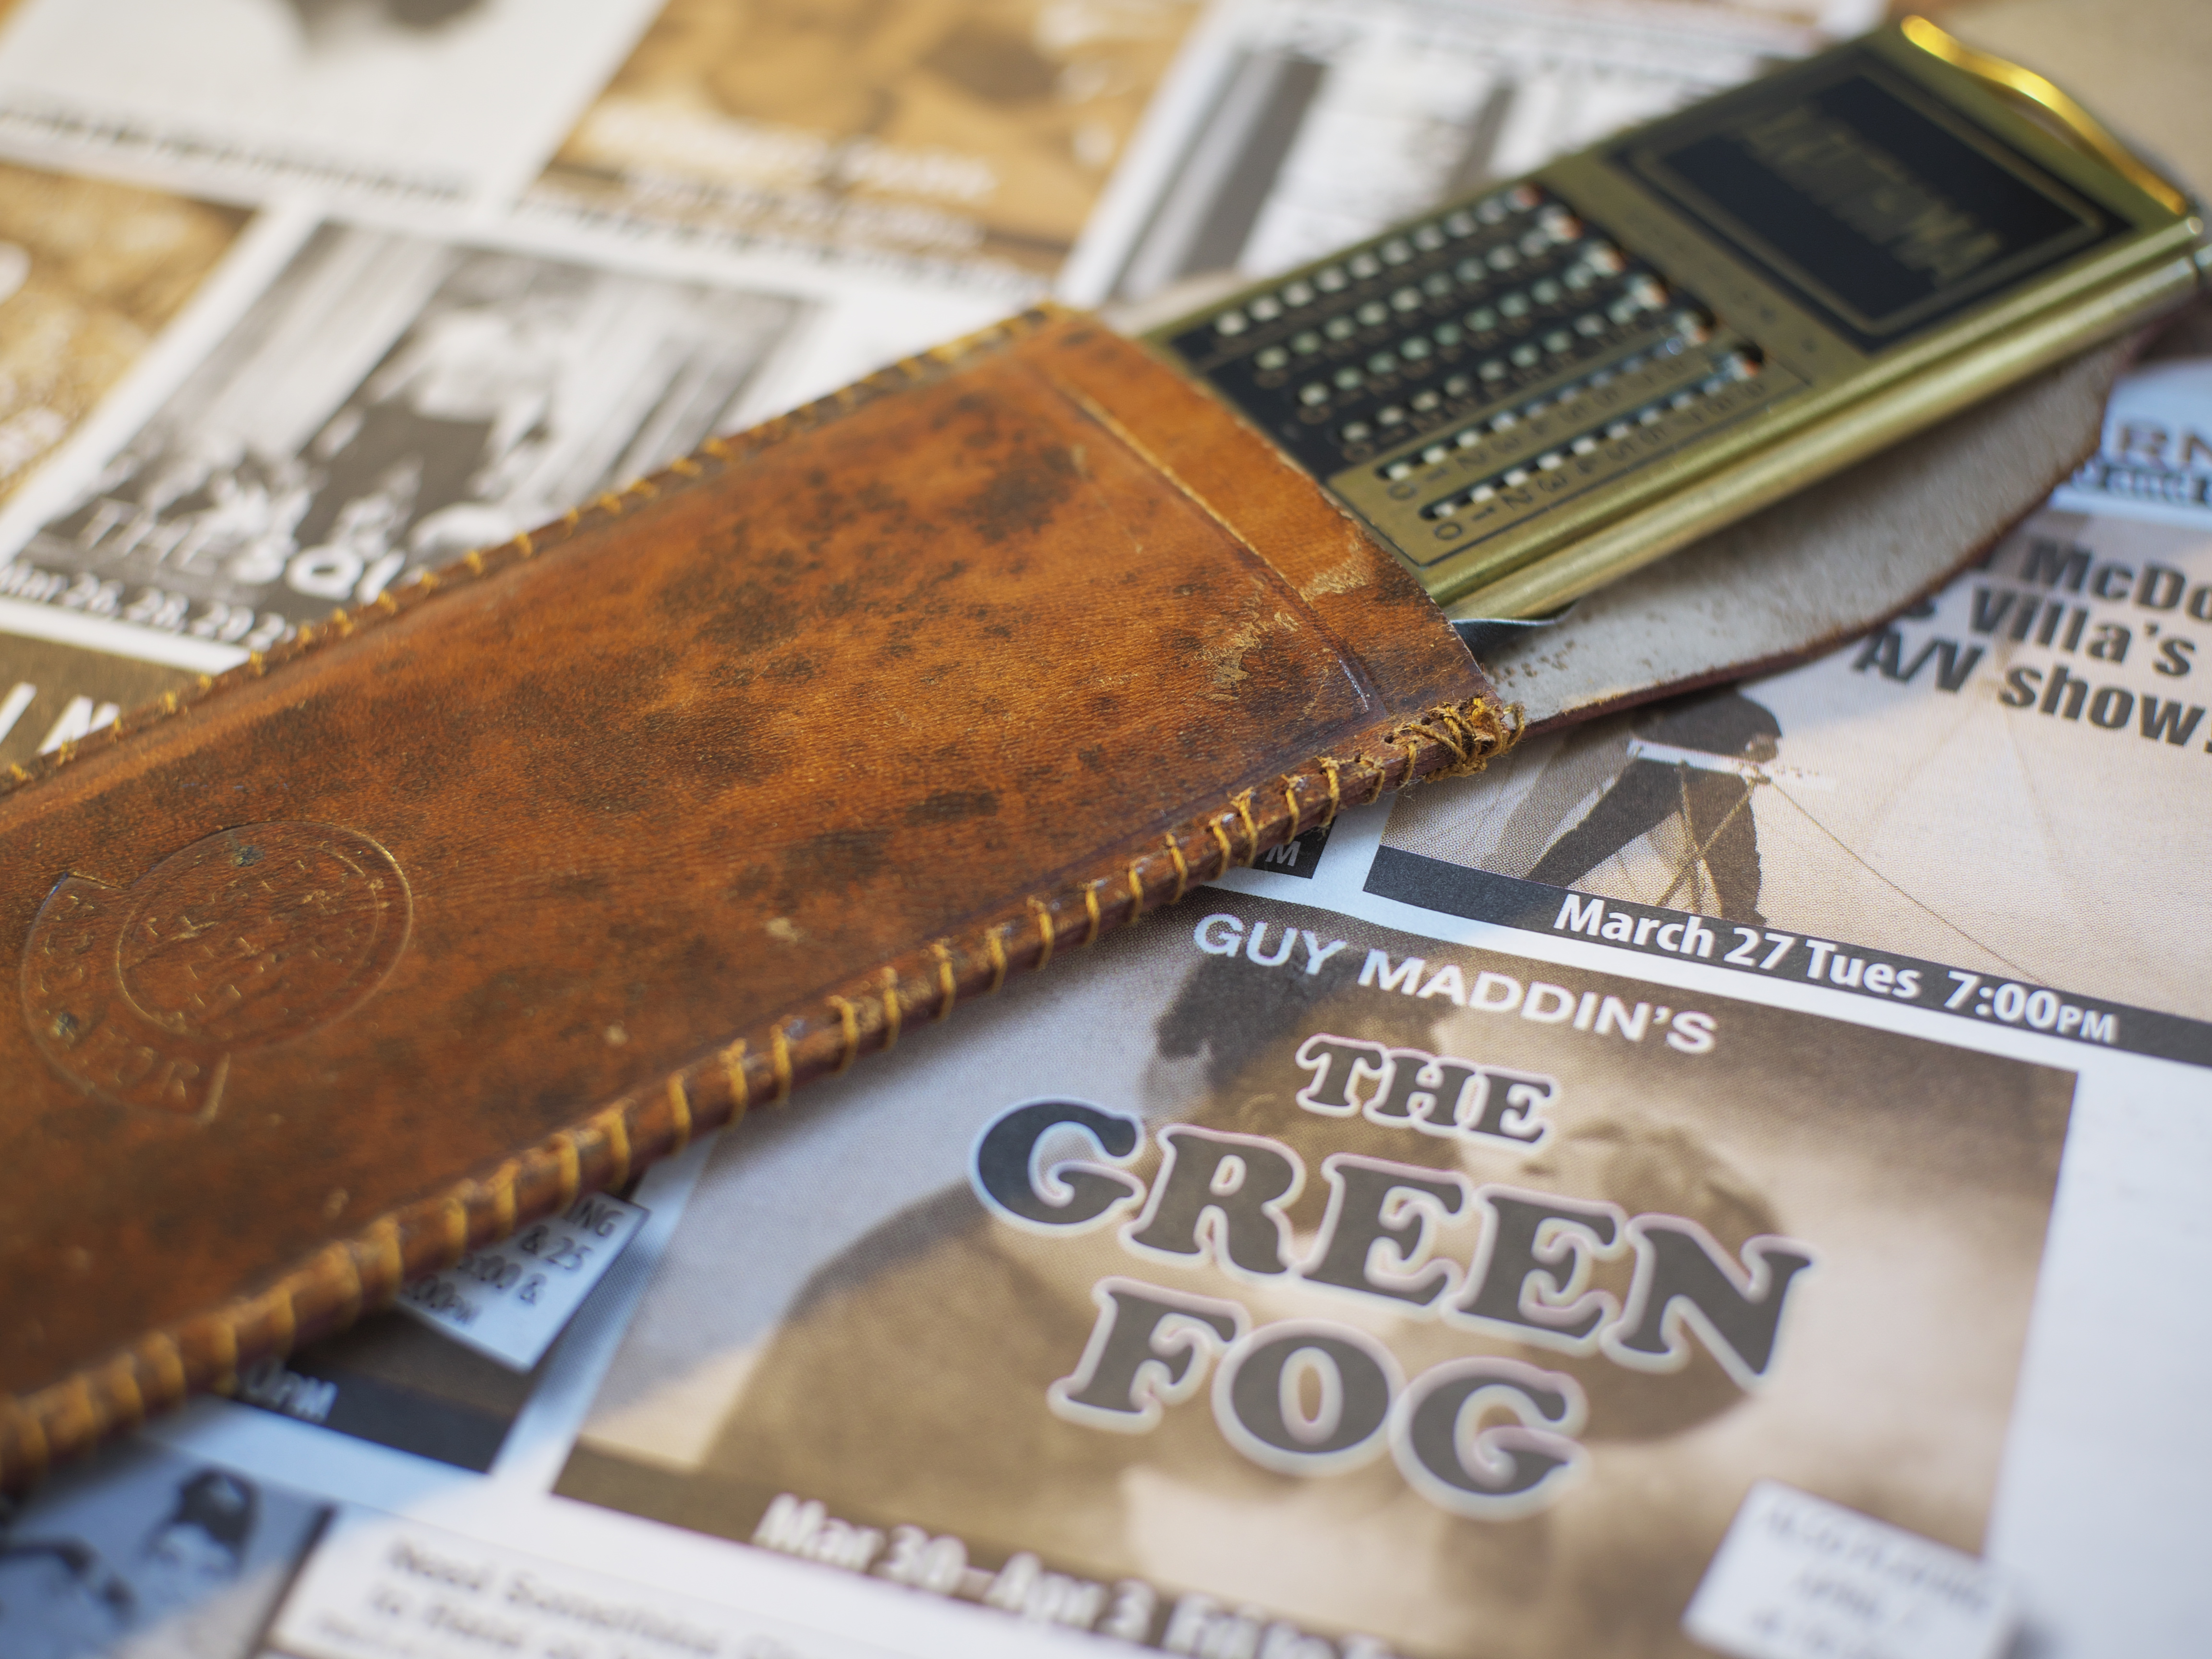
And in more positive news, I dusted off my rudimentary stitchery skills and affected a repair to the leather pouch of my Arithma Addiator:
It may not be pretty, but hopefully it'll serve a few more years of use; it's better than the staples that were holding the pouch together.
Here's a video I recently made about the Addiator. Thank you Ted Munk for the suggestion!
I'm posting an article about a photography project that I have not yet made. I don't actually know how successful it will be, truth be told. But I'm posting this in the hopes that, come winter and the cold climate, you'll hold me accountable by ensuring that I haven't forgotten.
The idea is simple, and has probably already been done. Uniqueness isn't the objective (pardon the pun), however. I'm merely curious to know if it'll work, and to see the resulting images for myself.
Back about 150 years ago, photographic technology was cumbersome and the processes trouble-prone, not because people purposefully sought after difficulties, but because the state of the art was primitive. And yet many of them succeeded, remarkably so. My idea is entirely cumbersome and somewhat difficult, and entirely impractical; you wouldn't want to go off and start creating images this way, even considering alternatives such as wet plate collodion, which might be easier to achieve than what I'm thinking of doing.
I want to make a liquid-proof camera that uses an ice lens. A simple, single-element meniscus lens, made from ice, with a paper negative as the light-sensitive medium. And I want the water making up the ice to have about 1/15th of its volume to be concentrated liquid paper developer.
When you mix a working solution of paper developer from liquid concentrate, in a dilution of around 1:15, the solution is slightly yellow in tone. This shouldn't be a major problem for forming an image, as people who do dabble in paper negatives are known to use a yellow filter over their lens to filter out the blue light and therefore make multigrade paper achieve a bit less blown-out contrast in daylight conditions.
My purpose for using frozen paper developer as a lens is not to make it yellow colored (that's merely a side attribute), but for the developing process after the exposure is made. I want to cap the lens, then somehow make the lens fall into the back of the camera, after which the camera will be taken into a warm indoor climate and I'll wait for the lens to melt, then gently agitate the camera so the paper negative will develop an image. After sufficient development time, I'll take the camera into the darkroom (or a changing bag), pour out the melted lens solution and fix the negative.
The camera needs to be made from some waterproof material like opaque plastic, so it will function as a developing tank.
I still haven't figured out how to make the lens fall into the back of the camera after the exposure is made. But I'll figure out something.
Obviously, doing this in sub-freezing temperatures will make the whole process a bit easier.
I don't know how transparent the lens will be, however. Looking at ice cubes coming out of the freezer, some are clear and others frosted over. I suppose a quick spray of water might clean off any frost. I can also foresee the lens frosting over once it's taken outside, if the temperature and/or humidity is not correct. I don't know how to predict what will happen without simply trying.
To mold the ice lenses, I was thinking of finding a certain kind of ice cube tray that make round, cylindrical cubes with a convex, rounded bottom. Then fill each section up to only fill the bottom, rounded section. The result should be a Plano-convex lens shape. A tray with a dozen compartments should give me enough lenses for experimentation.
I'm only assuming that the 1:15 solution of developer and water will still freeze somewhere around the same temperature of regular water.
Totally impractical, right? You wouldn't want to go off and start a portrait business using ice lenses. But it does sound like a fun project, impractical as it might be.
Just ping me with an email come December and remind me to work on this, will you? Thanks!
Post-Script: The top image is a positive inversion of a lumen print, made by exposing light-sensitive paper in a camera without subsequent development; the color change is due to auto-development of the silver halides.
Post-Script: This is not to imply that there is no craft-like skill involved with the more contemporary methods of image-making, but traditional methods are intrinsically craft-oriented, dealing as they do with physical material.
I loved Harman's Direct Positive Paper, and do hope they get the bugs ironed out of their manufacturing issues. Going forward, I do need to consider, when dealing with still-life and landscape subjects, returning to large format sheet film which, though more costly, can yield wonderful results, including the possibility of enlargements.
Typecast via Underwood Portable 4-bank. Check out the latest video about this machine.