Tuesday, July 12, 2022

Tuesdays at Ethan's

Ethan Moses
Tuesdays at Ethan’s, Page One
Ethan Moses
Tuesdays at Ethan’s, Page Two
Ethan Moses
Tuesdays at Ethan’s, Page Three

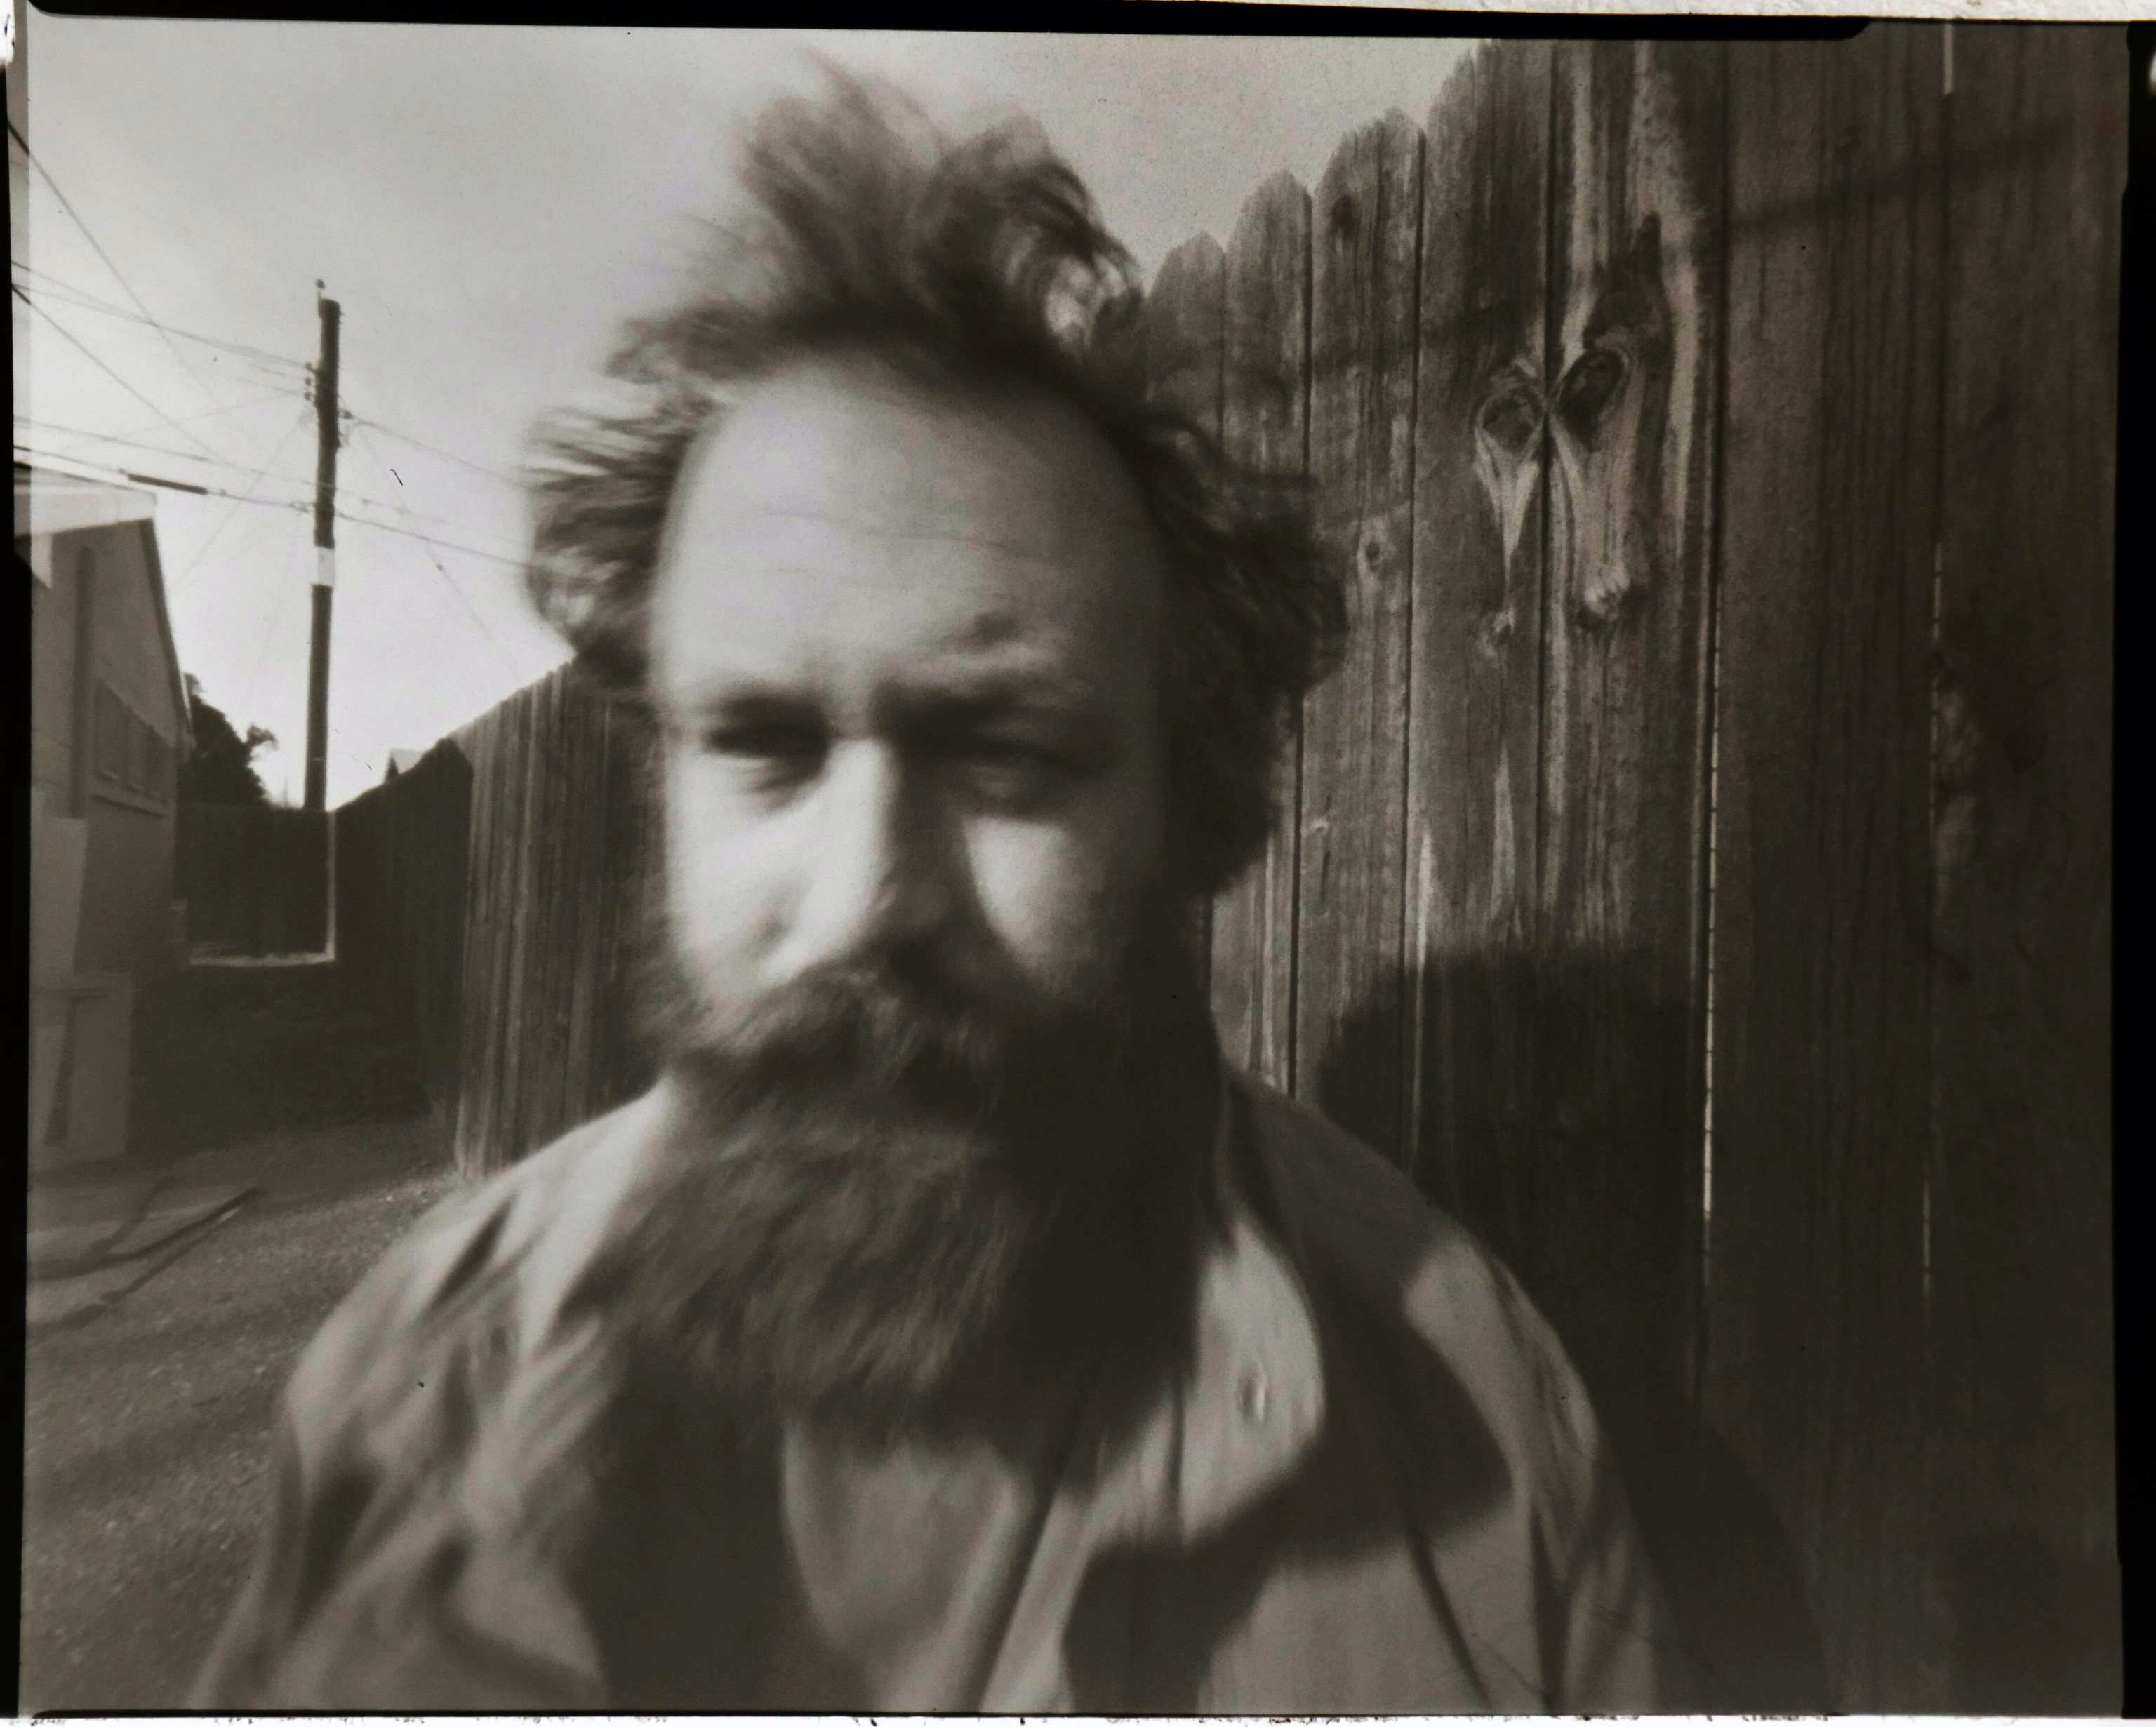
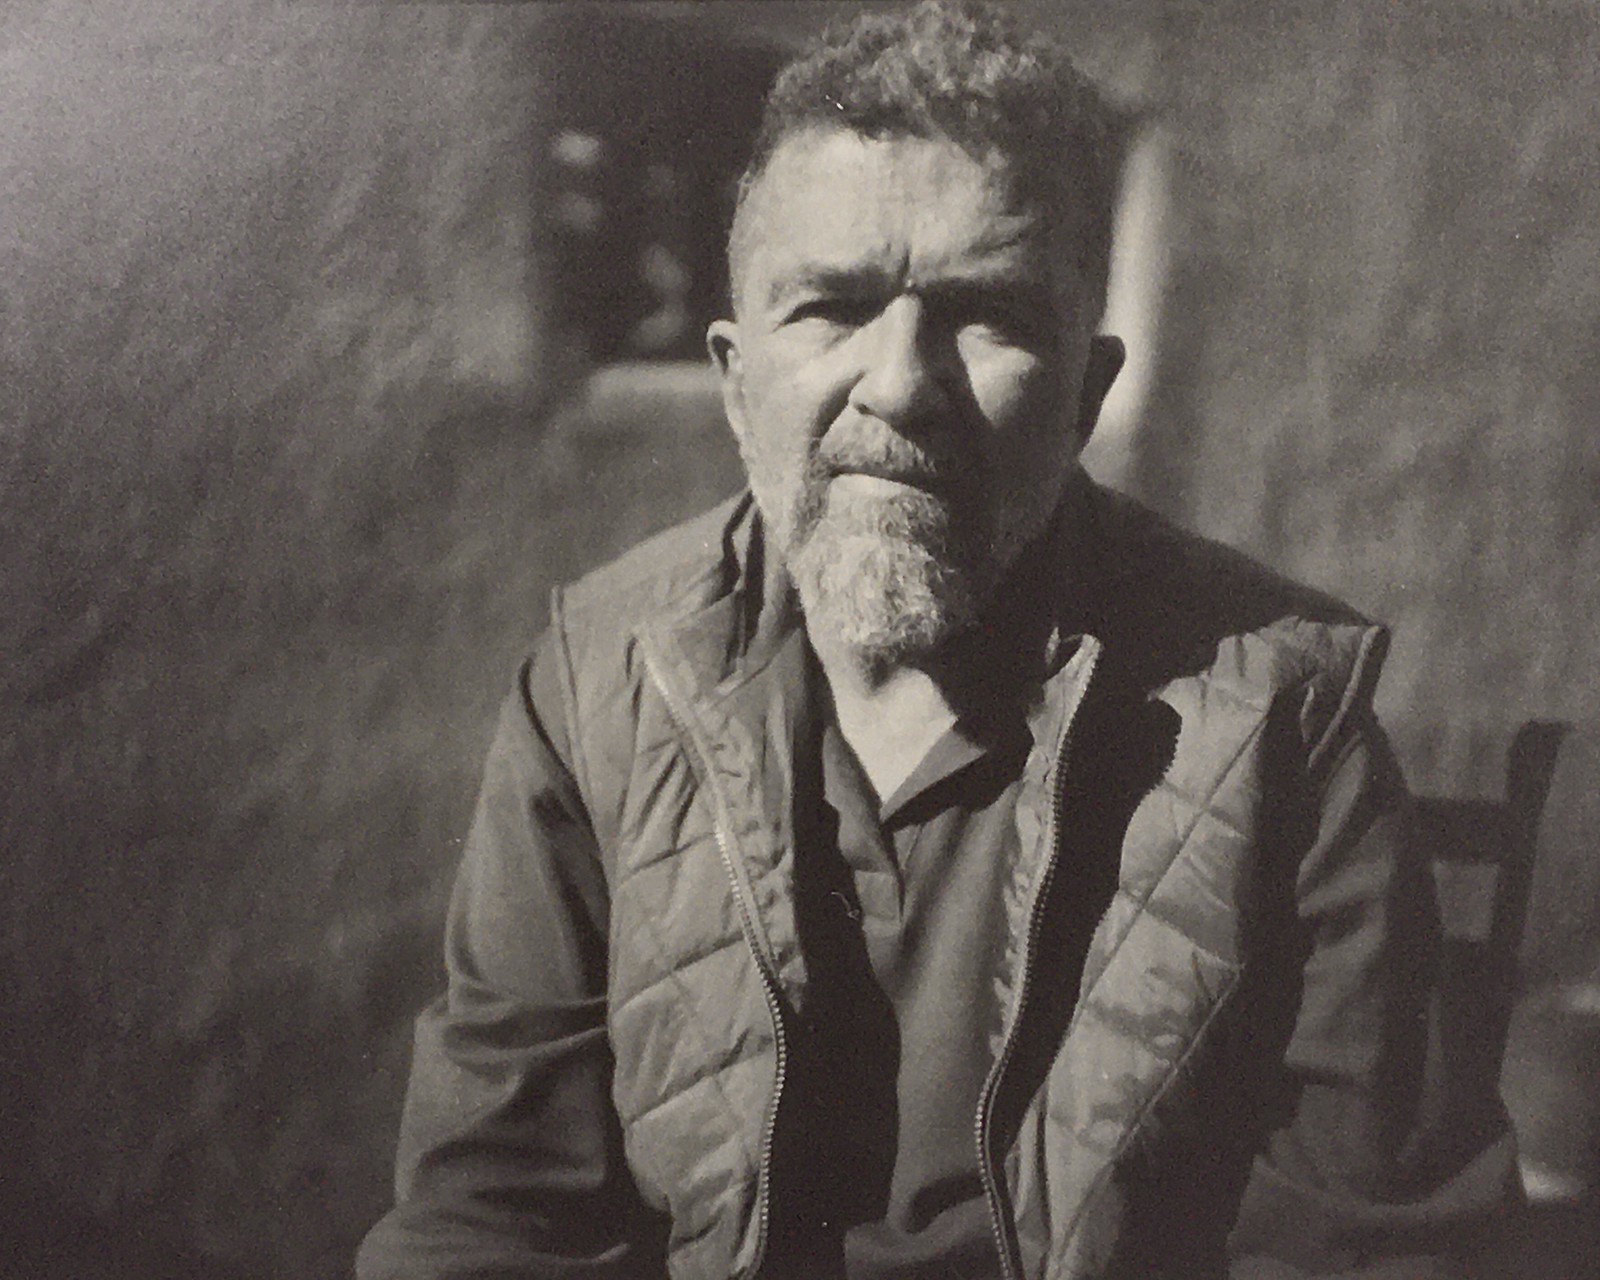
Joe at Ethan's on a cold winter's day, preflashed grade 2 paper negative exposed in 4"x5" pinhole camera by Ethan: Joe by Fence

Ethan by fence, preflashed grade 2 paper negative exposed in 4"x5" pinhole camera by Joe: Ethan by Fence

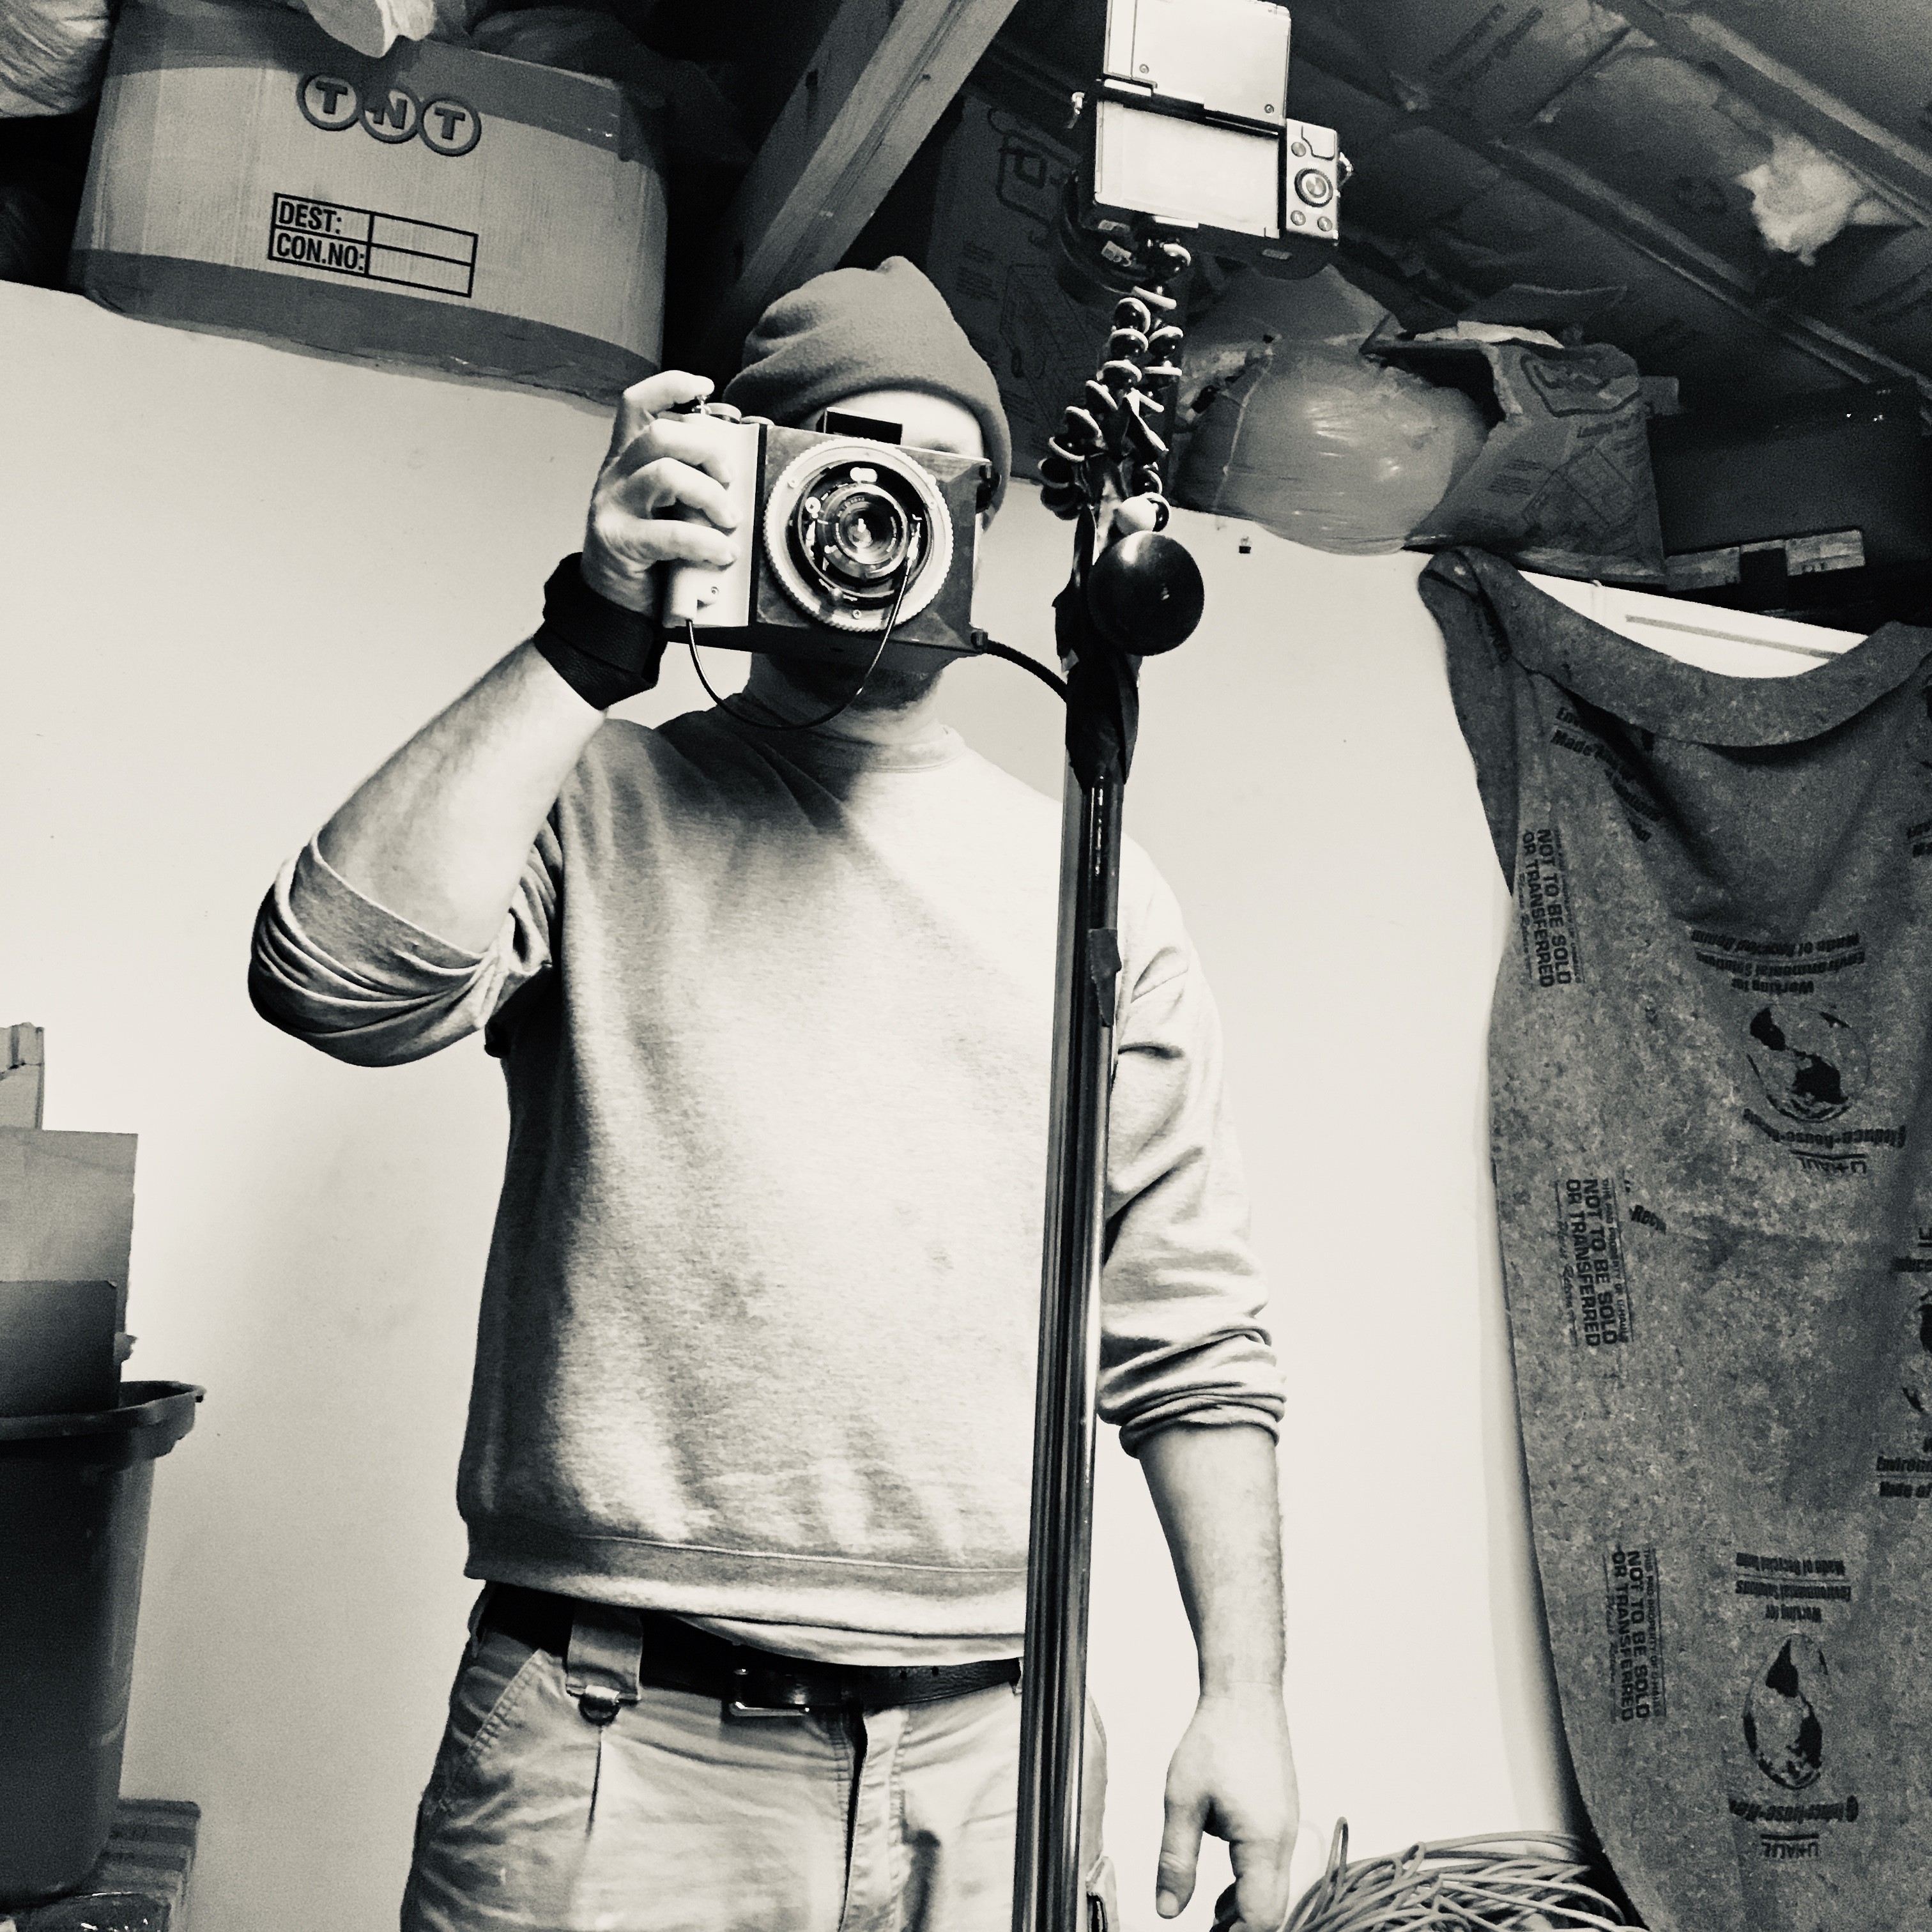
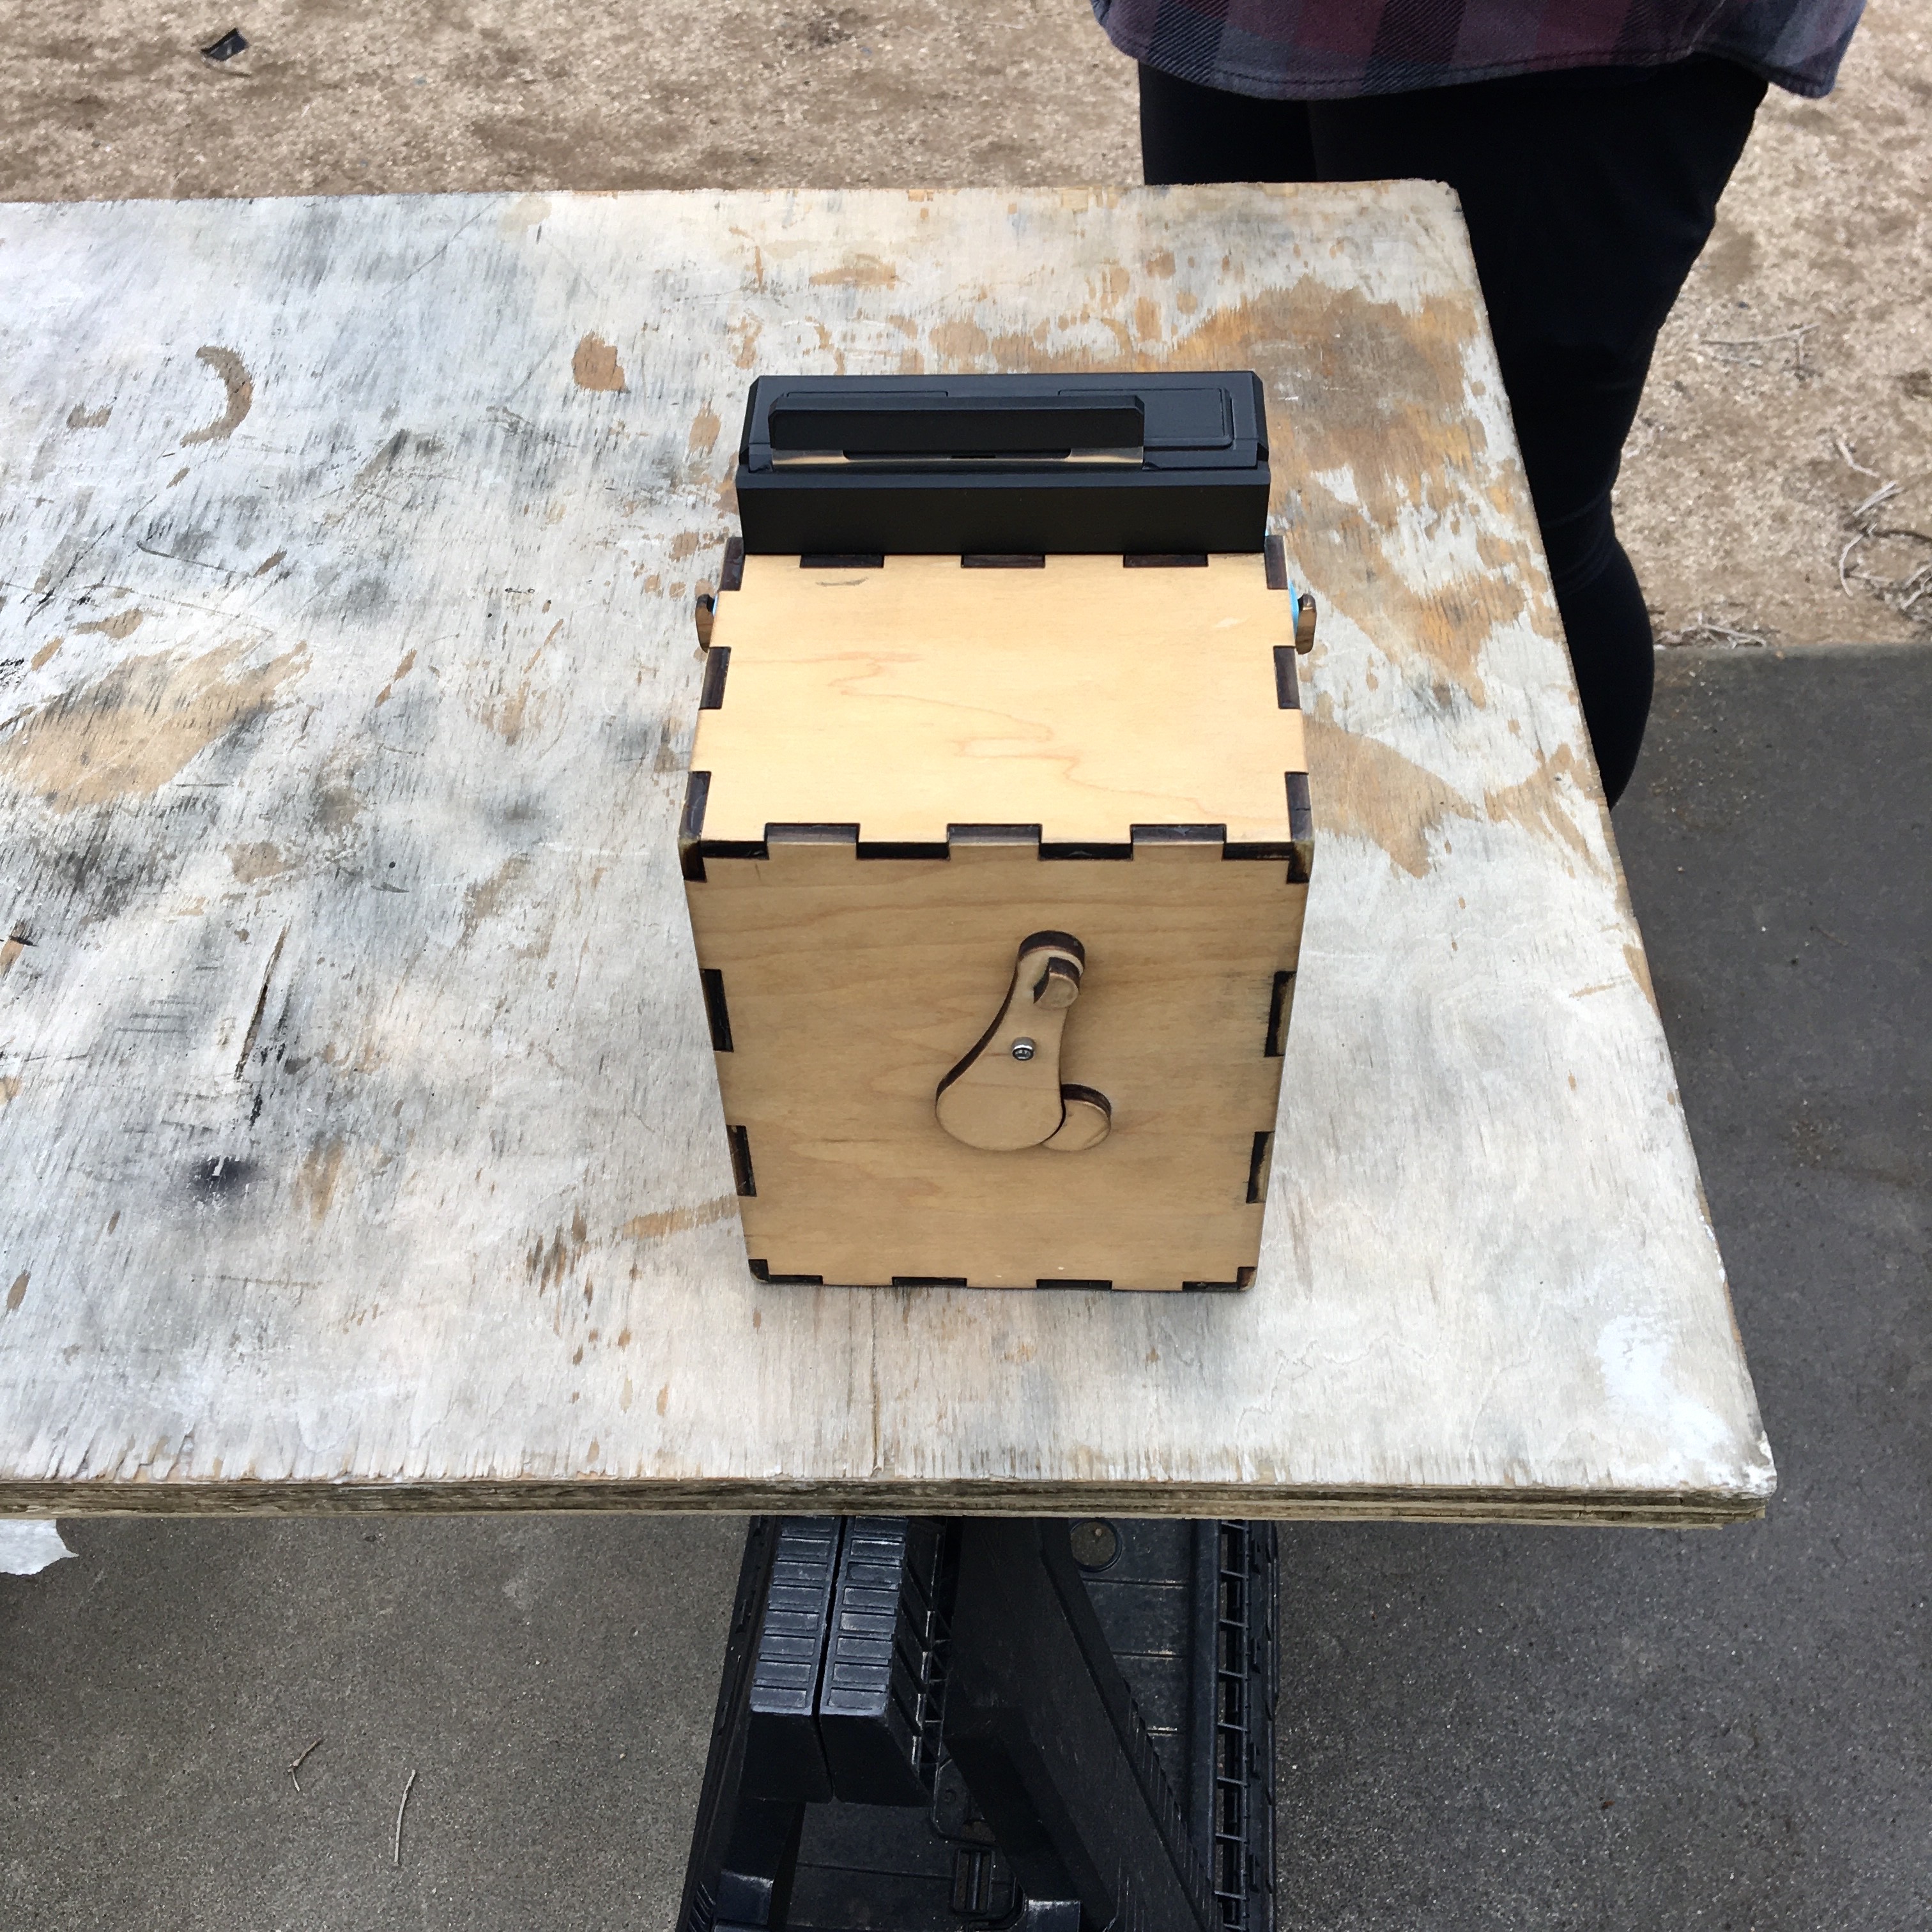
Ethan testing a newly handmade camera:
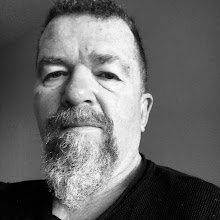
Ethan

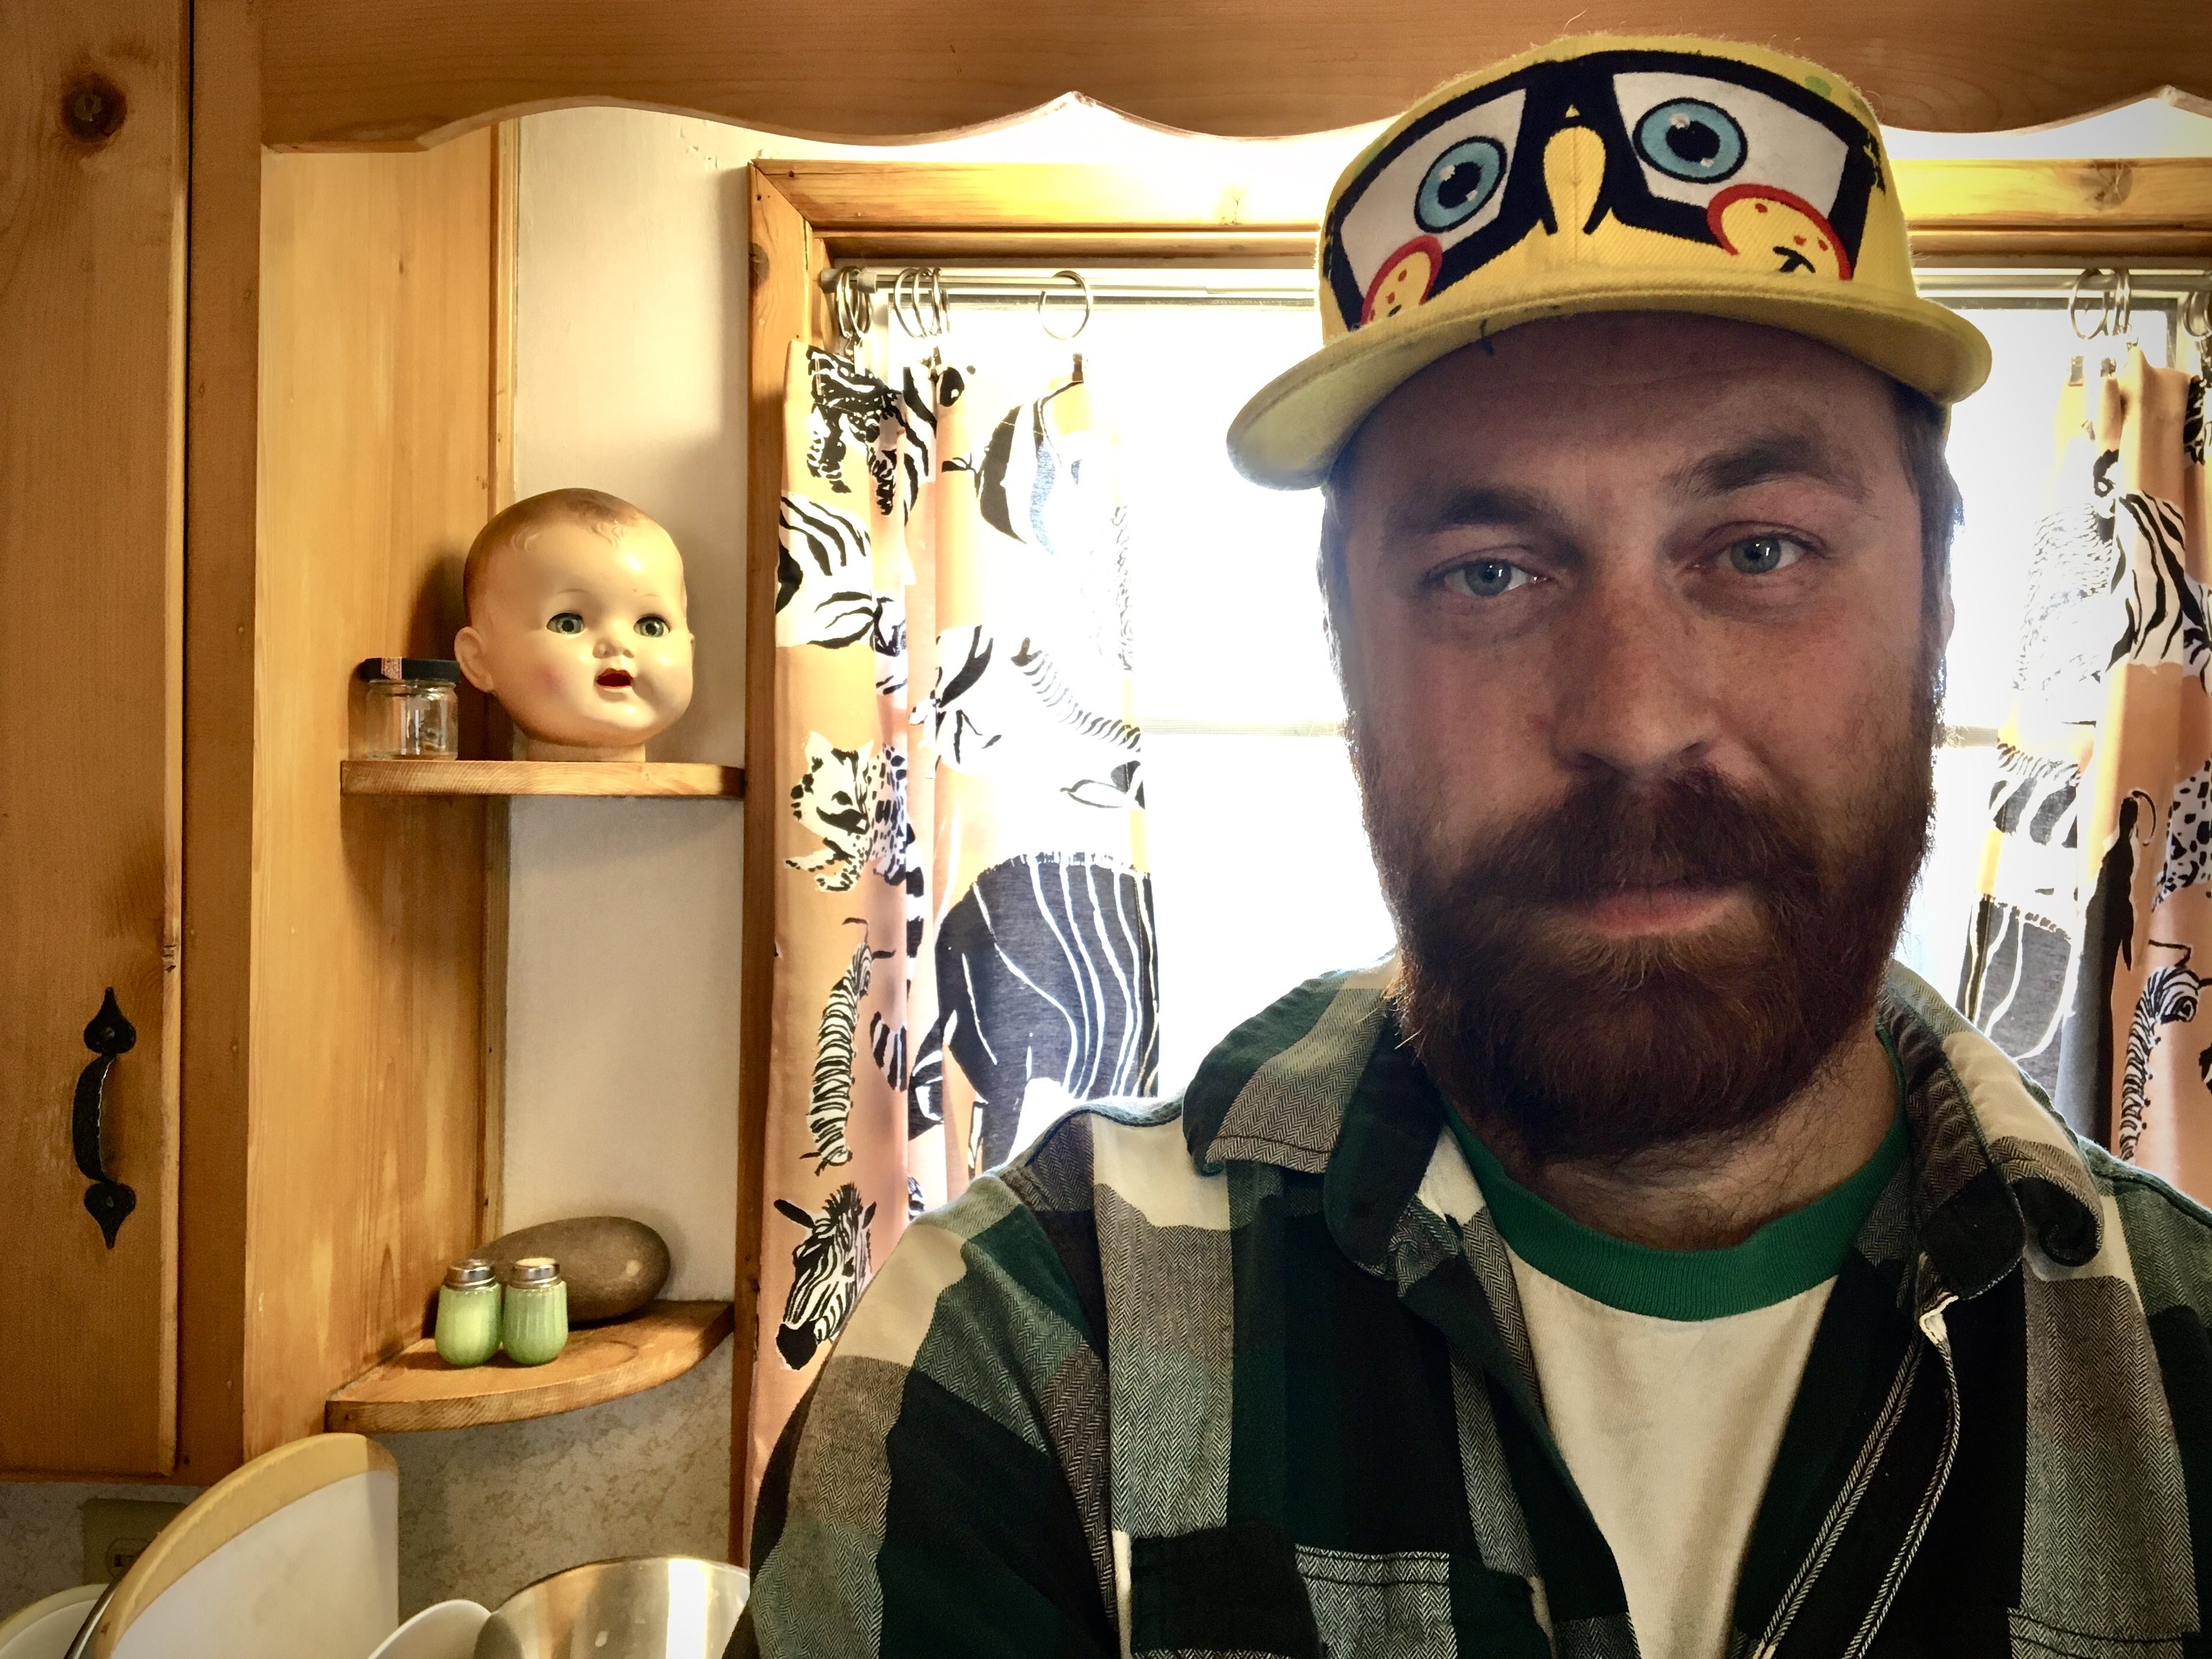
Ethan in his kitchen:
Ethan

Ethan's website: https://www.cameradactyl.com

Ethan's main YouTube Channel: https://www.youtube.com/c/CAMERADACTYLCameras

Ethan's Cowabunga Pencil Time Channel: https://www.youtube.com/channel/UCSo_L_g5YYGF0p3lsQEI-cA

Labels: ,

Tuesday, December 14, 2021

Fujifilm, Lomography and Instant Fun


A Day at Ethan’s

One of the camera's we used was Ethan's laser-cut 4x5 pinhole camera, made from a kit that he sells. Here's the Lomography Graflok back mounted to the camera:
Pinhole Camera with Lomo Graflok Back

Here's the camera and Lomo back mounted to a tripod:

Fuji's Instax Wide instant print film has up to now only been usable in plastic point-and-shoot cameras, which offer a limited amount of control over exposure and focus. But now with Lomography's 4x5 back for Instax wide, it can be exposed in any camera that offers a graflok film back, opening up a new world of opportunity for creative photographers.

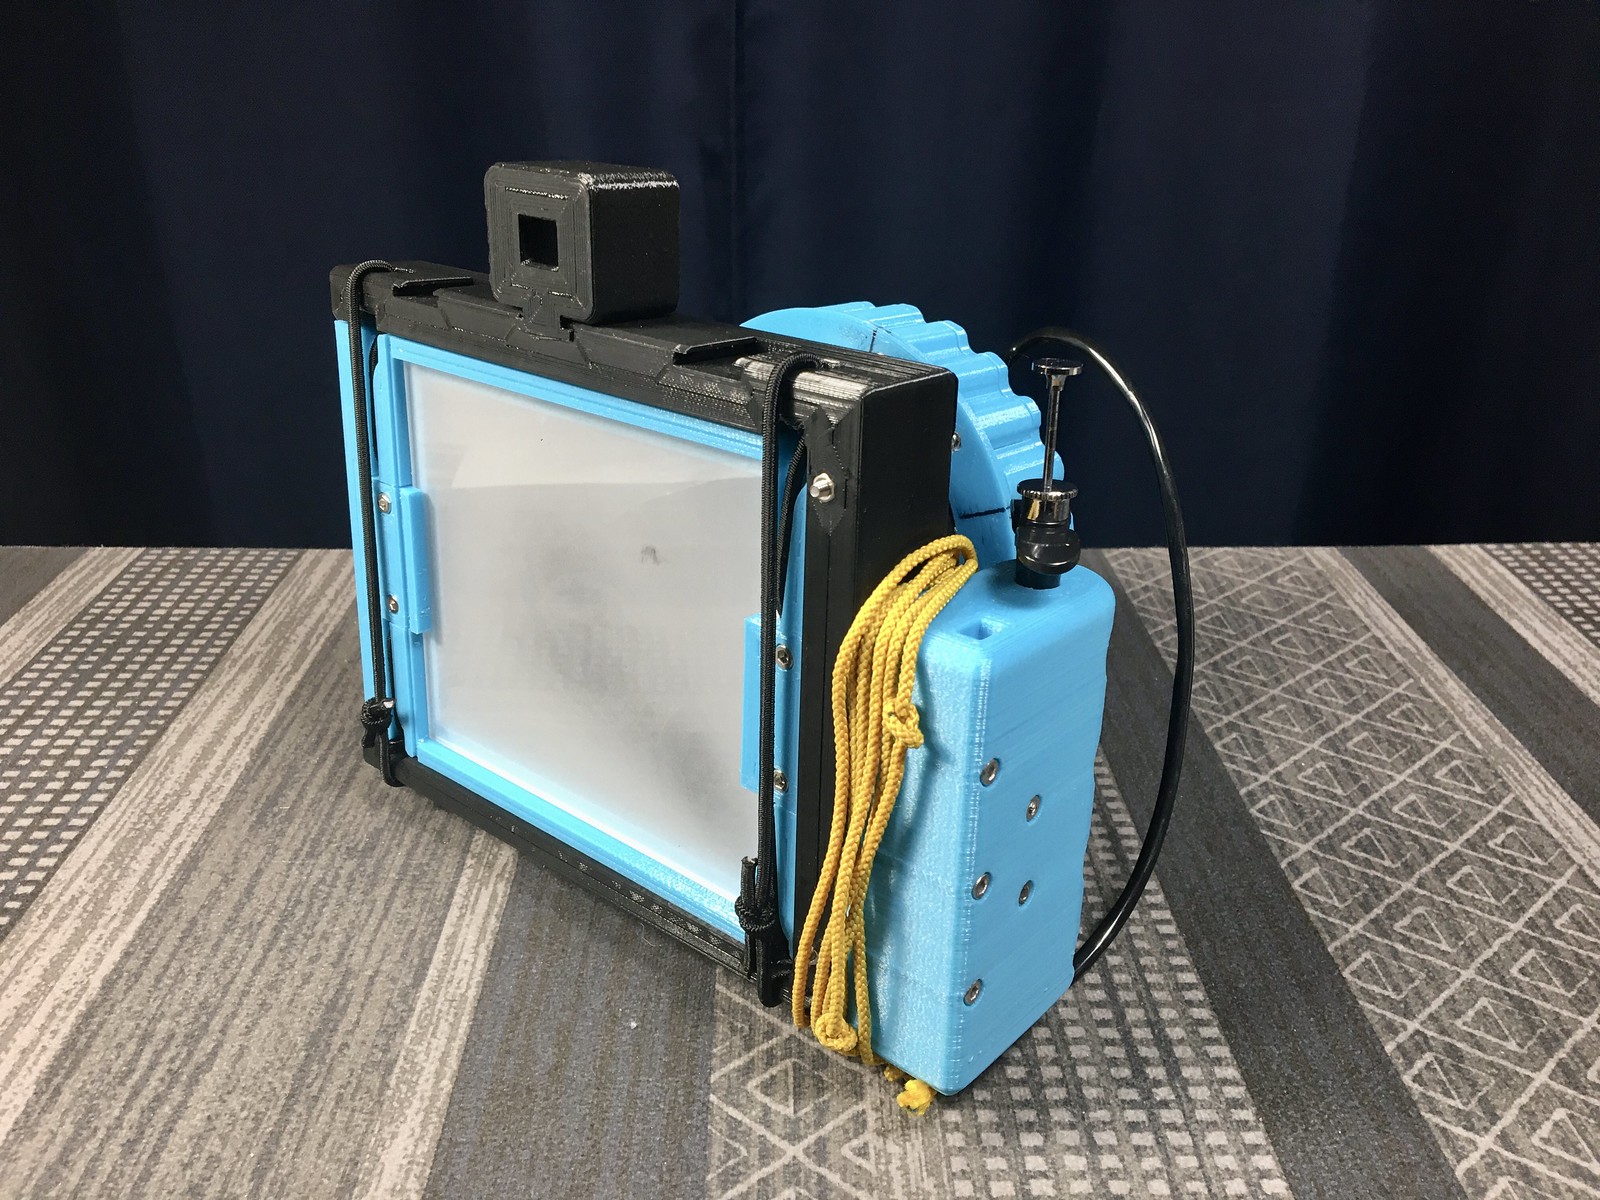
Ethan has been using this film back with his 3D printed camera that adapts Mamiya press lenses. He also has made his own focusing adapter that has an integral viewing screen, making it more convenient to use than Lomography's supplied focus adapter, that requires the camera's native view screen be repeatedly installed and removed between each shot.


During our photo shoot today, I had the idea of using Ethan's backyard wooden fence as a makeshift gallery space. The fence's old iron nails worked well with rare-earth magnets as a means for attaching the Instax prints.

We noted with the longer exposures using the pinhole camera (3-5 seconds) that reciprocity failure caused the Instax color film to shift toward purple in these cloudy daylight shots.

The Instax film has an ISO speed rating of 800, much faster than the slow photo paper (ISO 6-12) that I typically use in pinhole cameras. As such, I was surprised when my light meter app recommended only a few seconds exposure in today's cloudy weather.

Typecast on Olympia Splendid 33 using Gregg-ruled shorthand paper.

Labels: ,

Monday, November 25, 2019

Early Thanksgiving

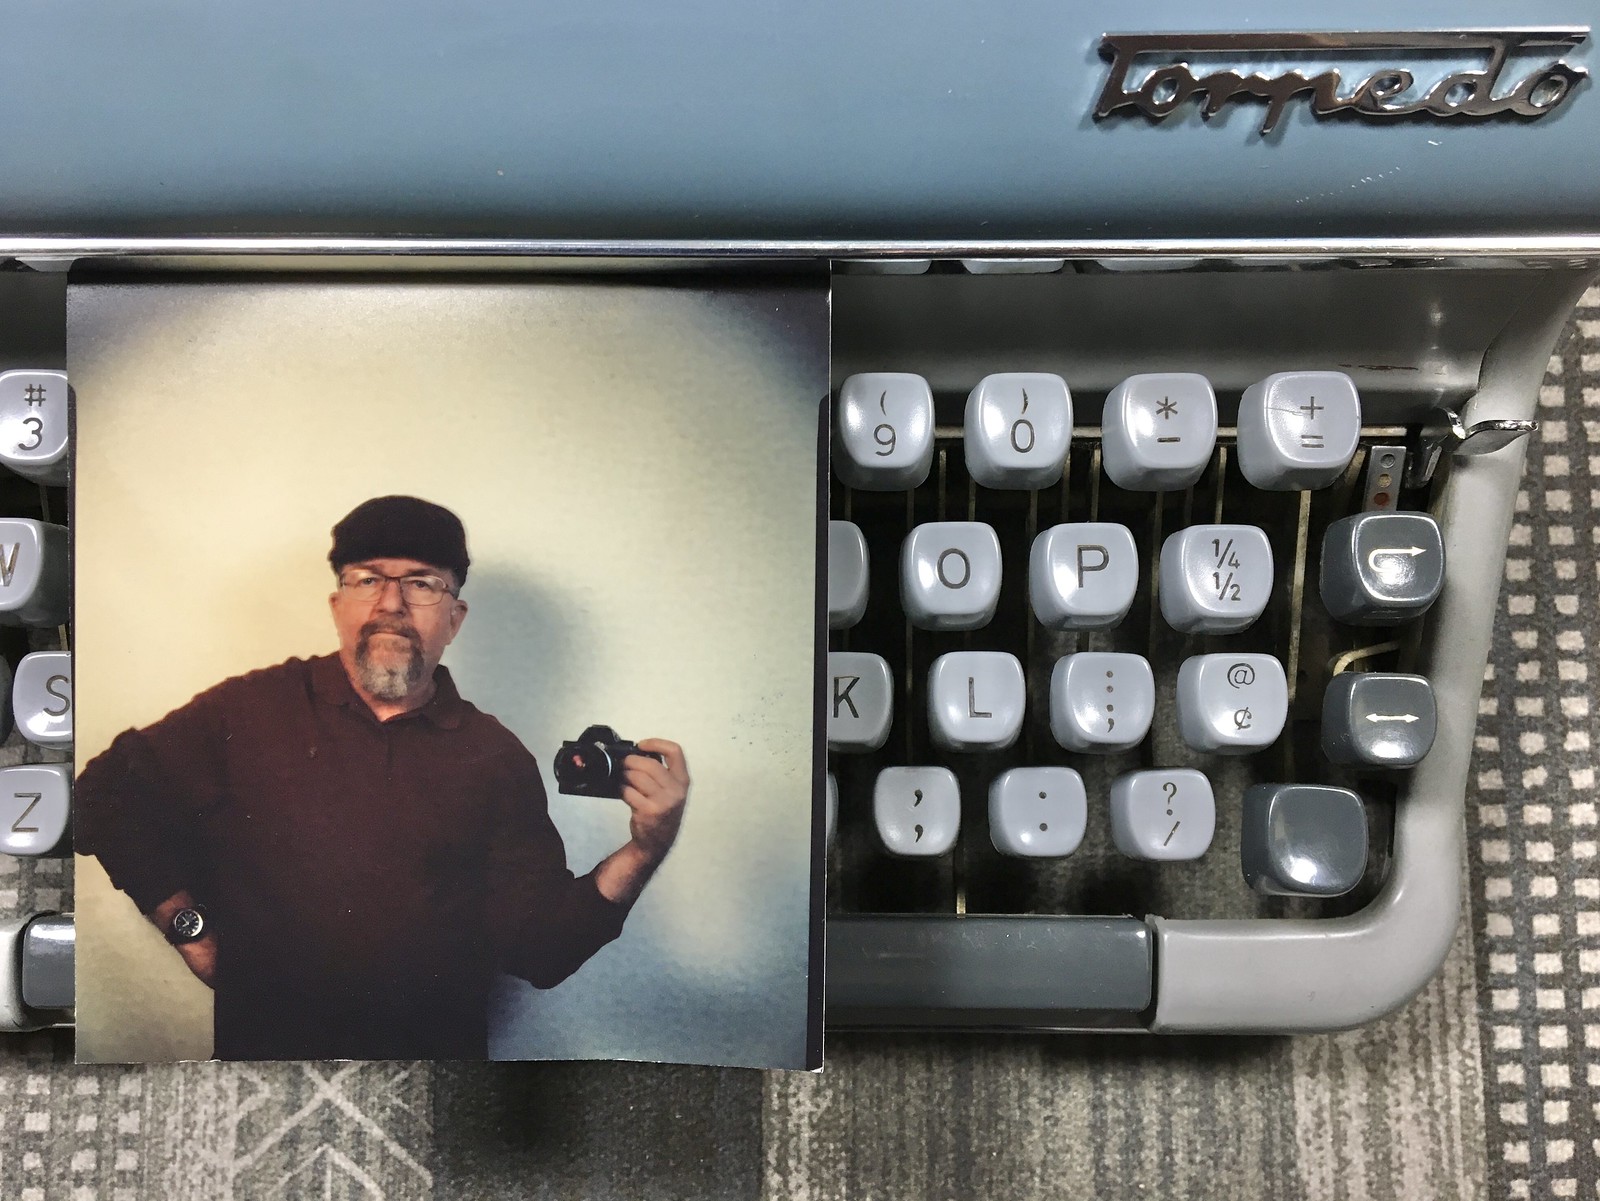
Selfie, Kodak Ektar 127mm on Cameradactyl OG, reversal processed Arista RC grade 2 semi-matte paper
“Early Thanksgiving”

The Cameradactyl OG with Kodak Ektar 127mm F/4.7 lens:

Cameradactyl OG with Kodak Ektar 127mm F/4.7 lens

Rear view showing view screen, 1:1 finder and close-up focusing string:

Cameradactyl OG with Kodak Ektar 127mm F/4.7 lens
The shutter release cable feeds through a hole in the grip. There's also a slot in the grip for a camera strap.

There are three mounting slots for the 1:1 finder, I prefer the middle slot, to reduce parallax error.

The large blue lens mounting ring up front is also the helical focuser. I have lines marked on the focus ring to indicate infinity focus, along with three closer distances, equivalent to three knots tied in the yellow focusing string.

For the self-portrait at the top, I preset the focus ring for the closest position, then placed the first knot of the string against my temple, adjacent to my eye, then stretched the string taught. A 36" shutter release cable permitted me to trigger the shutter from that position. Exposure was metered at ISO 3 + 3 stops, which came to F/5.6 at 1/2 second in bright sun. The direct positive print was processed using the citric acid / hydrogen peroxide method, using the same chemicals I've been using for a few months.

Here's a close-up of the newly acquired Ektar 127mm lens, with the front ring removed to gain access for degreasing and cleaning. I was able to get the speeds back pretty close to normal, but the bulb position still doesn't work; but I can still use a dark slide over the lens while in the preview mode instead.

Kodak Ektar 127mm F/4.7 Shutter

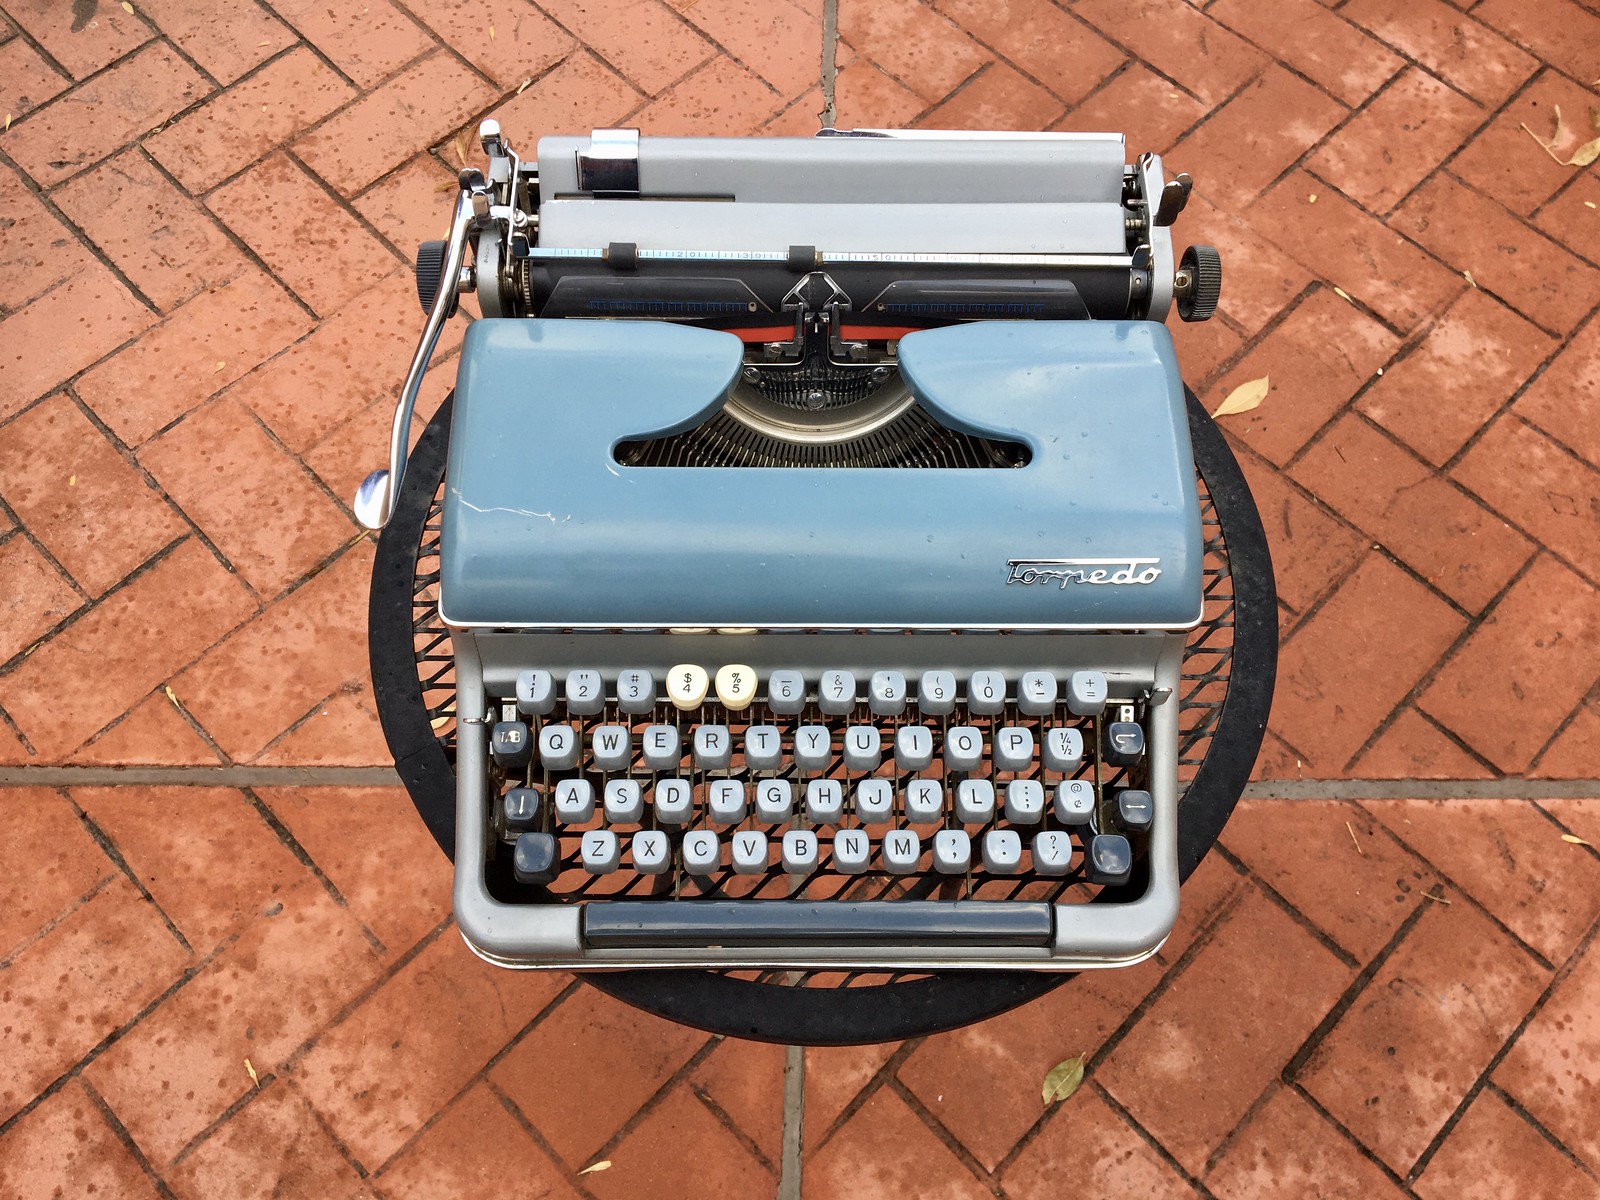
Typecast via Torpedo 18:

Torpedo 18

Labels: , , ,

Monday, November 18, 2019

The Aero-Artiste and Pinholio of Flight

“The Aero-Artiste and Pinholio of Flight”

The Cameradactyl Pinholio:

Cameradactyl Pinholio Self-Developing Pinhole Camera

A sample image, exposed and processed in-Pinholio.

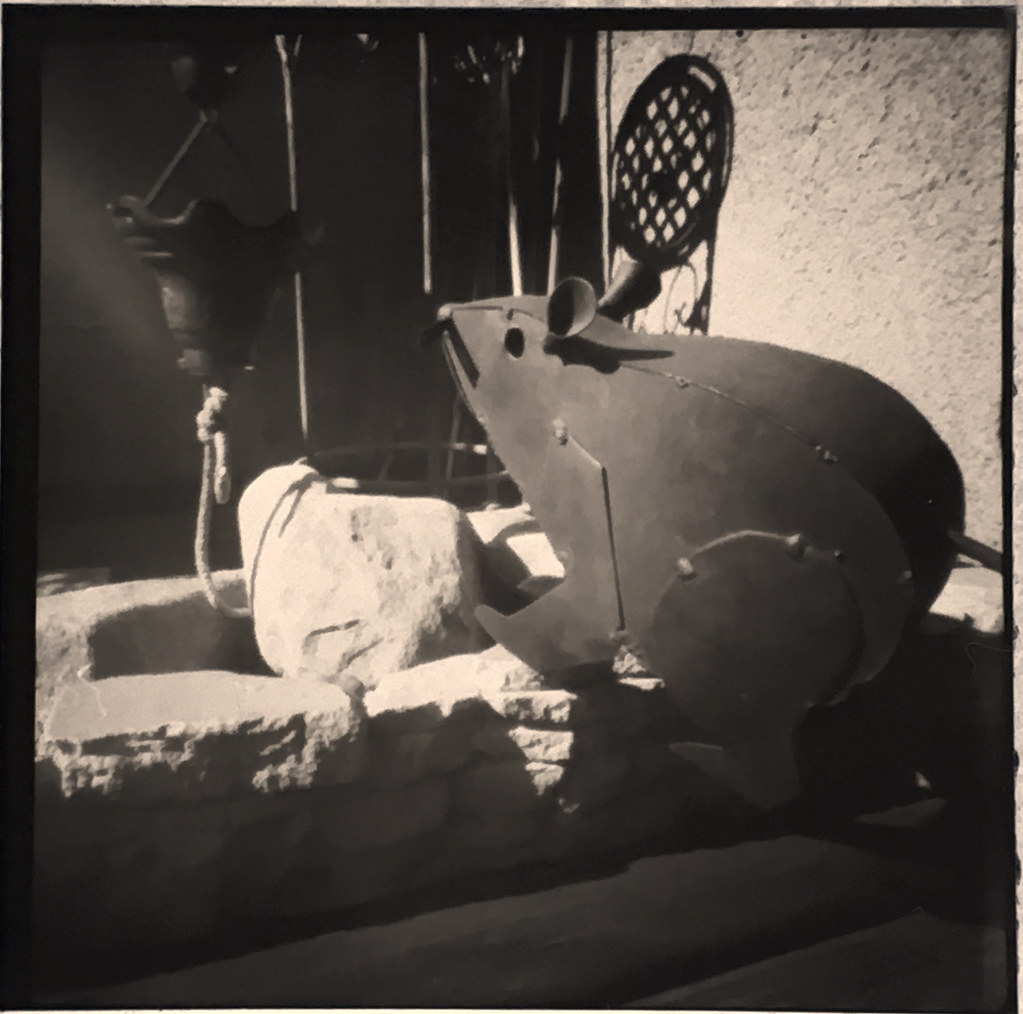
Brass Rat, Paper Negative Inversion, F/250 Pinholio Camera

I just finished replacing the worn feet of this Torpedo 18 with some hardware store rubber feet and decided it needed a test typing, as I’d recently installed a dark and inky adding machine ribbon. So I grabbed this grid paper, upon which was a bit of cyphering I’d done for the video, and proceeded to let the Muse have her way.

I love these late-night, impromptu typing surprises using such fine machines like the Torpedo. It looks like it’s been through the ringer, but can it type!

Torpedo Typewriter

Labels: , , , , ,

Tuesday, November 12, 2019

Direct Positive Color Prints? Yes!

Direct Positive RA4 Color Print by Ethan Moses, exposed using a Cameradactyl 4x5, processed in Dektol, stop bath, color developer and blix.

“Direct Positive Color Prints”

The nice thing about receiving the Cameradactyl Pinholio was that I had the opportunity during last week's visit to choose my color for the pinhole cap (gray), and also to watch his 3D printers begin their slave-like work of printing the parts for the camera.

Cameradactyl Pinholio Self-Developing Pinhole Camera

The Pinholio has an internal pull-shutter, and a removable threaded front pinhole cap. Once the exposure is made, the shutter is closed and the pinhole cap replaced with a 3D-printed, light-proof pour spout, the kind seen on film developing tanks, permitting the paper to be processed within the same camera, out in the field. Since all the parts are made of resilient plastic, exposure to chemicals is no problem.

I hope to soon begin testing the camera, both for exposing and process paper negatives, as well as the peroxide/citric acid reversal process. One caveat with that reversal process is the effective film speed of the paper drops to sub-ISO 1 values, meaning for this pinhole camera with an aperture of F/235 I'm looking at exposure times in bright sun of >10 minutes. Probably too long for seated portraits!

It is for this reason that I'd like to convert (or have Ethan 3D print) a lens cap adapted for a single-element meniscus lens. I've seen a plethora of such lenses available online at places like Surplus Shed. My idea is to build a spacer that fits between the rear flange of the inner box and the rear lip of the front part of the camera, to serve as a focal length extender that would preset the camera for a certain focal range, for use with seated portraits. A fast enough lens should permit exposure times in bright sun of a second or two. Then to be able to process the paper into a unique positive print would be a blast. The inner rear portion of the box slides in and out in a well-designed light trap slot that seems near ideally suited for focus adjustments. Since the intended design holds the paper tight against the rear of the camera by the two box halves completely closed, I'd use a loop of masking tape on the reverse side of the paper, since I'd be extending the box for focusing.

With a changing bag, a person could use this handheld "Afghan Box Camera" for making portraits in public. I'll keep this blog updated with progress.

Labels: , , ,