ABQwerty Type Writer Society Meeting, Mega-Big Cameras, B/W Peroxide Reversal Process
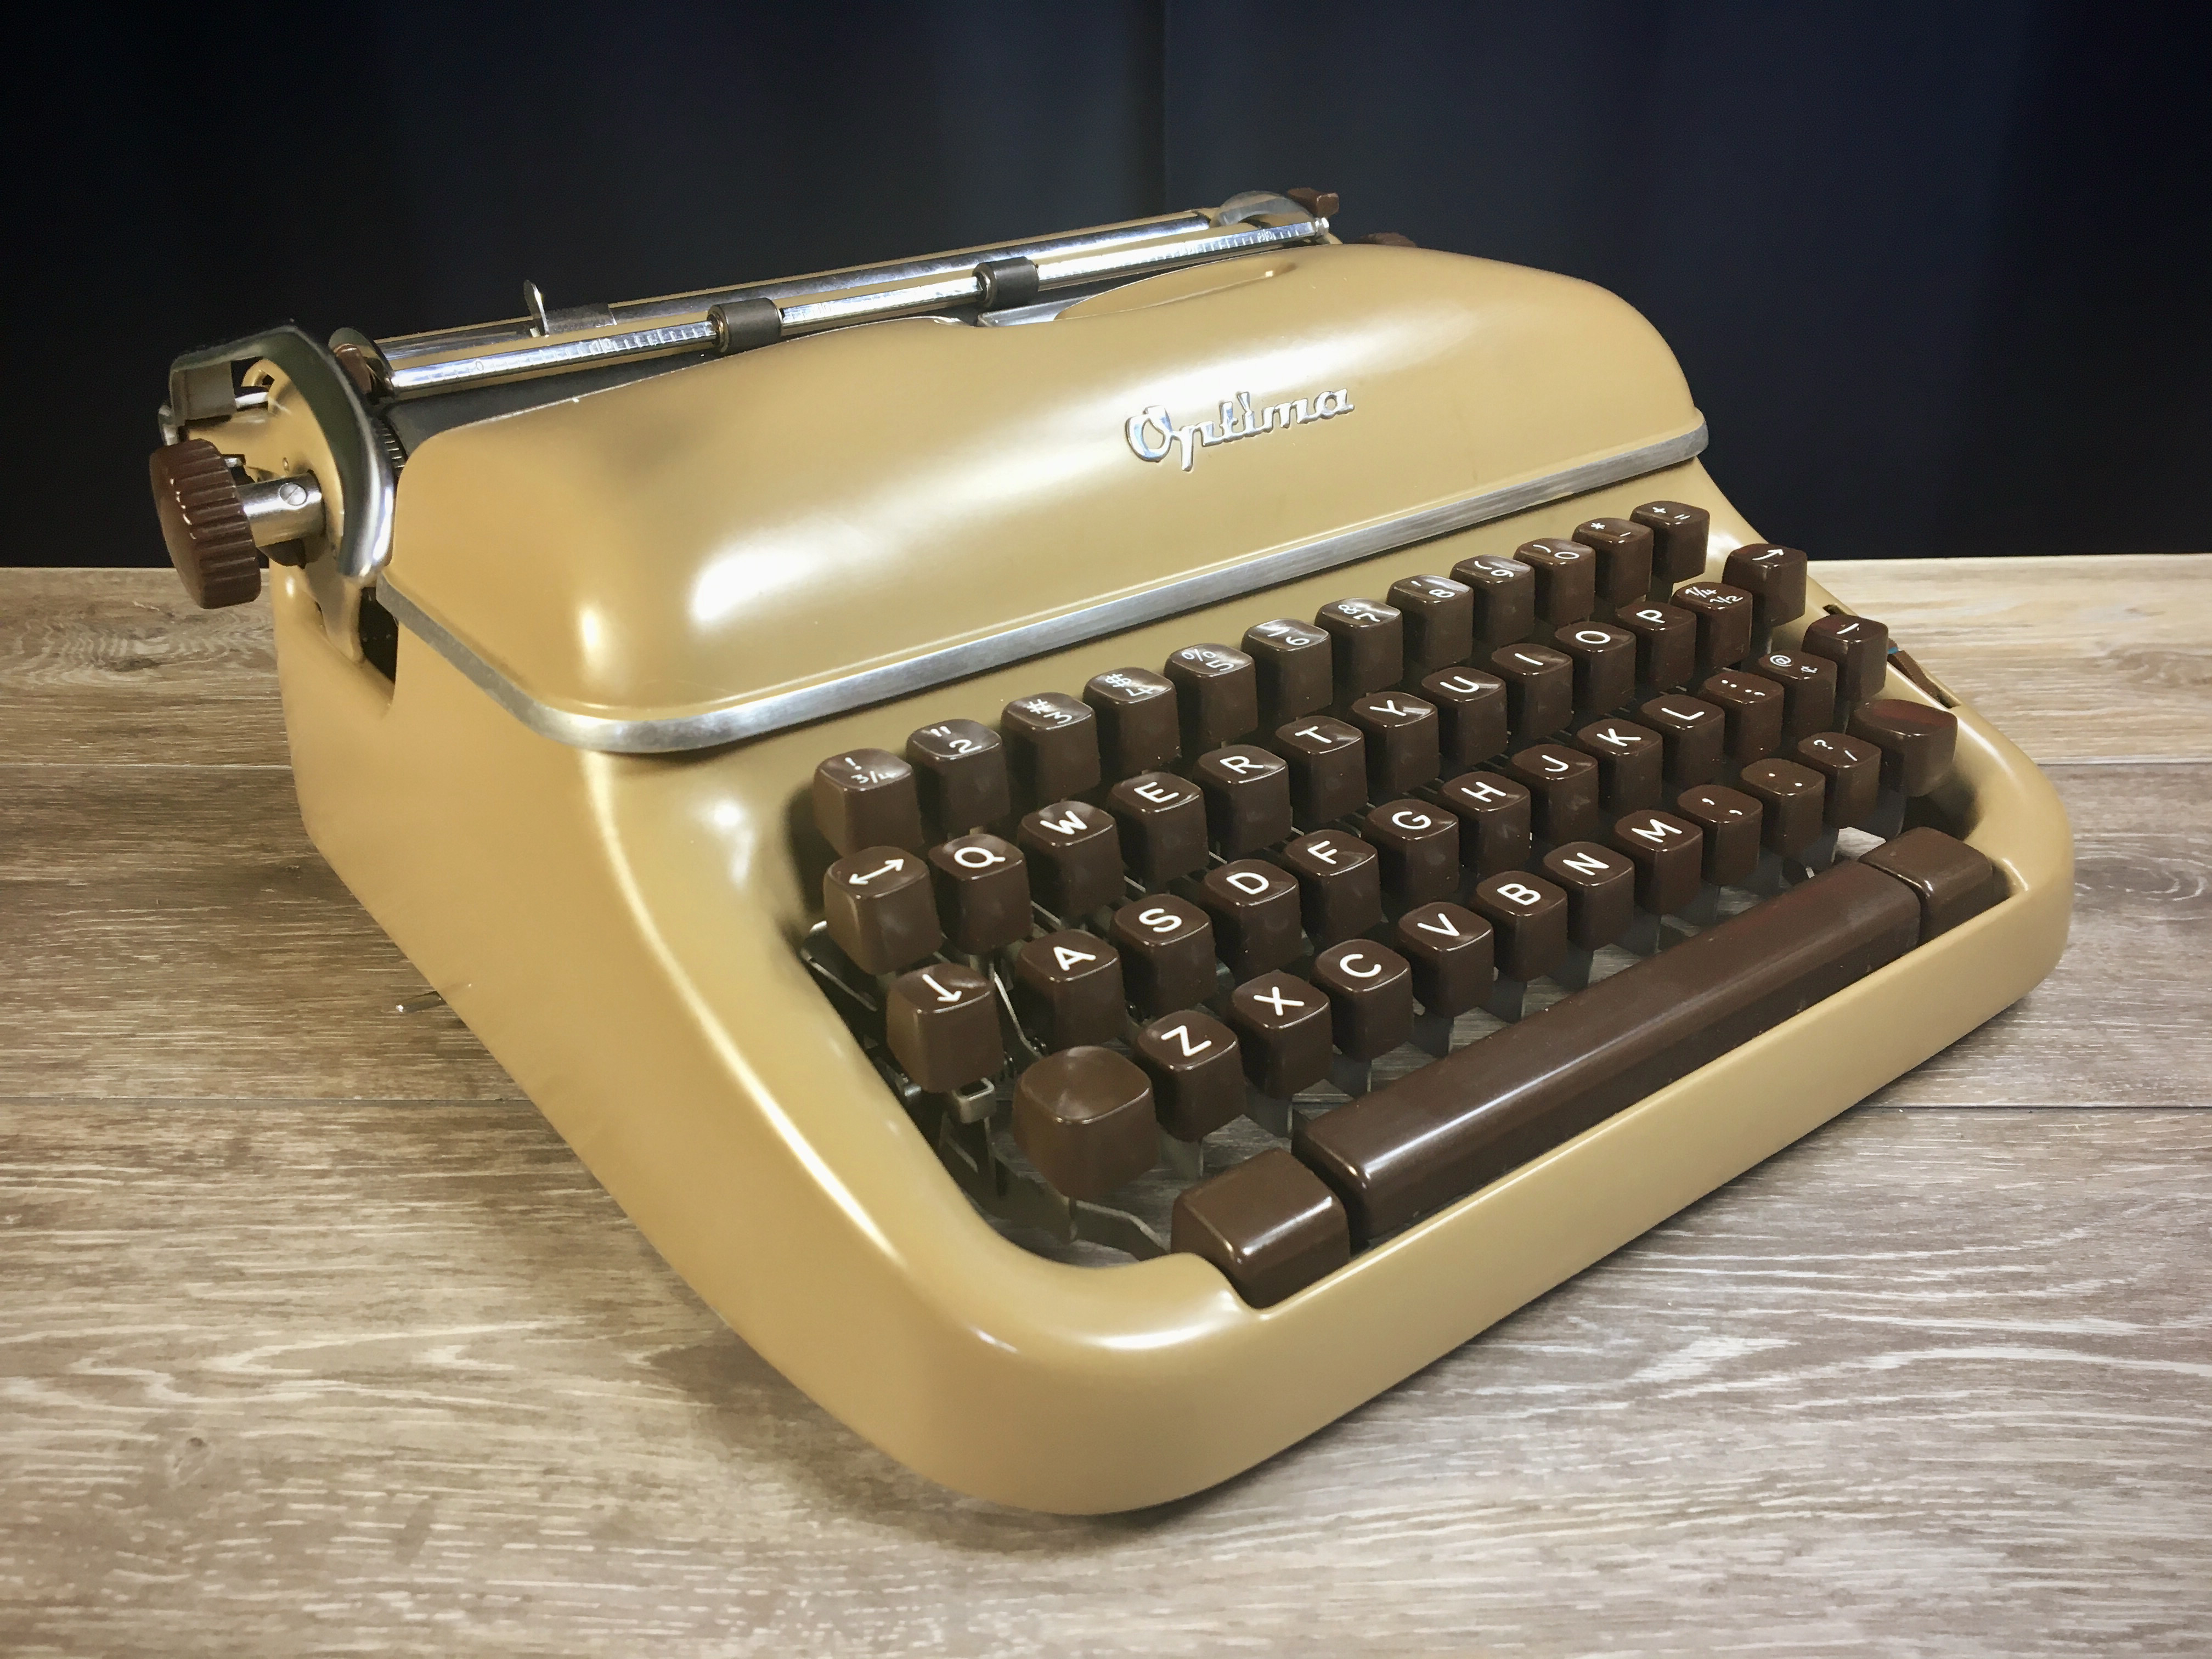
One of two machine I brought to the ABQwerty Type Writer Society meeting.
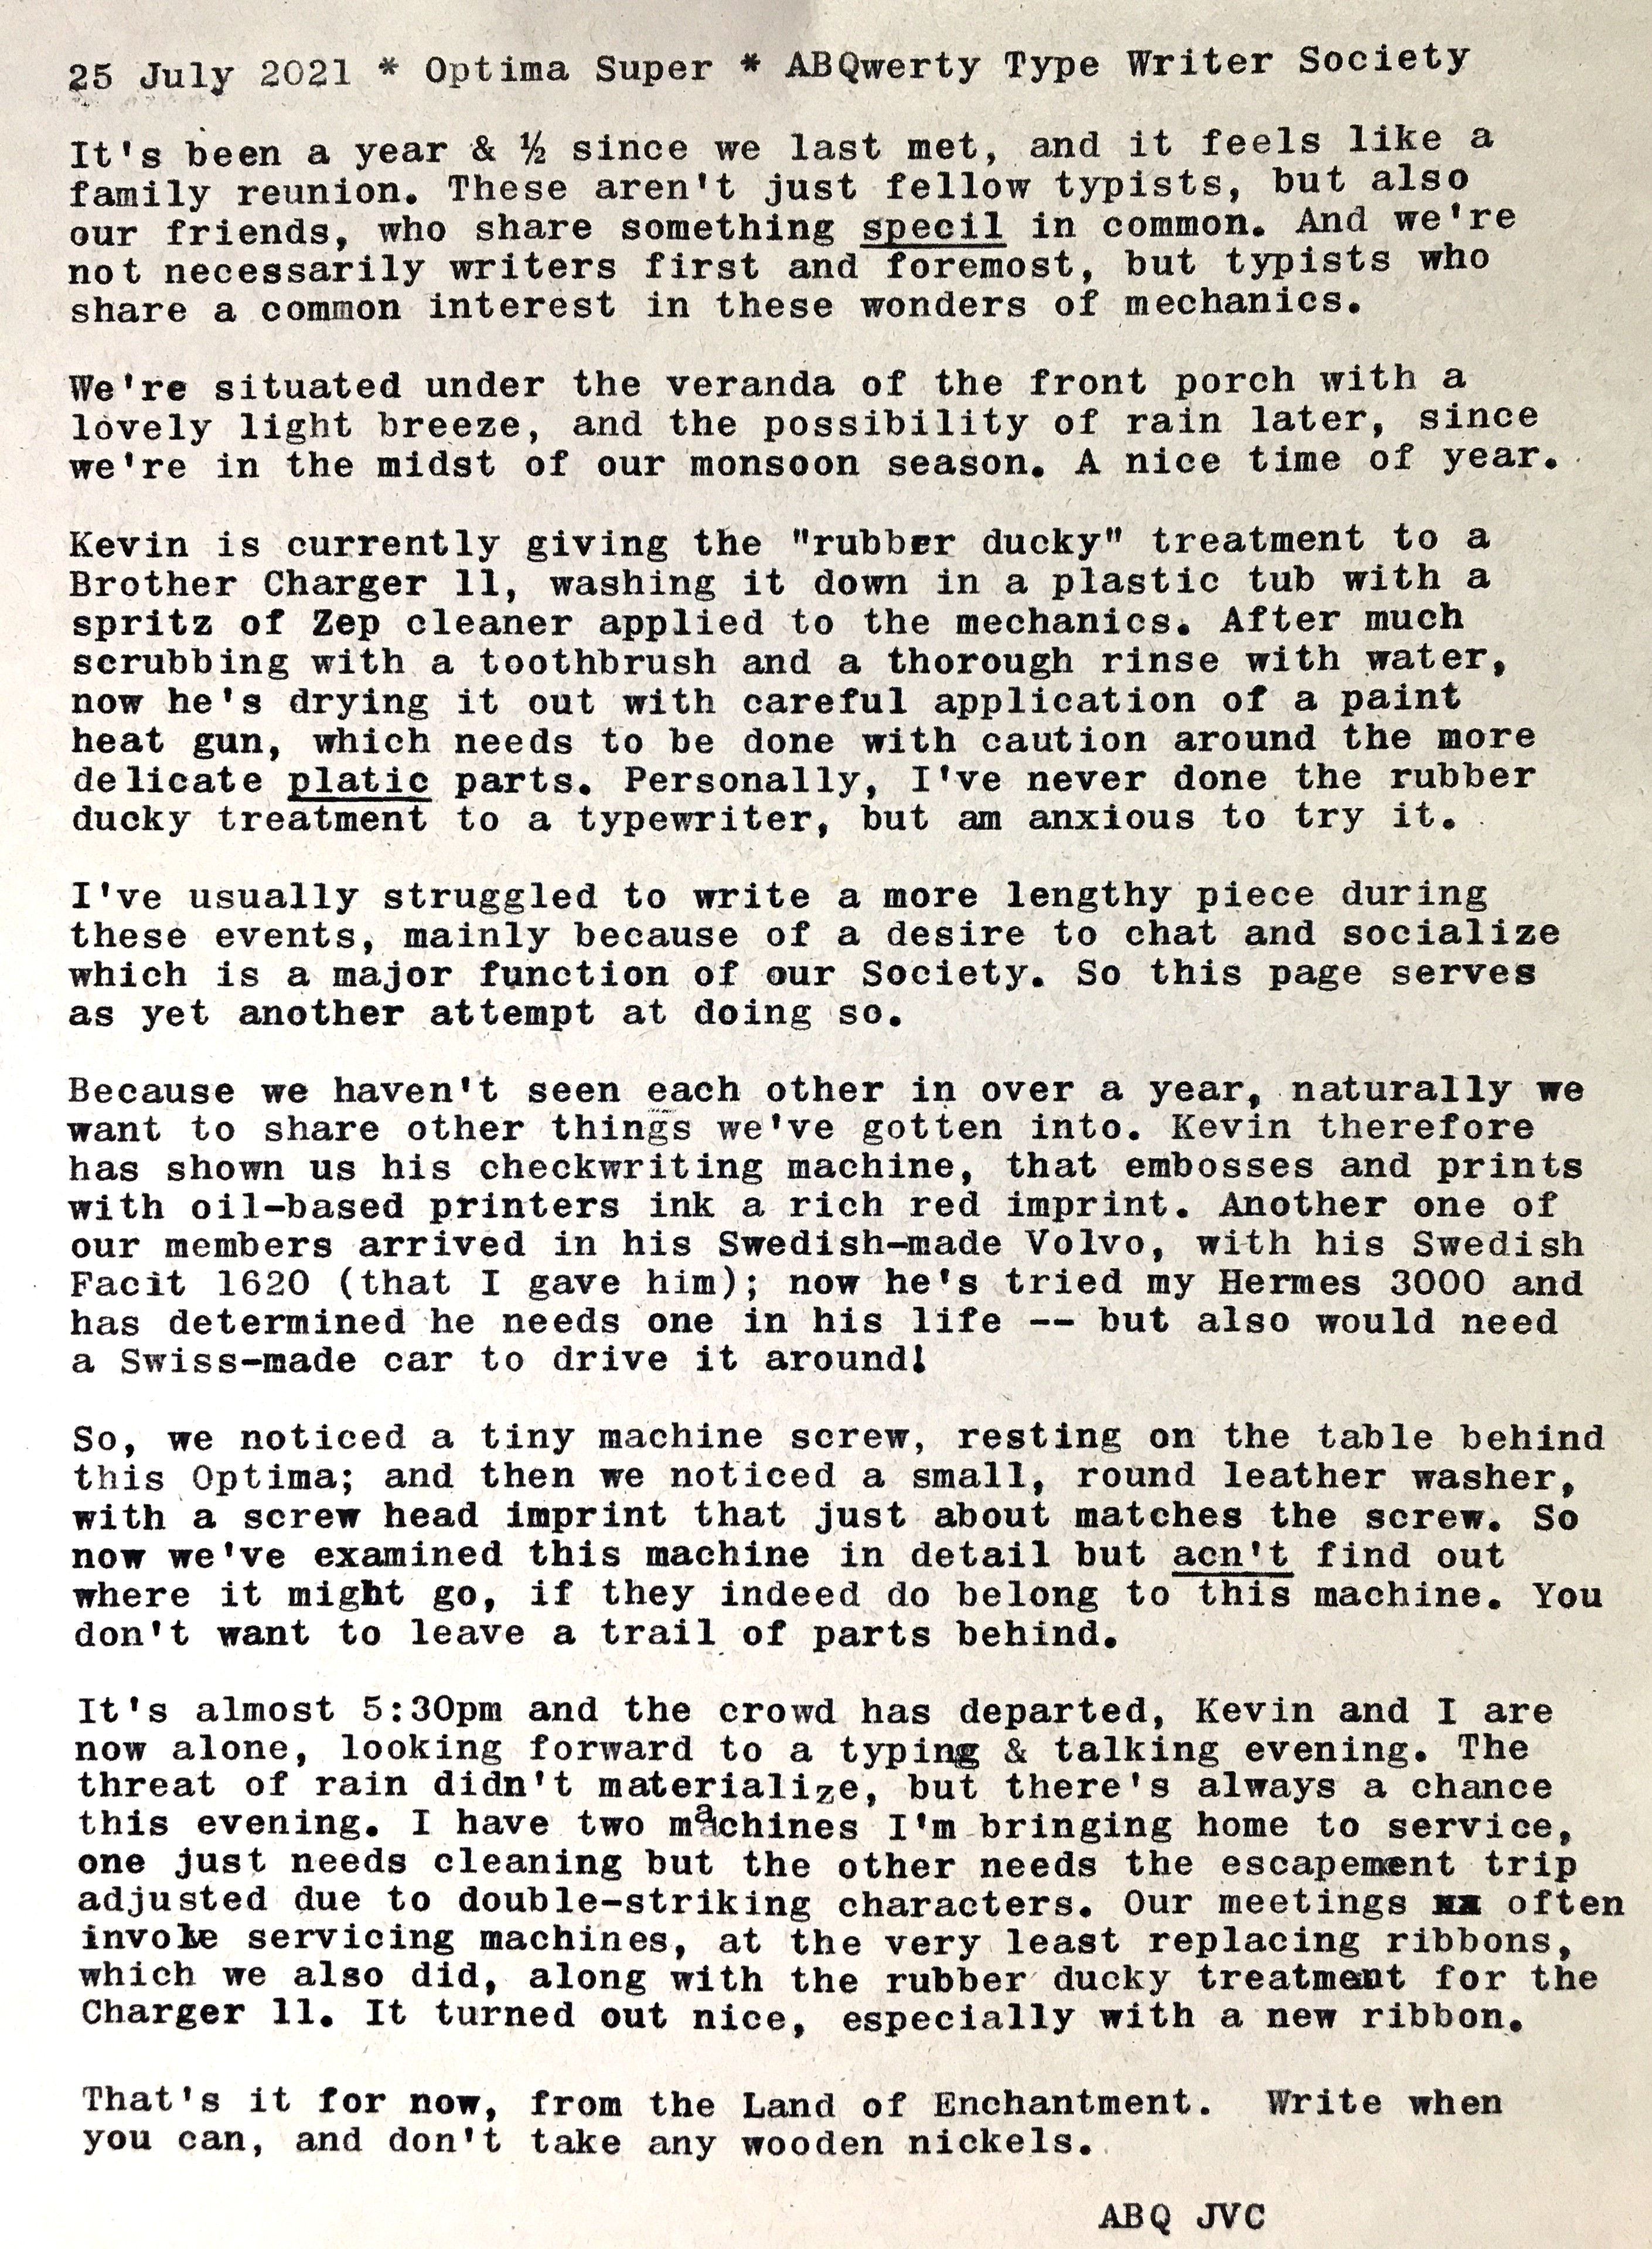
Notice how I underlined my mispelled words, drawing even more attention to them! And then this comment adds even more attention yet!
The other machine I brought to the gathering, an early 1960s Hermes 3000.
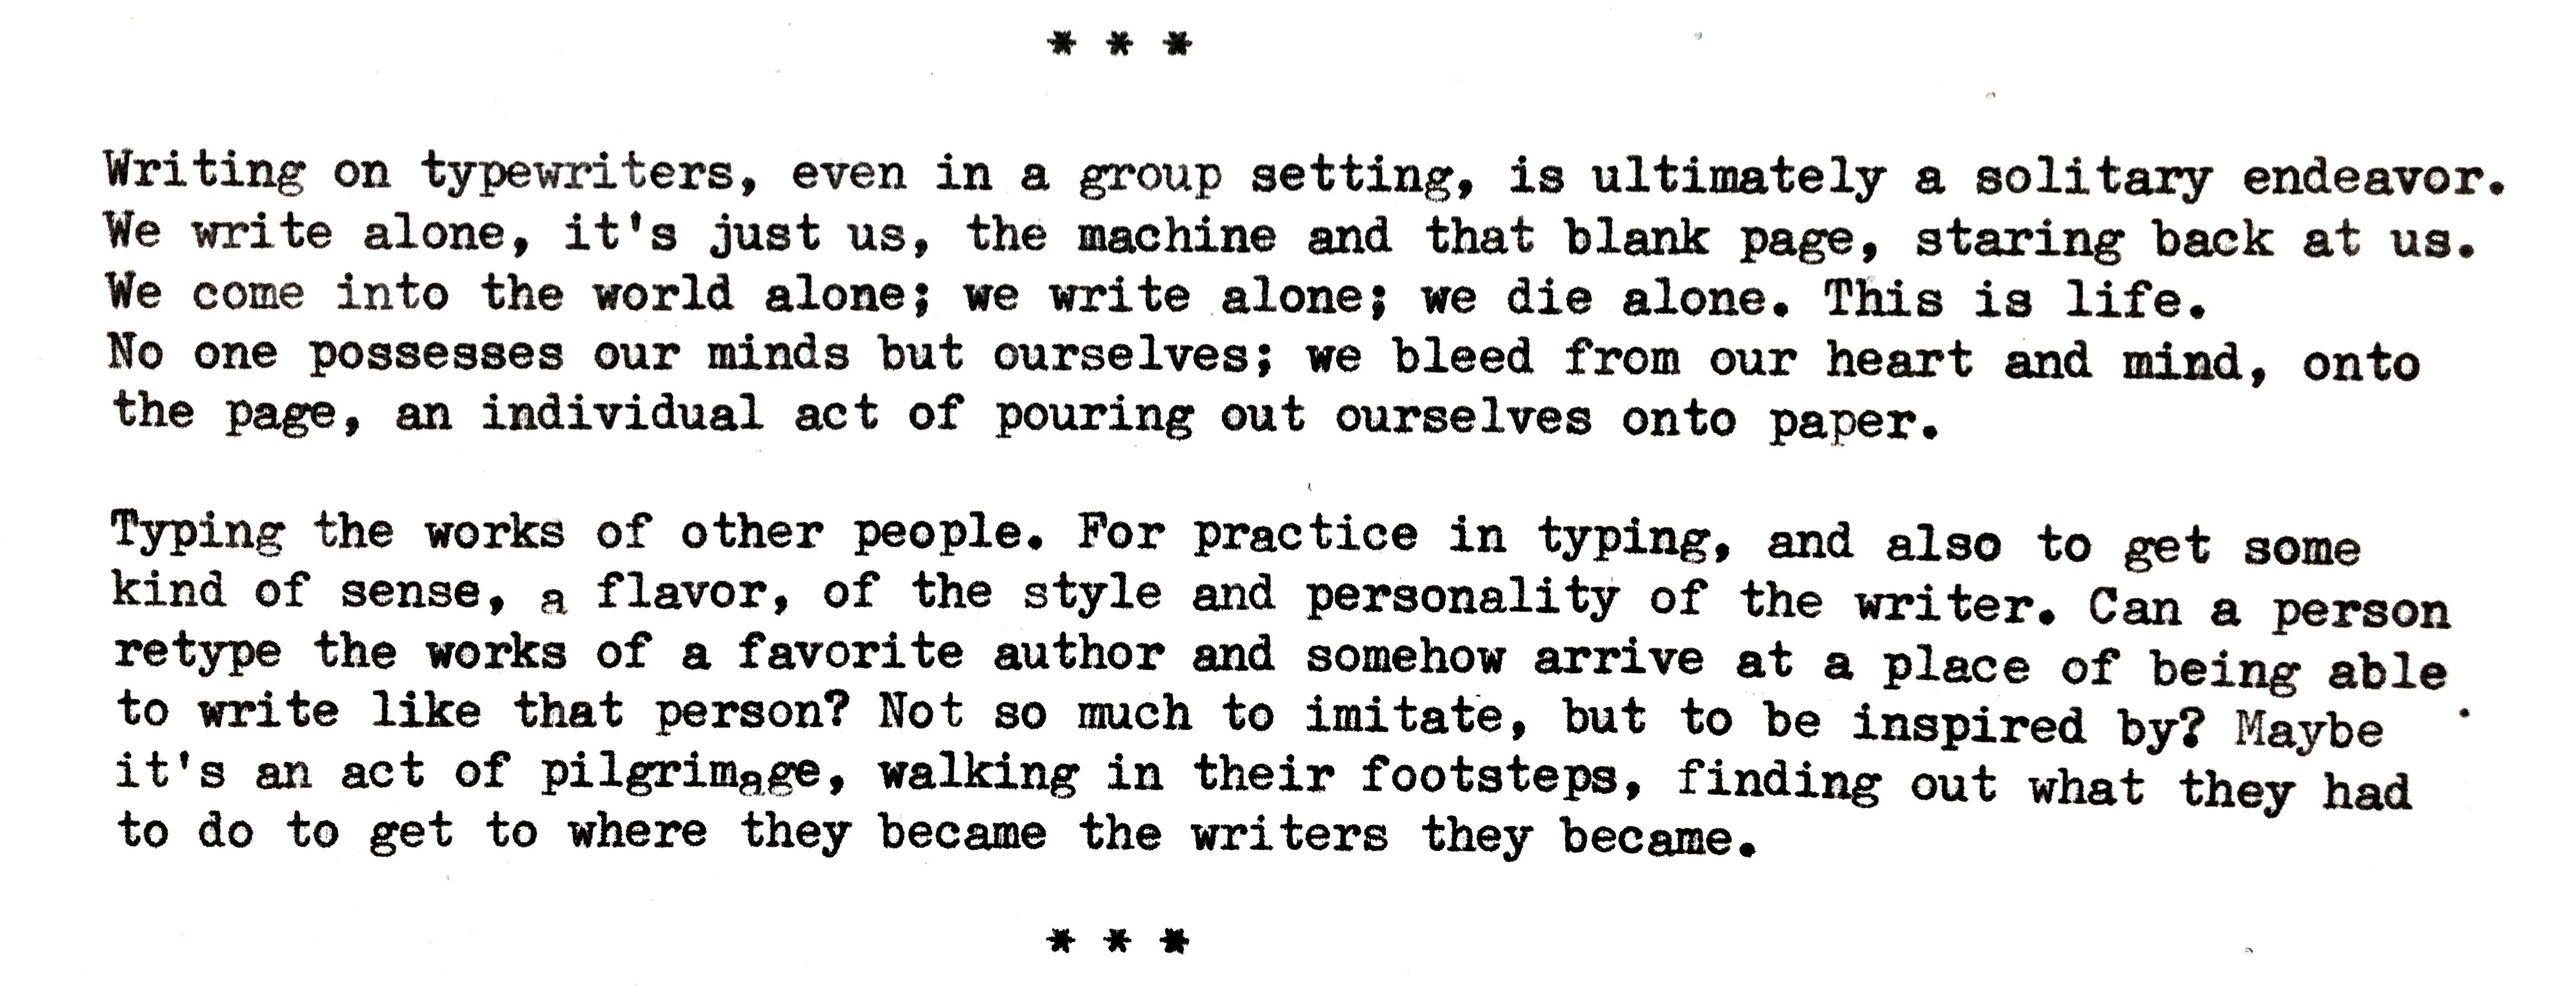
This is the kind of surprise inspiration that I find common with using typewriters, especially a machine like the Hermes 3000 (but not exclusive to it), that disappears into the background, providing a true undistracted writing experience that serves to unlock the hidden thoughts from within.
In the month since I've last blogged, I've also been busy in my spare time helping Ethan Moses with building and using the mega-sized 20" x 24" view camera and associated self-developing back. It's actually three projects in one: a mega-sized 20" x 24" view camera (with a sub-project of crafting a functional mega-sized bellows using a novel internal stiffener material); a self-developing back (a combination film holder and processing tank in one) made from laser-cut sheet acrylic; and further refinements to the B/W citric acid / hydrogen peroxide reversal process.
Ethan with an earlier version of the 20" x 24" camera.
I've documented much of this project in these two videos, that I call The Dream.
The Dream Part One:
The Dream Part Two:
The black and white reversal process was something I heard of a few years ago on APUG (now known as Photrio) and I soon began experimenting with it. Reversal processing is a way to get a positive image from a black and white print paper where normally you'd get a negative image.
For example, if you load a sheet of B/W paper in a camera and expose it like film, then develop in standard chemistry, you end up with what's known as a paper negative. This is because the light-sensitive silver salts in the paper emulsion turn black when processed in standard developer chemistry, if they've been exposed to light. The parts of the paper that haven't been exposed to light remain paper-white; hence the image ends up as a negative (bright parts of the scene are dark on the paper and dark parts of the scene are light on the paper). This is a handy thing if you're using such paper for its intended purpose of making prints from photographic negatives. Because the print's tones are a negative of the negative's tones, the image on the print ends up as a positive.
But what if you want a direct positive print straight out of the camera, using print paper as your film? The traditional way of doing this so-called "reversal" processing uses potasium dichromate and sulfuric acid, both dangerous chemicals to handle and dispose of safely. But this new way I discovered of doing reversal processing uses citric acid and concentrated hydrogen peroxide, along with standard B/W paper developer. The citric acid is mixed from powder (the kind you buy at a health food store) at a concentration of about 30mG per liter of water, and the peroxide needs to be at least 12% concentration. We buy our peroxide at beauty supply shops in the form of a liquid known as 40V hair bleach. You want to get the liquid version NOT the creme version. There's also higher concentrations available (up to 35%) at health food stores for use in peroxide therapy. Standard drugstore peroxide is only 3% or less, not strong enough for this process.
The basic process is as follows:
1) Expose your paper in-camera at an exposure index (ISO) of around 3. You'll have to experiment with this to get an optimal exposure, depending on the color of the light and subject matter, and how much UV is in the light. B/W paper is sensitive to only UV and blue, with a bit of green sensitivity if it's multi-contrast paper. This process works on both multi-contrast and fixed-grade contrast paper.
2) Process the paper under safelights (or in a developing tank) in standard paper developer like Dektol. We use a dilution of around 1:3. Process for 3 minutes with constant agitation. The image should look like a slightly over-exposed paper negative.
3) Process in citric acid for 4:00 with continuous agitation. Mix the solution at a dilution of 30mG per liter of water. If you intend on doing multiple print runs through the same chemistry, it's advised to use a water rinse bath before the citric acid to wash off the residual paper developer (call this "step 2.5"). Near the end of the citric acid bath you can turn off the safe lights (or remove from the developing tank) and view the print under normal lighting, it should still look like a slightly over-exposed (i.e. dark) paper negative. If you're doing this outdoors, you may notice the negative image quickly turns pink with exposure to the UV of sunlight. This color should disappear later in the process.
4) Process the print in 12% H2O2 with continuous agitation for at least 3 minutes. Don't rinse the print after the citric acid, but immediately put it in the peroxide bath and start agitation. The print should begin to turn light toned with a fine layer of gas bubbles (foam) forming on the surface of the paper. Keep constant agitation until as much of the image as possible is bleached out. The ideal bleached print should look like plain white paper.
5) Process the print in a bath of sodium sulfite, mixed from powder at a concentration of 30mG per liter of water. Continuously agitate for 3:00. This bath will help prevent brown staining on the print. If you're processing outdoors under sunlight, you may notice the print suddenly exhibit a slight warmtoned positive image. This happens with some papers under the UV of sunlight.
6) Process the print in water with continuous agitation to remove any residual sodium sulfite before the next step.
7) Transfer the print back to the first paper developer bath (Dektol). It should immediately form a silvery positive image. Process for 2:00 with intermittent agitation.
8) Thoroughly rinse the print to archival standards for best results.
Here's a quick clip of a 20" x 24" portrait undergoing the 2nd developer step, after the negative image has been bleached away. Notice how quickly the positive image forms. (Clicking the image will link to the video on Flickr.)
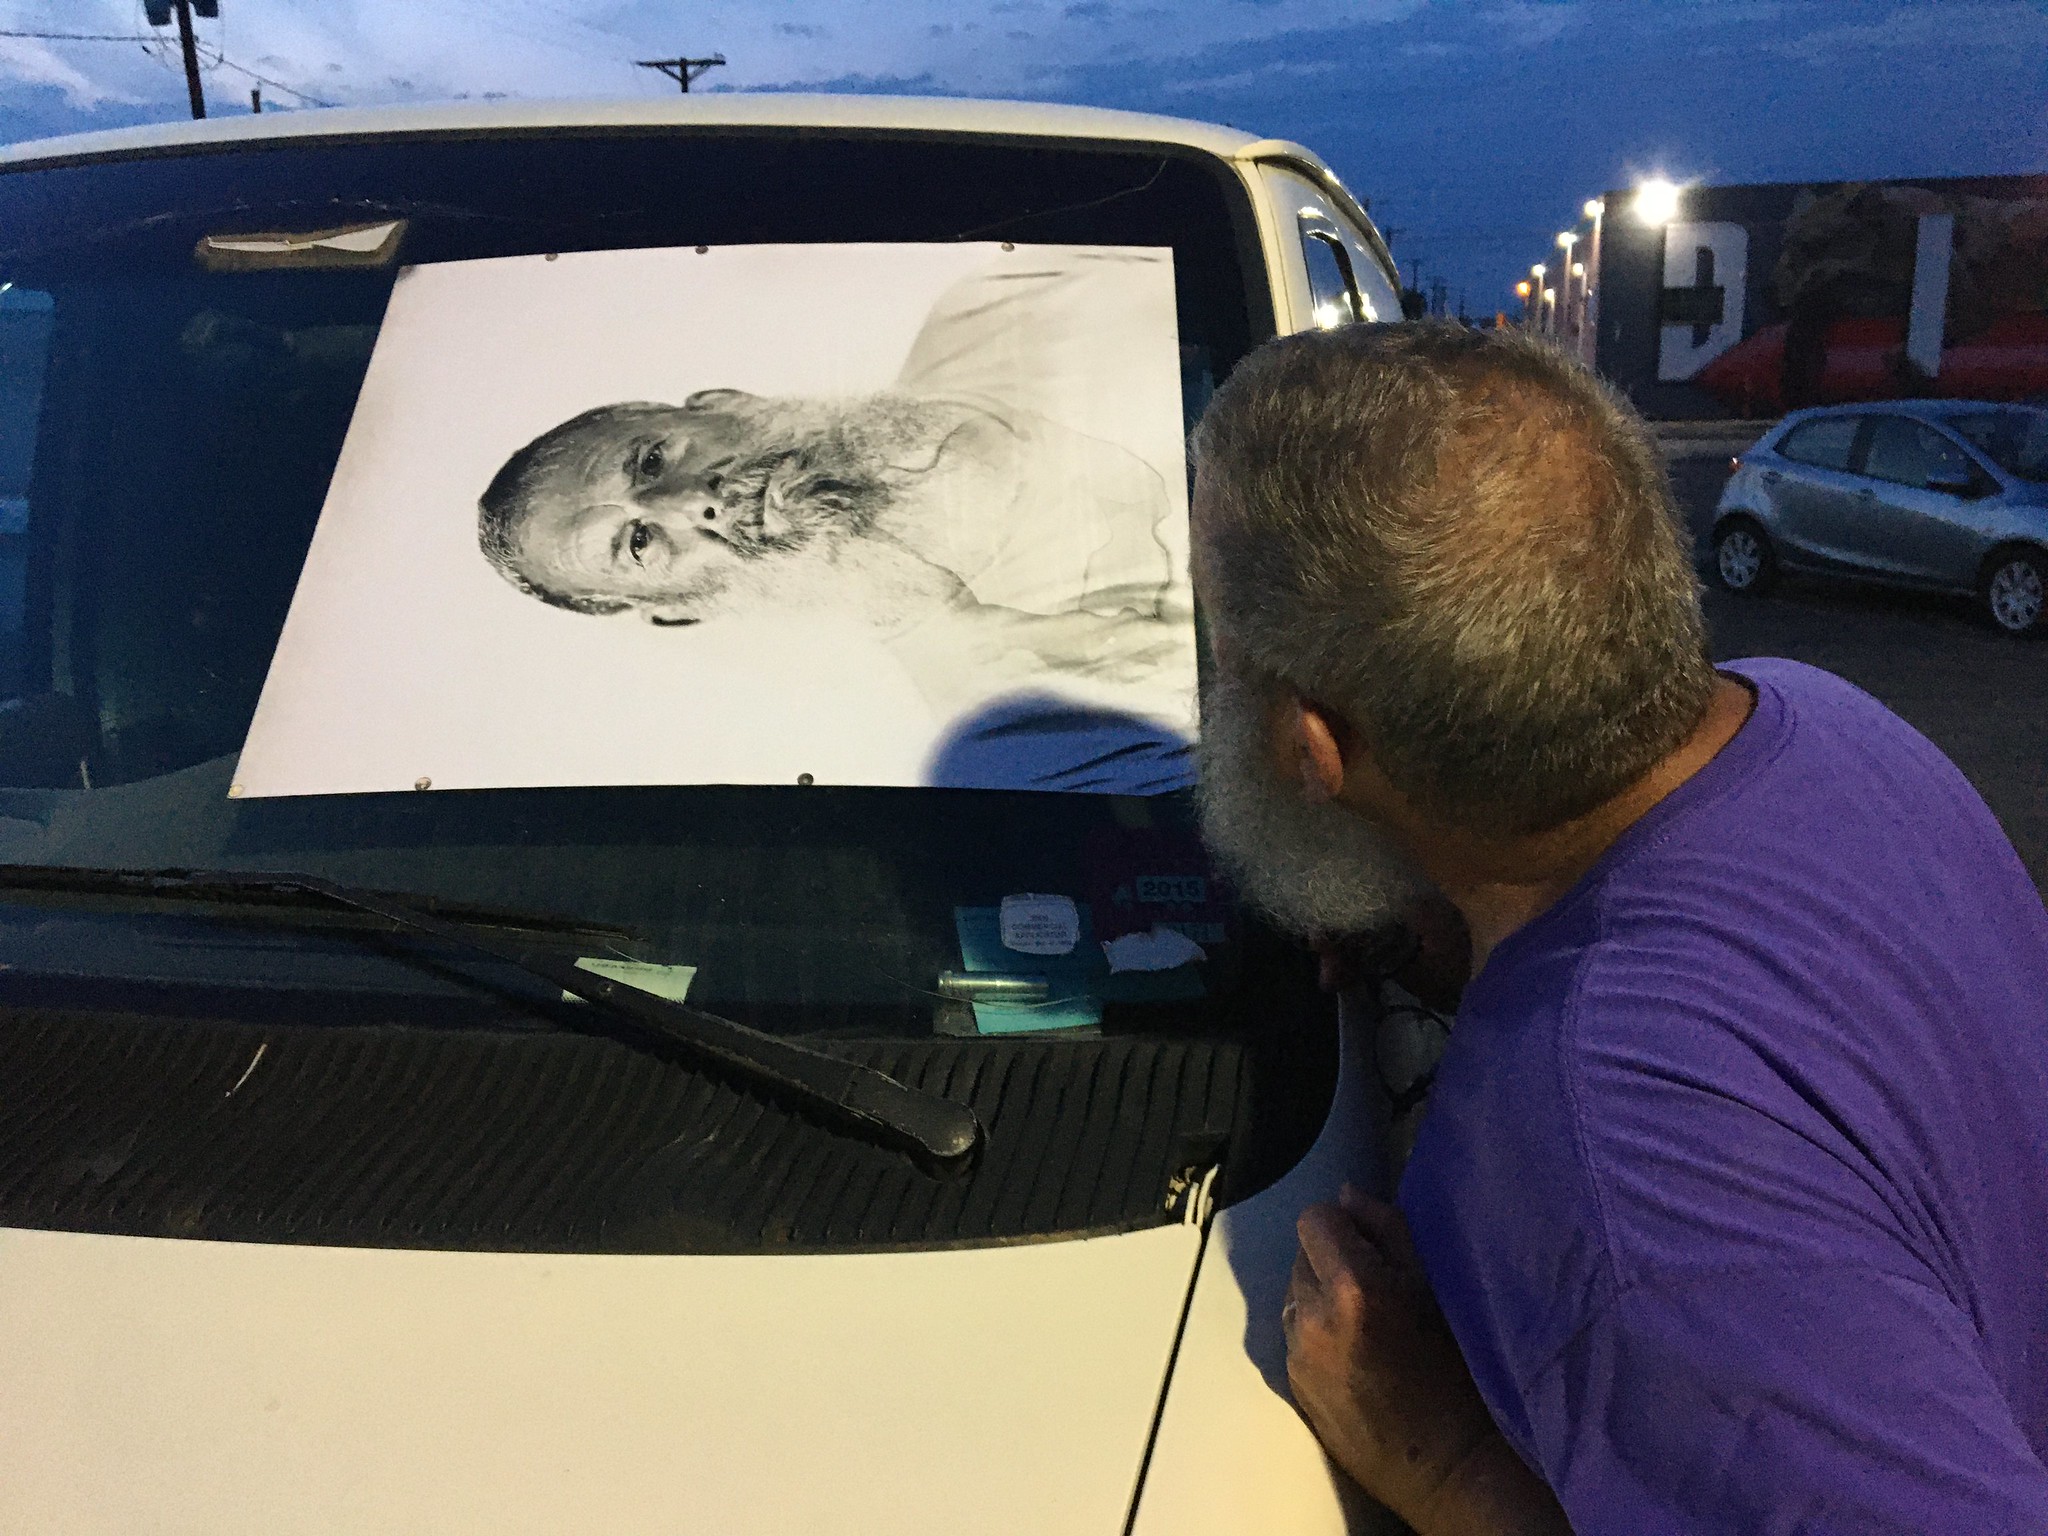
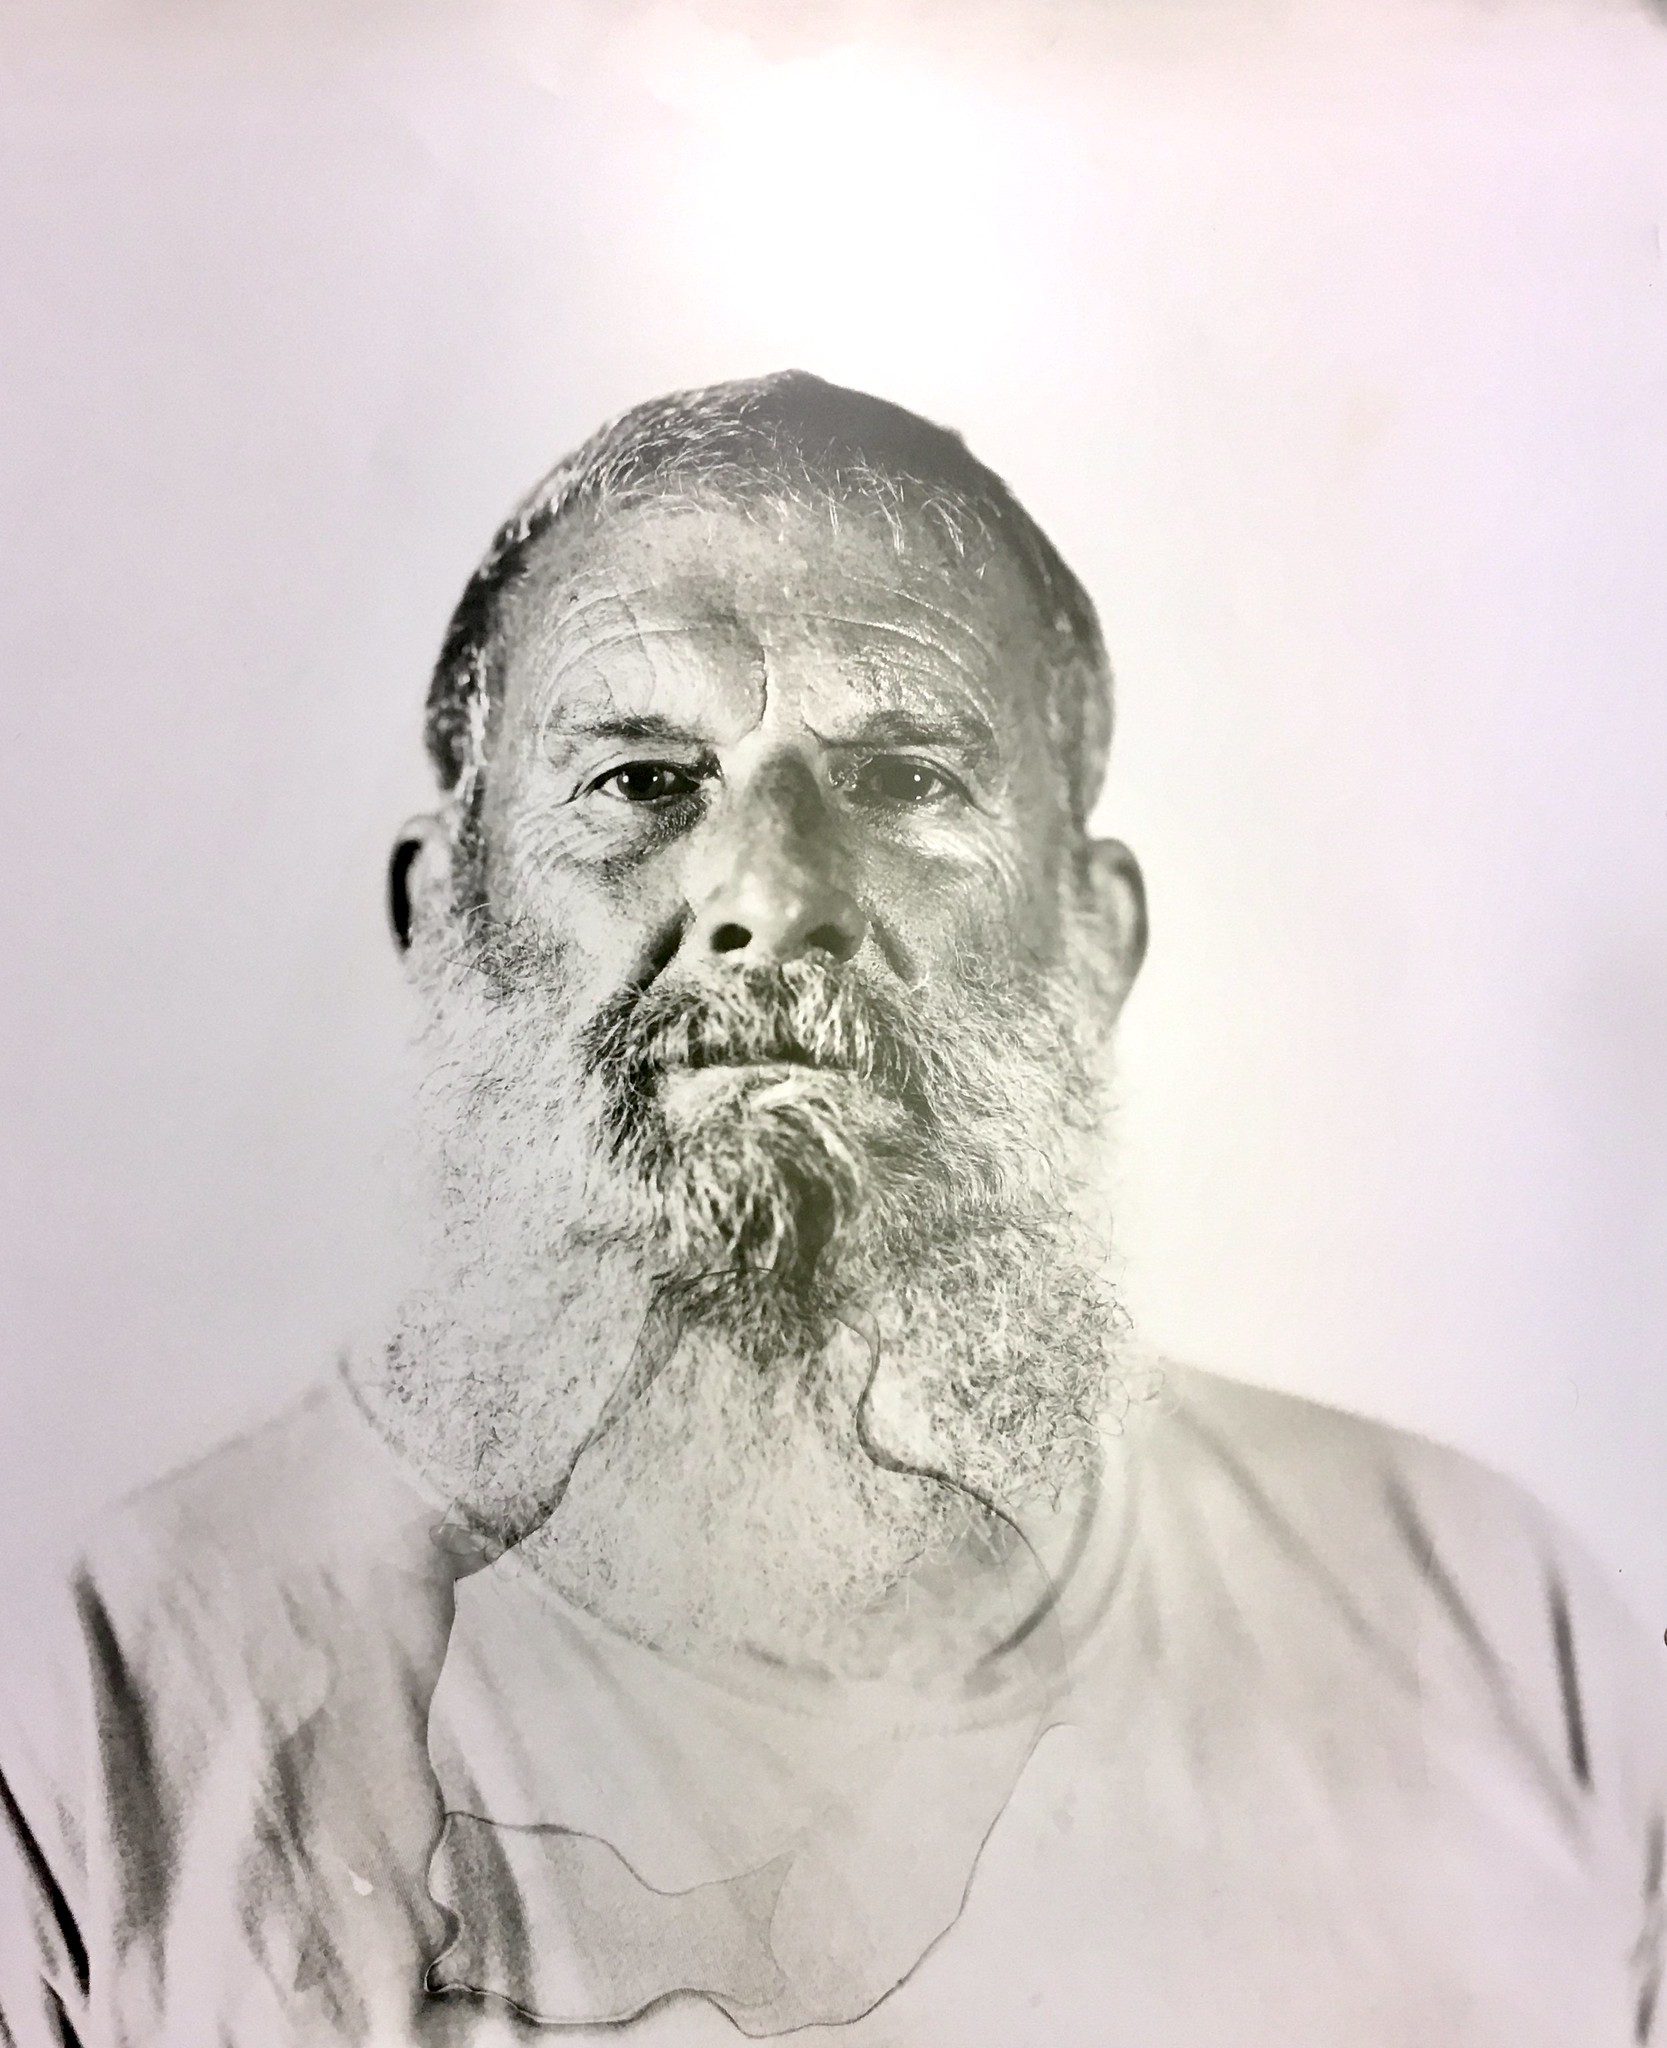
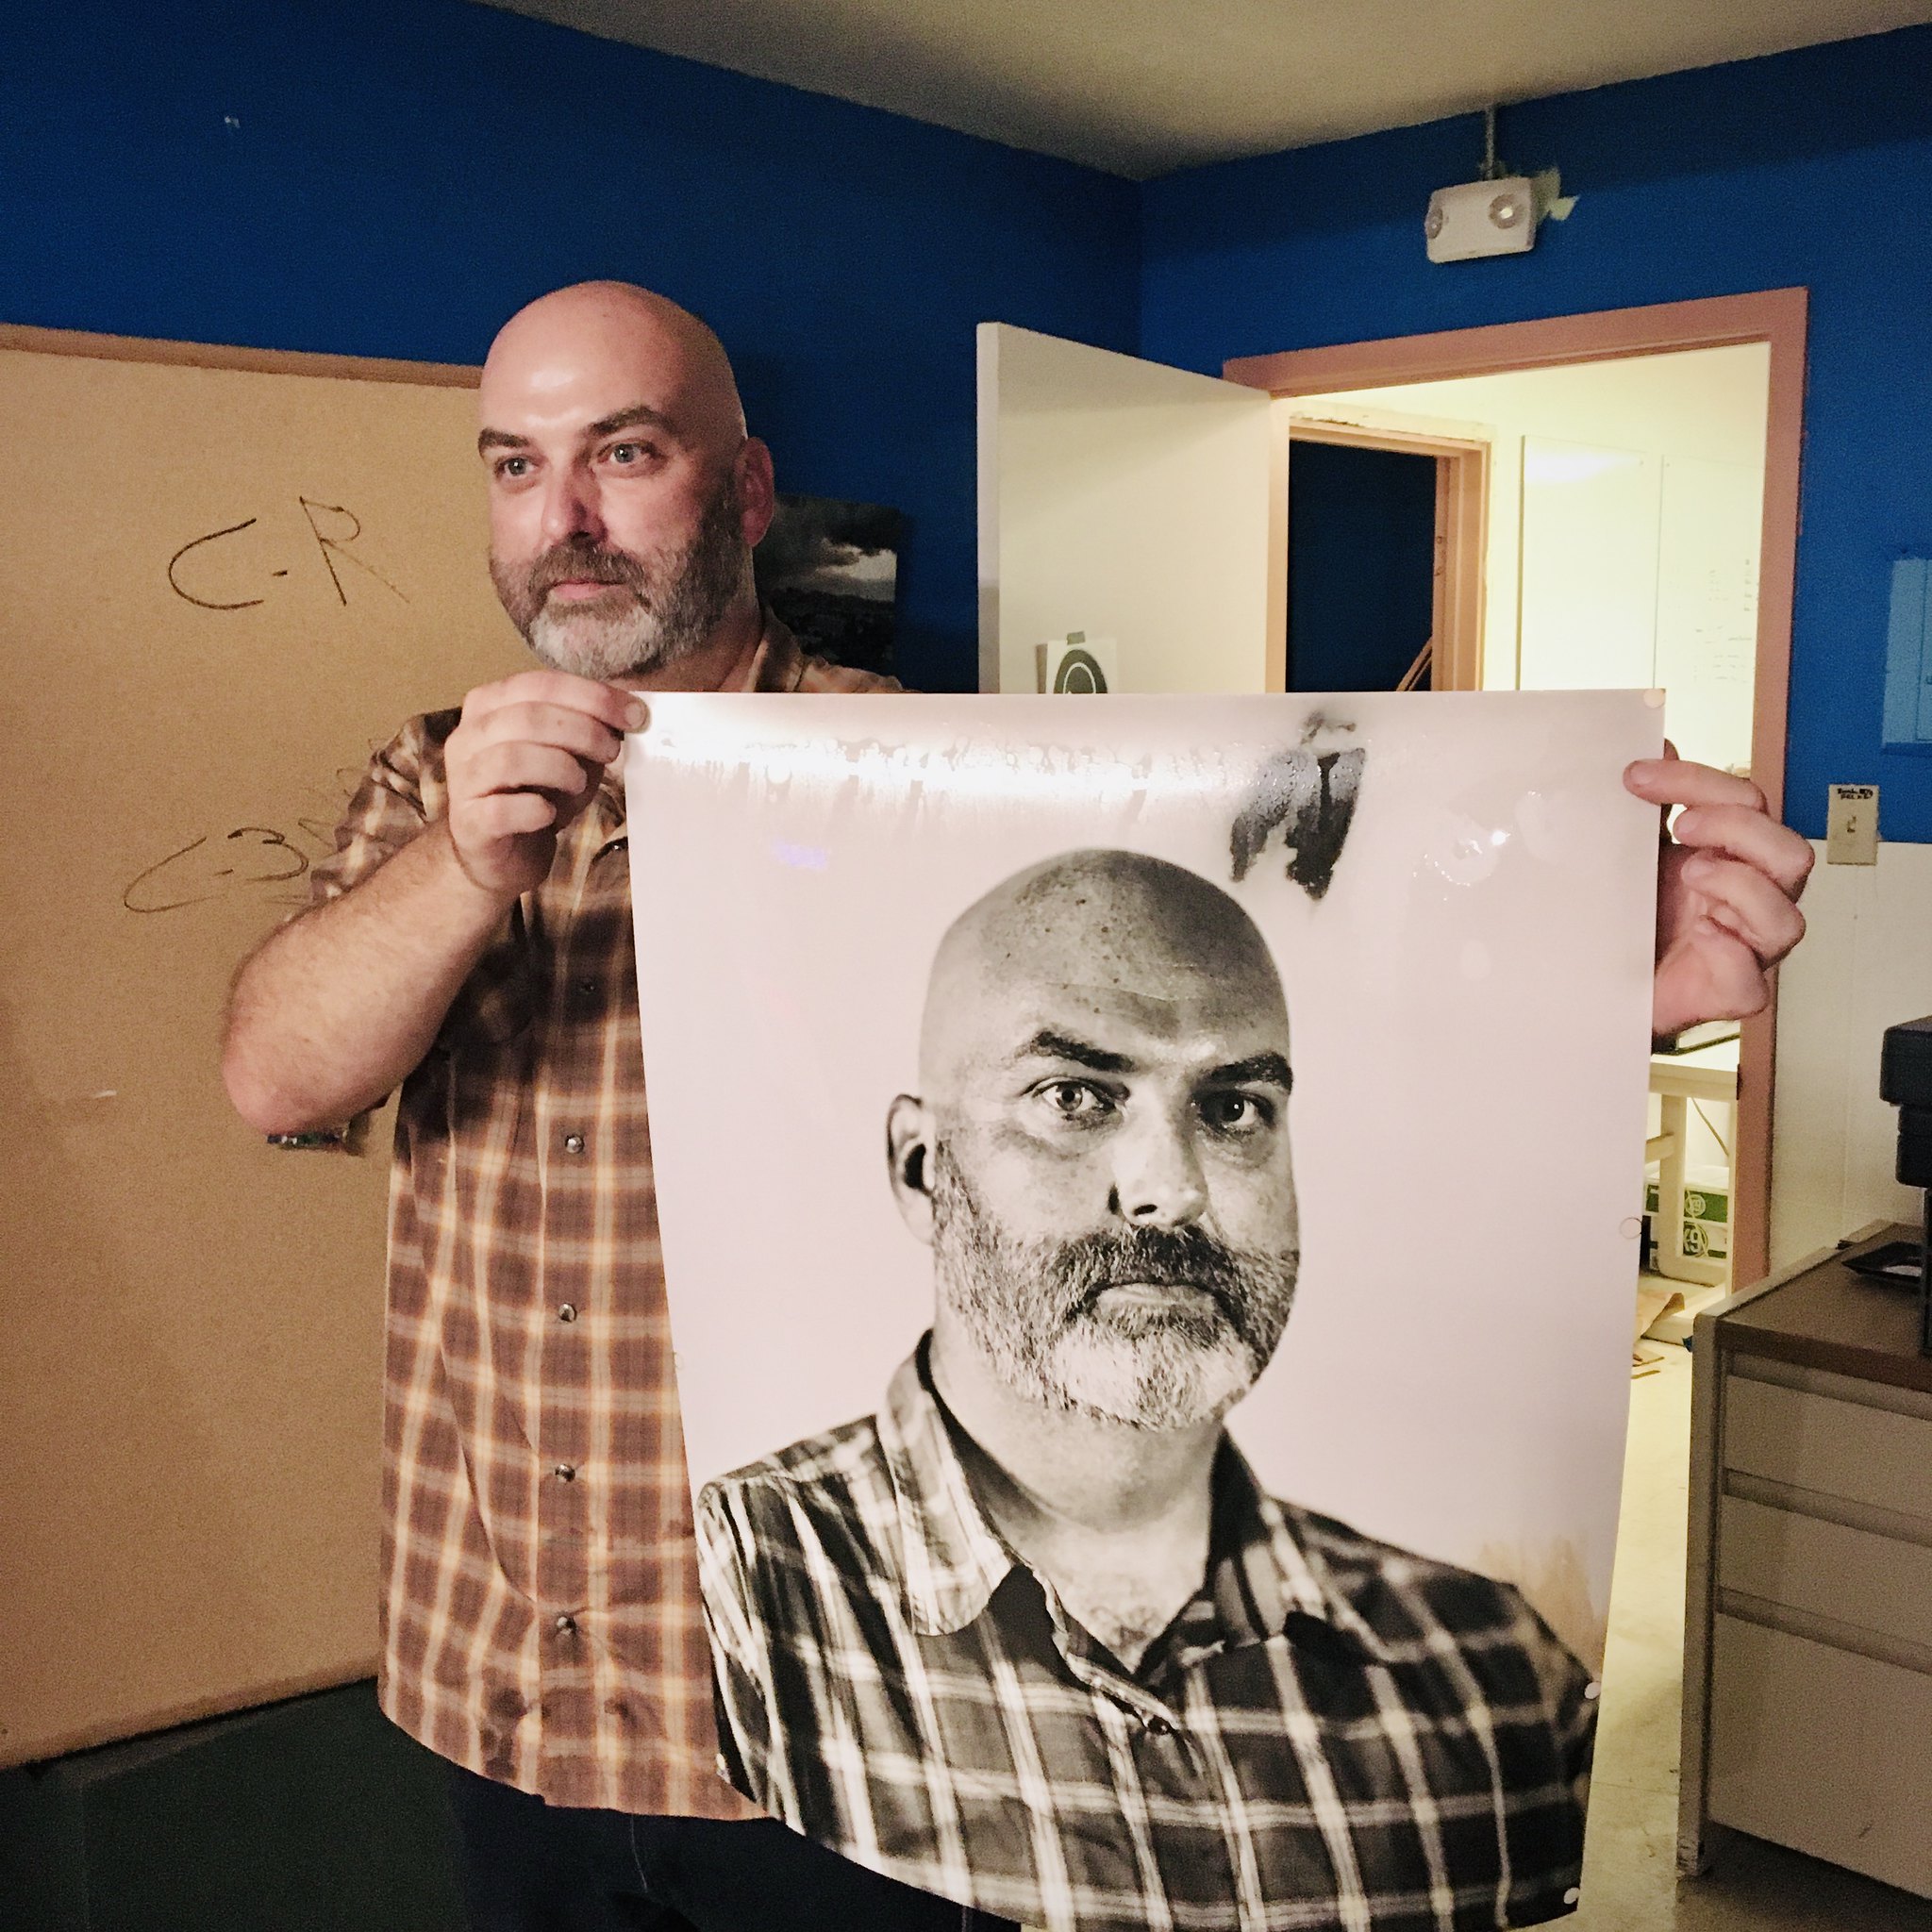
We did a series of test portrait demonstrations at QueLab, Albuquerque's maker space, with some of the members participating as willing test subjects. Here are a few images from that session:
The processed print still in the self-developing back.
We found a car windshield to be convenient for drying wet prints outdoors.
Ethan used two high-power strobes with reflectors to get these indoor exposures, with a white projector screen as a backdrop. Note the processing artifact center bottom, caused by inadequate chemistry volume and/or agitation.
This was our first test subject of the day. Note the several processing artifacts, above his head and again center bottom. This mega-sized self-developing back demands proper chemistry volumes and agitation, a challenge given the weight of the back.
This was the best print of the day, despite the processing artifact above the subject's head.
Note also the brown stain lower right. Fresh sodium sulfite is supposed to take care of this.
People have asked me for a layman's explanation of how the reversal process works. My explanation starts with the first development step, that makes a negative image. The darker parts of this image are metallic (developed out) silver, representing the bright parts of the scene, while the lighter parts of the image, representing the darker parts of the scene, are unexposed silver halides still in the emulsion, and look white because you're seeing the paper media behind the emulsion. Then the combination citric acid + H2O2 steps bleach out the metallic silver image, leaving the white print paper with undeveloped silver halides intact in the emulsion, that exhibit a density profile proportional to the inverse of the negative image; i.e. the parts of the paper that used to have a dense (negative) highlight are now very thin in residual silver halides, while the shadow portion of the negative image (the lighter parts) still have plenty of silver halides left. Then the emulsion is generously exposed to light (this happens after the citric acid step and on through to the end of the process). When exposed to the developer a second time, the residual silver halides now develop out to form a positive silver image, as the parts of the emulsion weak in halides remain very light, representing the positive image highlights, while the parts of the emulsion rich in halides develop out very dense, representing the image shadows.
I've been asked if the completed positive print needs to be processed in a fixer solution. It shouldn't need fixer because there shouldn't be any unexposed silver halides left in the emulsion to fade over time. But a thorough archival wash is a good idea.
I hope to continue my own exploration of this process, in the hopes of making it more reliable and less error-prone. We've already made some changes from the original process as I discovered it on APUG several years ago. Initially the citric acid and peroxide were mixed in one solution. Then we started doing them as separate steps, and we'd go back and forth between them in several stages until the print was adequately bleached. More recently, Ethan has had good success with a lengthy citric acid step first, to saturate the emulsion as much as possible, followed by one lengthy peroxide bath to complete the bleaching.
Given the relative cost of the various chemicals, the citric acid and sodium sulfite should be used as one-shot chemicals and disposed of after one use. They are very inexpensive when mixed from a powder form.
Paper developer has been a problem, especially the liquid concentrates, which can age and oxidize once the container is opened, resulting in faint, washed out tones lacking dense shadows. We've recently had good results using Dektol mixed as a one-shot developer from powder. This is against Kodak's own recommendations, as they stipulate to mix the entire package's powdery contents to make a gallon of "stock solution," then dilute this stock solution for your working solution. The problem is that the stock solution has a limited lifespan once mixed with water, just like liquid concentrate once opened. Critics of using small amounts of powdered Dektol say that the various constituent chemicals in powder form are not uniformly mixed in the package, hence the results could be inconsistent. Ethan and I contend that the contents of the package should be transfered to a large double-ziplok freezer bag and generously agitated to thoroughly mix the contents together. Then keep this bag sealed until such time that you need to take a small spoonfull to mix up a batch of developer. This seems a much more reliable method of ensuring fresh developer is always available.
An alternative would be to have the constituent chemicals on-hand to mix from powder, directly before use, via such sources as Photographer's Formulary.
The other process issue is the lifespan of the peroxide. The solution, as it gets reused, ends up being saturated with metallic silver, much like used fixer. We haven't looked in detail about filtering out the silver, or "auto-plating" the silver onto steel wool, as is often done with used fixer. It also gets contaminated with carry-over citric acid, which builds up in concentration through repeated use. So for now we use it until it starts to look cloudy, then we use a fresh bottle. The silver-saturated peroxide should be disposed of as you would used fixer.
There are some safety concerns to consider with this process, as there would be with any kind of chemical processing. Paper developer can be a mild irritant, and years of direct contact to developers containing metol can result in rashes and other allergic reactions. A strong citric acid solution can be an irritant, so keep your hands out of it. Mixing any kind of chemical in powder form can result in airborne particles that can be an inhalation hazard, so the precaution of a simple respirator mask can do a lot to mitigate that risk. Concentrated hydrogen peroxide should be kept off the skin and away from your eyes. Use safety glasses and don't get it on your skin. You'll notice an immediate white discoloration to your skin upon contact, and perhaps a burning sensation. Immediately wash with fresh water if this happens. Use gloves and eye protection. Also be aware that strong hydrogen peroxide is an oxidizer. Keep it away from strong solvents, corrosives and other flammables, and heat sources.
Using the huge 20" x 24" self-developing back can be a challenge, due to its weight and size. Use of a large waste tray to process over is strongly advised, to avoid drips and splashes that can end up on the floor, or your shoes (or exposed feet or legs). There's a definite learning curve to making this process neat and safe, but the results can be outstanding.
I'd like to thank Ethan for giving me access to his workshop and the inner workings of his design and build process. It's been a fascinating journey.
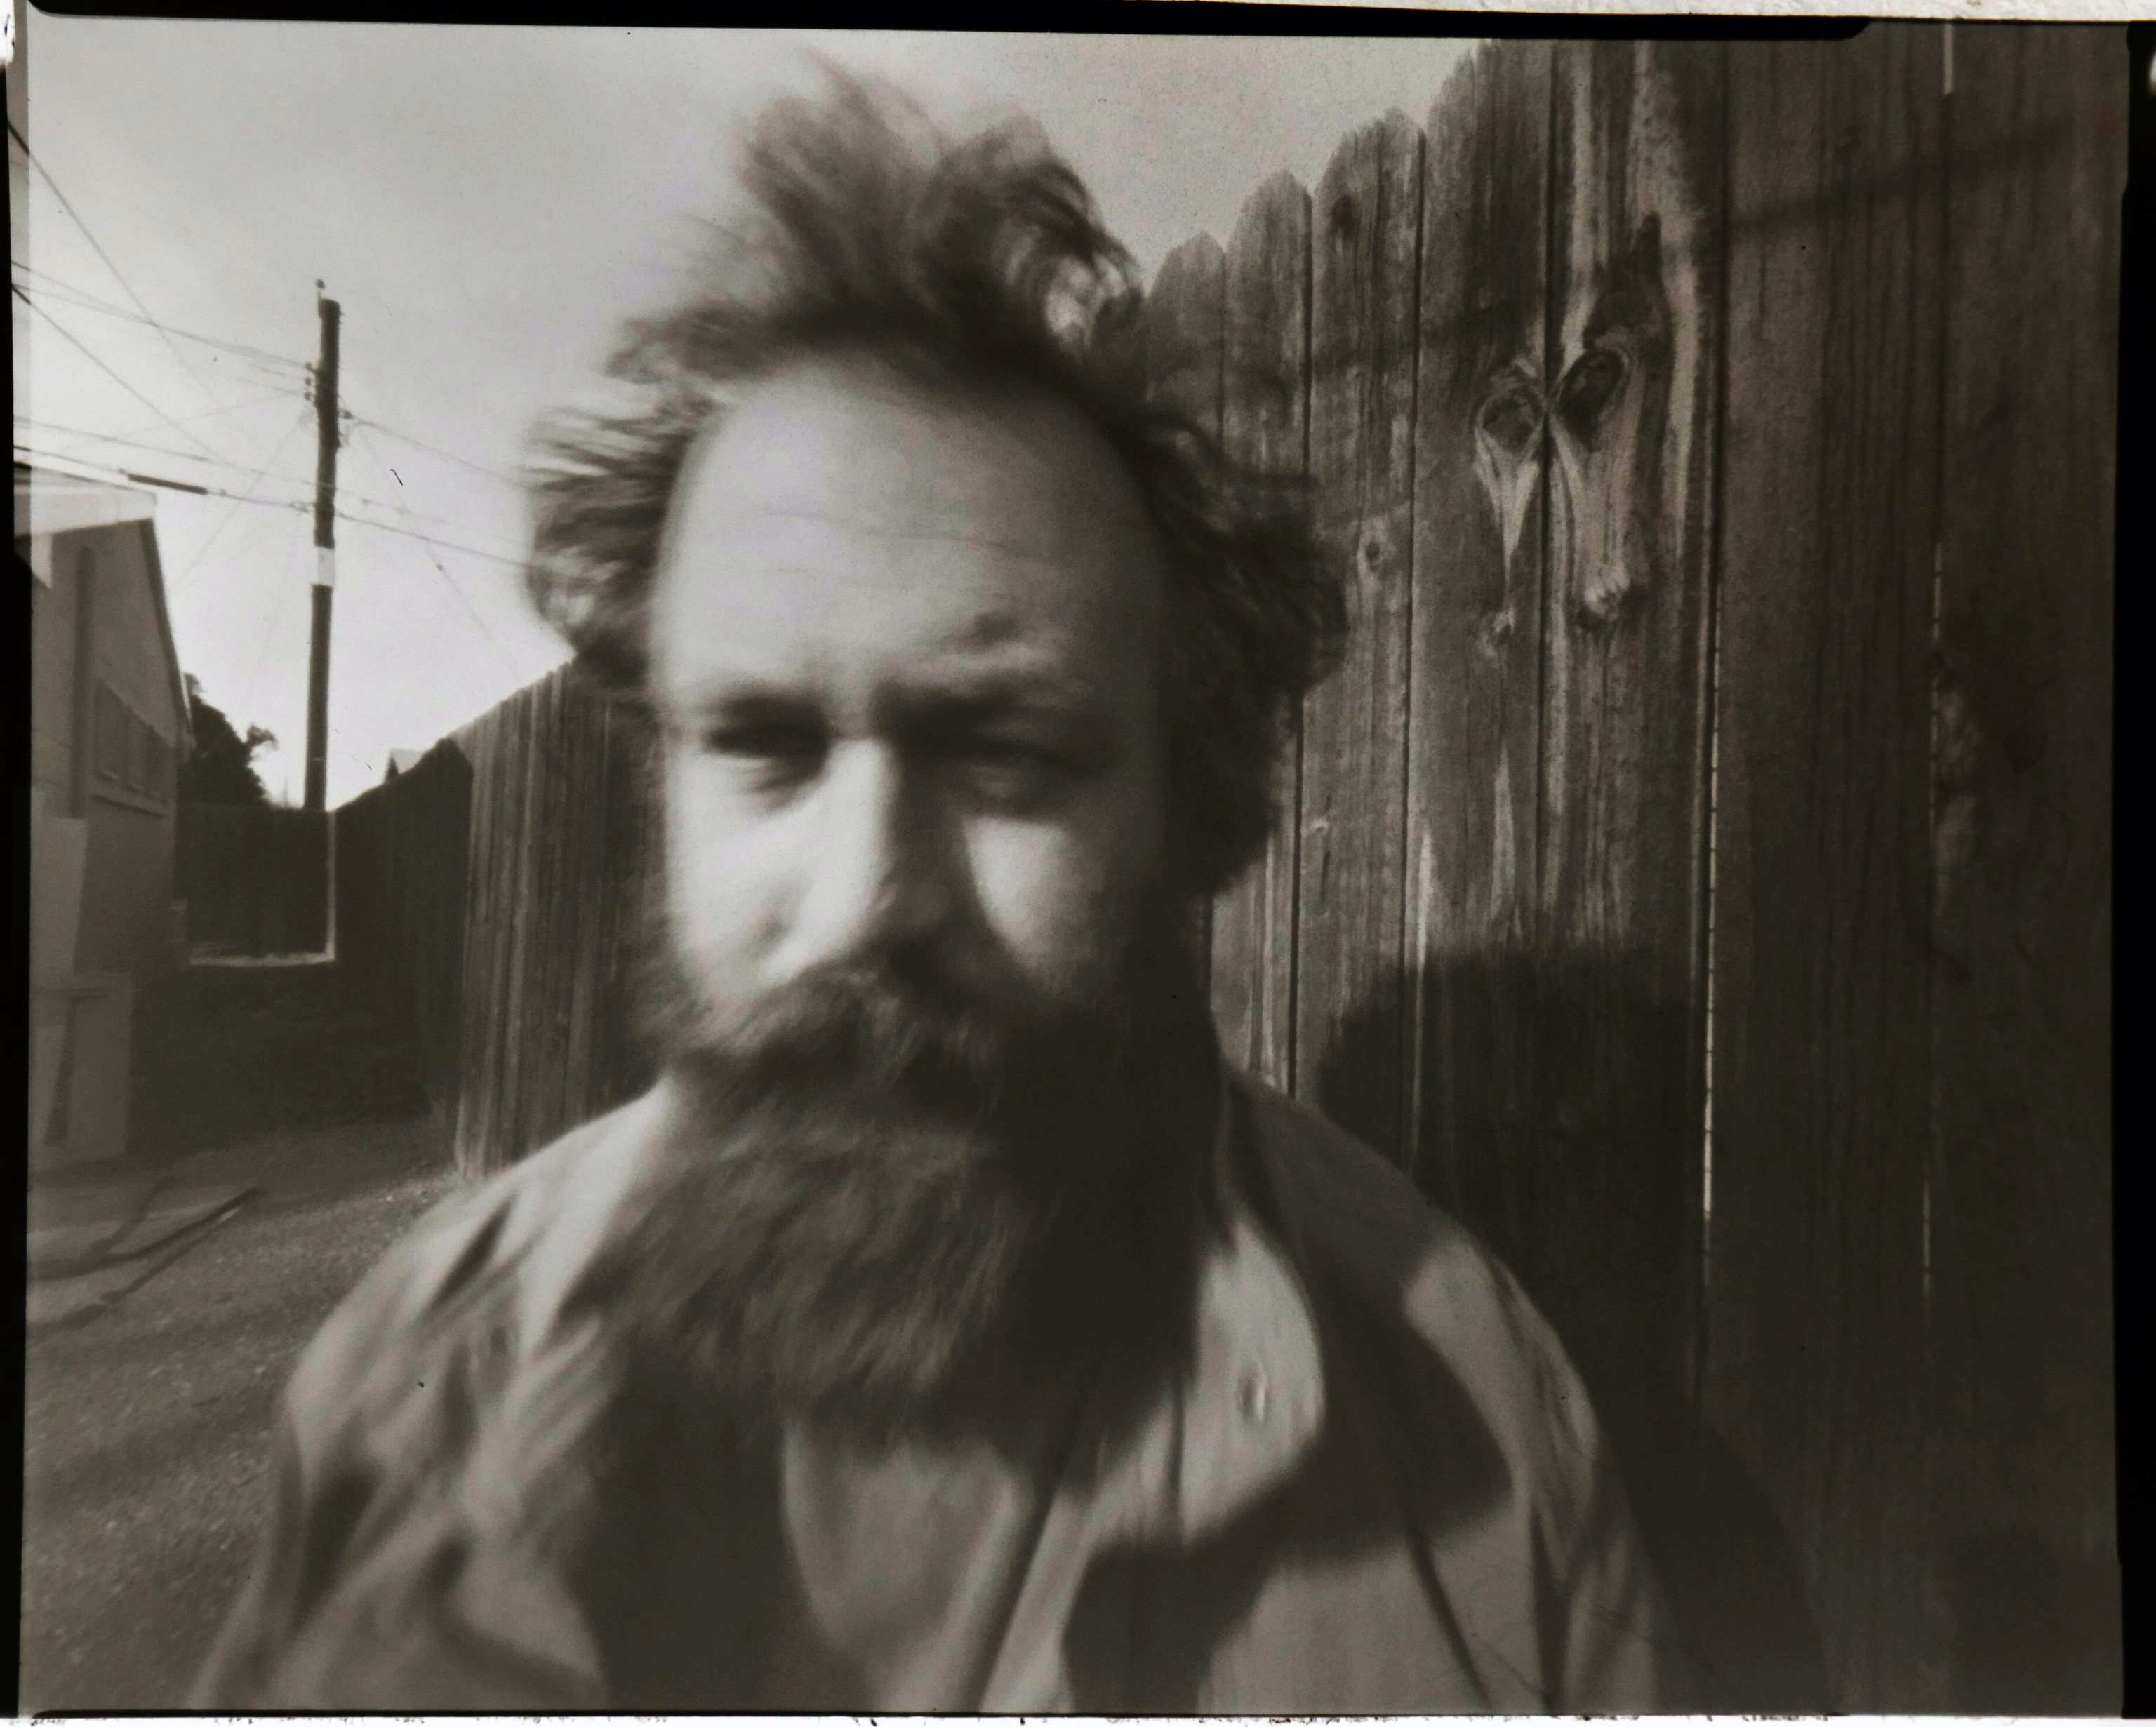
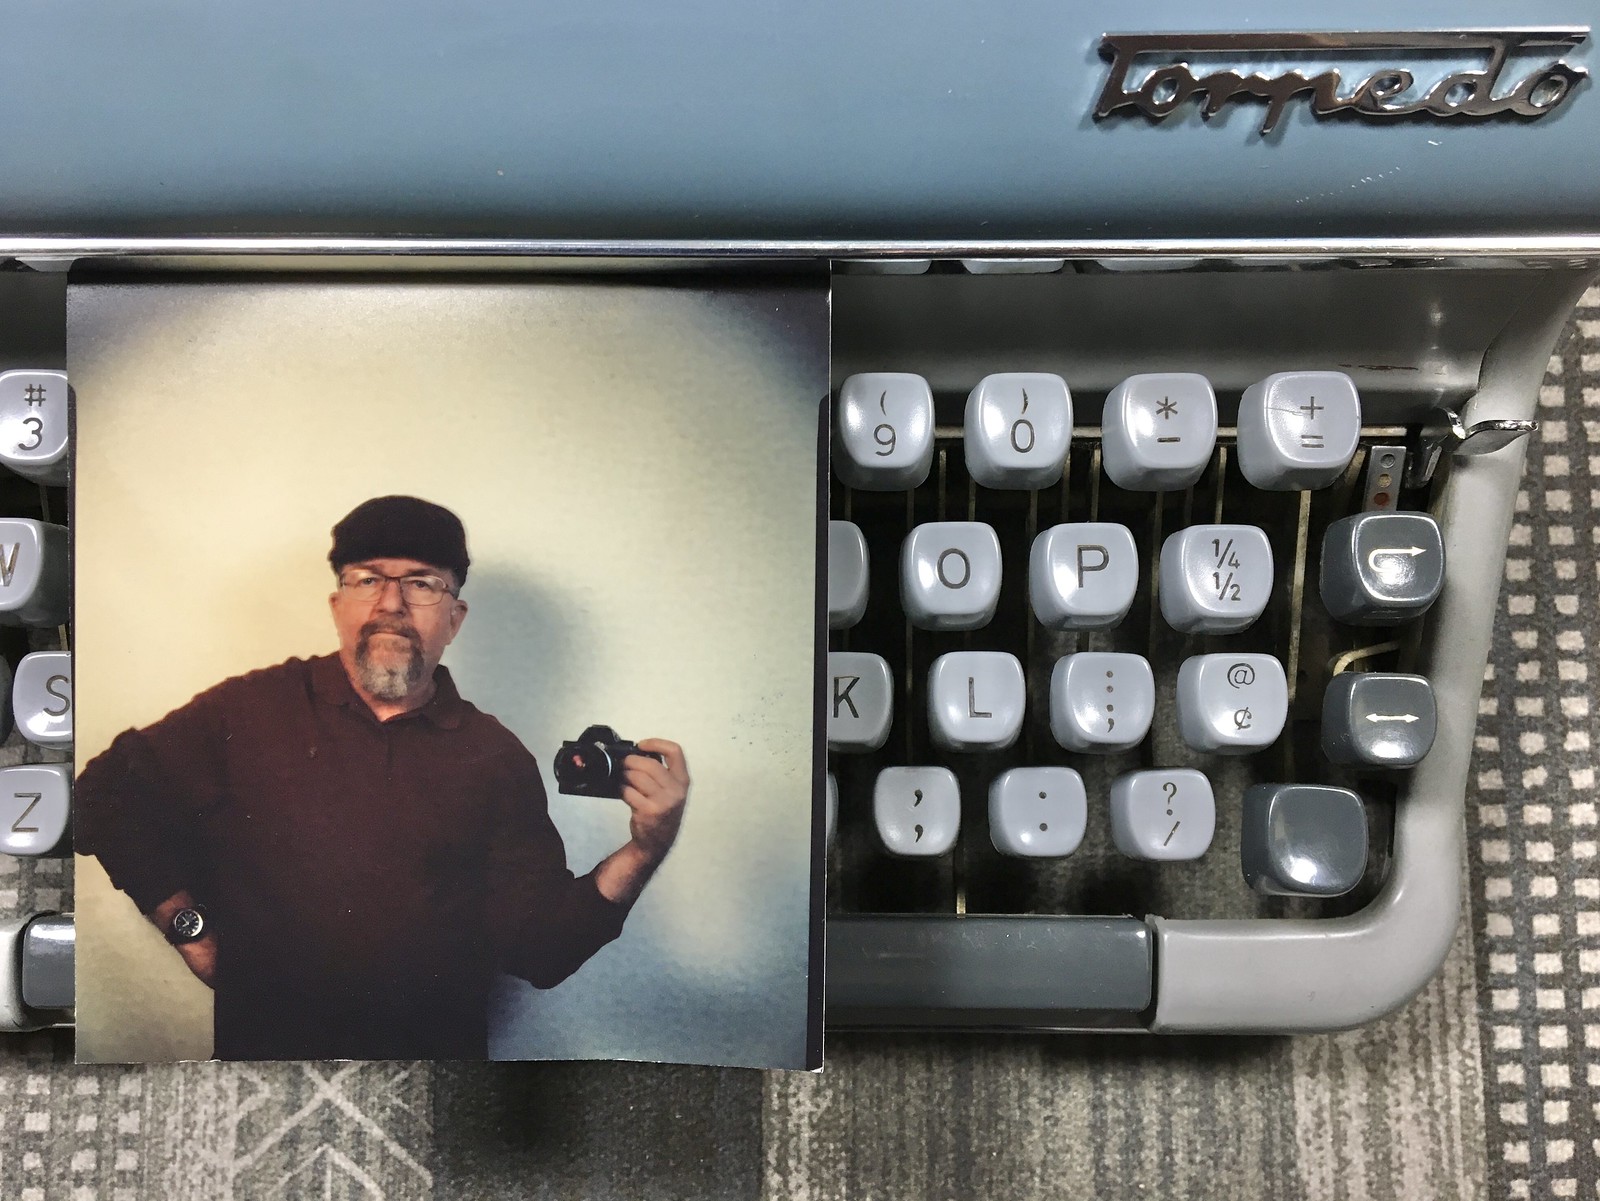
What you're seeing is a cellphone snap of the direct positive, 4-by-5-inch format print, slightly cropped. The tone of the print isn't exactly like what it looks like in person, but pretty close. The fiber paper has a particular sheen and subtle orangepeel-like texture that makes rendering shadow detail a bit tricky with digital cameras or scanners. I find this not as much of a problem as a feature built-in to the process of creating direct positive prints, that have to be seen in person to be appreciated.
The paper is also very high-contrast; a fill-in reflector should have been employed for the shadows. And the highlights on his arm are a bit over-exposed, with his yellow shirt appearing almost solarized. Such are the challenges of this medium. But the rewards are a finished, wet print in under ten minutes, out in the field.
When we opened the developing tank and took a peek inside, we were immediately amazed at the sharp, crisp tones of the positive image staring back at us. These kinds of processes never cease to amaze me, it still seems like magic.
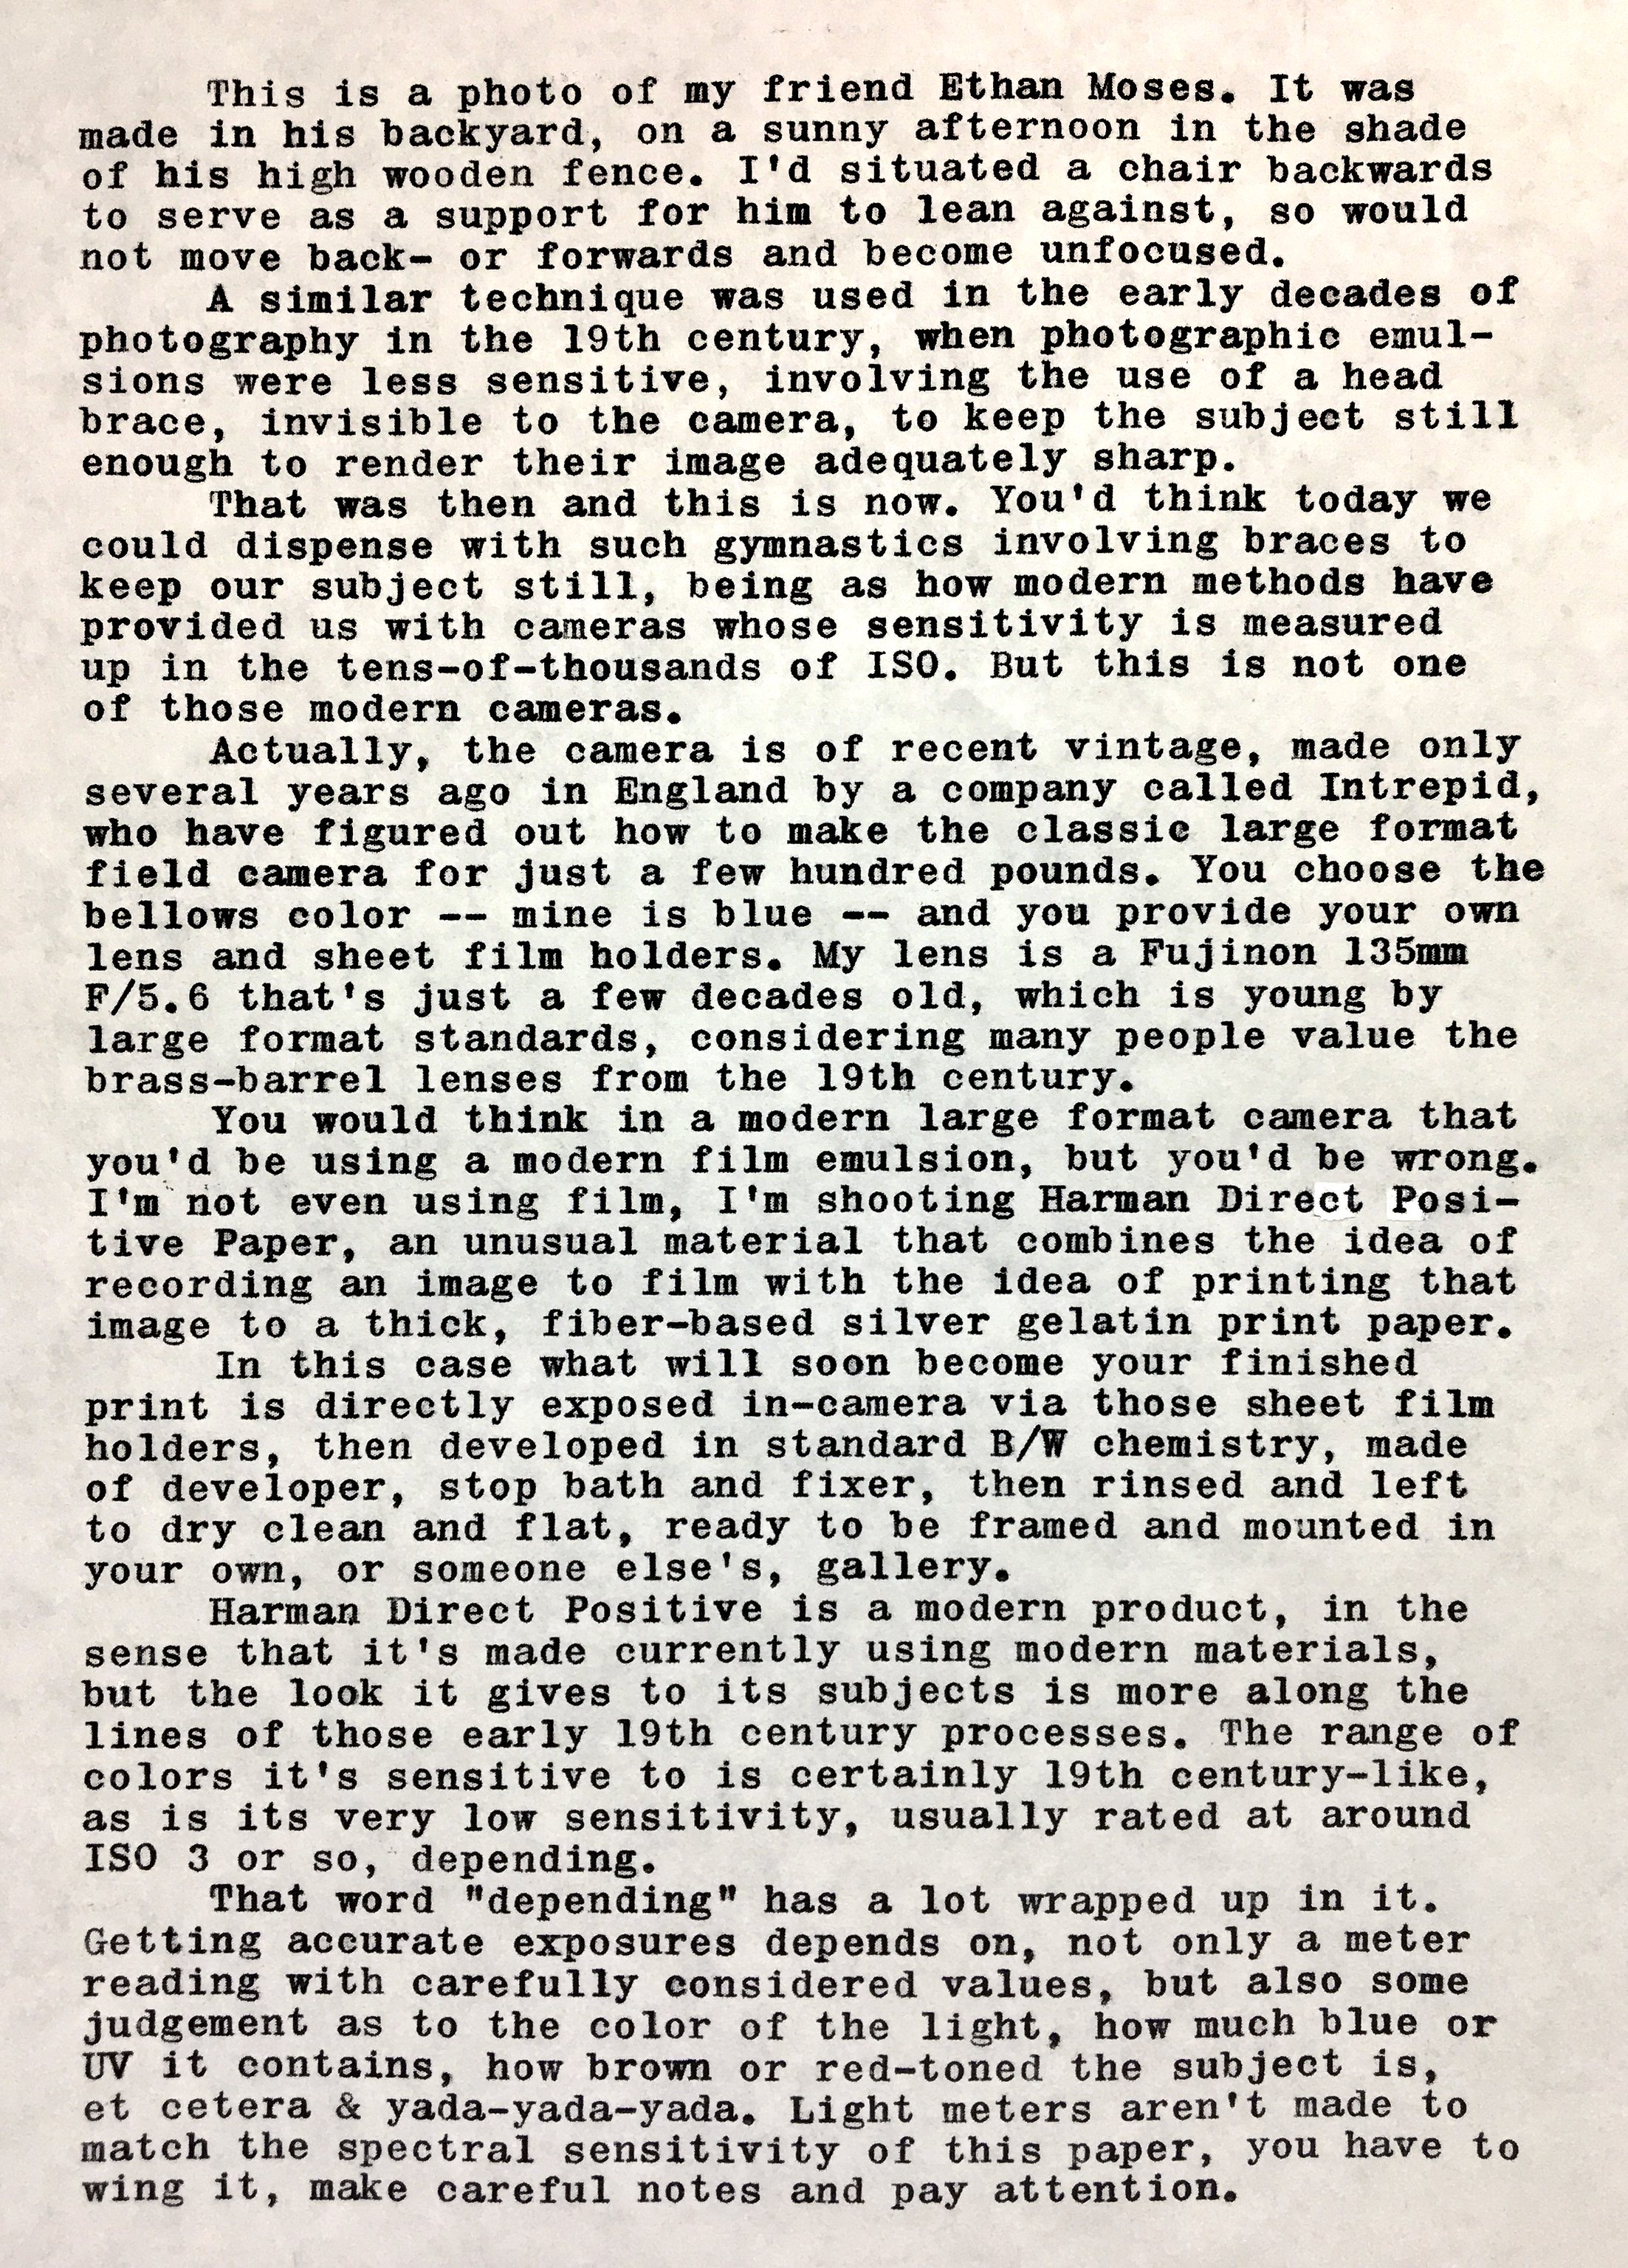
There's another aspect to the making of this particular portrait. It was intended as a mere test, nothing more. No "fine art" implied. I've made many exposures on this paper, enough to be pretty confident about 1/2 second at F/5.6 would render a pretty decent exposure in shaded daylight. I also knew this because the last time I used the Fujinon lens on my Intrepid camera was with the same paper under similar conditions, and the shutter was still set to 1/2 second. Also, my light meter was still set to ISO 3. All these variables were under sufficient control for me to have confidence that I would get something at least. So the exposures were not what we were testing.
I say "we" because this is as much Ethan's project as mine; more his than mine, really. It had been a heady day of rapid design and prototyping, and at this date still premature to say too much more about this project. The idea is a new way to develop these prints out in the field. There were many unexpected technical hurdles to overcome, and we're still in the testing phase, but you'll soon hear updates here and on my YouTube channel, and also on Ethan's social media.
If you're curious about working with Harman Direct Positive Paper, here are a few links to get you started:
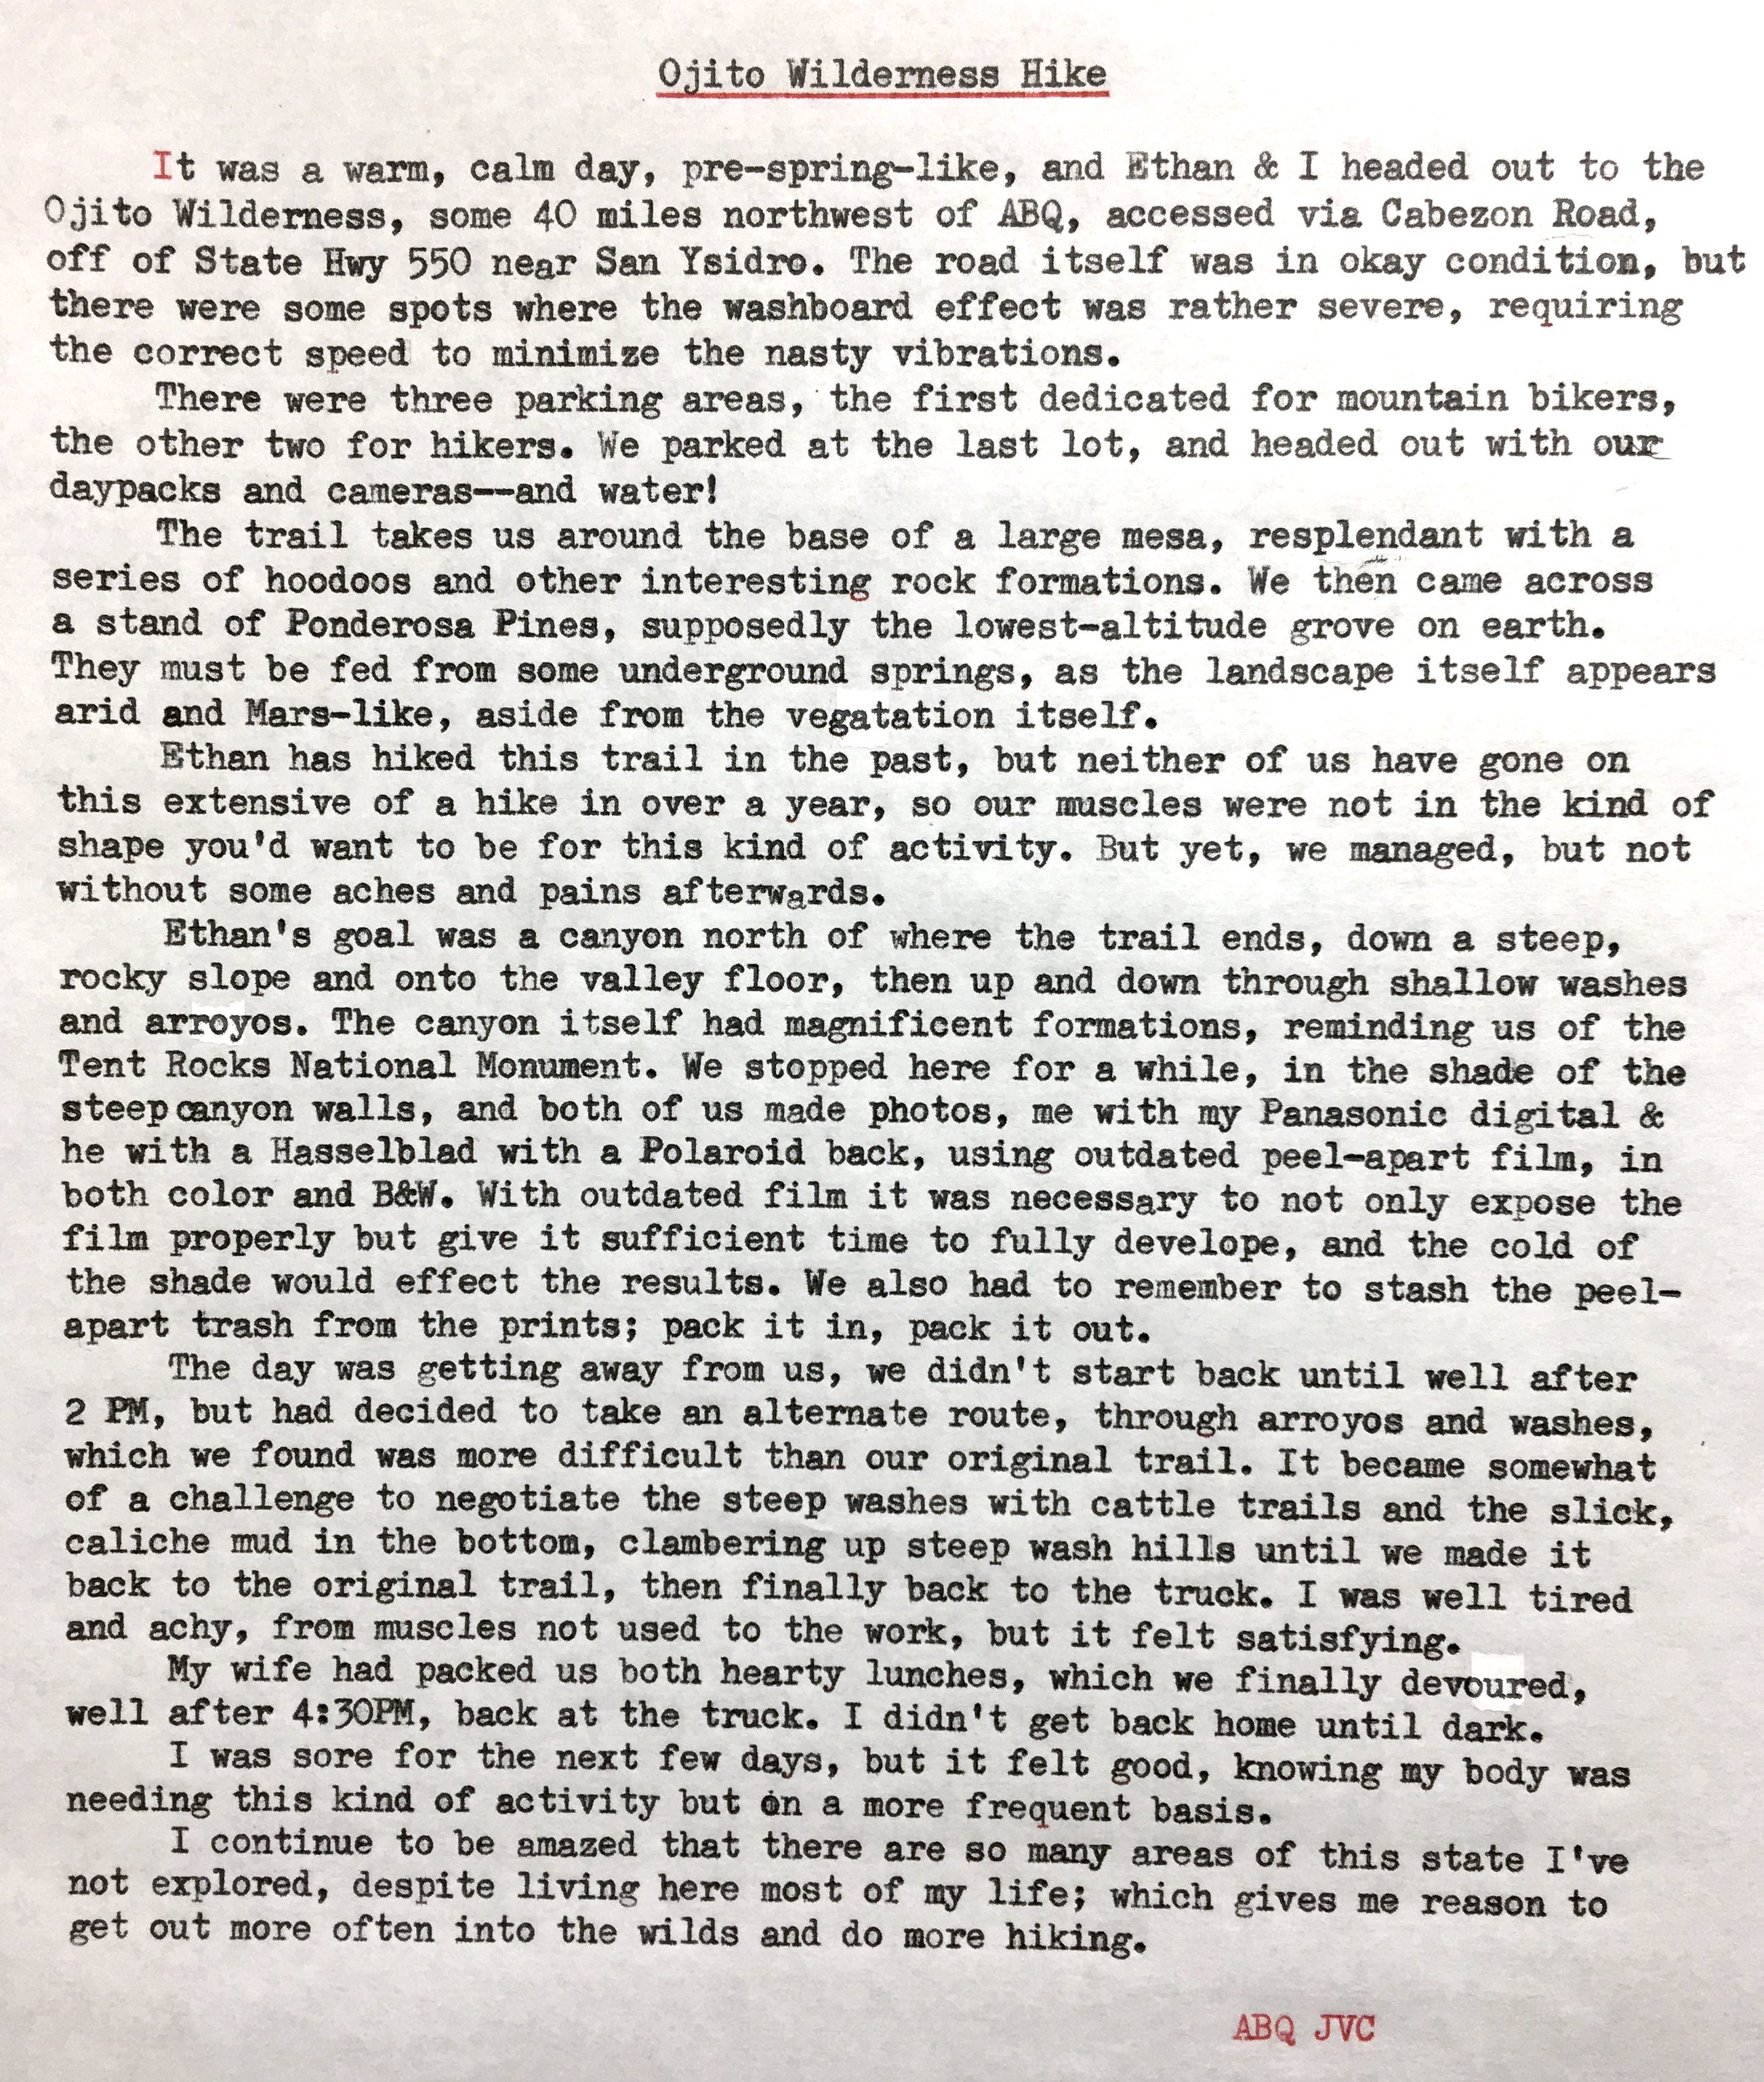
Ethan grabbed a to-go sandwich at the Warrior Gas Station in the town of Bernalillo, on the way out to the Ojito. I'd already eaten that morning before leaving, so I had the joy of watching him eat his meal, featuring almost-frozen artifical cheese. Yum!
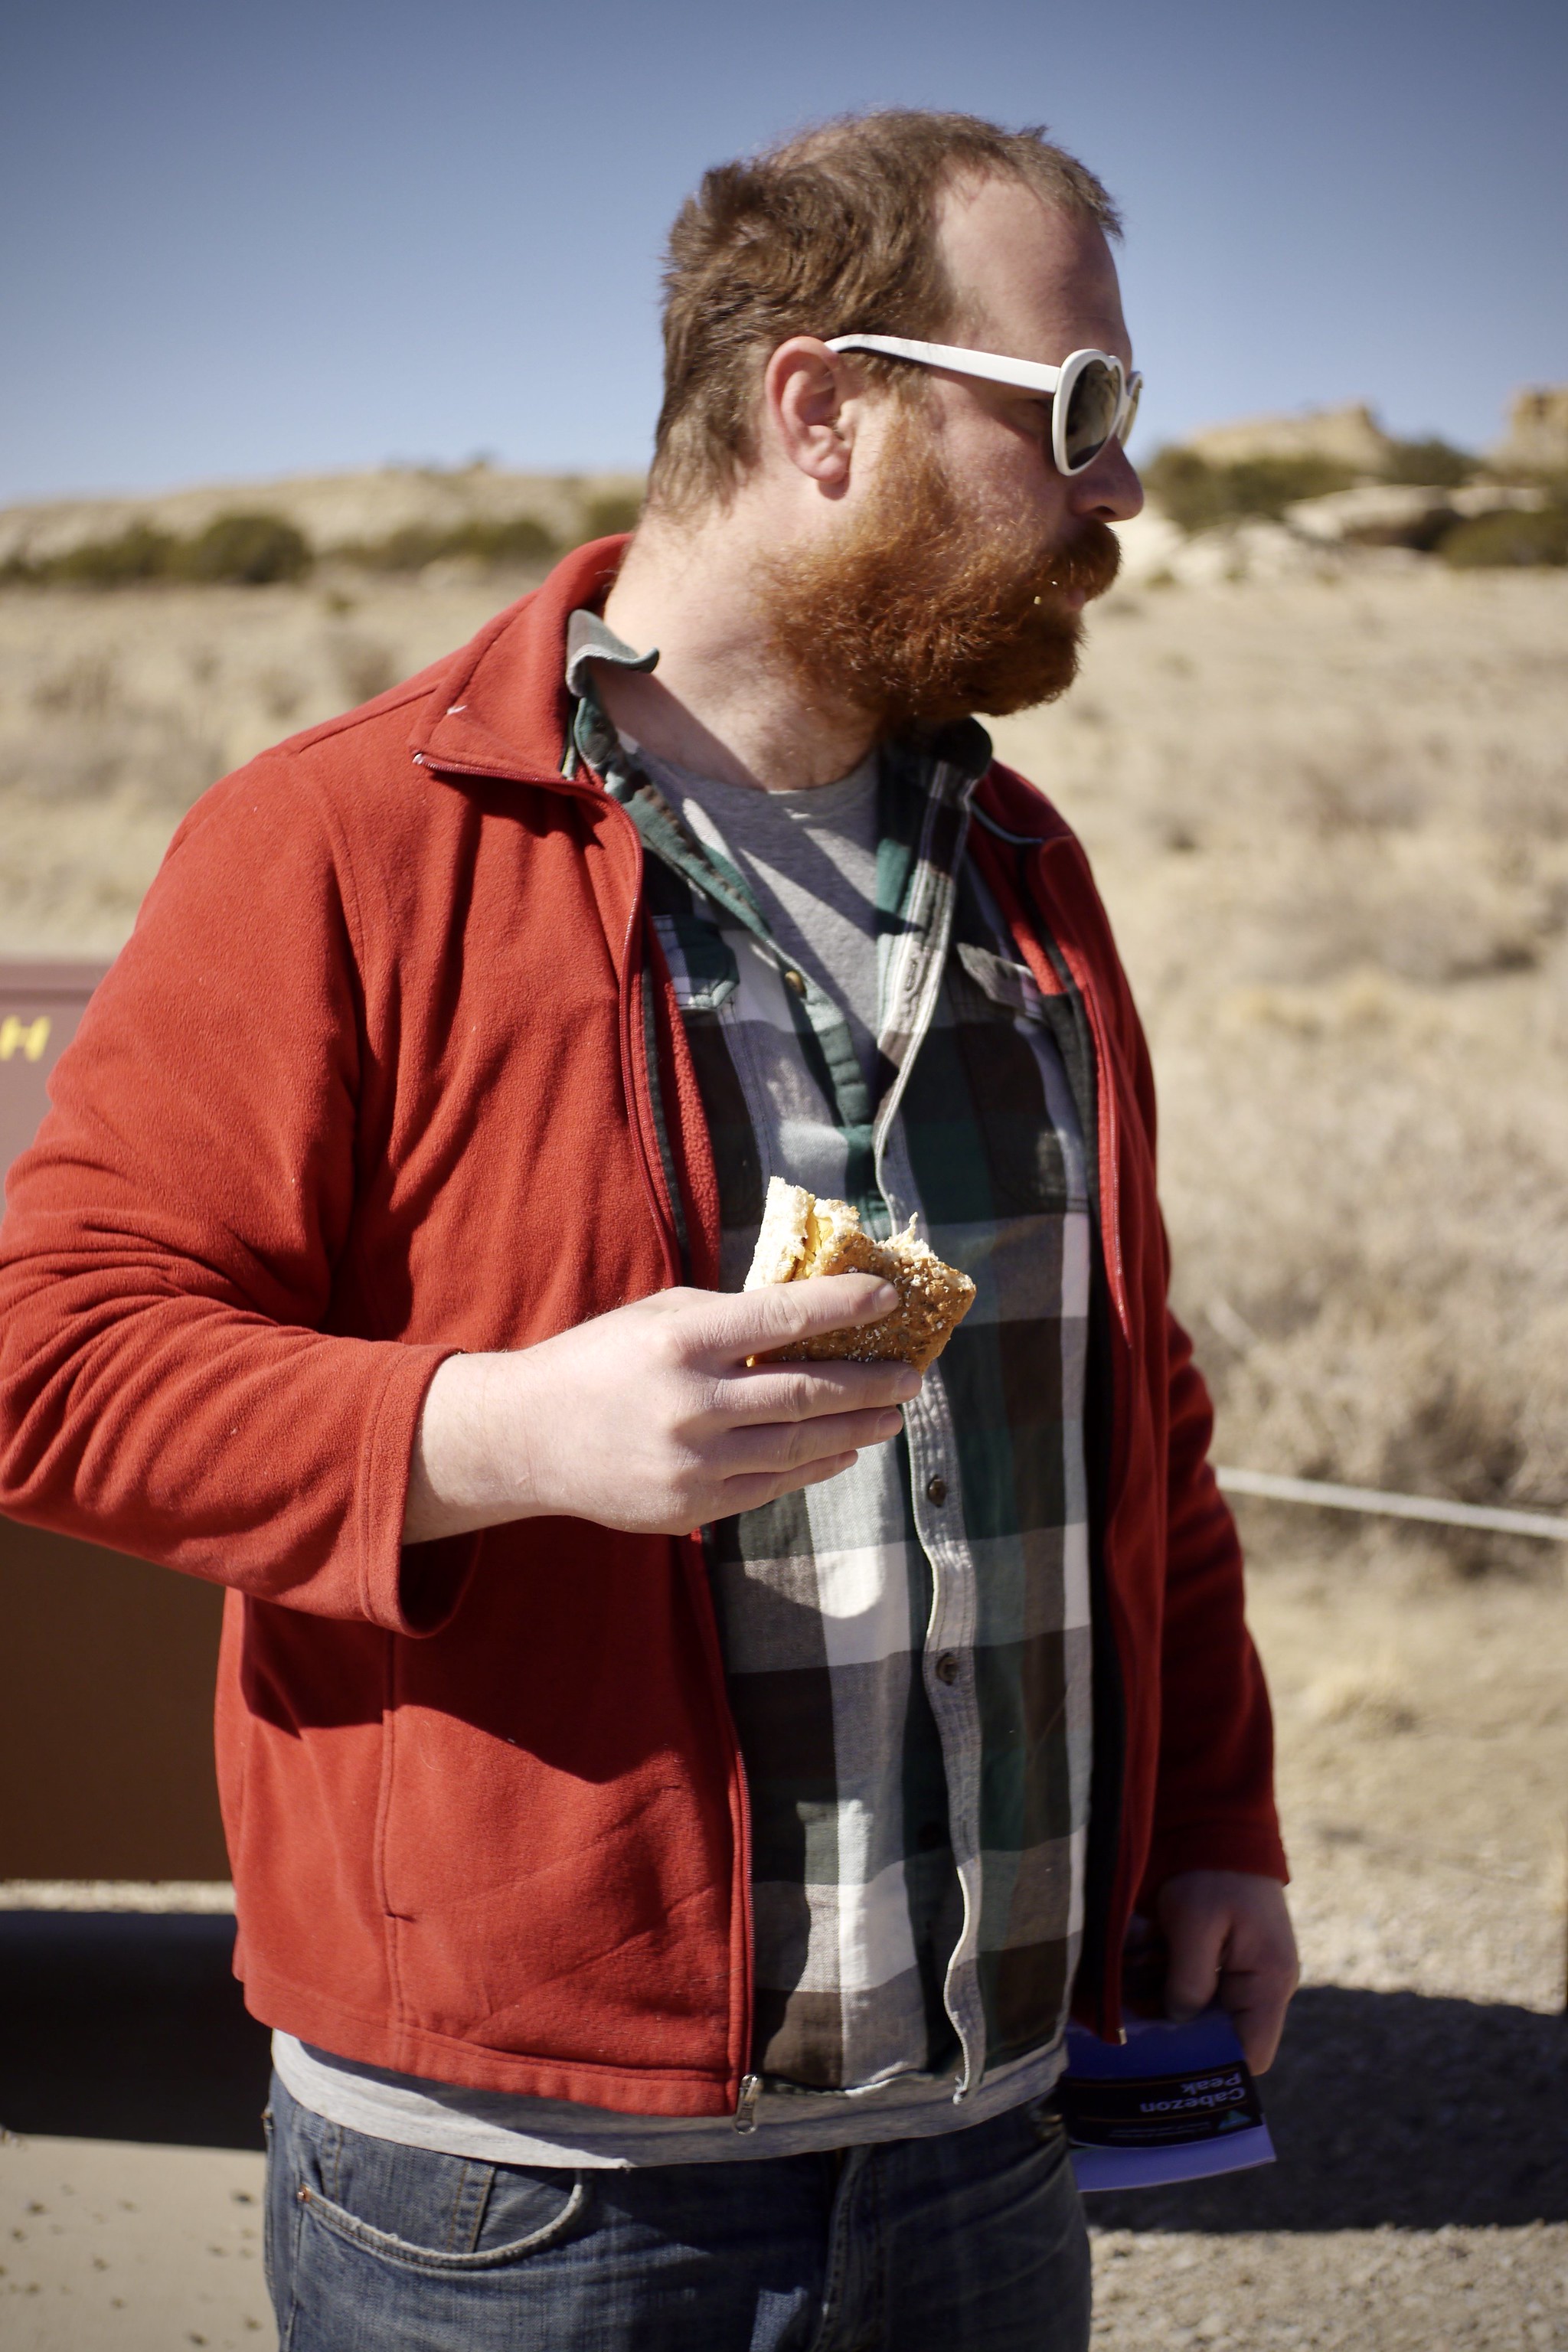
Our trail took us along the edge of the large mesa (in the background, above), through areas of dramatically sculpted rock formations.
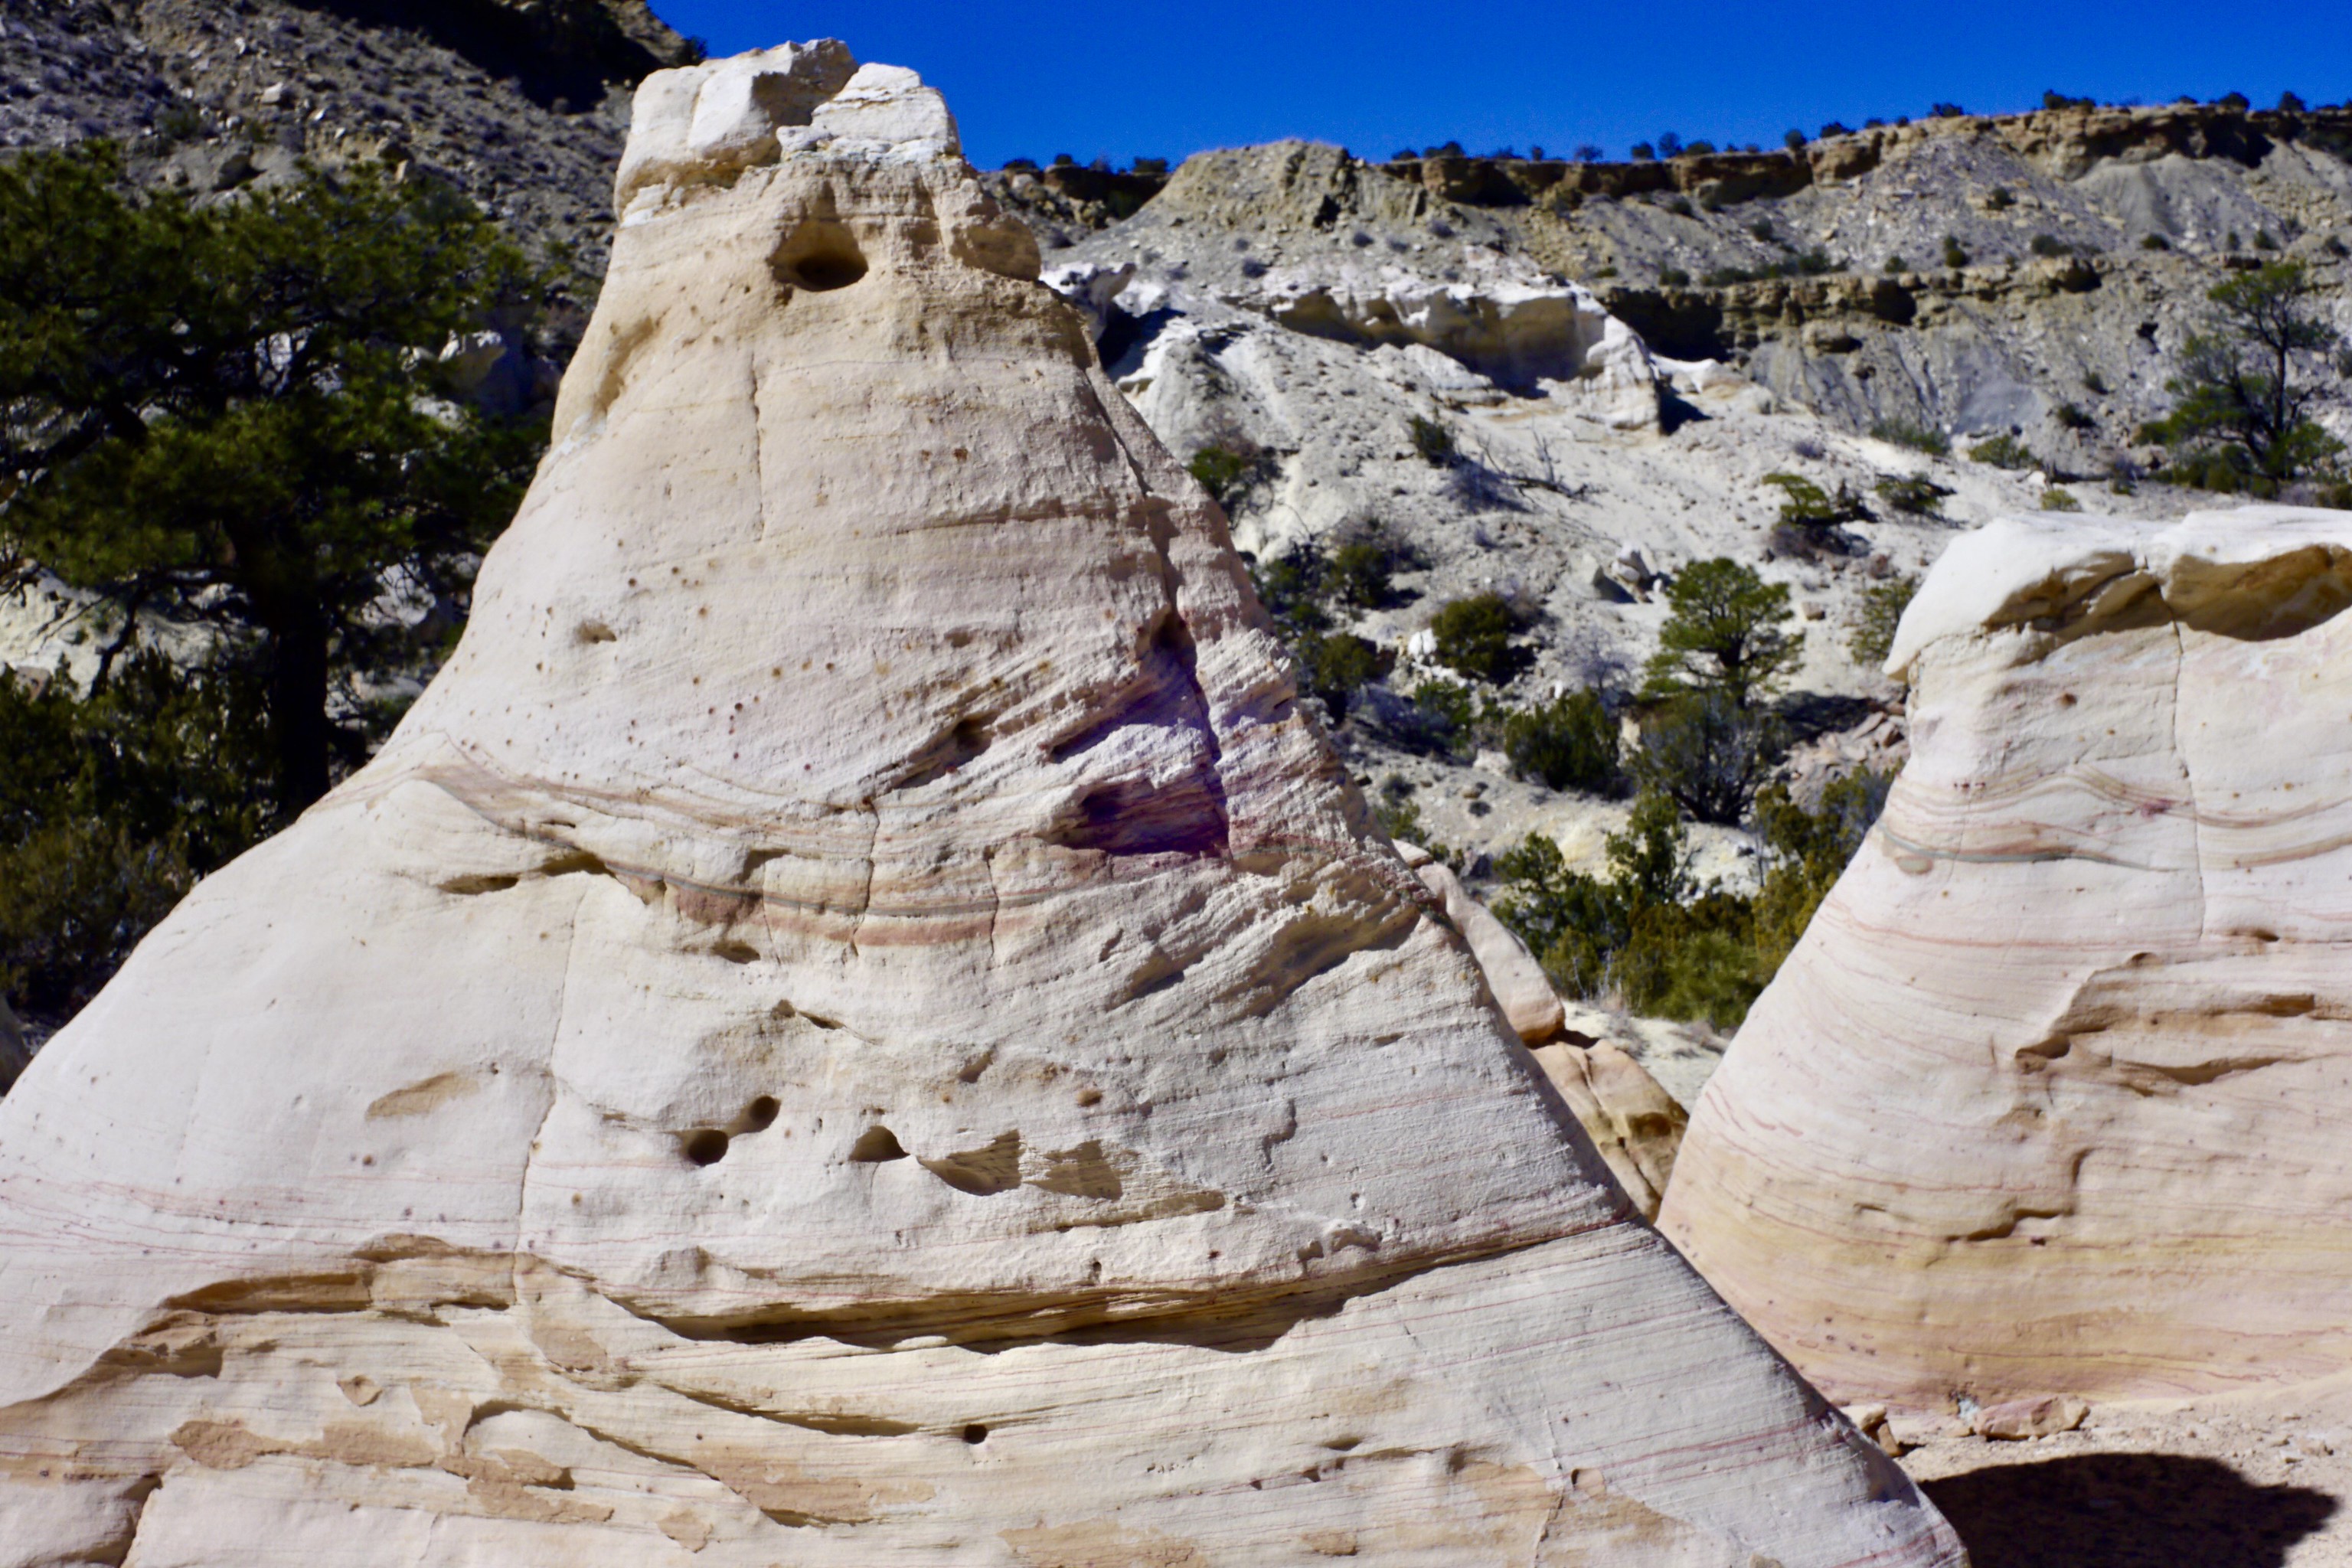
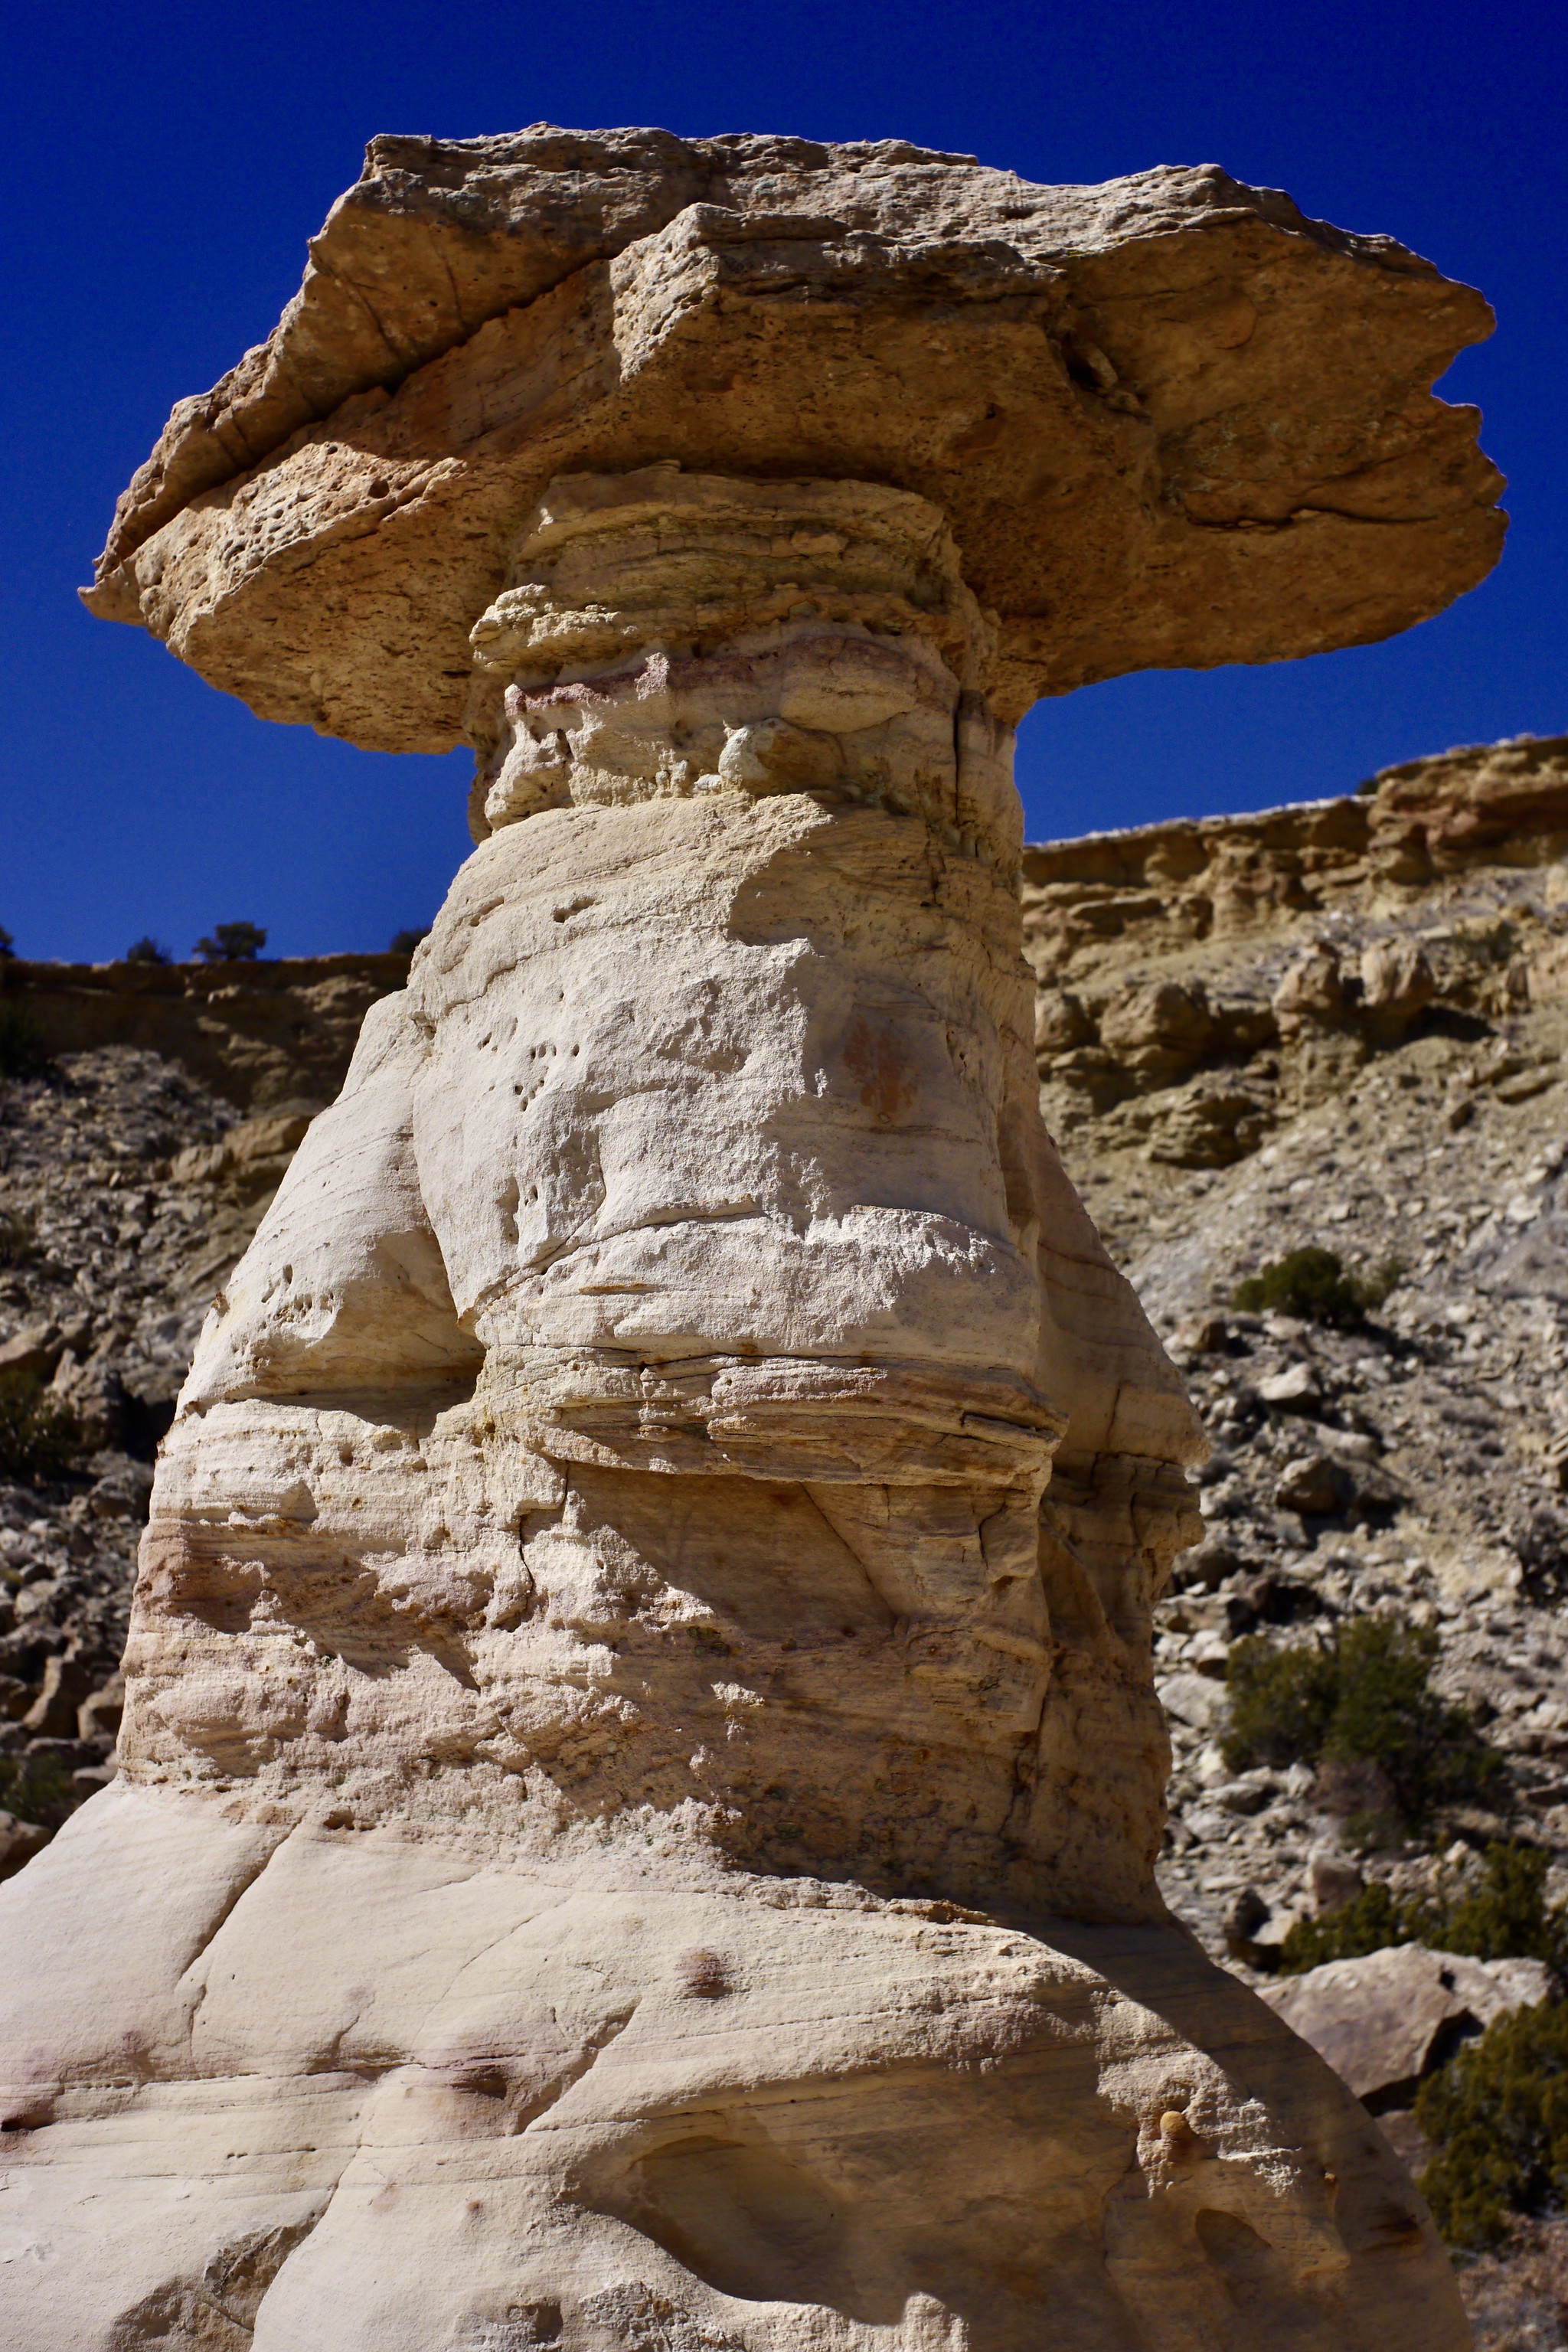
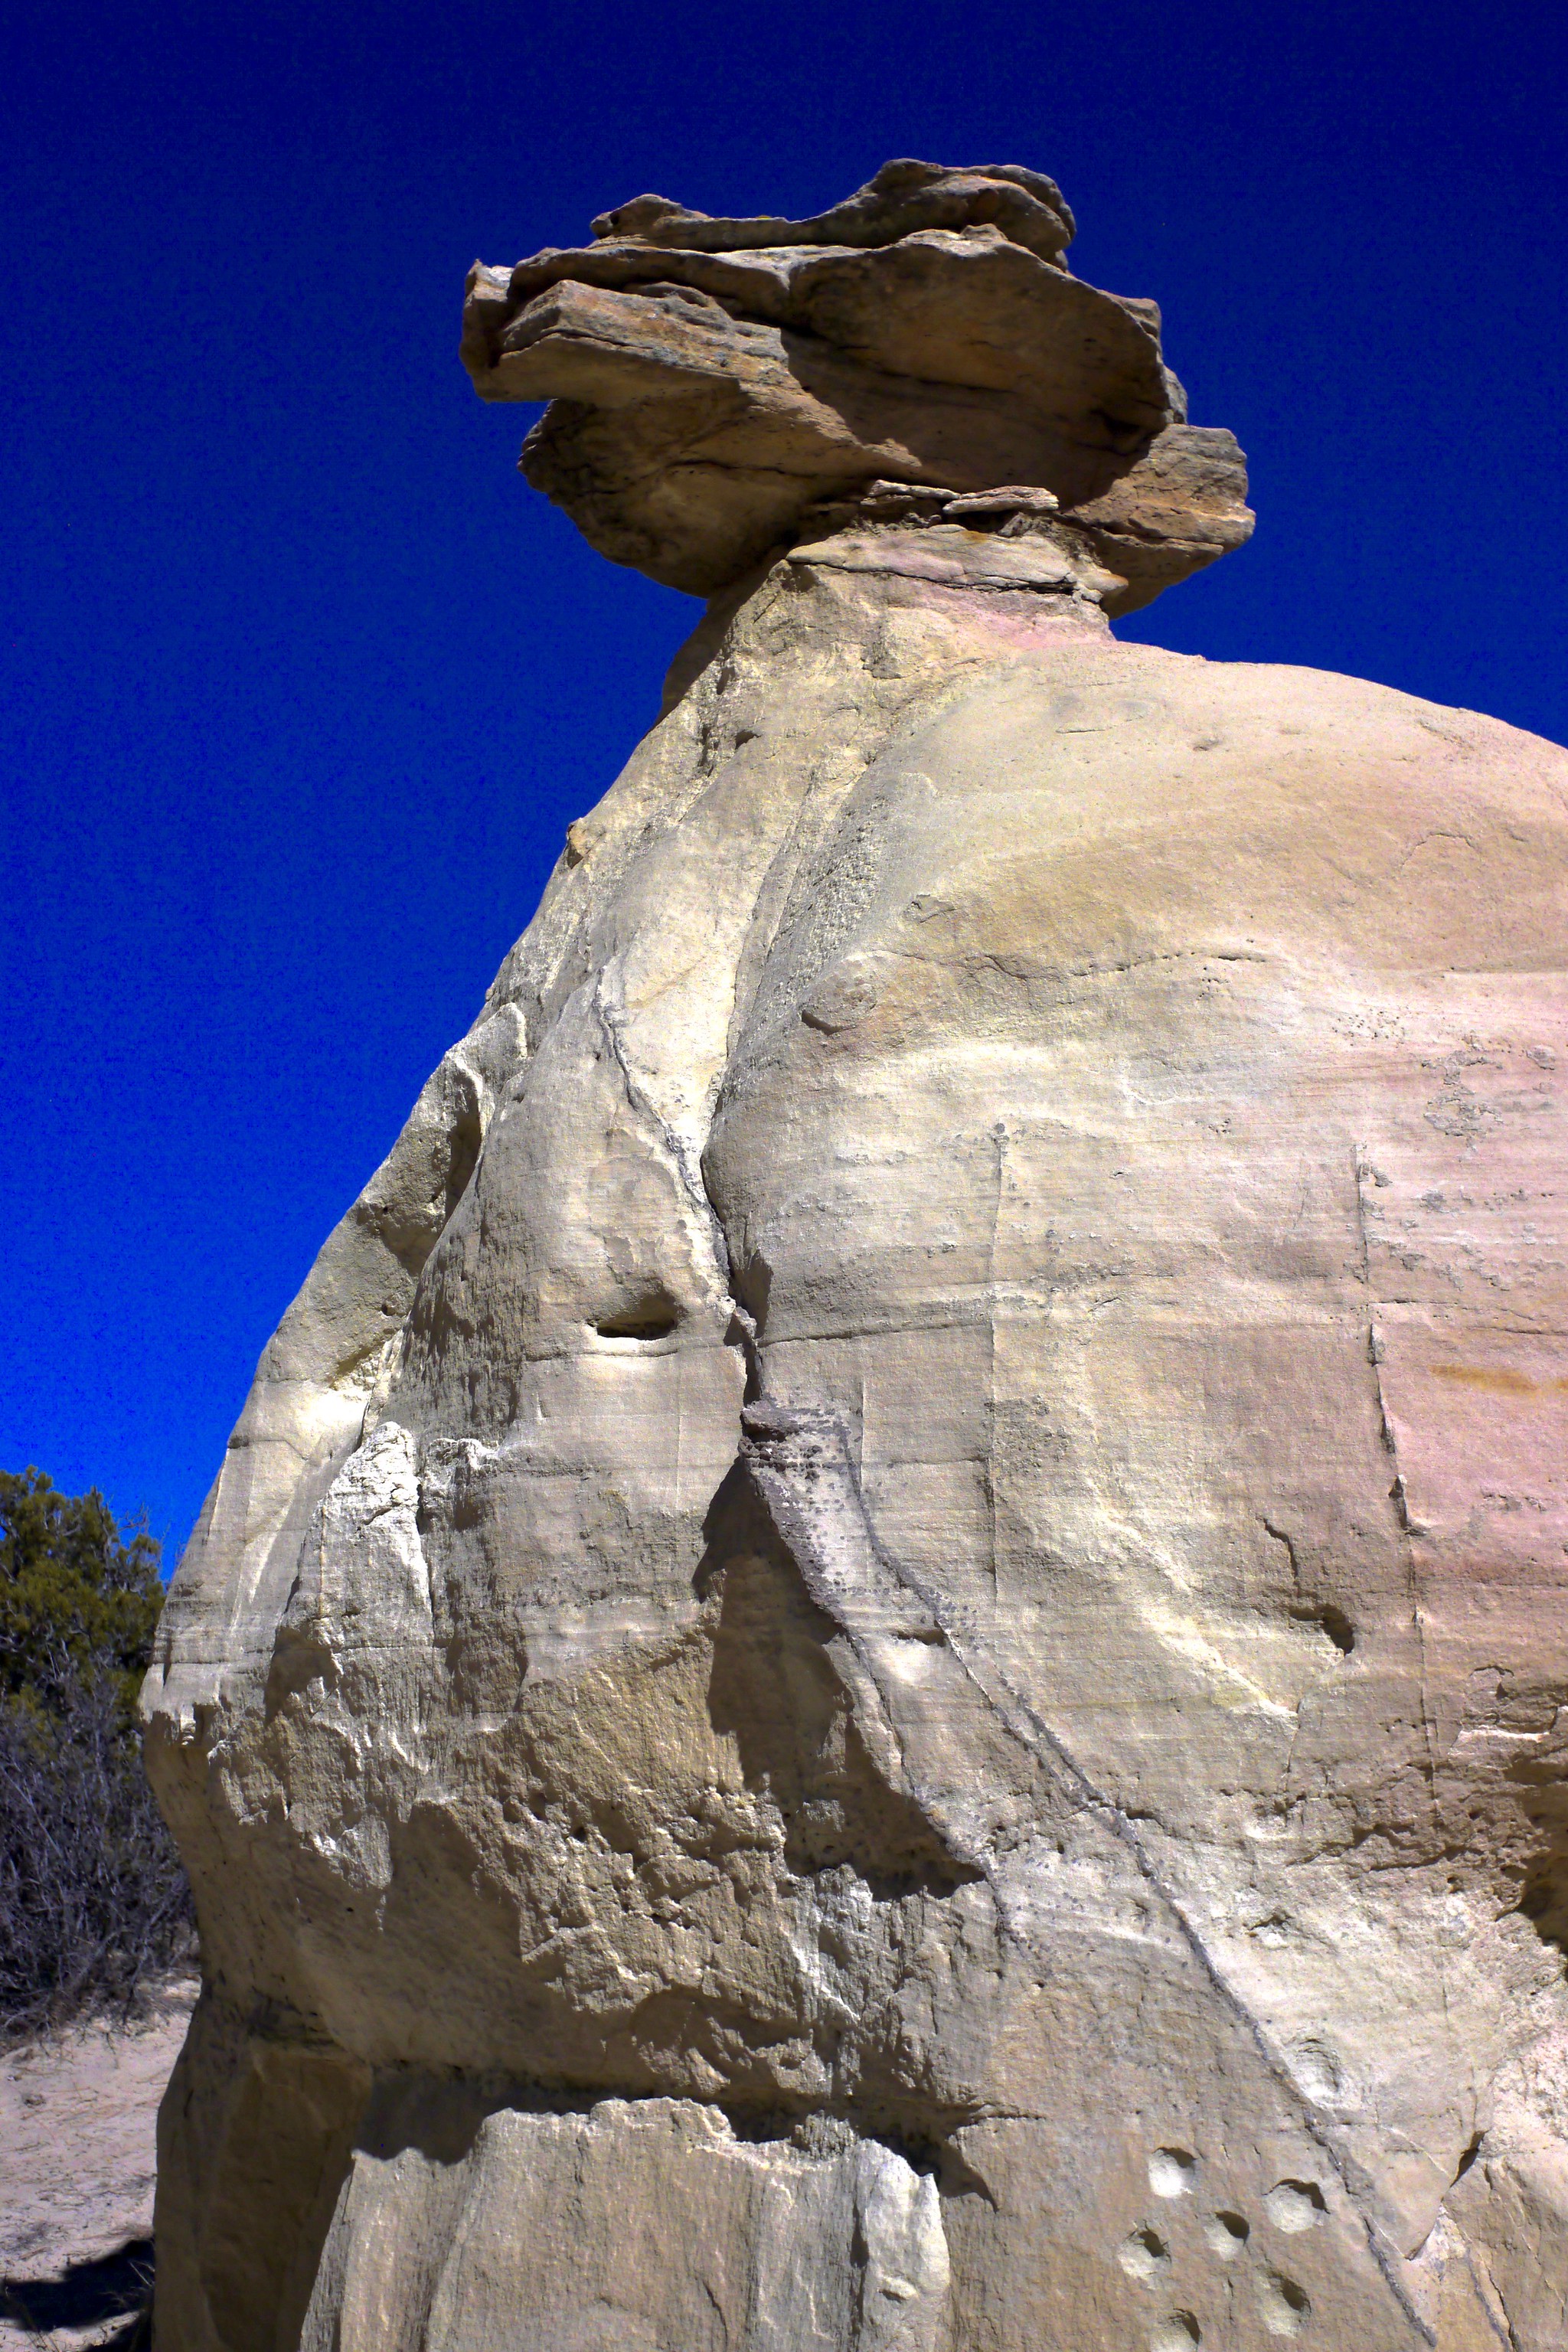
These eroded formations, called hoodoos, are commonly seen in the Ojito, as well as other parts of northwestern New Mexico.
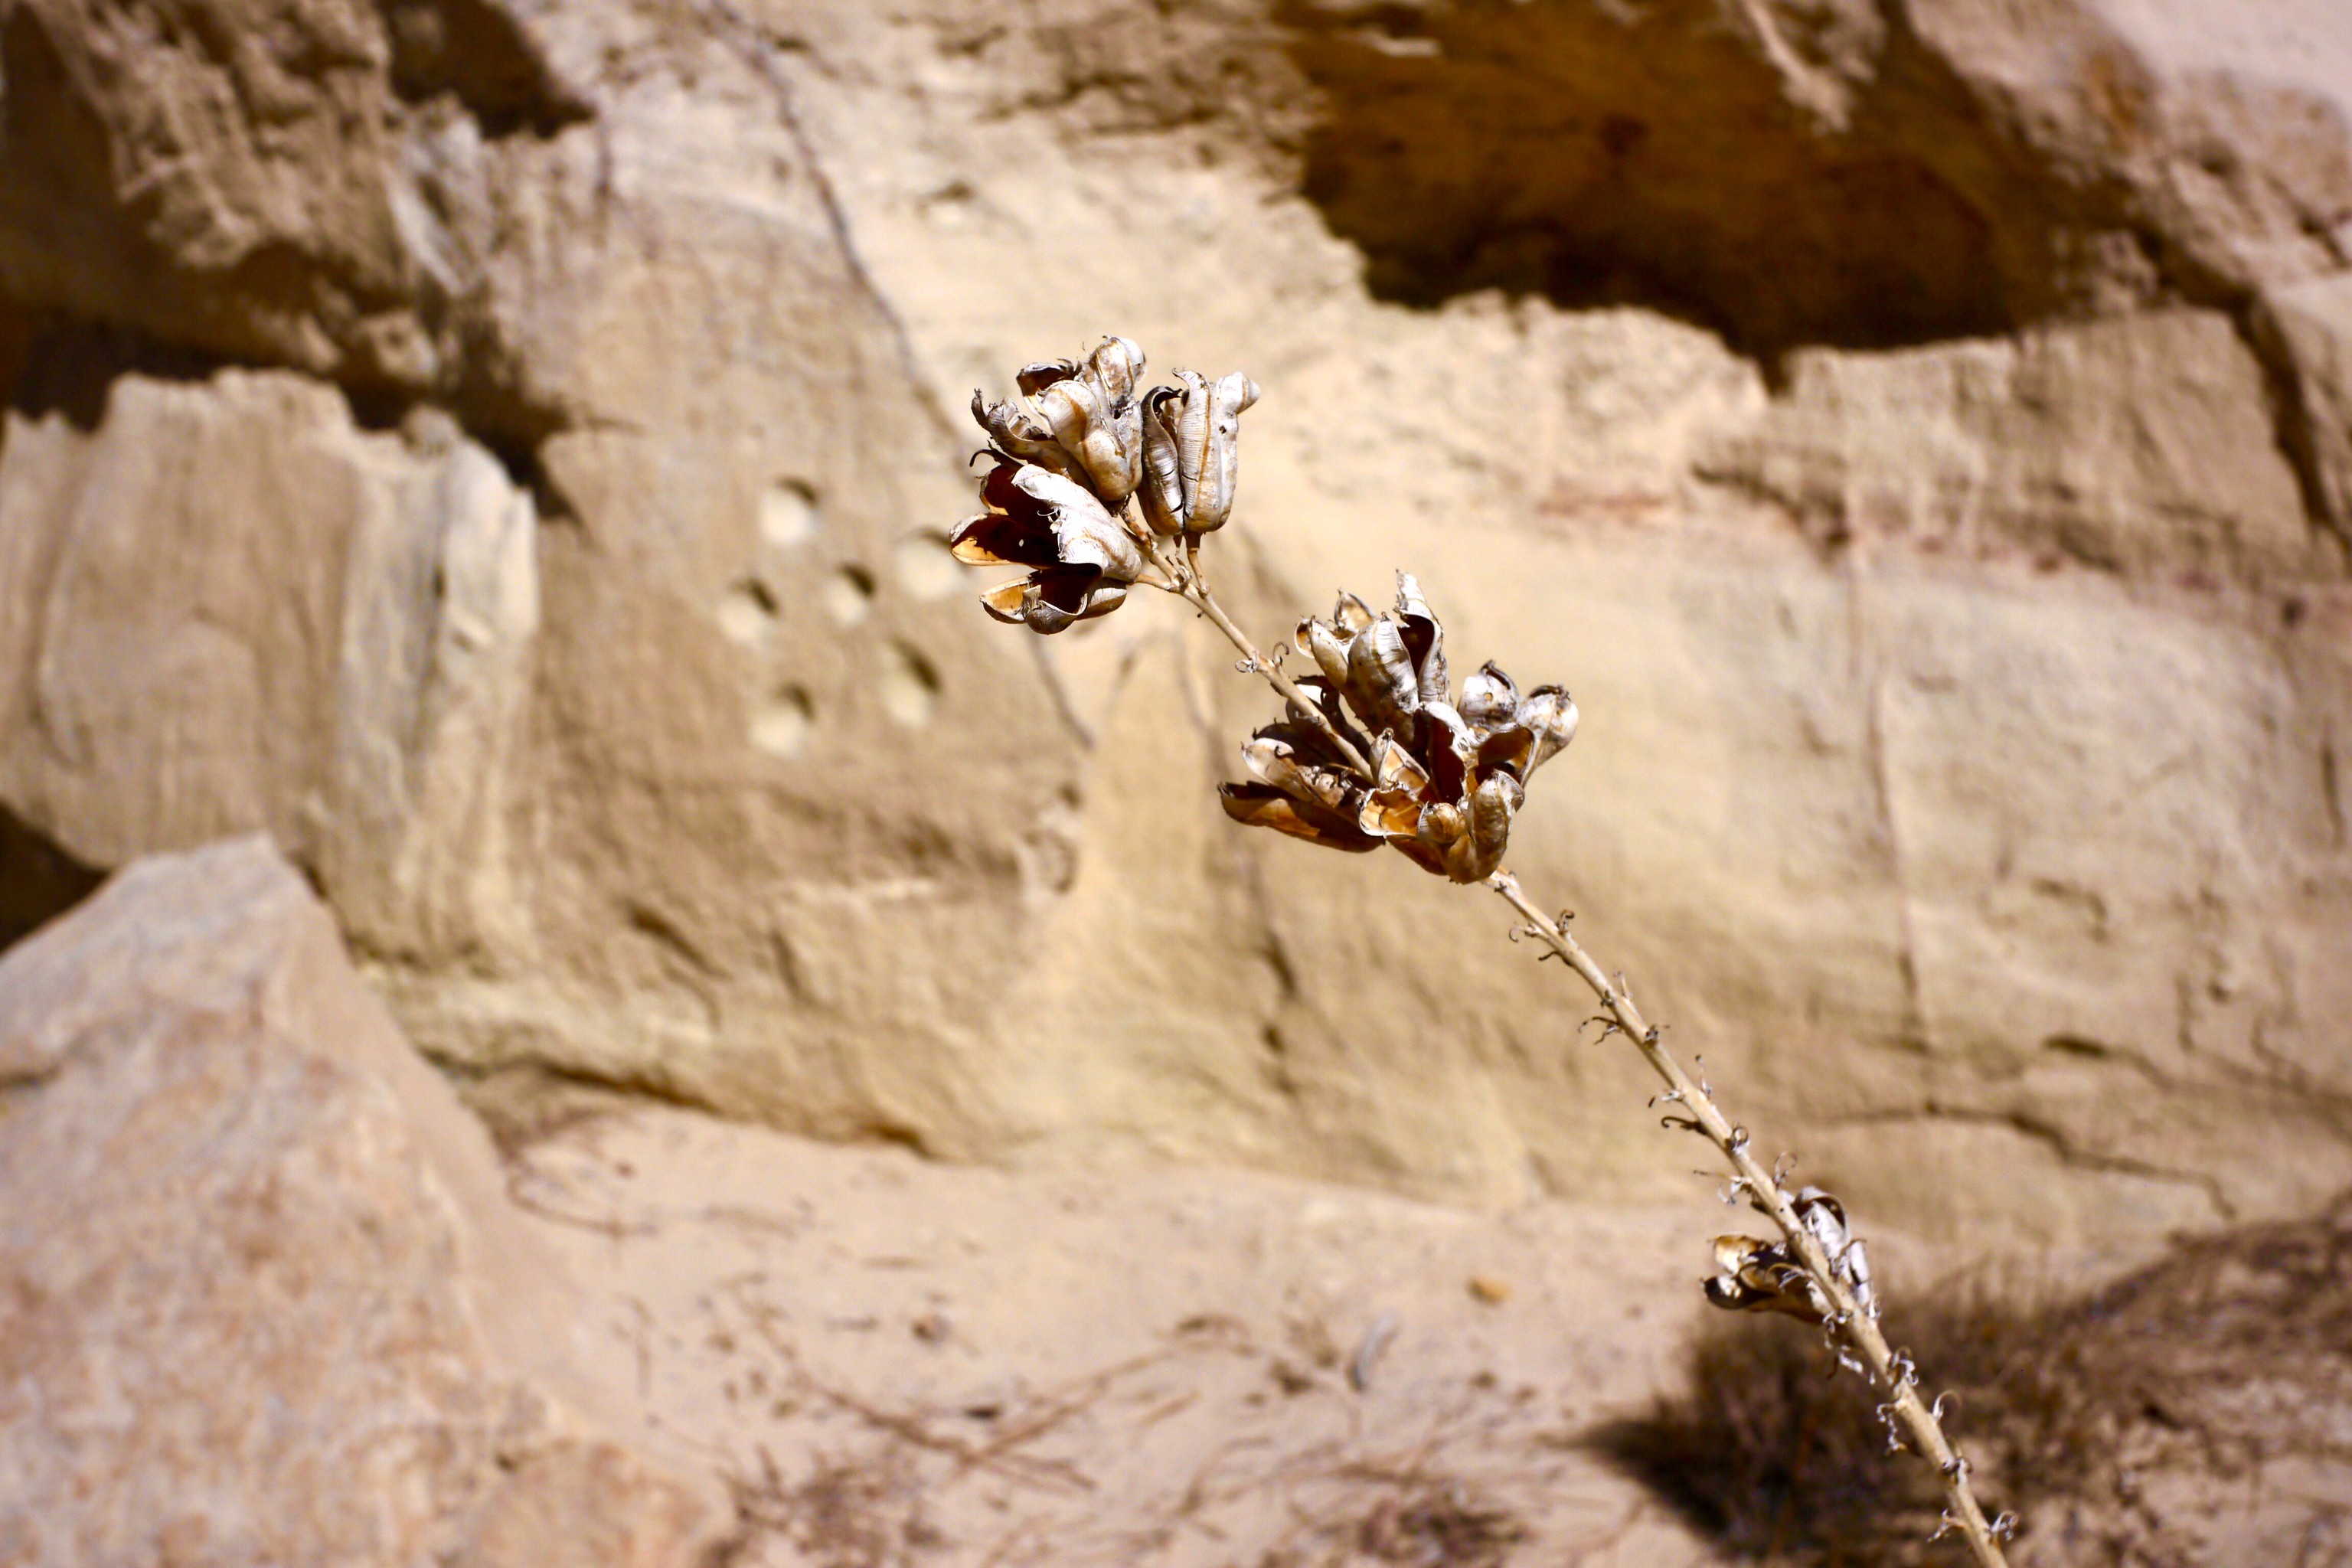
Flowering yucca, the official New Mexico state flower. Notice the strange pentagonal formation of depressions in the rock face behind...
...which is at the base of this hoodoo. Manmade, or otherwise?
Our trail takes us through this stand of ponderosa pines; these supposedly are the lowest altitude ponderosas in the world, fed by some underground springs not readily evident by the dry terrain on the surface.
Ethan came equipped with a Hasselblad and Polariod back, plus a hearty supply of outdated peel-apart film. We both tried our hand at instant landscape photography.
After going off-trail, cross-country, we rested at our destination, this scenic canyon, where we took the majority of the Polaroids.
Ethan scouting for his next shot.
The formation on the right looks like a snail's head. One's imagination can go wild in these badlands.
As I alluded to earlier, I was out of shape for this hike, but glad I took it. This gives me encouragement to keep doing this as often as possible.
A big thanks to Ethan Moses for inviting me along, and being tour guide.
A sample image, exposed and processed in-Pinholio.
I just finished replacing the worn feet of this Torpedo 18 with some hardware store rubber feet and decided it needed a test typing, as I’d recently installed a dark and inky adding machine ribbon. So I grabbed this grid paper, upon which was a bit of cyphering I’d done for the video, and proceeded to let the Muse have her way.
I love these late-night, impromptu typing surprises using such fine machines like the Torpedo. It looks like it’s been through the ringer, but can it type!
The nice thing about receiving the Cameradactyl Pinholio was that I had the opportunity during last week's visit to choose my color for the pinhole cap (gray), and also to watch his 3D printers begin their slave-like work of printing the parts for the camera.
The Pinholio has an internal pull-shutter, and a removable threaded front pinhole cap. Once the exposure is made, the shutter is closed and the pinhole cap replaced with a 3D-printed, light-proof pour spout, the kind seen on film developing tanks, permitting the paper to be processed within the same camera, out in the field. Since all the parts are made of resilient plastic, exposure to chemicals is no problem.
I hope to soon begin testing the camera, both for exposing and process paper negatives, as well as the peroxide/citric acid reversal process. One caveat with that reversal process is the effective film speed of the paper drops to sub-ISO 1 values, meaning for this pinhole camera with an aperture of F/235 I'm looking at exposure times in bright sun of >10 minutes. Probably too long for seated portraits!
It is for this reason that I'd like to convert (or have Ethan 3D print) a lens cap adapted for a single-element meniscus lens. I've seen a plethora of such lenses available online at places like Surplus Shed. My idea is to build a spacer that fits between the rear flange of the inner box and the rear lip of the front part of the camera, to serve as a focal length extender that would preset the camera for a certain focal range, for use with seated portraits. A fast enough lens should permit exposure times in bright sun of a second or two. Then to be able to process the paper into a unique positive print would be a blast. The inner rear portion of the box slides in and out in a well-designed light trap slot that seems near ideally suited for focus adjustments. Since the intended design holds the paper tight against the rear of the camera by the two box halves completely closed, I'd use a loop of masking tape on the reverse side of the paper, since I'd be extending the box for focusing.
With a changing bag, a person could use this handheld "Afghan Box Camera" for making portraits in public. I'll keep this blog updated with progress.