Monday, June 14, 2021

Direct Positive Portraits

Ethan Moses
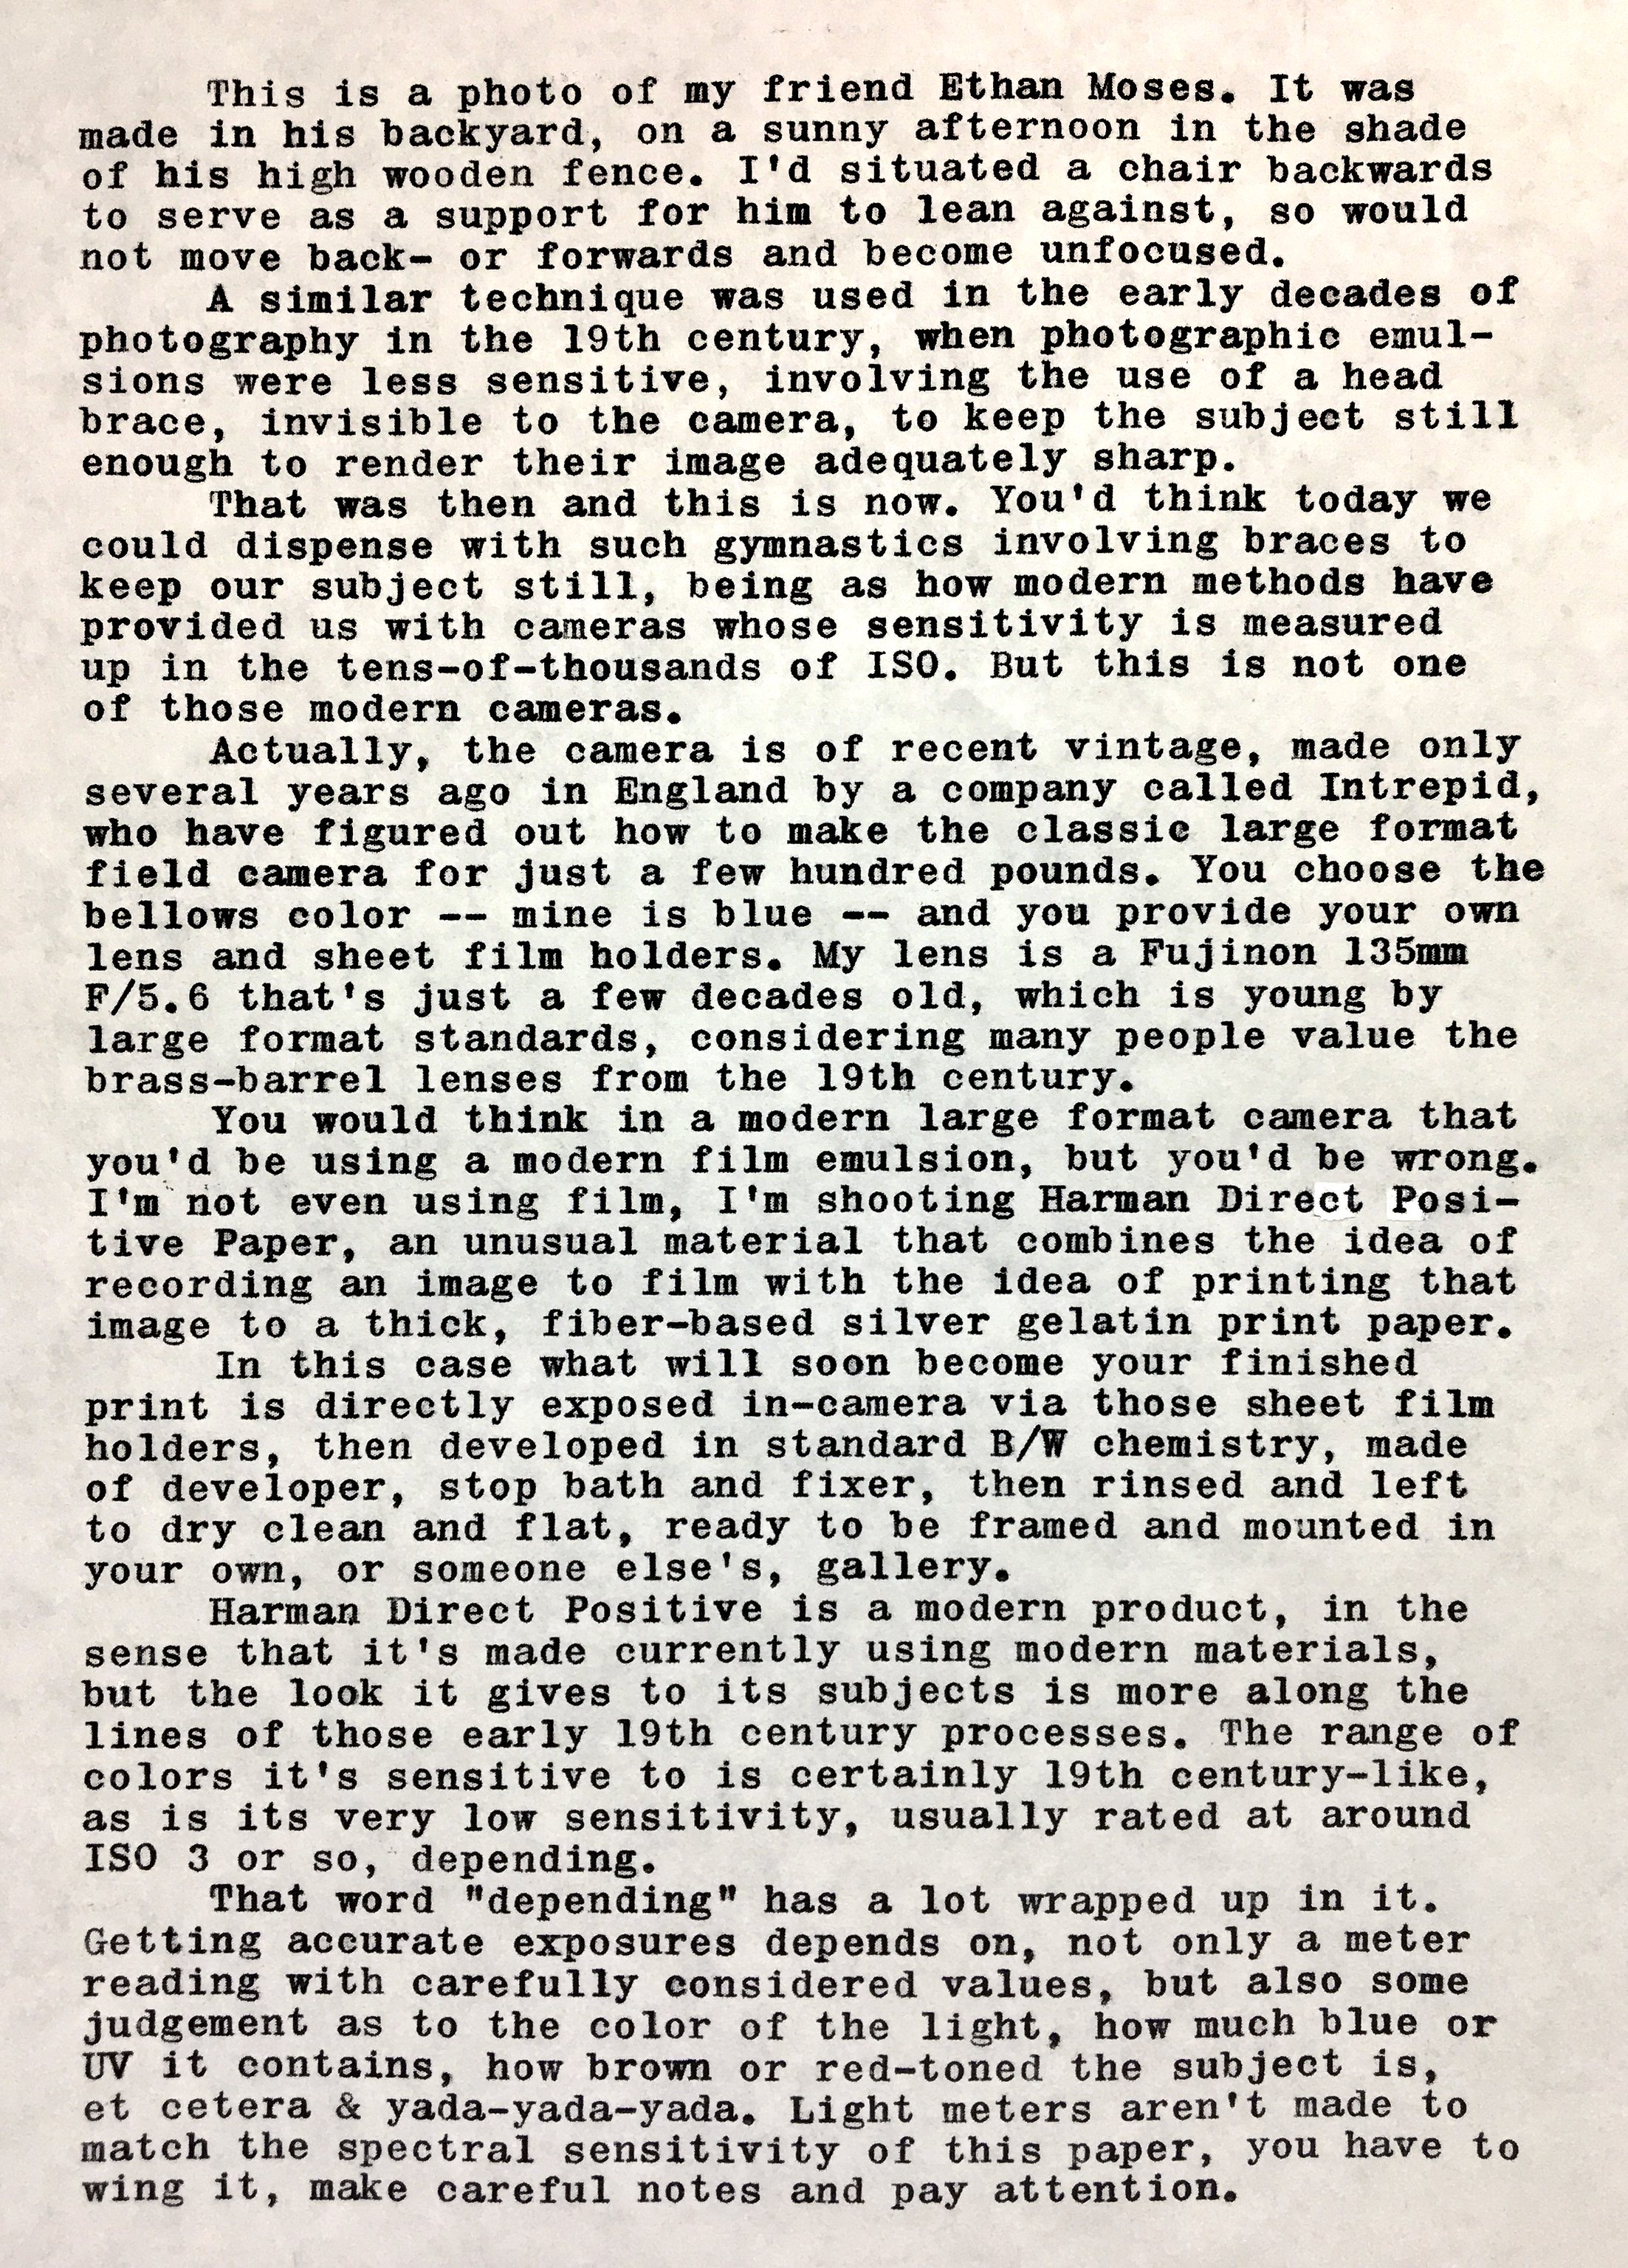
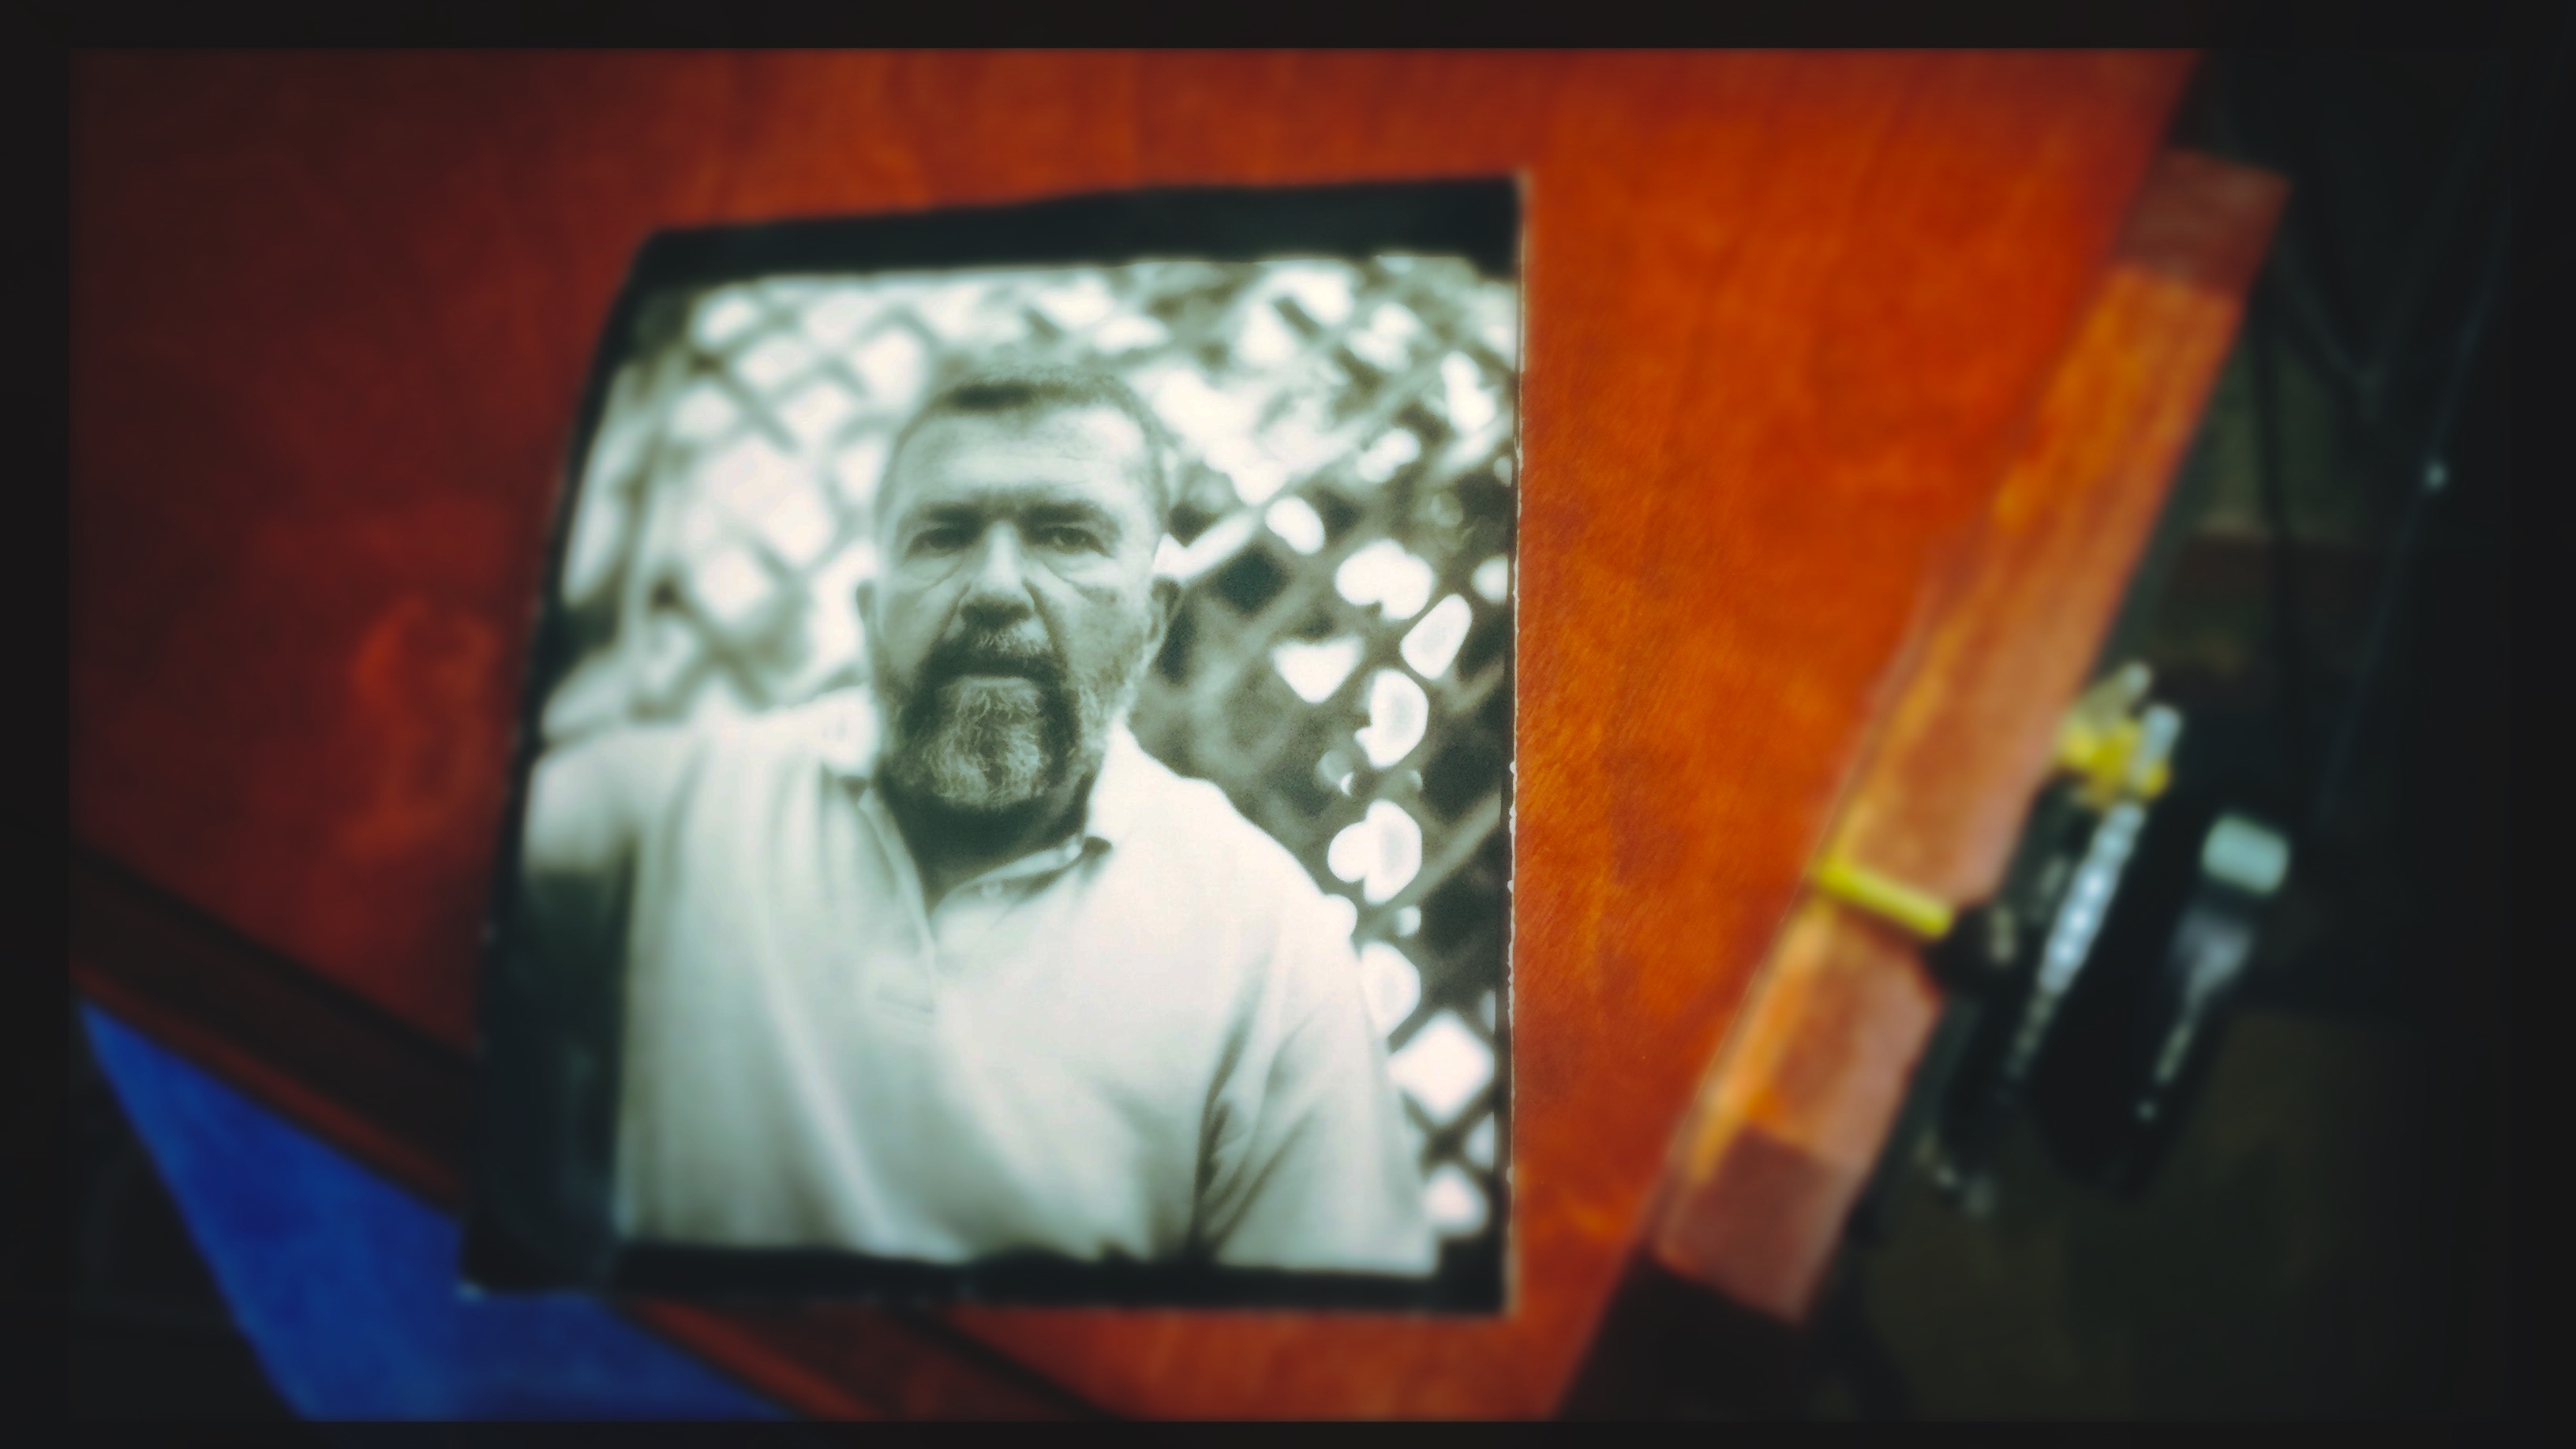
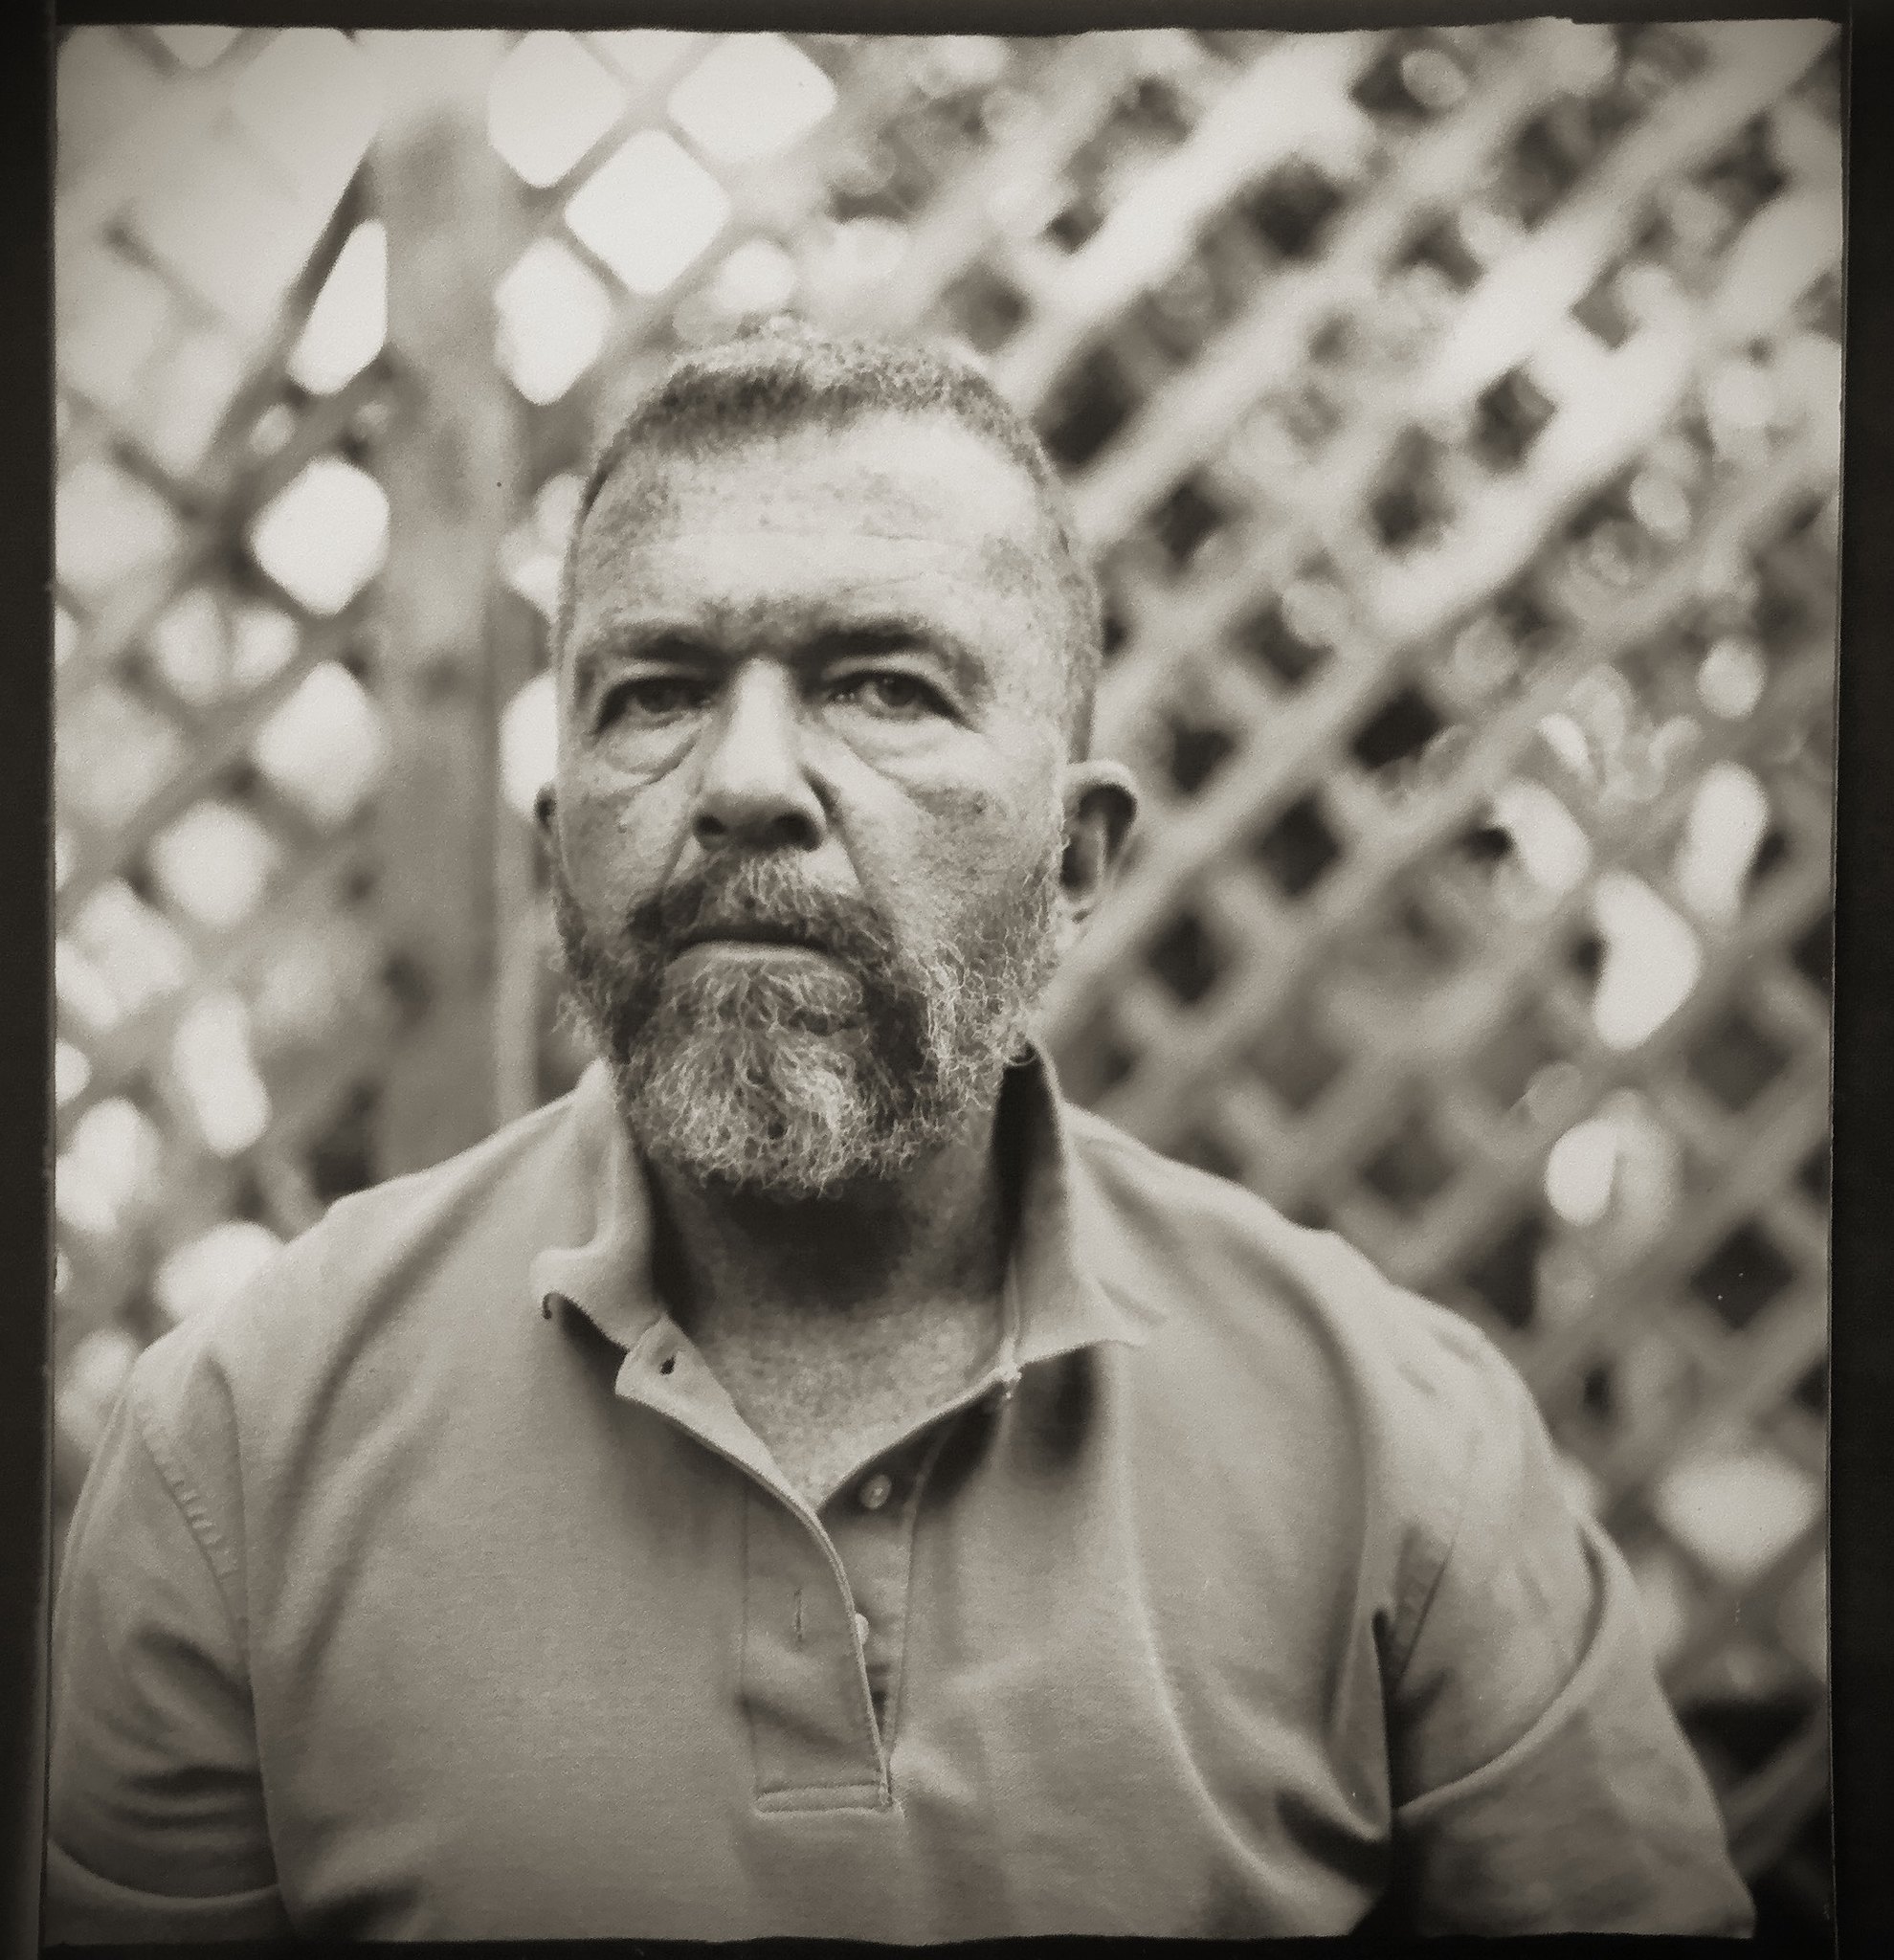
My Friend Ethan

What you're seeing is a cellphone snap of the direct positive, 4-by-5-inch format print, slightly cropped. The tone of the print isn't exactly like what it looks like in person, but pretty close. The fiber paper has a particular sheen and subtle orangepeel-like texture that makes rendering shadow detail a bit tricky with digital cameras or scanners. I find this not as much of a problem as a feature built-in to the process of creating direct positive prints, that have to be seen in person to be appreciated.

The paper is also very high-contrast; a fill-in reflector should have been employed for the shadows. And the highlights on his arm are a bit over-exposed, with his yellow shirt appearing almost solarized. Such are the challenges of this medium. But the rewards are a finished, wet print in under ten minutes, out in the field.
When we opened the developing tank and took a peek inside, we were immediately amazed at the sharp, crisp tones of the positive image staring back at us. These kinds of processes never cease to amaze me, it still seems like magic.

There's another aspect to the making of this particular portrait. It was intended as a mere test, nothing more. No "fine art" implied. I've made many exposures on this paper, enough to be pretty confident about 1/2 second at F/5.6 would render a pretty decent exposure in shaded daylight. I also knew this because the last time I used the Fujinon lens on my Intrepid camera was with the same paper under similar conditions, and the shutter was still set to 1/2 second. Also, my light meter was still set to ISO 3. All these variables were under sufficient control for me to have confidence that I would get something at least. So the exposures were not what we were testing.

I say "we" because this is as much Ethan's project as mine; more his than mine, really. It had been a heady day of rapid design and prototyping, and at this date still premature to say too much more about this project. The idea is a new way to develop these prints out in the field. There were many unexpected technical hurdles to overcome, and we're still in the testing phase, but you'll soon hear updates here and on my YouTube channel, and also on Ethan's social media.

If you're curious about working with Harman Direct Positive Paper, here are a few links to get you started:

Joe's videos about using Harman Direct Positive Paper:
Indoor Direct Positive Prints: https://youtu.be/x7zsvpUNpJs
Minimalist Direct Positive Prints: https://youtu.be/UsVZ0tj7xj8
Accurate Exposures with Harman Direct Positive Paper, Part One: https://youtu.be/saMZOrdvILc
Accurate Exposures with Harman Direct Positive Paper, Part Two: https://youtu.be/OM-e_ULgRUU
Comparison: Direct Positive Versus Contact Prints: https://youtu.be/pQ-1MibtbkQ
Paper Pinhole Processing in the Field: https://youtu.be/yEAlfYXgfqQ
Caffenol & Harman Direct Positive Paper: https://youtu.be/suGpmWiriZo
Field-Drying Harman Direct Positive Prints: https://youtu.be/DYEzpUvZEhs

Where to buy Harman Direct Positive Paper:
Freestyle Photo: https://www.freestylephoto.biz/1171158-Ilford-Direct-Positive-Paper-FB-F1K-Glossy-4x5-25-Sheets
B & H Photo: https://www.bhphotovideo.com/c/product/756607-REG/Ilford_1165258_Harman_Direct_Positive_Fiber.html

Typecast via Optima Super.

Labels: , ,

Sunday, May 16, 2021

I've Been Busy!

Singer Electric
The photo Kevin used to print his Canon Selphie postcard

I’ve Been Busy

3-Compartment Slot Tank for Paper Negatives
The 3-slot developing tank, for 2-1/4" sized square paper prints or negatives, intended for a miniature-sized Afghan box camera project

3-Compartment Slot Tank for Paper Negatives
In my sketch journal is also an idea for individual slot tanks, with individual lids, also laser cut from acrylic sheets

Harman Direct Positive Portraits
One of the NM Film Photographers, captured onto Harman Direct Positive paper. This cell phone snap was taken of the print while still wet

Site Able Stamp Logo
The hand-drawn logo for my new stamp

Labels: , ,

Friday, December 27, 2019

Christmas Angel

“Christmas Angel”

I've been experimenting more with the direct positive reversal process for black-&-white print paper, and decided that, since it's two days after Christmas, it was high time to do a holiday-themed still-life. Naturally, I'm late; but there are twelve days to Christmas, right?

Today's a windy, wet day here in the high desert, not fit for man or large format camera, so naturally I figured it best to do the project under artificial lights. I don't have a stable of high-powered strobe lights, so daylight-balanced LED lights would have to suffice; the same lighting I use for my videos.

Here's the basic setup:

Christmas Angel studio setup

I've repositioned my studio lights to be more direct-on to the subject, which is a glass angel figure. The backdrop is a roll of 4-mil translucent polyethylene film, and the angel is supported atop an inverted drinking glass - because improvisation is key to these kinds of projects, right?

I used the Intrepid 4-by-5 (5-by-4 inches in the UK) with the Fujinon 135mm F/5.6 lens, set up atop a Bogen tripod. Wide open at F/5.6 there was inadequate depth-of-focus to bring the figure in sharp relief, but I made a test print anyway, to check my exposure.

Here's the subject focused upon the ground glass, open at F/5.6:

Christmas Angel studio setup

You may be able to tell that the diffusers for my high-tech, $8 hardware store lights are sheets of translucent drafting vellum, clipped onto the lights with bulldog clips. Again, improvisation is key.

I've been working with the direct positive reversal process enough to have confidence with using Arista grade 2 RC paper, purchased from Freestyle Photo. It's a bit harder finding fixed-grade RC coated print paper than multi-contrast papers. Earlier this week, I made a series of tests to see what happens with multigrade RC paper, which I hadn't tried before with this process; Ilford warm tone, to be exact. In daylight, the multi-contrast paper is exceedingly contrasty, almost like lithographic film, not really suitable for continuous tone subjects. I tried filtering the camera lens using contrast control filters, and had a series of "interesting" results, none of which were of sufficient quality to be of use in serious projects. But after those experiments, I went back and tried my trusty grade 2 RC paper, using the same chemistry, with predictably nice results; again confirming my previous experience that fixed-contrast paper seems to work better for me with this process.

People have asked me how I do the reversal process, so here goes. This week I've been using LPD paper developer, mixed 1+4 (50mL concentrate into 200mL water, for a dilution ratio of 1:5). I've had good results with this new developer, and will thus continue to stick with it. For the citric acid solution I mix 4 teaspoons of citric acid powder into 500mL of water. For the H2O2 I mixed fresh 35% H2O2 in a 1 +1 solution with water, for an effective strength of 18%. I get my concentrated, food-grade H2O2 at Moses Kountry Health Food store (it's sold for use in "peroxide therapy"), here in ABQ. Besides some trays of water, I'm also using a mild stop bath, of 500mL water with a "dash" of white vinegar, to render the solution mildly acidic. All of the trays are brought up to room temperature, no small feat considering my garage-based darkroom is nominally around 48f in the winter; I run a space heater in the darkroom, and microwave the chemicals before pouring into trays.

Care must be taken to wear gloves and eye protection when working with concentrated H2O2, and to ensure one doesn't slosh the stuff around when transiting from garage to kitchen microwave.

The subject is metered at ISO3, then I add 3 additional stops of exposure; my meter only goes down to ISO 3, so the effective exposure index would be less than ISO 1. Today's initial test was metered at F/5.6 for 2 seconds, but I gave an extra stop to account for bellows extension, for a final exposure time of 4 seconds. I think this is "short" enough that a portrait could be made under the same conditions, if the subject had a head brace.

Processing was as follows:

First development 2 minutes. The image should look over-exposed, almost completely black.
Rinse/stop for 30 seconds in the mild acid solution, just to stop development.
First citric acid bath for 30 seconds.
First H2O2 bath for 1 minute, face down, continuous agitation. The print should look white with just a few dark areas. Expect plenty of fizzing action.
Repeat the citric acid and H2O2 steps. The print should now look almost completely white, with just a few gray areas. Be careful of peroxide drips contaminating the work area when moving the print from tray-to-tray.
Rinse the print of residual H2O2 in a tray or over running water, to make it safe to handle.
Turn on the white lights. Second exposure for 30 seconds adjacent to a bright white LED bulb. You may begin to see a faint image begin to auto-develop.
Under white lights, place print back into developer tray, face-up, for the second development. Very quickly (<30 seconds) you should see the positive image form on the paper. This is the magic happening.

Permit the print to fully develop for at least 2 minutes, then give an archival rinse. There should be no unexposed silver halides left in the paper, so no need to stop or fix.

For the second exposure, I stopped the lens down to F/16, to give sufficient depth-of-focus to render the angel figure sharply focused. Since F/16 is three stops more than F/5.6, the exposure time was 32 seconds. Processing was the same as previous. It came out nice, I'm very pleased.

Note that with printing paper there's little or no reciprocity failure, since these exposure times are what you'd typically use in the darkroom for printing from negatives. Both prints (4 seconds versus 32 seconds) look identical in terms of exposure.

This batch of H2O2 (diluted 1+1 with water) I poured up yesterday from a fresh bottle, during my struggles with the variable contrast paper tests. But I've saved the older batch of peroxide, which I've been using for the last year (!), as I think it's still usable. It seems to have a very long life, another positive attribute to the process.

I'm finding this process to be less trouble-prone than using Harman Direct Positive paper, which is developed in standard print chemistry (developer, stop bath, fixer). I tried some outdoor tests with the Harman paper earlier this week, with poor results; it requires fresh, strong developer at room temperature, and seems to lose speed in the winter daylight with its lack of strong UV light; it's also very contrasty, whereas the grade 2 paper is much less so. Since either process requires the use of three chemicals (developer, stop bath and fix versus developer, citric acid and H2O2), and I can use a variety of RC papers for the peroxide process (Harman Direct only comes in a fiber paper), I'm finding it more convenient, since RC paper requires much shorter rinse times, and dries flat without curling. Also, the grade 2 RC paper I'm using has a semi-matte finish, a nice surface for a print. And it's quicker than processing paper negatives, then having to contact print a positive (which means running at least one test strip before hand). The only downsides to the direct positive process are you don't have a master negative from which to make more prints, and the exposure times are longer than for paper negatives.

I mentioned previously that I'd been using that older batch of H2O2 (and an older batch of citric acid) for the last year. It's gotten me thinking about residual silver. If you're a darkroom worker, you should know that fixer removes unexposed silver halides from paper and film, which gradually builds up in the solution of used fixer until it's saturated and no longer usable. The exhausted fixer I will turn in to the local hazardous waste disposal site (it shouldn't be poured down the drain, since silver may be considered a heavy metal); although others report success with auto-plating the silver out of solution using fine steel wool.

My question is this: why wasn't I seeing a build-up of residual silver in the used citric acid and/or H2O2 solutions? I've been using the same solutions for over a year; what gives? In a bottle of used fixer it's common to see a dark gray film of oxidized silver build up on the inside surface of the container, but no such film is seen in either solution. I'm guessing here (and I'm not a chemist) that the silver that gets "bleached out" of the paper is in fact still in the paper, it's just bonded with something to render it white (or very light gray) in tone.

Well, that's my report for now. I'm pleased with the final print, and will also be doing more images with the 8-by-10 (10-by-8 inches in the UK) box camera with its F/4.5, 240mm Fujinon Xerox lens.

I wish you all much joy and happiness in the coming year, and thank you for visiting. Please leave a comment below if you have any questions.

Which reminds me, do you have issues with leaving comments here on Blogger? I find on my iOS devices that I have to visit a blog using Private Browsing mode, otherwise Blogger doesn't give me an option to log in when leaving comments on other's Blogger sites. Go figure ...

Labels: , ,

Tuesday, May 01, 2018

WPPD 2018, Grounded Rocket and Addiator Pouch Repair

Rio Grande Bosque, Pinhole Camera, Harman Direct Positive Paper

This previous Sunday, the last Sunday in April, was Worldwide Pinhole Photography Day. While I don't practice the craft of pinhole as prolifically as I once did, I try to make an effort to get out with a pinhole camera on this day, if for no other reason than to remind myself why it is that I have a virtual mountain of pinhole cameras (mostly collecting dust) that deserve to be employed in the pursuit of that elusive image.

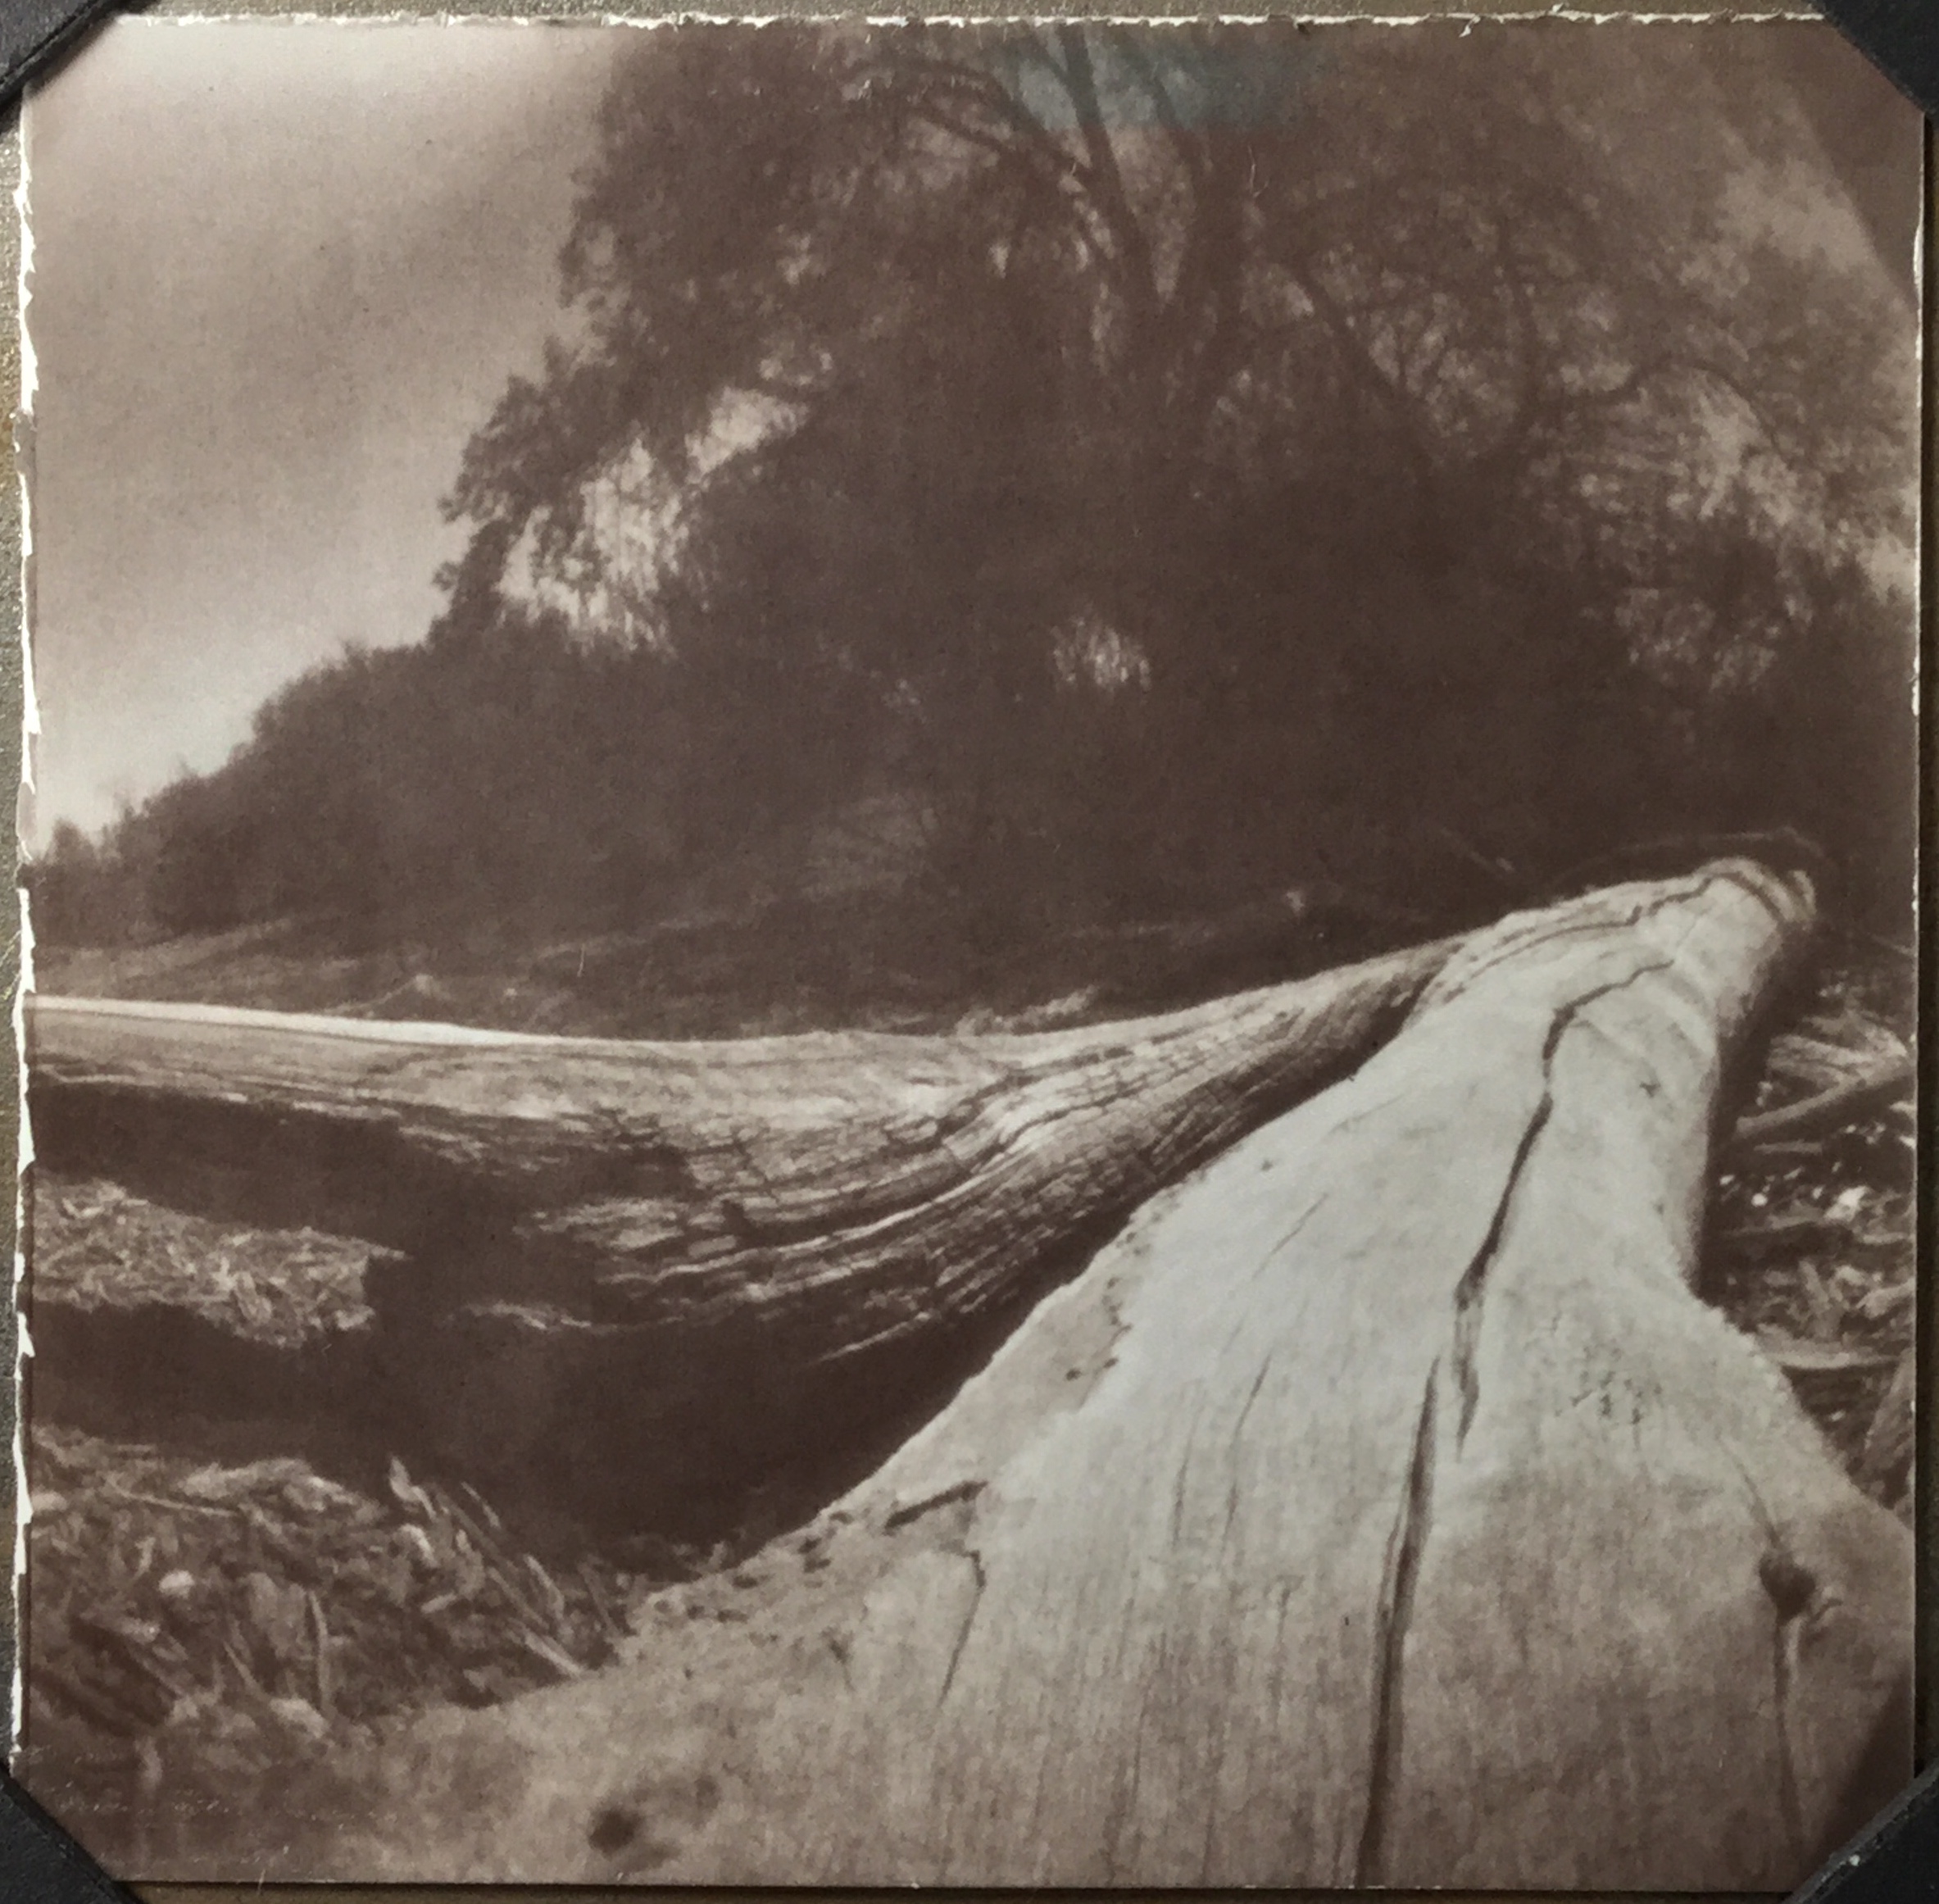
This day, I chose to stroll the river forest of the Rio Grande, just north of Albuquerque, with two small one-shot cameras, both made from 1.5" PVC pipe and employing a curved film plane with 2.5" squares of Harman Direct Positive Paper. While I've been trying to conserve this paper, due to it limited supply, these small prints are just big enough to hold in your hand and appreciate up close, while being diminutive enough to not be wasteful of paper.

I developed both images in a steel 35mm developing tank, sans reels, with the prints taped to the inside walls of the tank and rotary processed on its side. This method uses only 100mL of chemistry and produces very consistent results, while also not requiring a full darkroom with open trays of chemicals - ideal for those with limited space or, like me, desiring to process in the comfort of one's kitchen.

Being fiber-based prints, I archivally washed them using my recently devised method of employing a slow trickle of garden hose water under the canopy of a tree in my yard, which serves to wash the prints while also watering my landscaping - we do live in a desert, as we are apt to say. After, I selenium toned them and completed another wash.

The prints were dried flat by being superficially squeegeed, then taped face-up to a sheet of glass, using drafting tape, and placed in my film drying cabinet.

I was please with the way these came out; I'll have to do this more often, with more of my pinhole cameras.

There's something very satisfying about creating one-of-a-kind direct prints on fiber paper. Each is a unique object, and usually intimate in size as are these.

Here's a video documenting the process:


P1040073

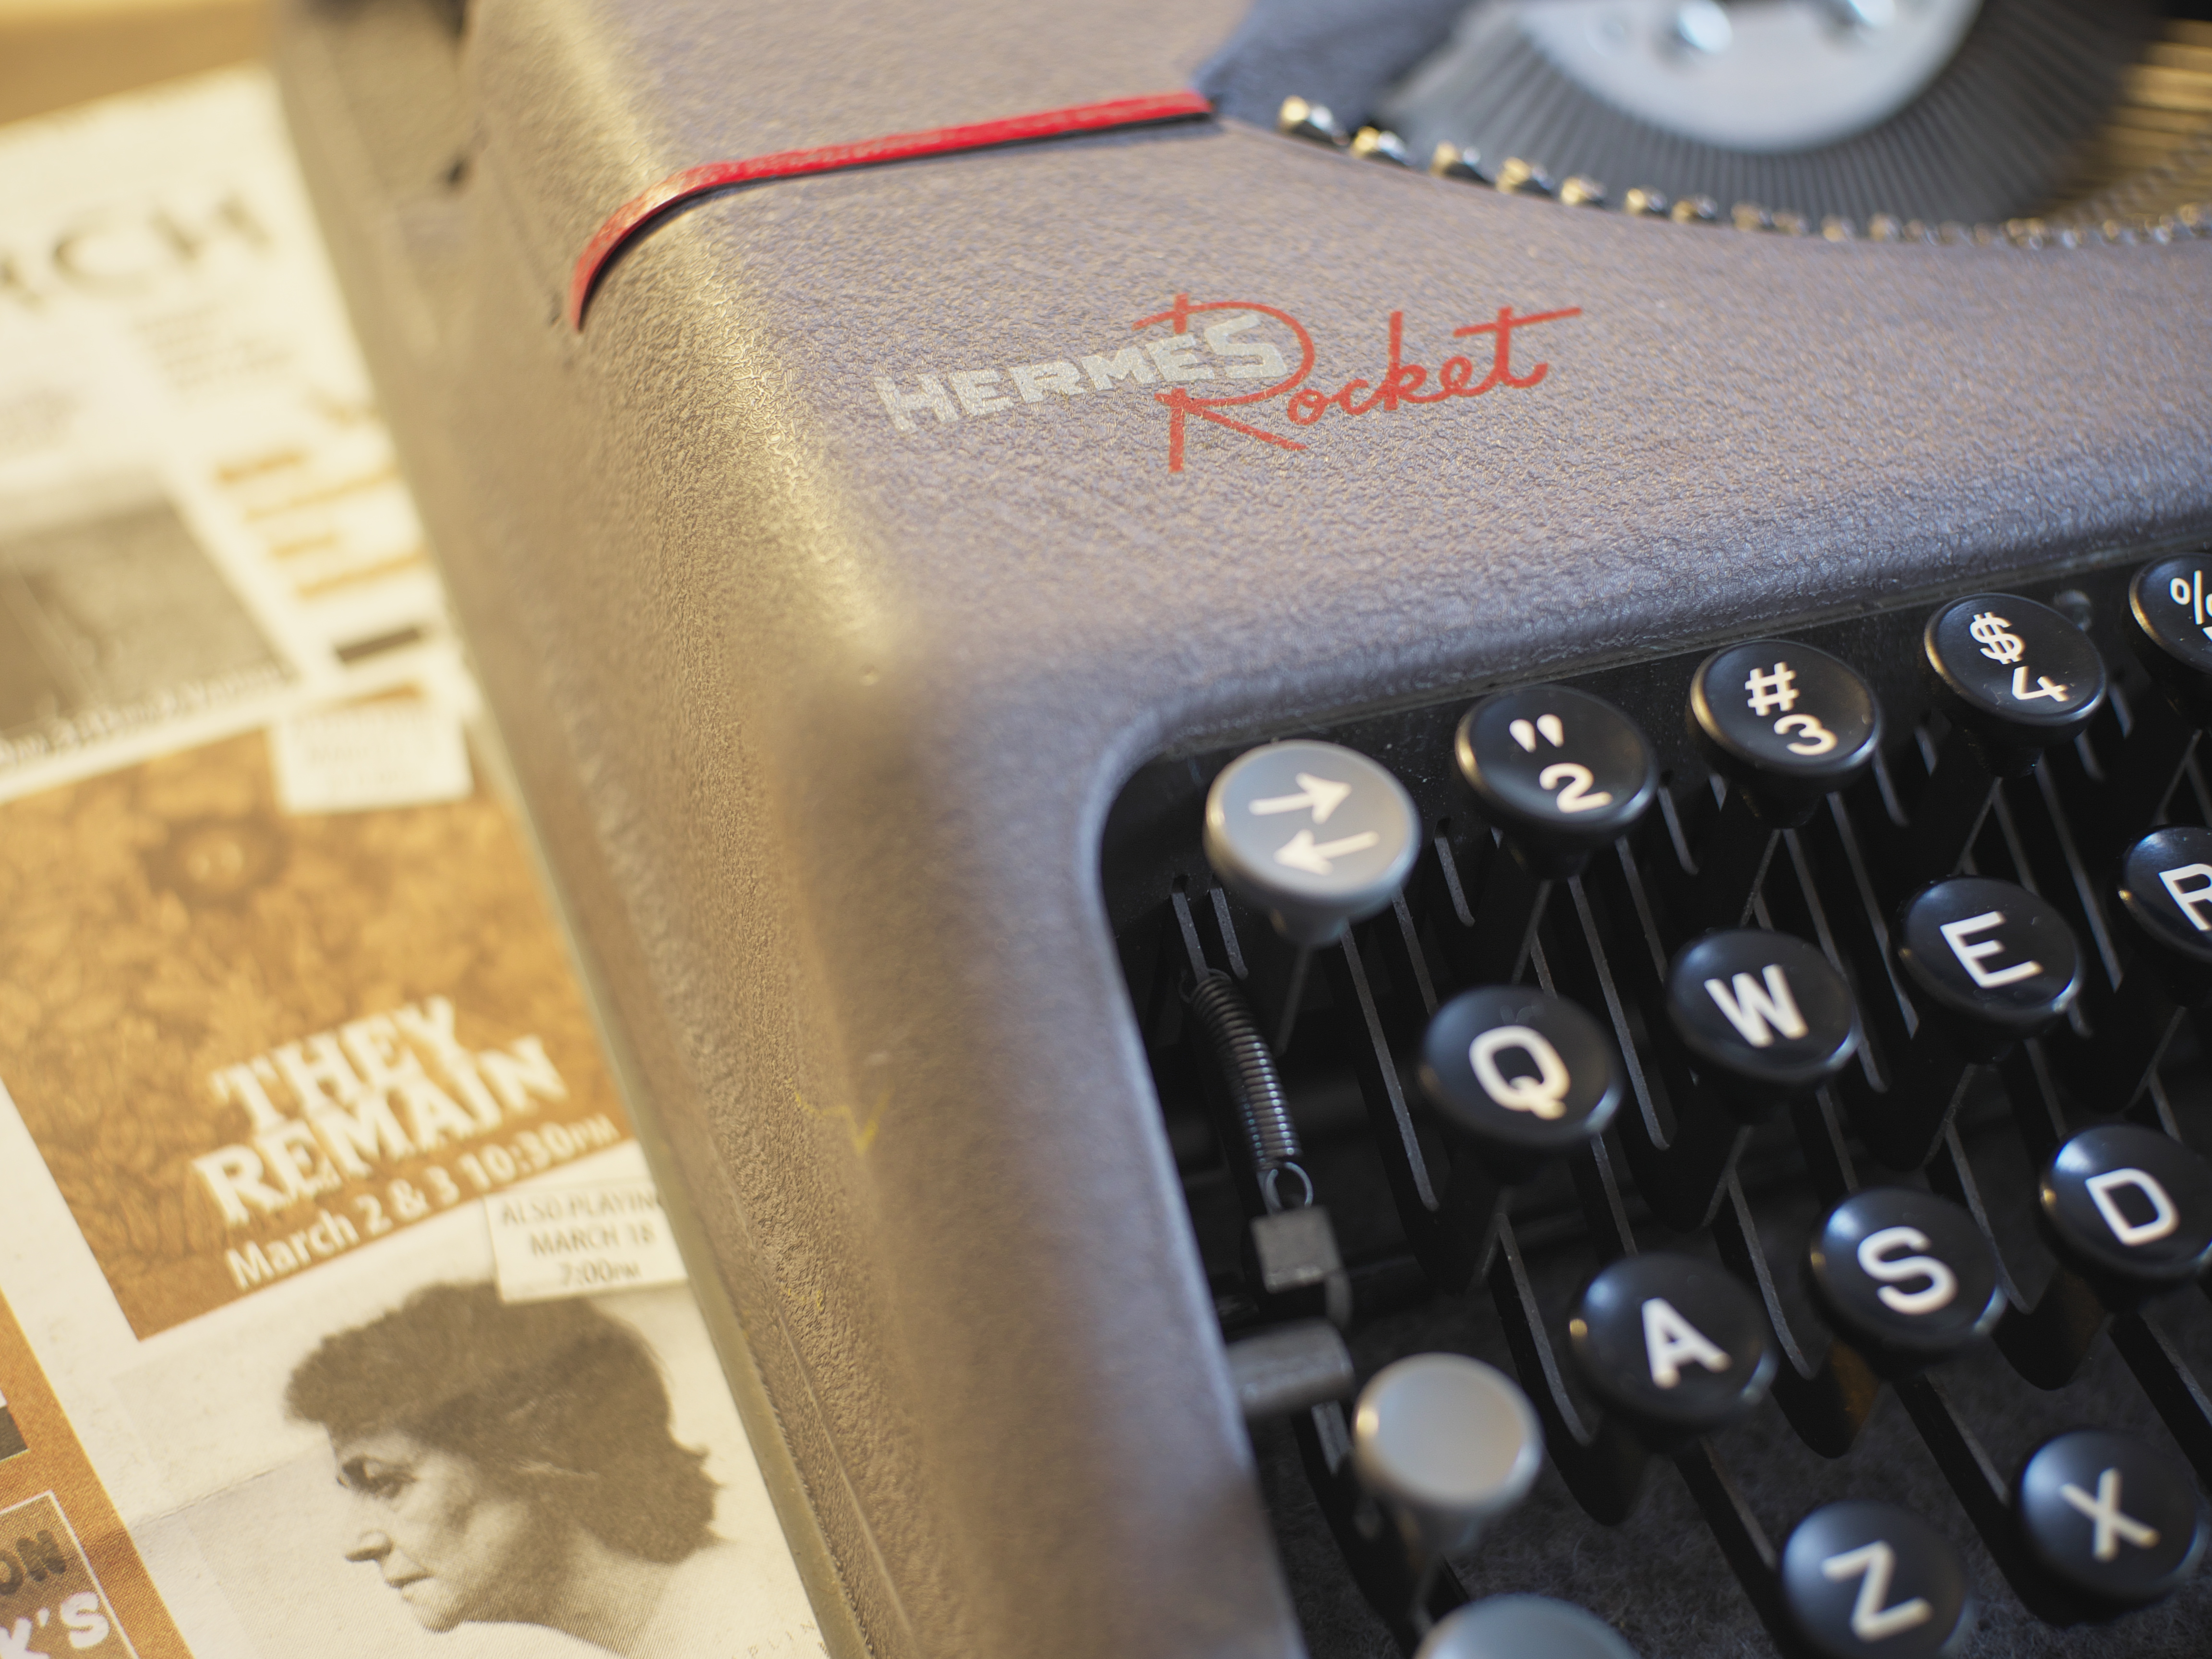
Now onto some sad news. During last weekend's Spring ABQ Type-Out I brought my 1953 Hermes Rocket, which performed fine during the event. Then this last Sunday, while typing up a story for Typing Assignment No. 16, I noticed the carriage was intermittently skipping spaces. This has been a recurring problem with this machine for a long while, one of the reasons why I haven't used it much. I know from previous experience that the problem has been related to the carriage release lever arm, which connects to the rack gear and serves to pivot the rack gear away from the escapement cog when releasing the carriage. This arm appears rather soft and is easily bent. Usually reforming it back into shape solves the problem. But this time I couldn't fix the issue; it seemed the rack gear just wasn't meshing tight enough with the escapement cog.

So yesterday I decided to dig in and see if I could make it better. I started disassembling parts of the carriage, in order to remove the rack gear. In the process, I decided to disconnect the draw band from its anchor on the right side of the carriage. I tried to be careful to let the tension of the spring motor relax itself as I wound the draw band back onto the drum of the spring motor. But evidently I wasn't careful enough, because suddenly the spring motor made an awful noise, and now it's dead.

I also spent many hours afterwards, into the wee hours of the morning, getting the carriage back together. I still have one spring under the paper table that provides pressure for the rollers that isn't properly installed. So now I have a broken Hermes Rocket, in need of a spring motor. I can't see any way to regain tension on the old motor. Attempting to turn it, it just spins; I can't see where the anchor point is, unless it's somehow in around the central hole where it mounts to a bolt-like fixture.

Live and learn. That's why I have 19 other typewriters in my collection, right? Seriously, I wasn't going to be using that machine much in the future anyway, because of its known fragility. Perhaps I can find a working spring motor from a donor machine.

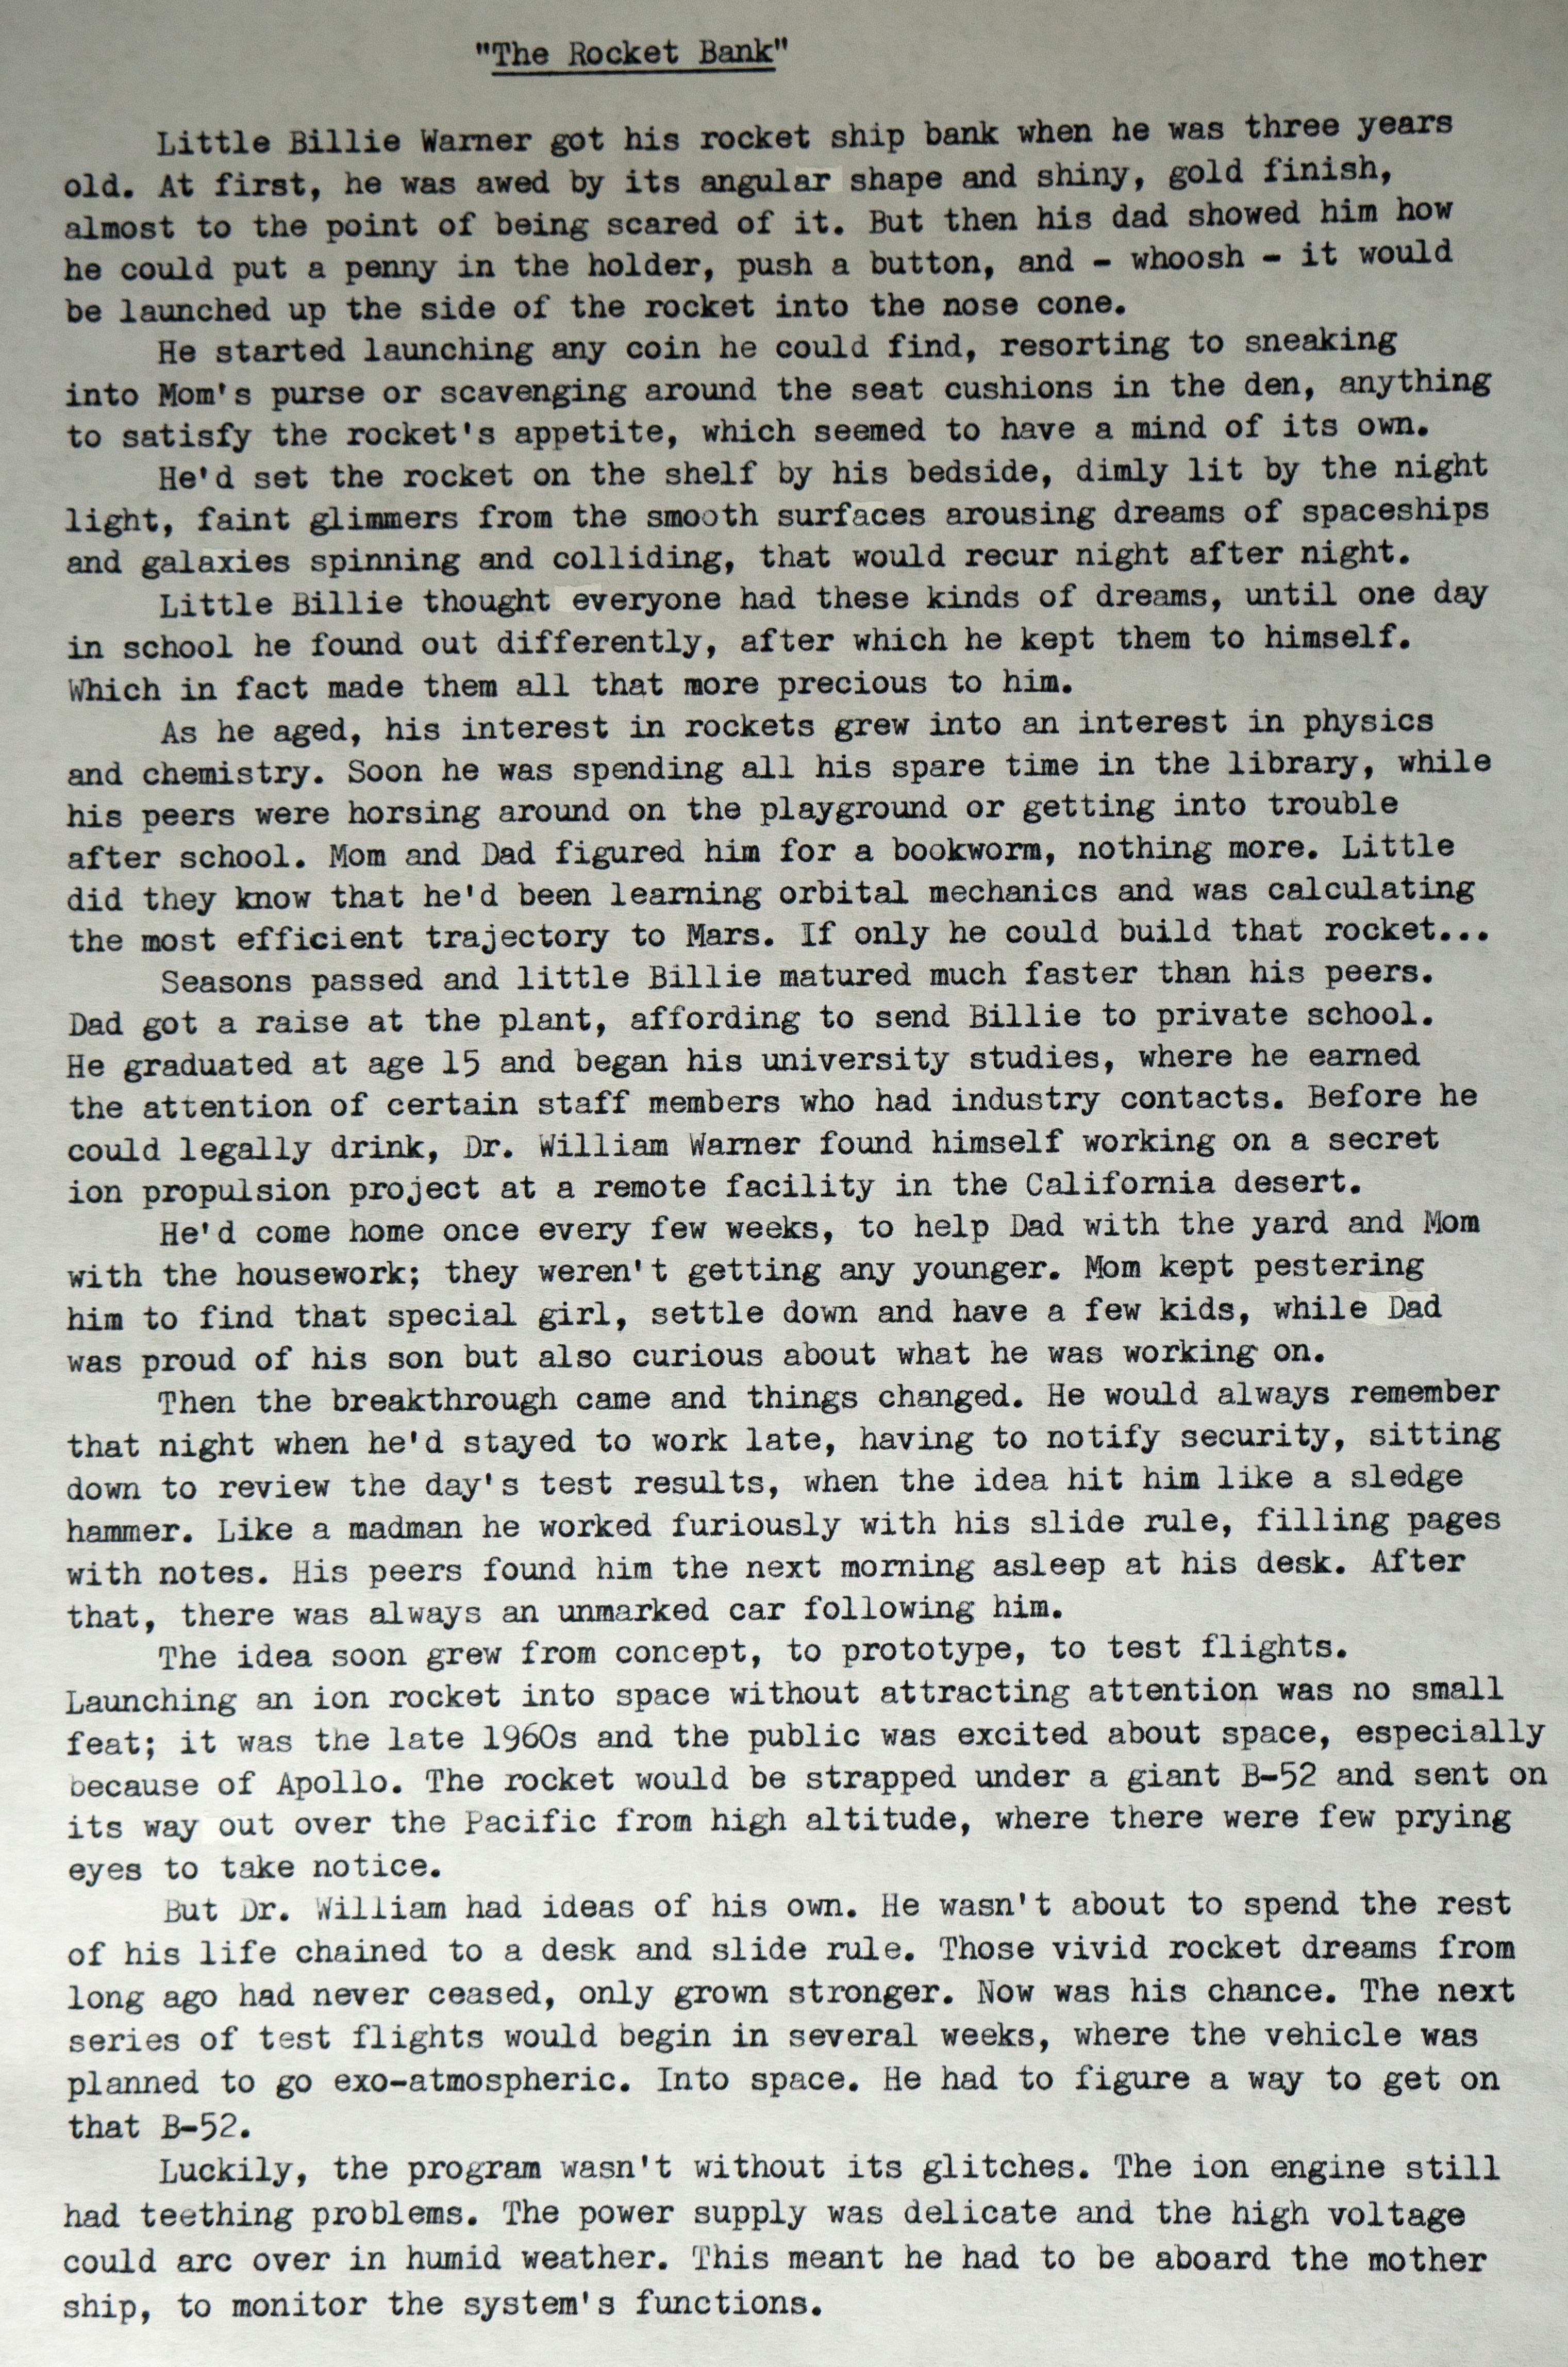
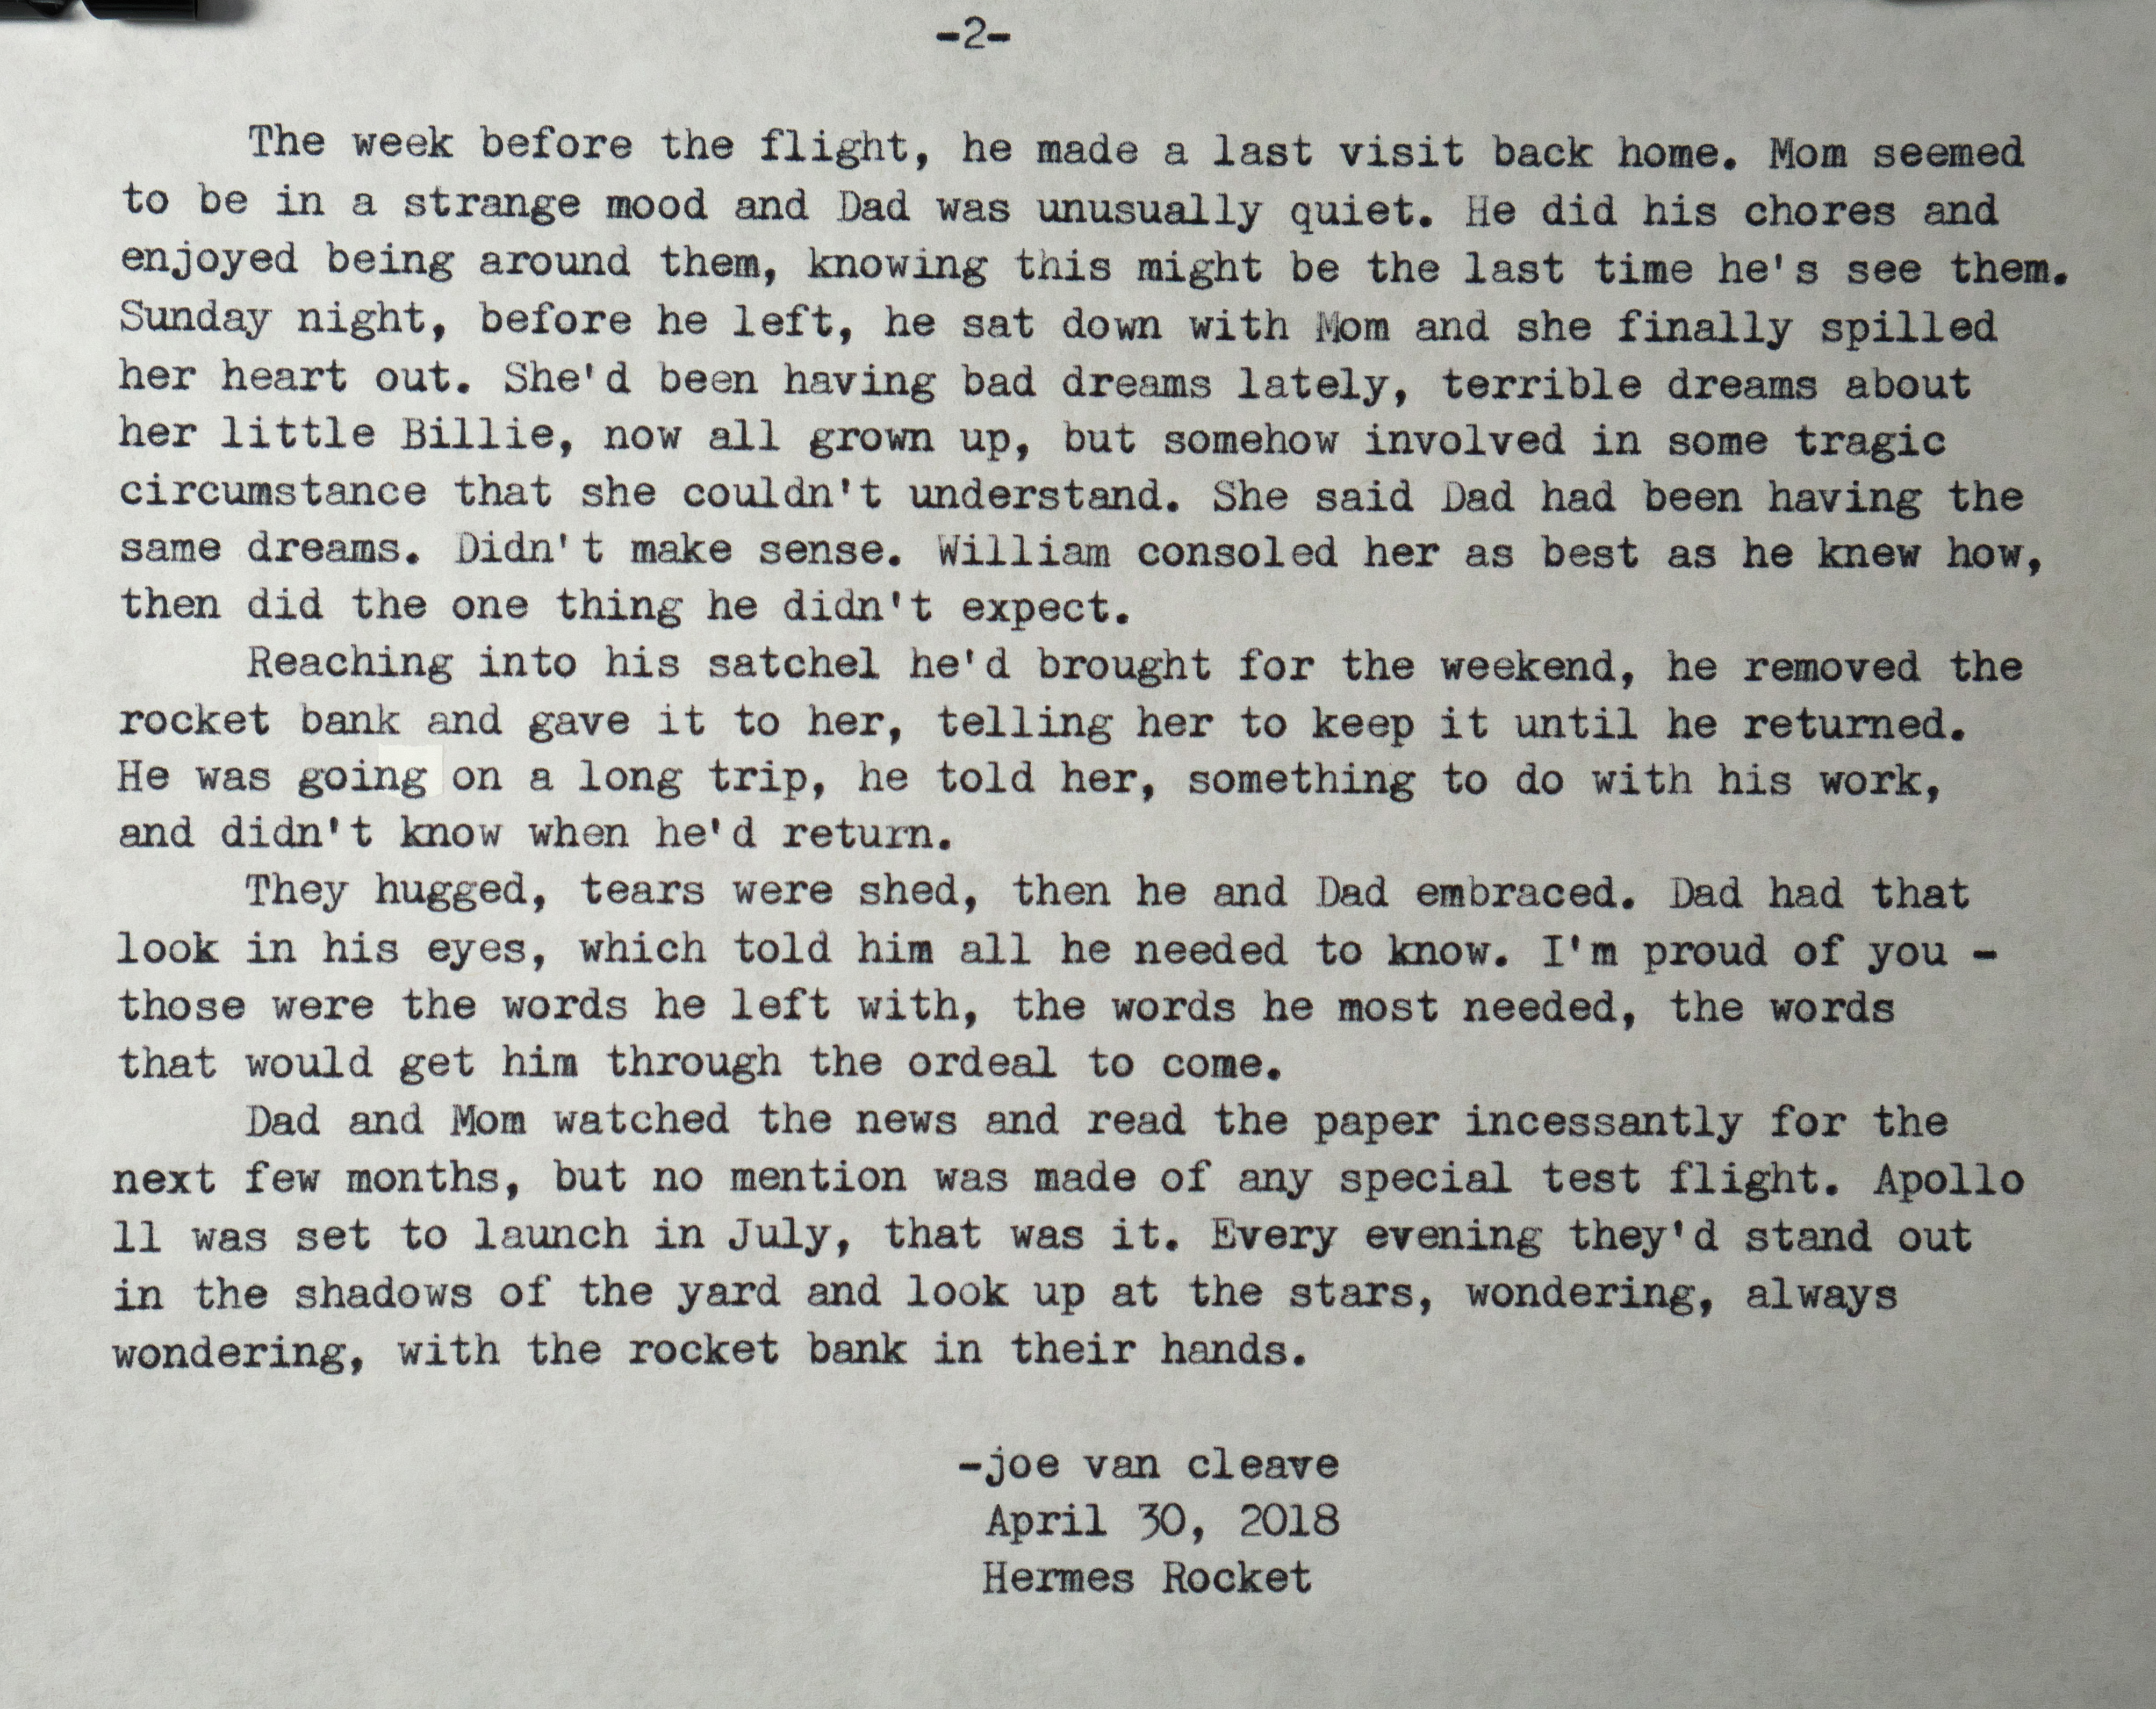
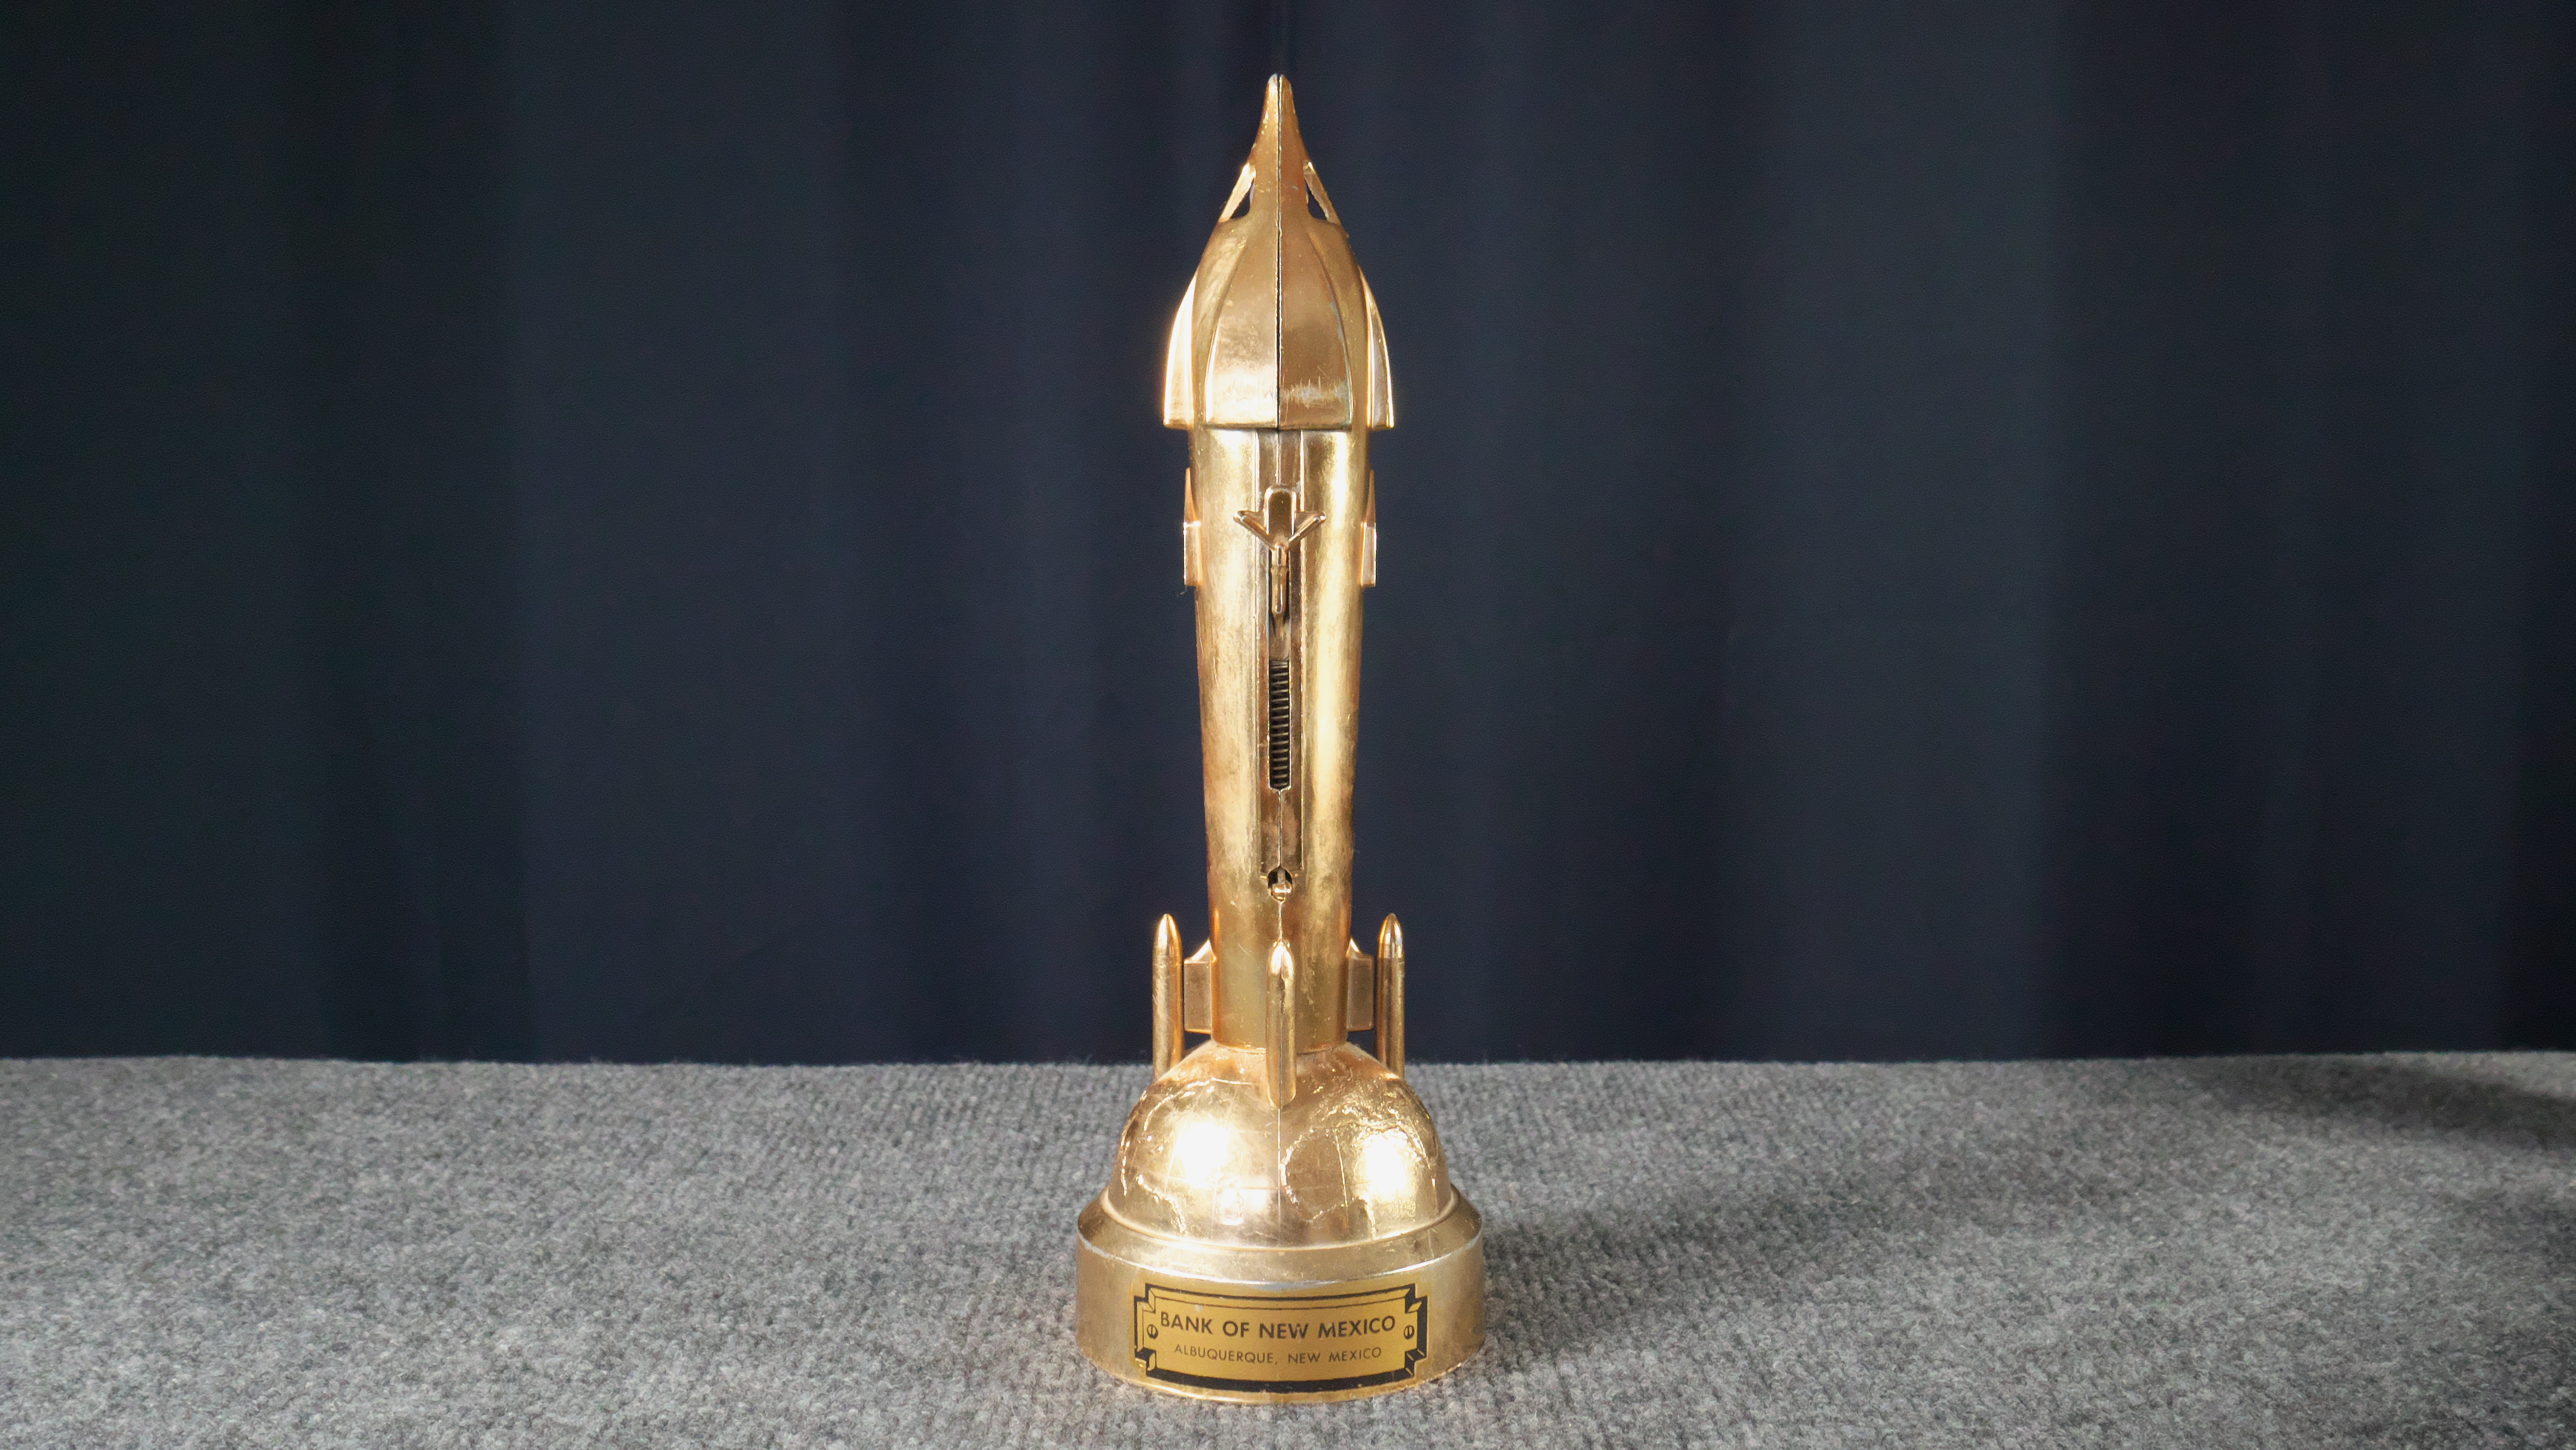
But the story I wrote for Typing Assignment No. 16 will most likely be the last piece of writing done with that machine. The subject of the assignment was to write a one-page piece inspired by some artifact of your possession. My artifact was an old 1950's-style rocket spaceship bank. The protagonist of the story has a similar bank as a kid, which inspires him to become a rocket scientist.

Now here's where this story gets interesting: my Hermes Rocket typewriter, circa 1953, was originally owned by an Air Force officer and engineer who was one of the principal engineers working on the design of the SR71 Blackbird's engines.

Here's the story, the last piece typed on the Hermes Rocket:

"The Rocket Bank," part 1
"The Rocket Bank," part 2


And here's the bank itself:

Rocket Bank

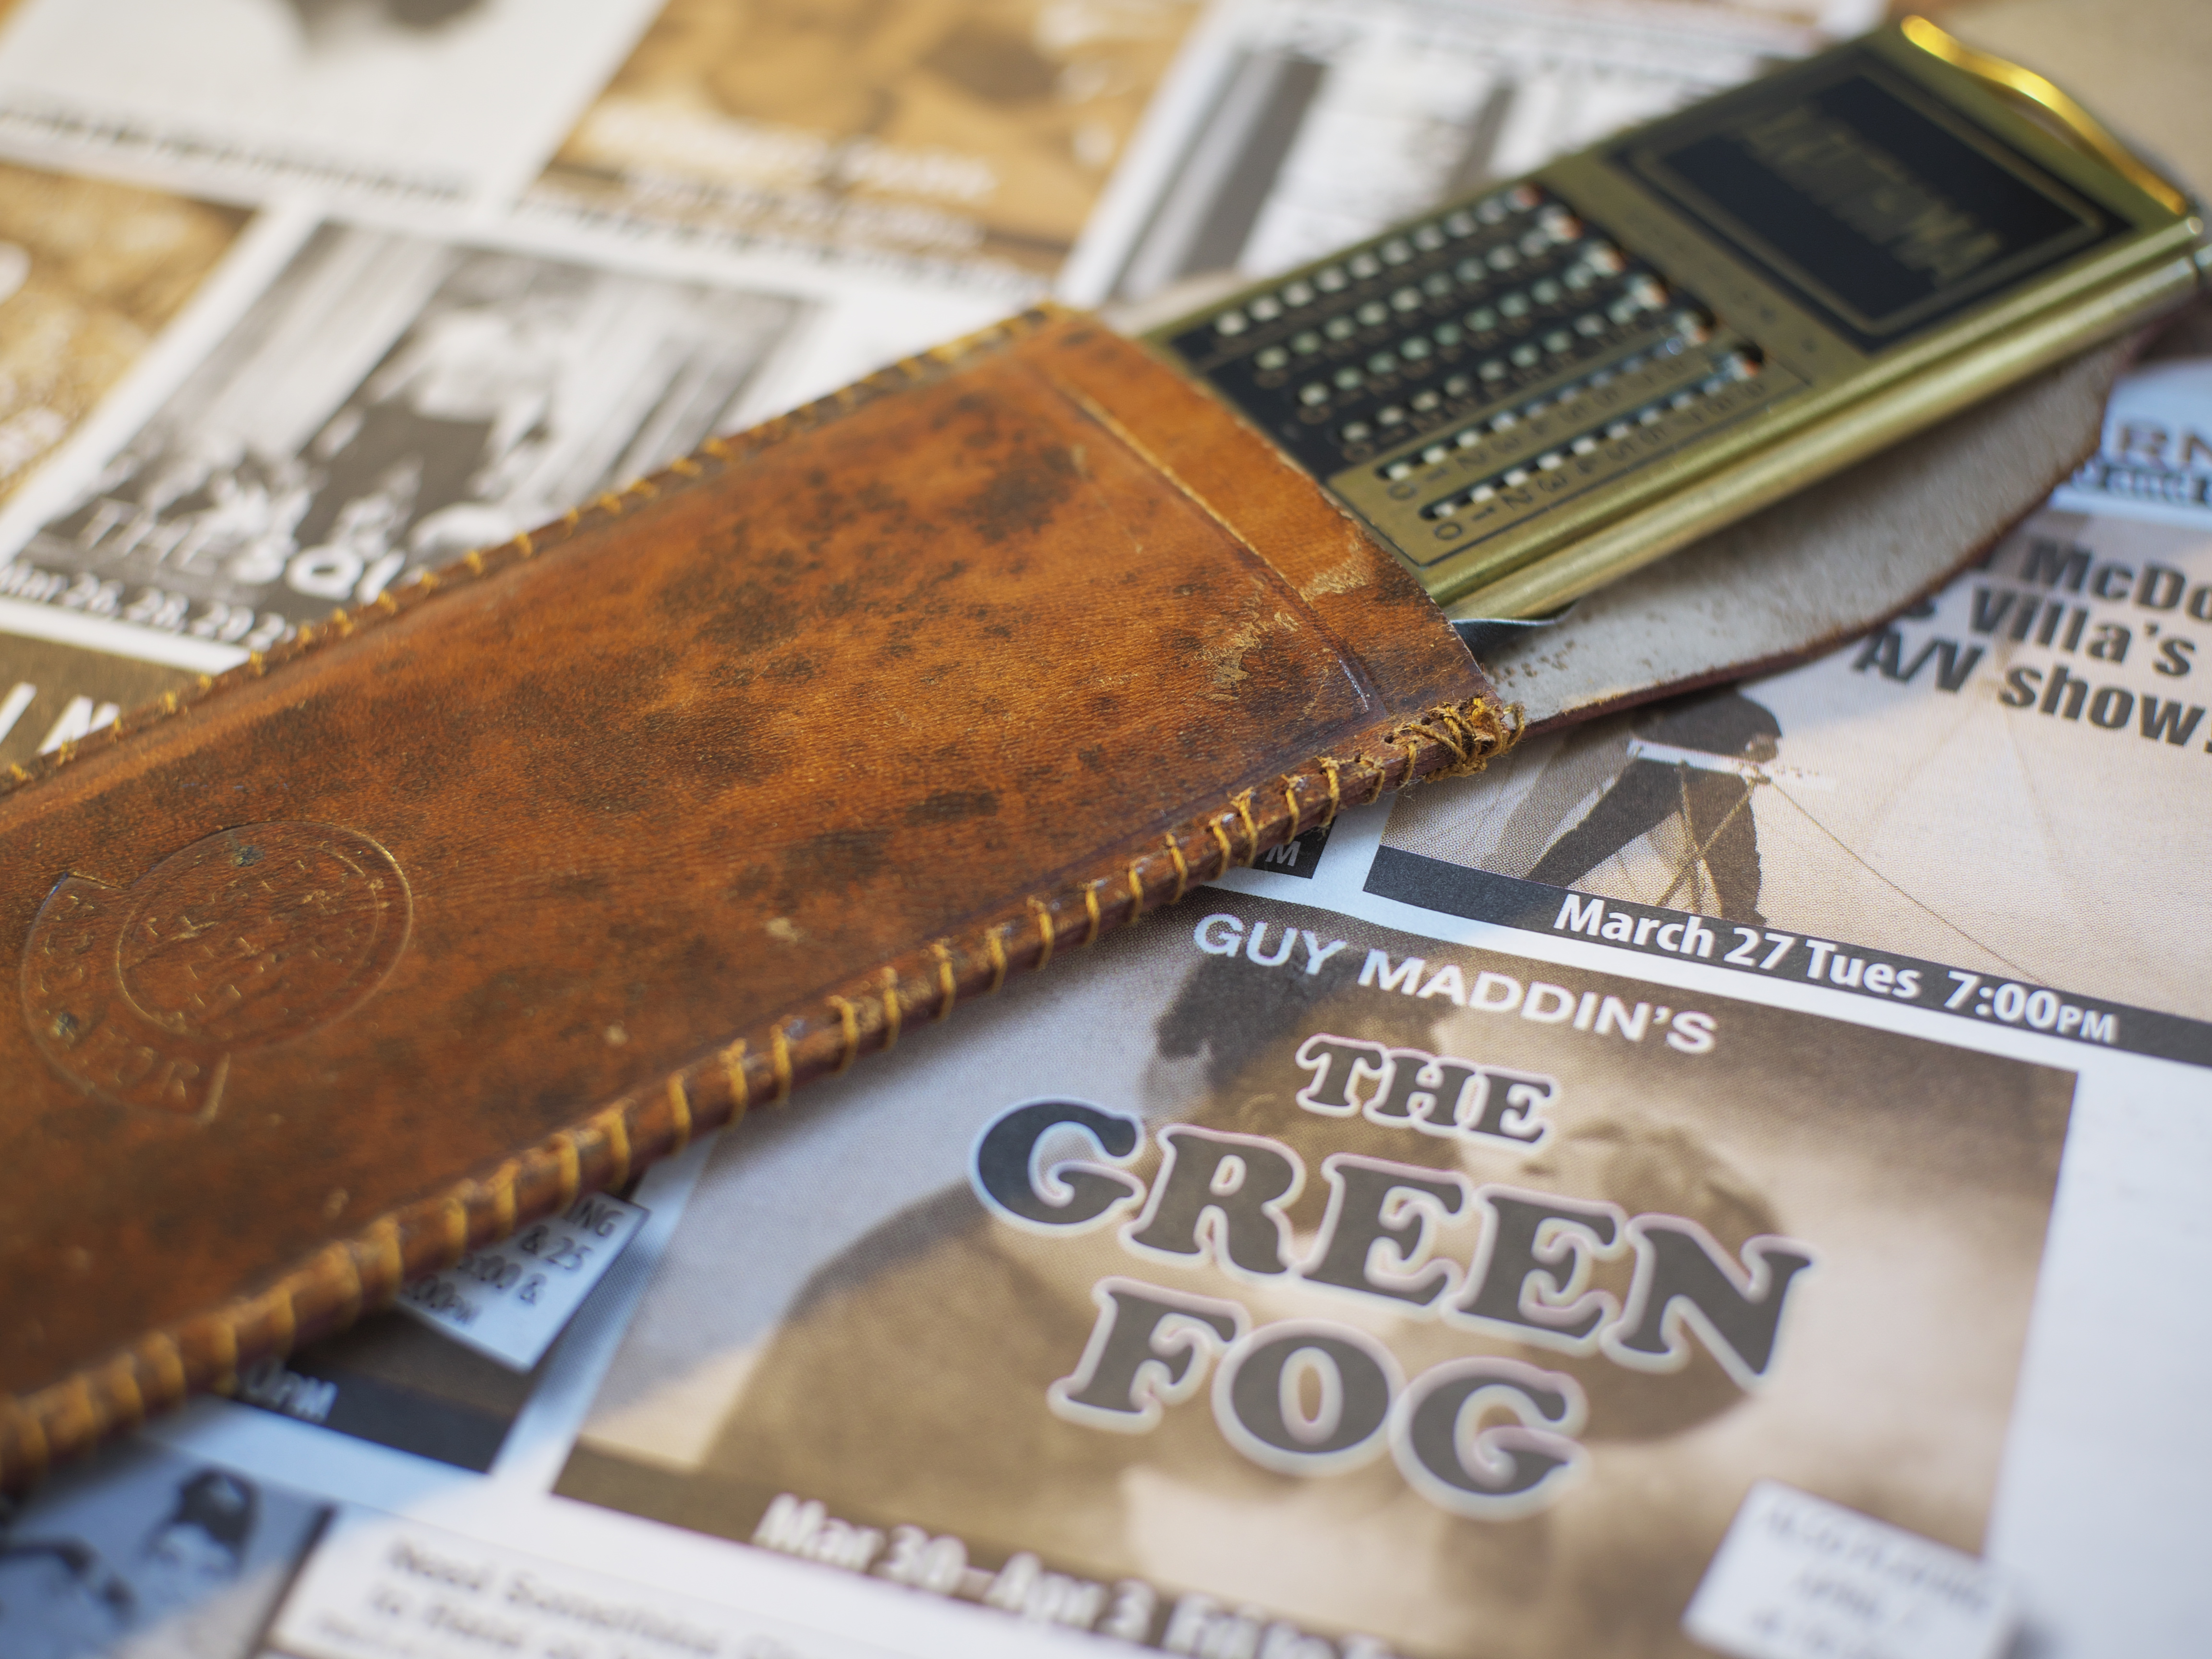
And in more positive news, I dusted off my rudimentary stitchery skills and affected a repair to the leather pouch of my Arithma Addiator:

P1040072

It may not be pretty, but hopefully it'll serve a few more years of use; it's better than the staples that were holding the pouch together.

Here's a video I recently made about the Addiator. Thank you Ted Munk for the suggestion!

Labels: , , , , , , , , ,

Sunday, August 27, 2017

Direct Positive Print Experiments

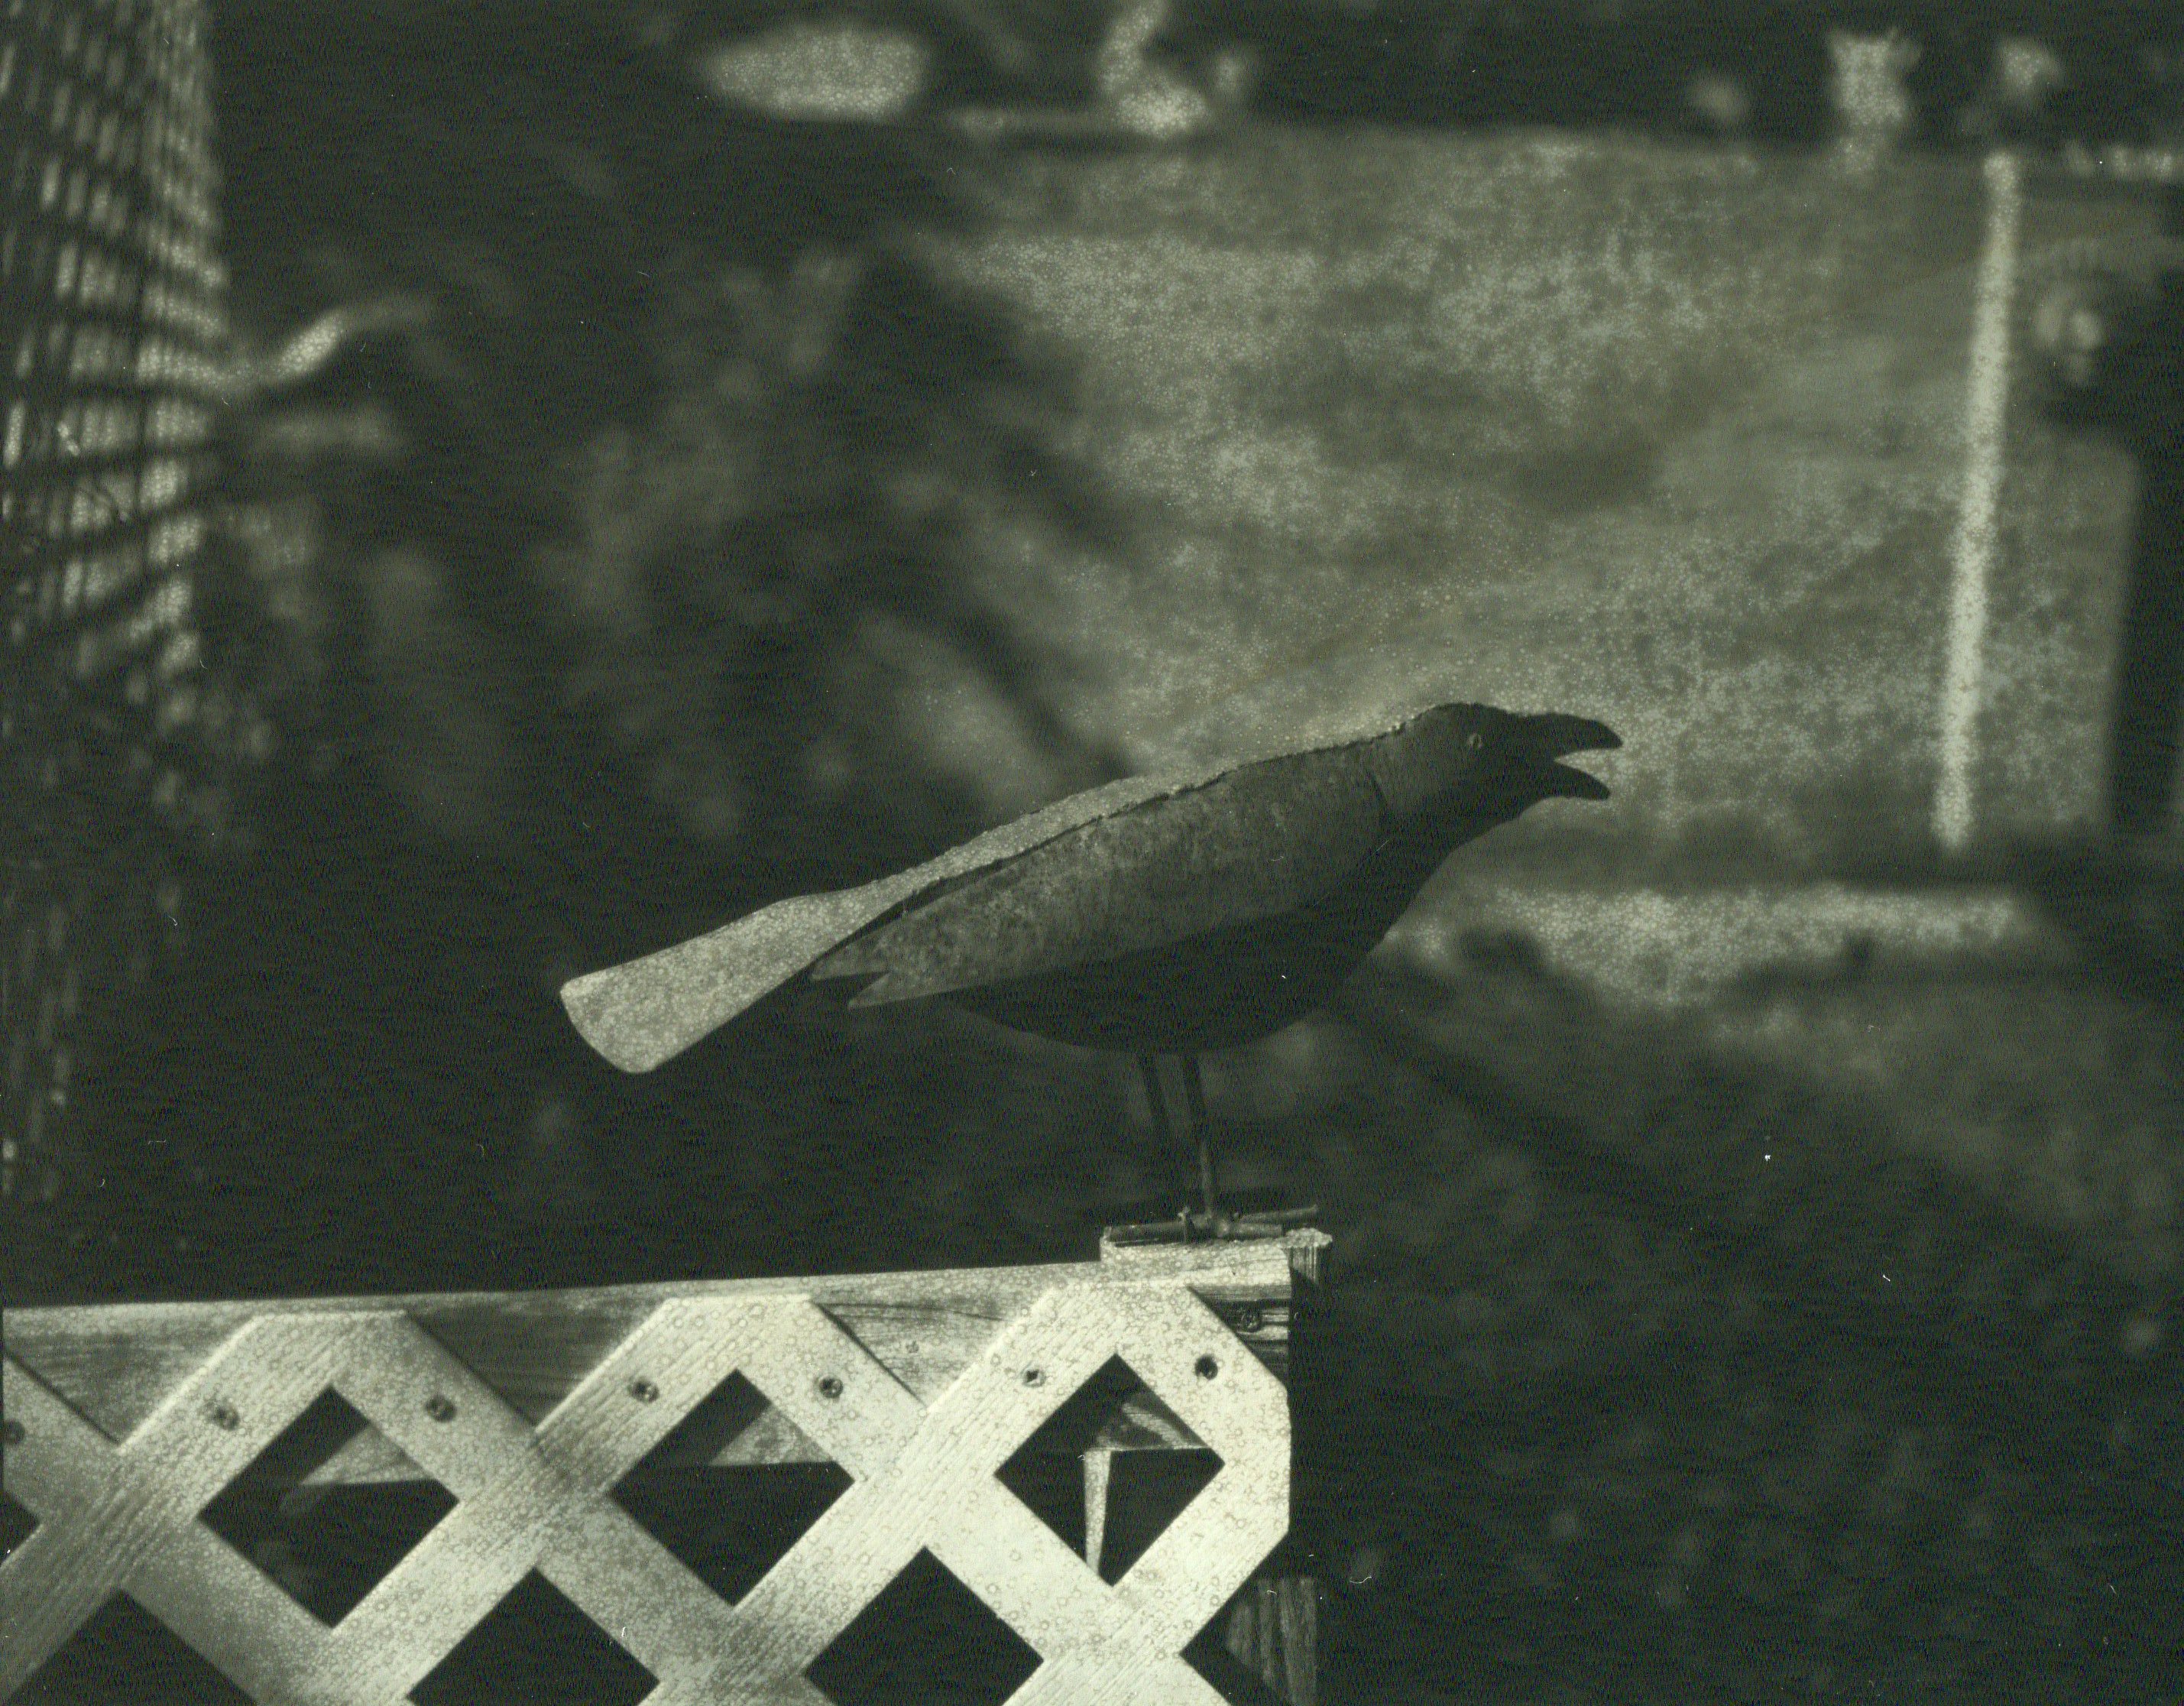
Reversal Raven001Exposure: 1/8 second at f/5.6 in morning light

There was a time, only a year or so ago, when I took for granted that Harman's Direct Positive Paper would be available for us creatives to use. But it seems that change is the only constant in life. In case you haven't heard, Harman/Ilford have been experiencing manufacturing difficulties with their direct positive paper and so, for the time being, it is no longer available.

So, what is direct positive paper? Think of it as a wet-processed Polaroid print. You fit sheets of the fiber-based print paper into your large format camera's film holders, expose it as a very slow-speed film, then process it in standard black-and-white print chemistry (developer, stop bath and fixer) to get a one-of-a-kind, fiber-based positive print. Were you to do that with conventional black-and-white printing paper, you'd end up with what we call a paper negative: a photographic negative on a paper supporting medium. Harman's Direct Positive Paper represents a kind of hybrid process, combining the best of modern chemistry with traditional alternative photographic processes.

There have been methods for creating such direct positive prints in the past, using exotic and dangerous chemicals in what is termed a reversal process. This is what happened inside those old-fashioned photo booths, the ones that spit out a strip of black-and-white prints. These traditional reversal processes used a dichromate-based bleaching compound and chemical fogging agent to do the reversal part of the process. Theoretically feasible at home, yes, but impractical for most of us and requiring considerable care in handling, storage and disposal of chemicals.

Several weeks ago, through some fortuitous Internet surfing, I happened upon several blog posts that describe a different chemistry for achieving the chemical bleaching part of the reversal process. Rather than using toxic chromic acid-based compounds, the method described uses hydrogen peroxide and citric acid. Armed with little more than these blog articles to go on, I decided to try my hand at it.

The first step was acquiring a more concentrated solution of hydrogen peroxide than the 3% topical solution found in the drugstore. The blog articles describe using a 9% solution in the bleaching agent formula. I was able to source a local supply of 35% hydrogen peroxide at the same place as the citric acid powder, strong enough to be diluted down for my purposes.

Pause must be made at this point to remind anyone contemplating doing this that, although this new formula isn't toxic like chromic acid, concentrated hydrogen peroxide deserves to be handled with respect, as it is a strong oxidizing and corrosive agent, will do direct harm to your body if it makes contact and will react violently with many flammables, including spontaneously combust. You must wear protective gear on your exposed skin, including shielding your face and eyes, (and think about protecting your legs and feet if something erupts at table-height) and mix it only in a safe location, away from flammables and other corrosives. This warning is not intended to scare you off from considering doing this process, only as a common-sense precaution, since the laws of physics don't care who you are.

I purchased a 1 liter plastic bottle, which was kept refrigerated at the store. I therefore decided to store my bottle also in a refrigerator, which helps reduce its reactivity during storage and prolongs it shelf-life.

The basic reversal process is this: develop the exposed paper in standard paper developer, then a quick rinse or stop bath. Next is the bleaching bath, in this case comprised of a dilute hydrogen peroxide solution with citric acid added. Next is a quick rinse, then the front of the paper is squeegeed dry, and the paper is then exposed directly to a bright source of white light, to fog the remaining unexposed silver halides in the emulsion. Then the paper is developed, stopped and fixed as normal. These last steps, from the fogging to the fixing, can be done in normal room light.

How the image reverses from a negative to a positive is that the bleaching agent acts selectively only against the developed metallic silver, produced by the first developing step, that represents the highlights of the scene. These dark silver molecules are bleached near paper-white, while leaving the unexposed silver halides intact in the remainder of the emulsion. Then the fogging with light exposes those remaining silver halides which, after the second development, turn into dark metallic silver and represent the shadow portion of the image.

The articles reference using a pH meter to accurately determine the acidity of the bleaching agent. Since I don't have such a device, I decided instead to employ empirical testing. I used Freestyle Photo's Arista grade 2 RC paper, initially rated at an ISO of 3 (I normally rate this paper at ISO 12 as a paper negative; it seems the reversal process requires a denser latent image to work properly). I mixed a 300mL solution of bleaching agent using 77mL of 35% peroxide and 223 mL of water, to which 2 teaspoons of citric acid powder was thoroughly dissolved. This amounts to a 9% concentration of hydrogen peroxide. To do this safely, I performed the mixing out doors, wearing protective gear, diluting the peroxide into the water, thoroughly stirring, then adding the citric acid powder after, with more stirring.

For my initial tests, at ISO3, I developed the paper for 2 minutes, bleached the paper for 5 minutes, fogged the paper under bright light for several minutes, then finished the process with a 2 minute develop, 30 second stop bath and 2 minute fix (pretty standard times for developing print paper). My developer was Ilford Multigrade concentrate diluted 1:15. After the bleaching step I rinsed the paper and turned on the white lights. The paper had a negative image with an irregular brass-colored mottling. Fogging the paper with direct exposure to light didn't change its appearance. But it did dramatically change when put back into the second developing bath, where the image quickly went from negative to positive.

Though the results were promising, the contrast was very low and the intensity of the highlights was very muted. You'd need to view the print under bright illumination to see the image with any kind of clarity. I next decided to add more citric acid to the bleaching agent, but the results didn't improve.

So I decided to make two changes at once: 1) increase the exposure by reducing the ISO to 1.5 (since my new meter only goes down to ISO3, I simply used the next slower shutter speed); and 2) double the concentration of hydrogen peroxide, from 9% to 18%. It turns out that this makes mixing the bleaching agent more convenient, as I can mix a 1:1 solution of 35% peroxide with water. So 150mL of 35% hydrogen peroxide to 150mL of water, plus 2 teaspoons of citric acid powder, makes the new solution.

The results are very promising, as evidenced by the above image. Coming out of the bleaching agent the highlights were already reversed white, even before the light fog and second development; it seems the bleaching agent activity determines the highlight density. The print has a nice warm tone to it, although the background shadows have a somewhat mottled appearance, evidencing its experimental nature. Held in hand, it's not much different from the Harman paper, other than color tone and the RC paper's surface finish. In processing this print, I reduced both development steps to 1:30, reduced the bleaching step to 2 minutes and the fogging step to 1 minute under a strong LED lamp of 5000k color temperature. I use the same developer tray for both development steps, to make things more convenient; which works well as long as you remember to thoroughly rinse the paper after the bleaching step.

It's not as convenient up front to process print paper this way, as compared to the Harman Direct Positive paper. But what you use in time up front you save on the back end of the process, since the RC paper only requires a brief rinse aid treatment and 5 minute wash, then can be quickly dried to completion, using a squeegee and hair dryer. Contrast this with fiber prints, that require an hour of rinsing and hours of drying time, taped flat to a sheet of glass to prevent curling.

I'm excited to try this process with other RC papers in my collection, including multigrade warm tone papers with a luster finish. I might also try increasing the concentration of peroxide to about 20-25%, and see what effect it might have on the results.

I'll be happy when Harman/Ilford returns their direct positive paper to the market, for the sake of others who would like to dabble in this interesting alternative process but don't want to get more involved than standard print chemistry. For myself, I'm grateful that this shortage has forced me to seek alternatives, as it has opened up a new avenue for my creative expression.

Post-Script: There is a photographic paper called Galaxy Direct Positive Paper which has entered the market recently. Despite its name, it does not produce a direct positive image in standard print paper chemistry, but rather requires a reversal process, like what I've described above. Still, I'd like to try it out, since it's supposedly very similar to the old photo lab print papers and has a thicker, more silver-rich emulsion.

Labels: ,

Monday, July 24, 2017

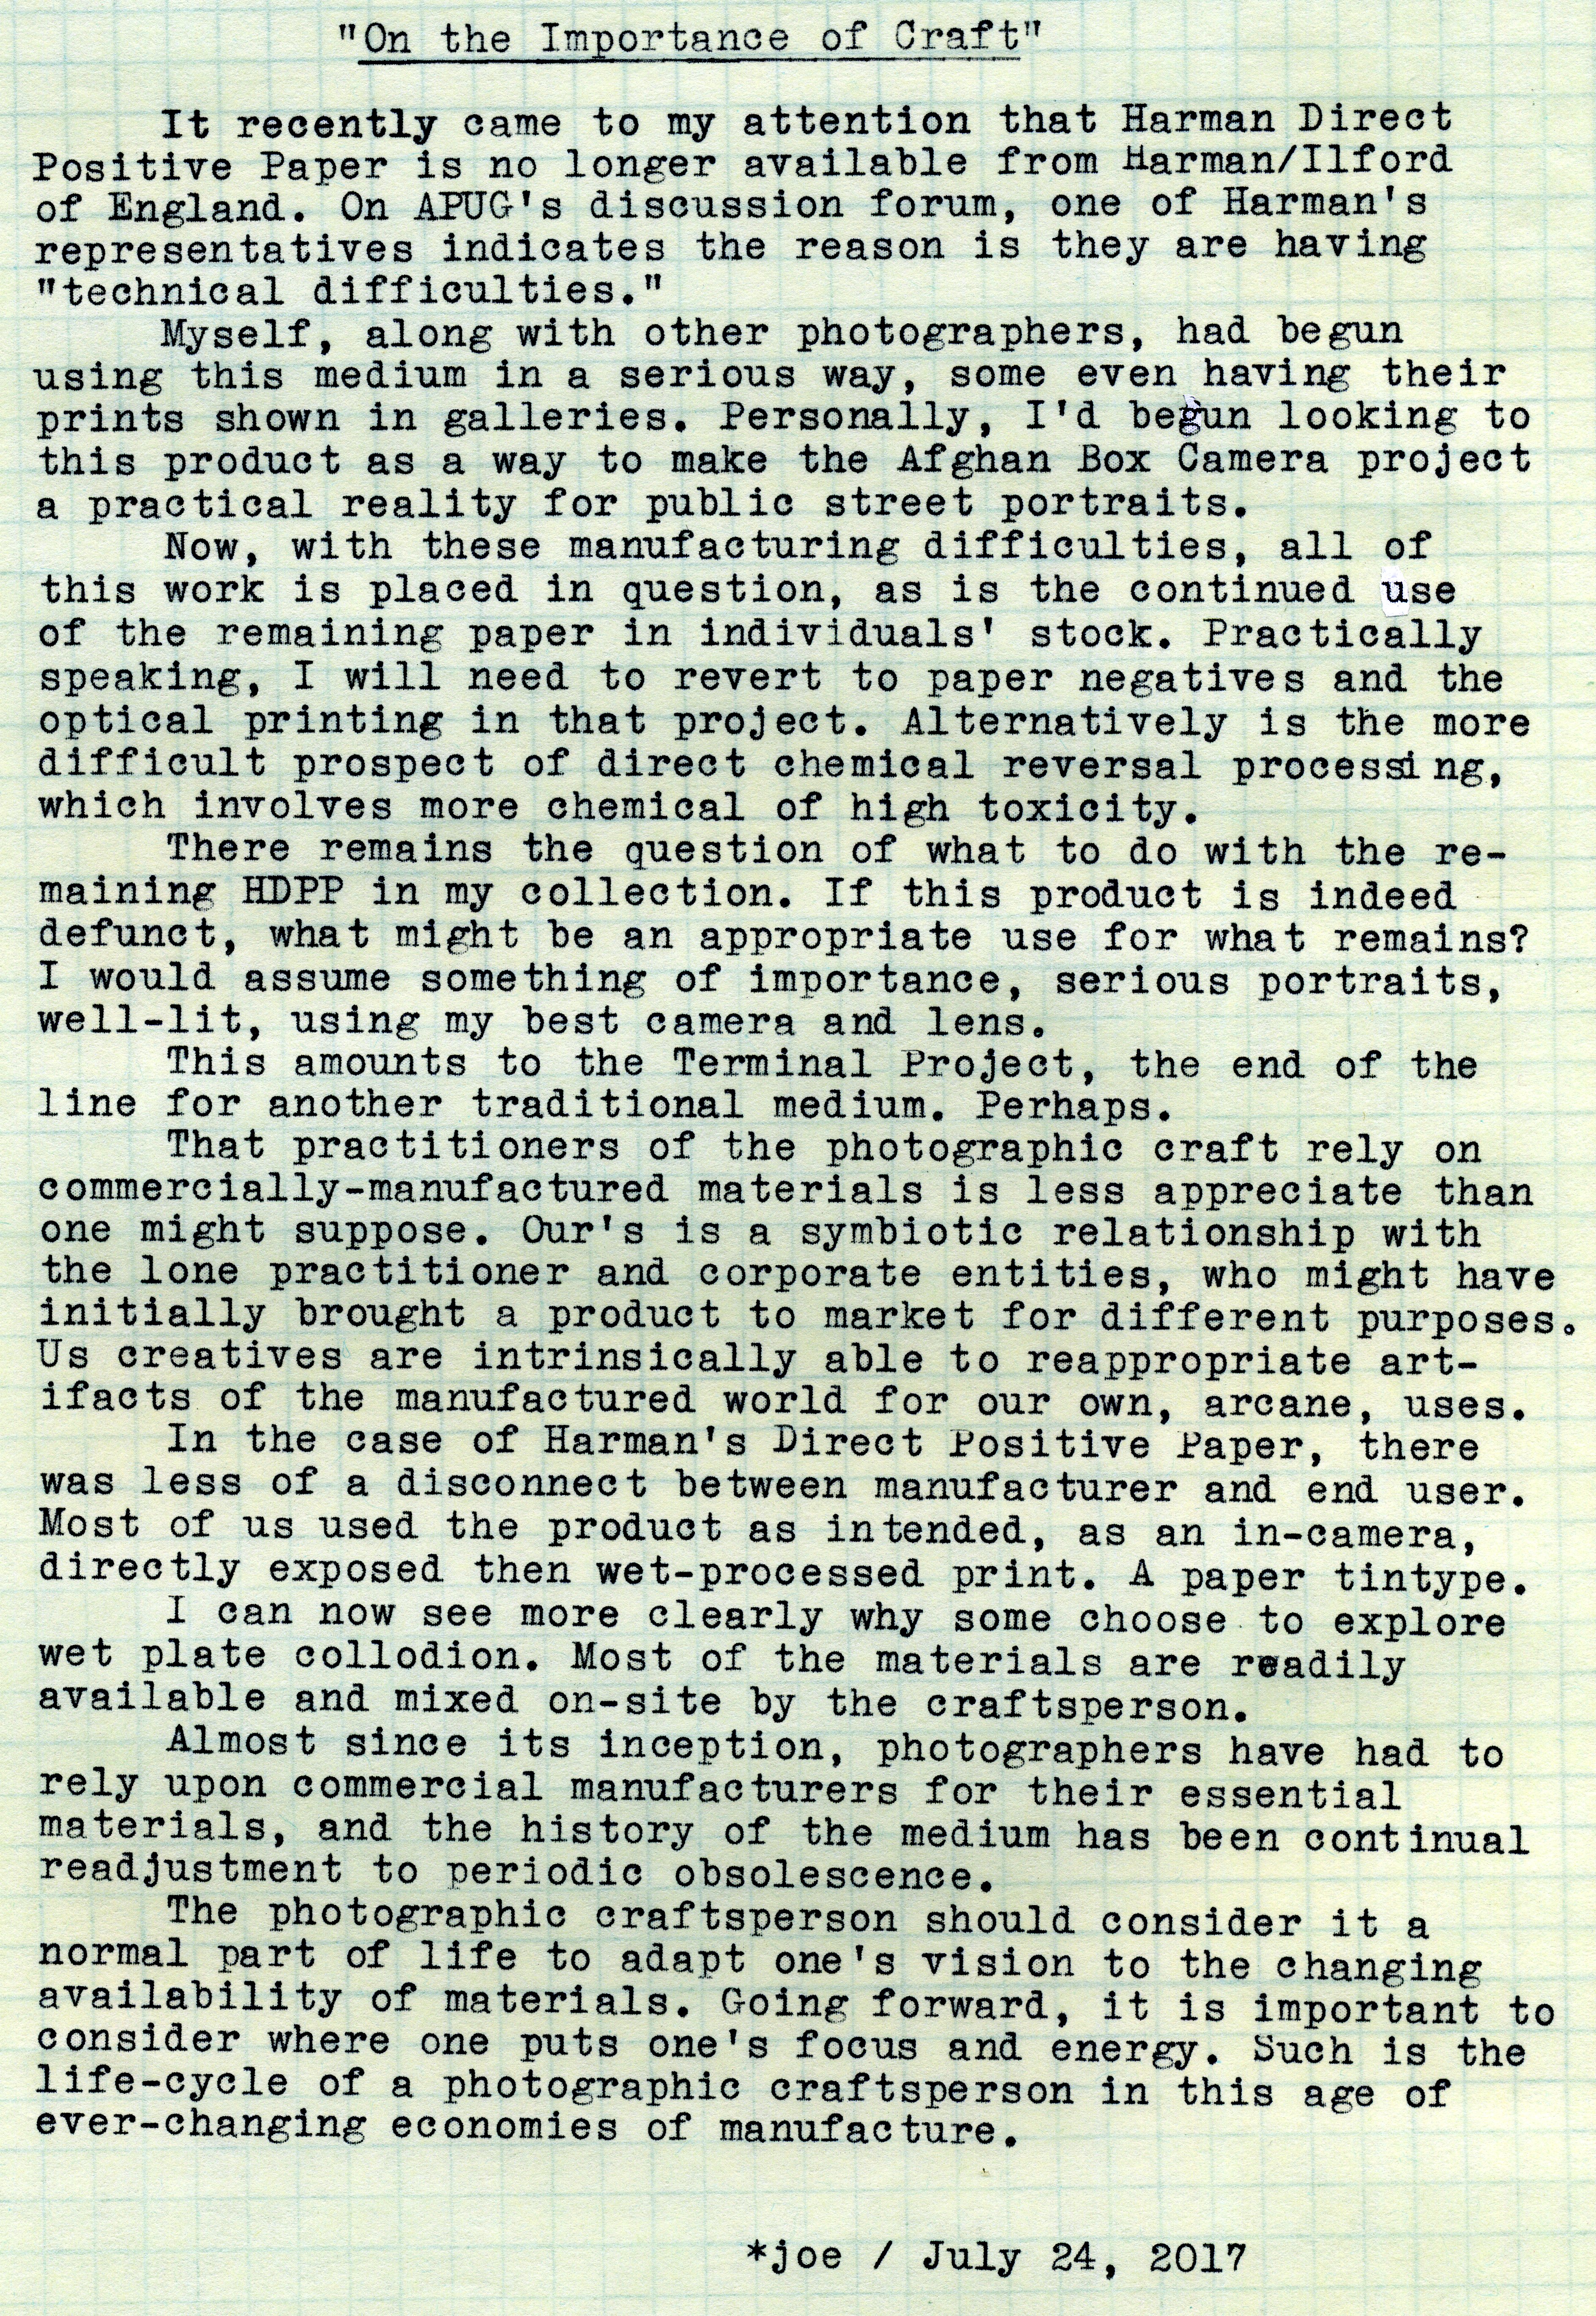
On the Importance of Craft

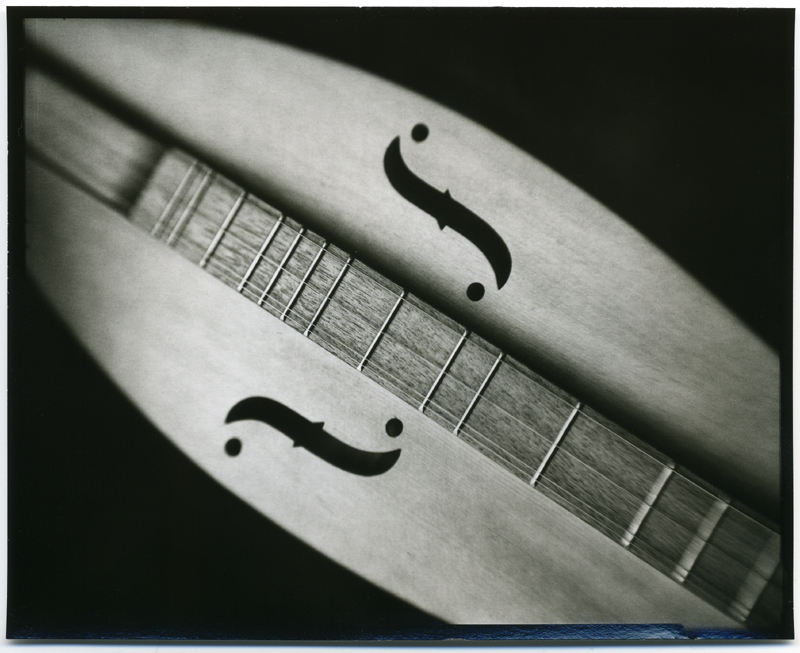
Dulcimer001a
Typecast002

Post-Script: This is not to imply that there is no craft-like skill involved with the more contemporary methods of image-making, but traditional methods are intrinsically craft-oriented, dealing as they do with physical material.

I loved Harman's Direct Positive Paper, and do hope they get the bugs ironed out of their manufacturing issues. Going forward, I do need to consider, when dealing with still-life and landscape subjects, returning to large format sheet film which, though more costly, can yield wonderful results, including the possibility of enlargements.

Typecast via Underwood Portable 4-bank. Check out the latest video about this machine.

Labels: , , ,

Tuesday, October 18, 2016

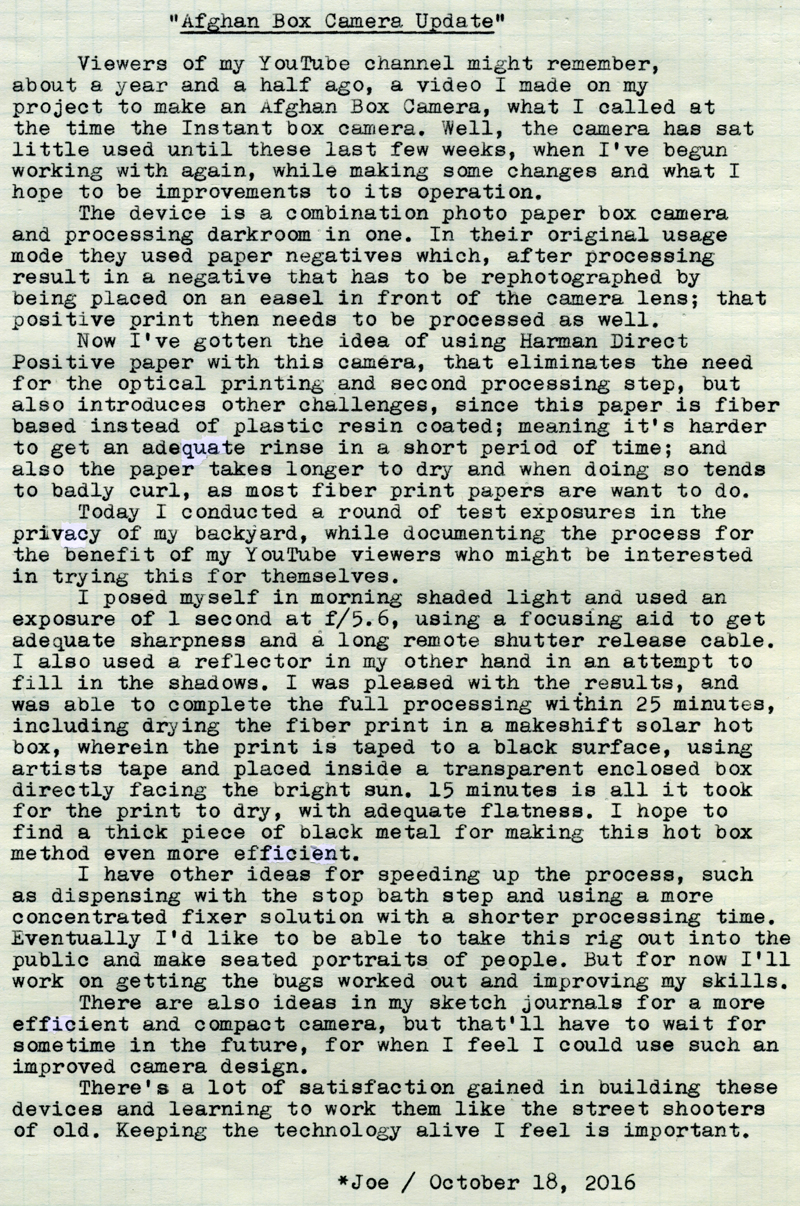
Afghan Box Camera Update


Typecast194

Afghan Box Camera Selfie, Harman Direct Positive Paper
The Hipstamatically soft thumbnail image for the video

Post-Script: This was an enjoyable project to work with again, as was the video edit itself. I hope to provide more updates as they warrant; hopefully a bit more timely than the year and a half gap since the project's inception.

This marks the first time I've used my Android tablet for video production, enabled only after an extensive period of fiddling around yesterday. I had to purchase a video editing app, learn to work it, then figure out how to transfer files from my camera. What ended up working the easiest and quickest was simply to transfer the camera's micro-SD card to the tablet.

Transfering and managing files on the tablet was only possible with a file transfer and management app, also acquired yesterday. Once the video edit was completed and finalized, I had problems uploading the video to YouTube via the tablet's browser, something I've been able to consistently do with my iOS devices. I ended up wiring the tablet to my desktop PC via USB and transferring the finished movie to its hard-drive, after which it was relatively painless to get it online. So while it worked, it isn't conducive for video production on the road, which will have to rely on the iOS platforms instead.

It's all too easy to get inundated in the minutia of the technology and forget what the purpose is for, which is why I like solutions that are less error-prone. The only advantage the Android tablet offers me is an expanded memory size, since I can use external SD cards instead of, in the case of iOS devices, having to rely on their internal, unexpandable memory.

Typecast via Olivetti Underwood 21, the subject of a recent episode of the Typewriter Video Series. And I liked using once again the green engineering grid paper.

Labels: , ,

Wednesday, October 12, 2016

Afghan Box Camera Update

Paper Negative Selfie

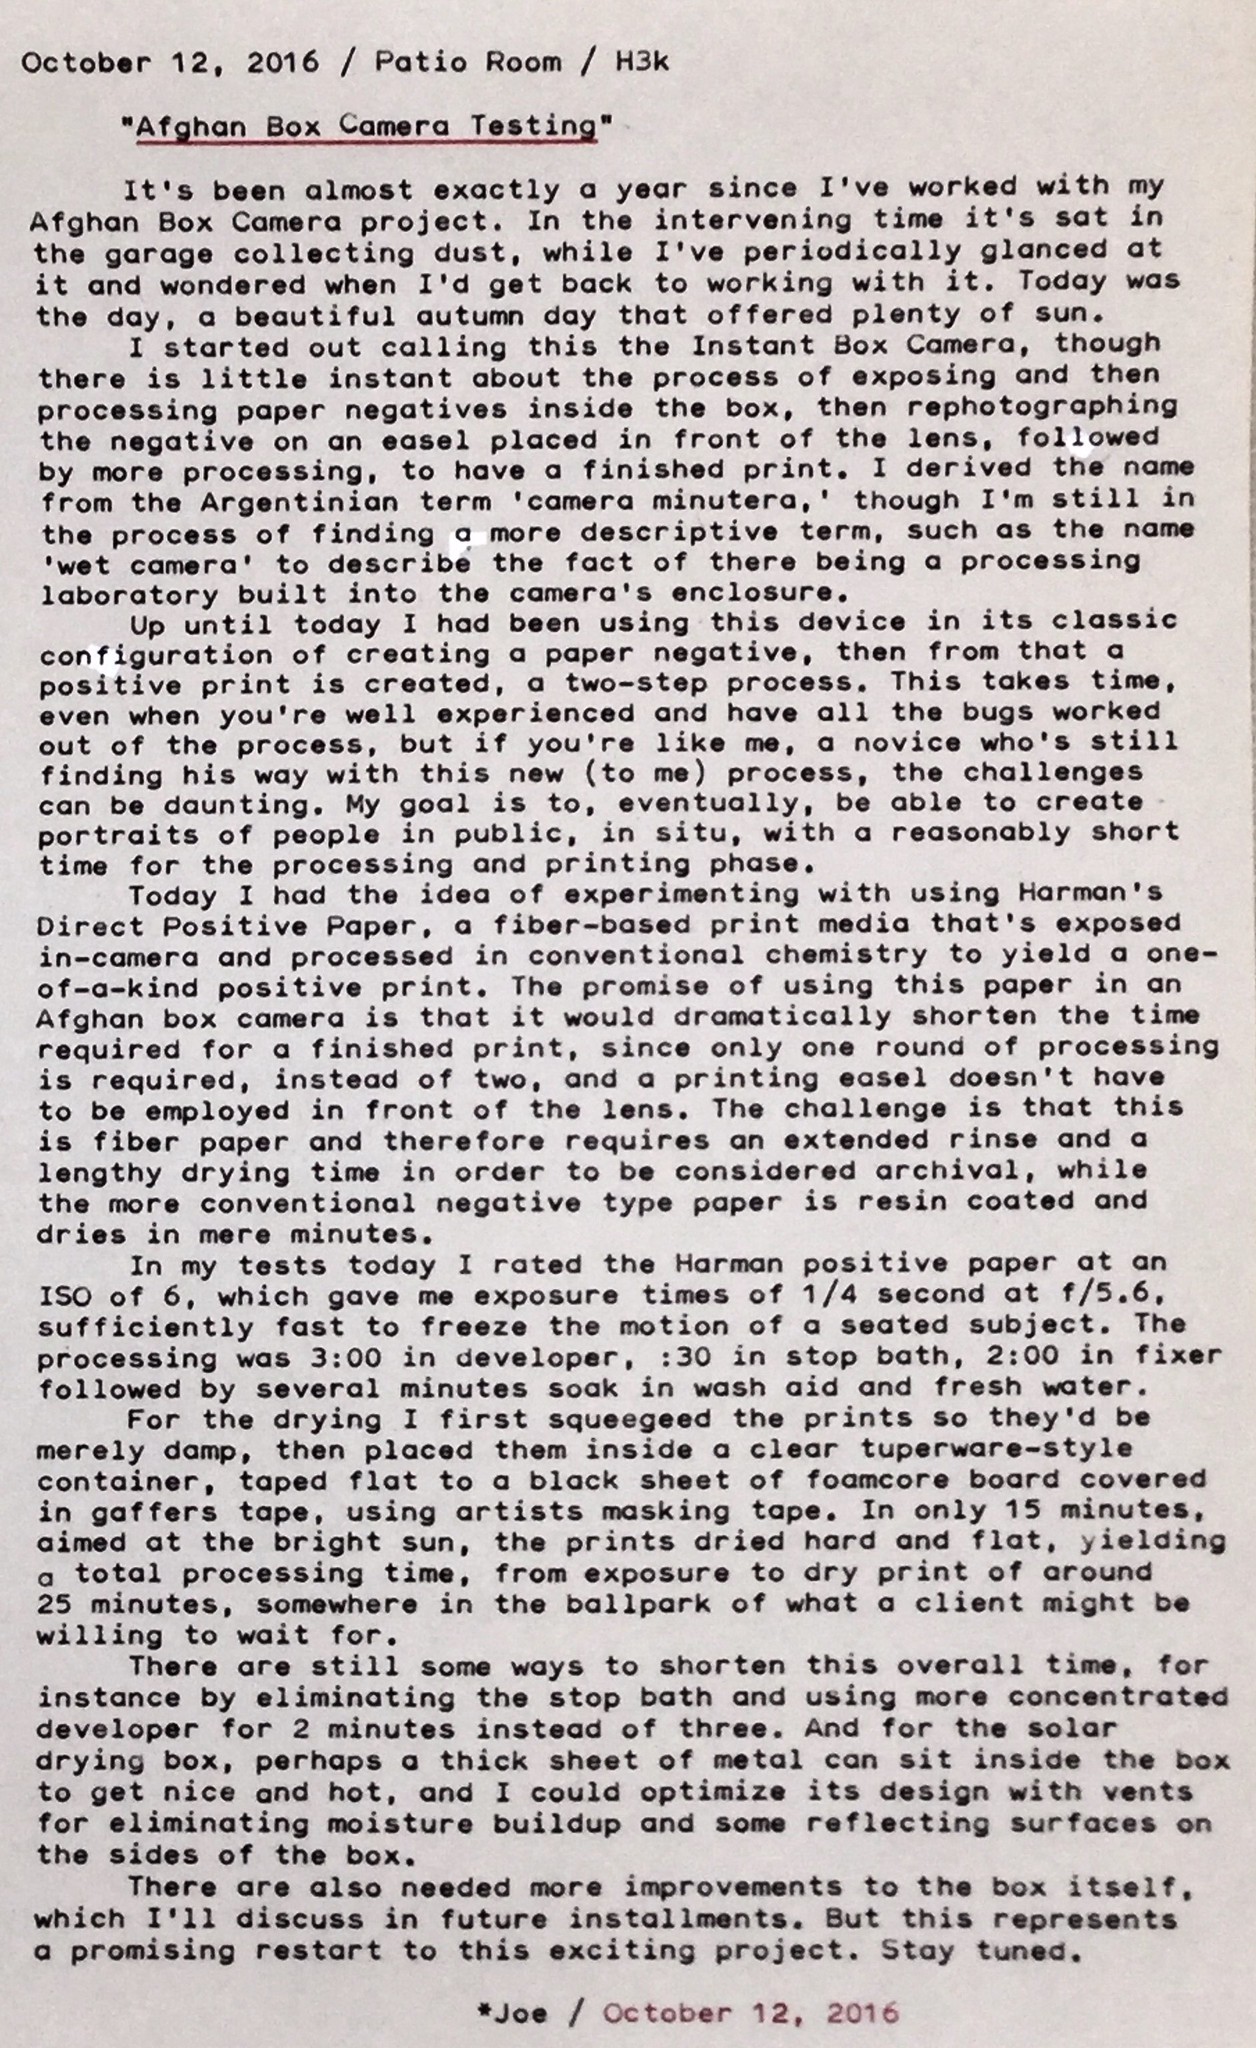
Afghan Box Camera Testing

Post-Script: I was surprised how fast the fiber prints dried inside a little hot box aimed at the bright midday sun. Optimizing the efficiency of the drying box will certainly speed up the overall process.

For the exposures I was reflective metering my face, situated in bright shade, with the Harman paper rated at around ISO 6. Eventually I'm going to want to also use some reflectors to get better portrait lighting, but I don't want to be encumbered with excessive amounts of gear, since I foresee doing this alone, with no assistant to help. I think if I hold a collapsible reflector it should work fine; I couldn't do that today because I had the shutter release cable in one hand and a focusing target in the other,and I was the seated subject.

The way I managed these selfie tests was to use a second tripod where I would be seated, with a focusing target, attached to the front of the camera with a string stretched tight and taped to the tripod. Once I focused the camera on the target I removed the tripod and put my chair in its place. When seated in front of the camera, I would stretch the string tight and place the target adjacent to my eyes, then adjust my head position up, down and sideways relative to the front of the camera; then slowly lower the target and, without moving my head or blinking, click the shutter.

Were I making someone else's portrait I'd have a free hand to manage a reflector.

I mentioned some changes I want to make to the camera. If I dispense with the stop bath tray, I can move the developer tray back to the middle of the box, giving me more room up front, under the lens, for a bigger and easier to operate paper safe for direct positive paper. Another thing is that the film format size, being 4-5/8" by 3-3/4", was designed to fit the film plane mechanism, rather than the other way around. It would be nice to enlarge the format size a bit, ideally to 4"-by-6" so that framing and display of the prints would be easier on the clients. I'm not certain if I can enlarge the film plane mechanism and it's focusing rod system without totally rebuilding the box; which if I had to do, would be easier just to build a new box from scratch.

I've had a newer design sketched out for a while, with vertical processing slot tanks, a vertical slot paper safe and a layout with the camera part on top and the processing area below, with the arm sleeve in between; think of a box that looks something like the shape and size of a desktop PC chassis sitting on the short end and you get the idea.

Labels: , ,

Tuesday, May 31, 2016

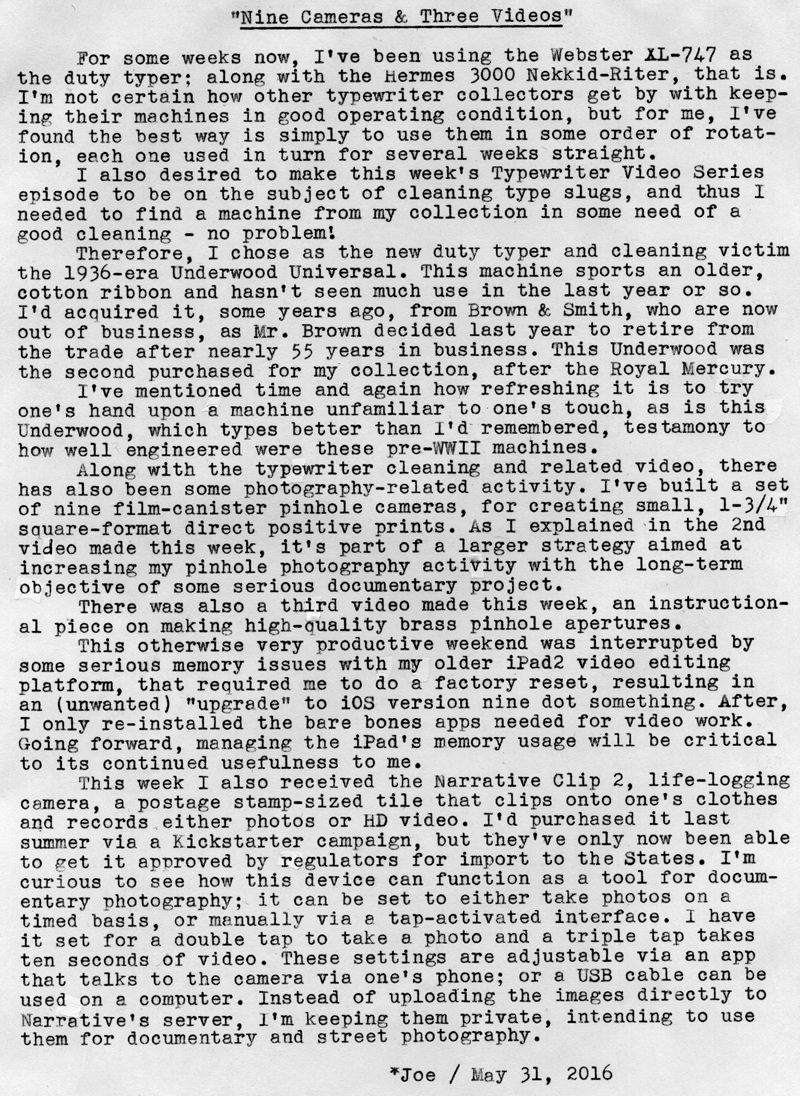
Nine Cameras & Three Videos


TWVS Episode 16: Cleaning Type Slugs


Making Pinhole Camera Apertures


Film Canister Pinhole Camera Project
Typecast173

Post-Script: I suppose, counting the Clip 2, it would be ten cameras.

I did an initial round of test-exposures for the nine little pinhole cameras, and everything worked as expected. My hand-fashioned pinholes are close enough in size to each other that I don't need a different focal ratio (and hence exposure time) for each camera; which was my objective.

The Narrative Clip 2 is really designed for life-logging by people who are always connected via smart phone; whereas my objective is more purposeful. I also don't want all those many photos uploading to someone else's server, I'd rather sort through them myself, delete the junk files (because a life-logging camera will produce a ton of junk images, at a rate of one per every 30 or 60 seconds, for example), and keep (and control the usage of) the rest. But the app enables one to also control the settings of the camera, including how often pictures are automatically recorded, and the length of video clips, etc. Though I haven't tried it with the new iOS version 9-dot-something on my iPad 2, I couldn't download the Narrative app with the older version 7-dot-something; nor was the Android app version compatible with my Dell tablet; hence why I'm for now using the PC version and downloading the images via USB straight to my hard drives.

And just in case you were wondering, I don't carry a "smart" phone, instead opting for a "dumb" (i.e. "flip") phone, whose service plan only costs me $15 per month. Not because I'm a Luddite but because, one, I'm cheap; and two, I have a "smart" phone for work, and detest the thing's constant desire to be fondled and caressed, like some poor, neglected child with psychological issues. Also, I enjoy ending calls by slamming the flip-phone shut, with that satisfying, tactile ker-thwack; much better than poking at a smudgy glass screen.

Typecast via Underwood Universal.

Labels: , , , , , , , , ,

Monday, February 01, 2016

The Ever-Eager Runway Model

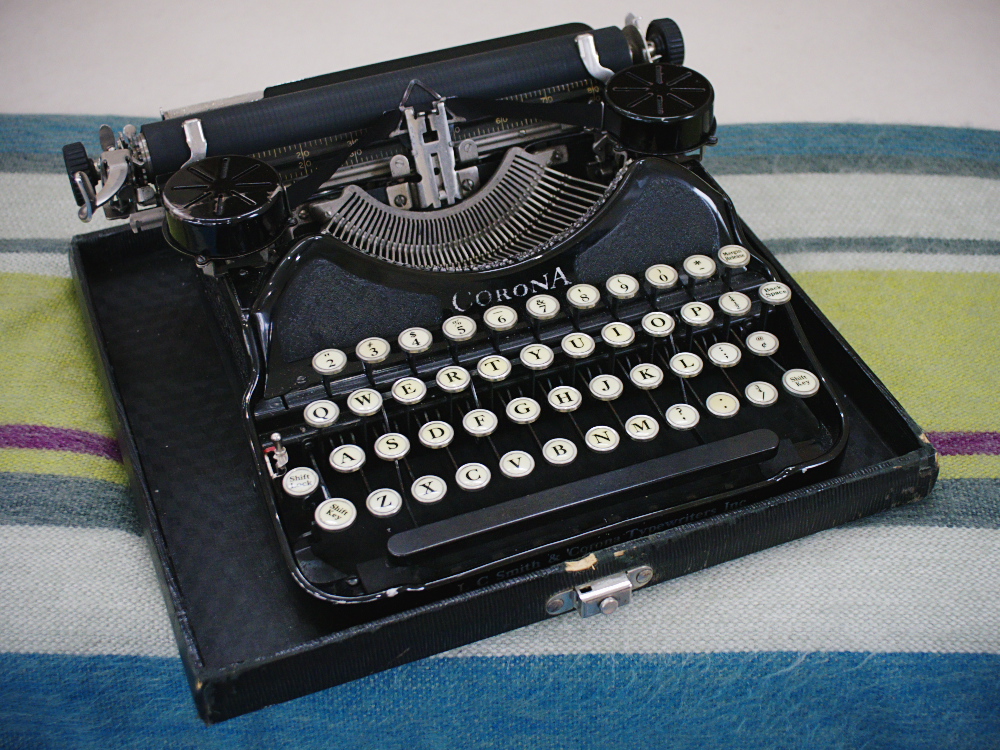
P1110634a
Typecast133
P1110635a
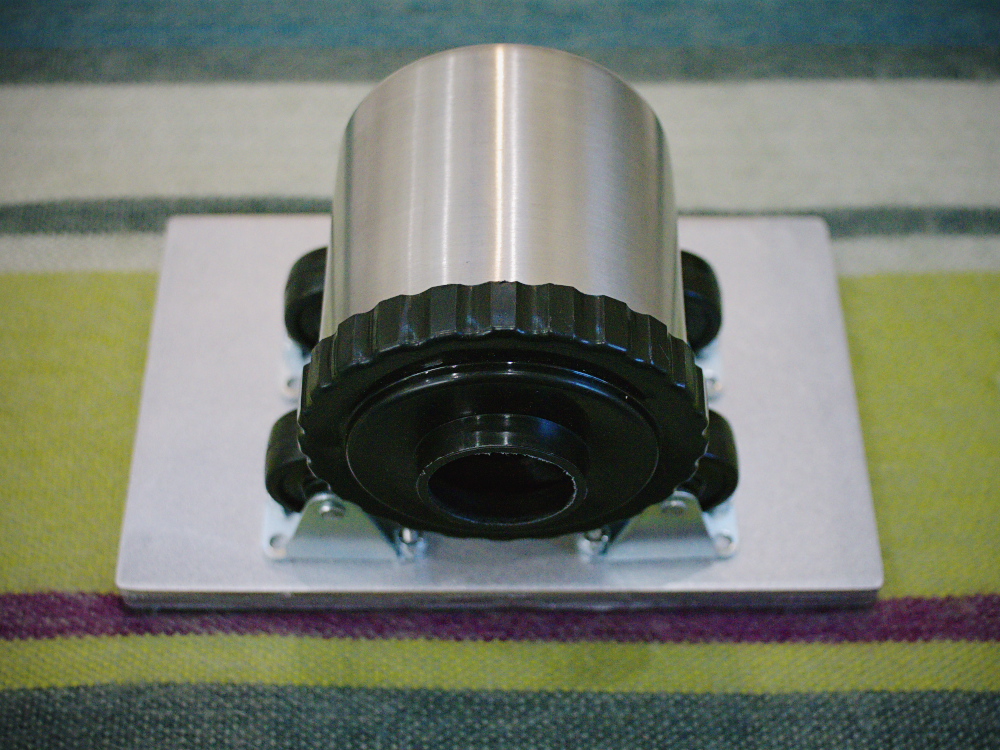
The subject of today's video, a roller base for 35mm development tanks
Typecast134
Post-Script: Though I've kept the Corona 4 on display for some years, I haven't paid it as much attention as it deserves, hence why I only found out last week the problem with its feet. If after I replace the feet I decide to continue using it inside its base, I might add a thin sheet of craft foam underneath, to dampen the sound; it's noticeably louder now, absent the thick felt pad.

Should you be interested, here's an embedded link to the You Tube video I was working on, about a project for making a roller base for 35mm film development tanks, for use with rotary processing small direct positive paper prints.


Photo via Lumix G5.

Labels: , , ,

Monday, January 25, 2016

One Flew the Coop

P1110609a
Typecast131
P1110605a
Typecast132

Post-Script: Here's a link to Harman Direct Positive Paper at Freestyle Photo. In case you're curious, here's a link to the corresponding article on my photography blog. And here's a link to my You Tube videos.

Typecast via Smith-Corona Galaxy 12.

Labels: , , , ,