Just to illustrate the ubiquity of stories waiting to be told, just this evening I made note of the overhead kitchen light casting a star-like pattern of lights into the sink, from the holes in the nearby pasta strainer. Which then led us to discussing my wife's grandmother's old pasta colander, which she'd used for years until one of the legs broke off, after which I repurposed it into an overhead light fixture in my Man Cave shed. Which then led me to think, "That's another story needing to be told."
Here's a few thoughts I put together in video format, based on this piece, about the ubiquity of stories and the necessity to be a listener before we can be a teller.
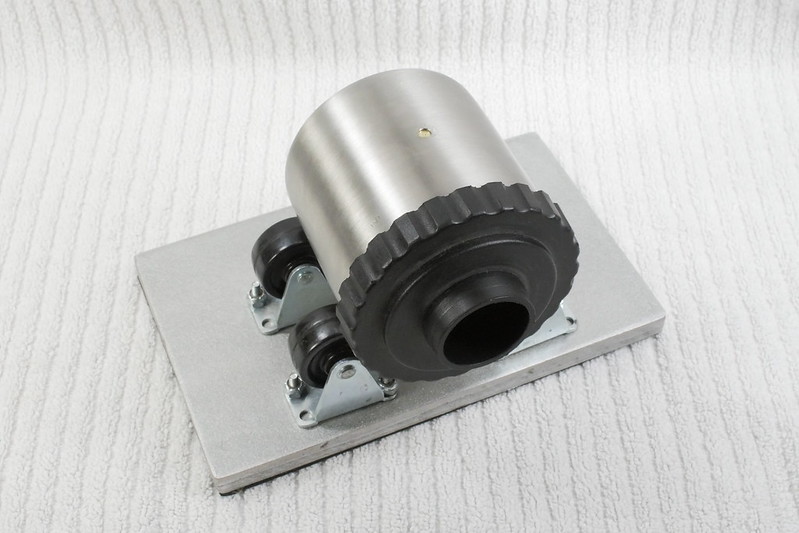
So, what's a person to do, the day after deciding to downsize their handmade camera collection? Simple: build another camera, that's what!
This sounds like madness, right? Perhaps. But really, in spite of all the various camera designs I've explored, I still have a few ideas rattling around in my noggin. One of these ideas is to take a spare steel 35mm developing tank and turn it into a "self-developing" pinhole camera. I've been using these tanks for years, minus the film reels, with small sheets of photo paper, wrapped front-side-inward around the inside of the tank and secured with a loop of masking tape on the back side, as a makeshift rotary processor. They have that all-important lid with a light-proof pour spout, permitting liquids to be poured in and out without fogging the paper inside.
Drilling a small hole in the side of the steel tank was not easy. I couldn't ding a starting dent with a metal punch, so the drill bit wanted to dance around and not penetrate the metal. I ended up using a drill bit on a high-speed rotary tool to work a small starting dimple into the surface, after which my drill press and larger bit would catch enough to start cutting. I kept the bit lubricated with light oil, which helped.
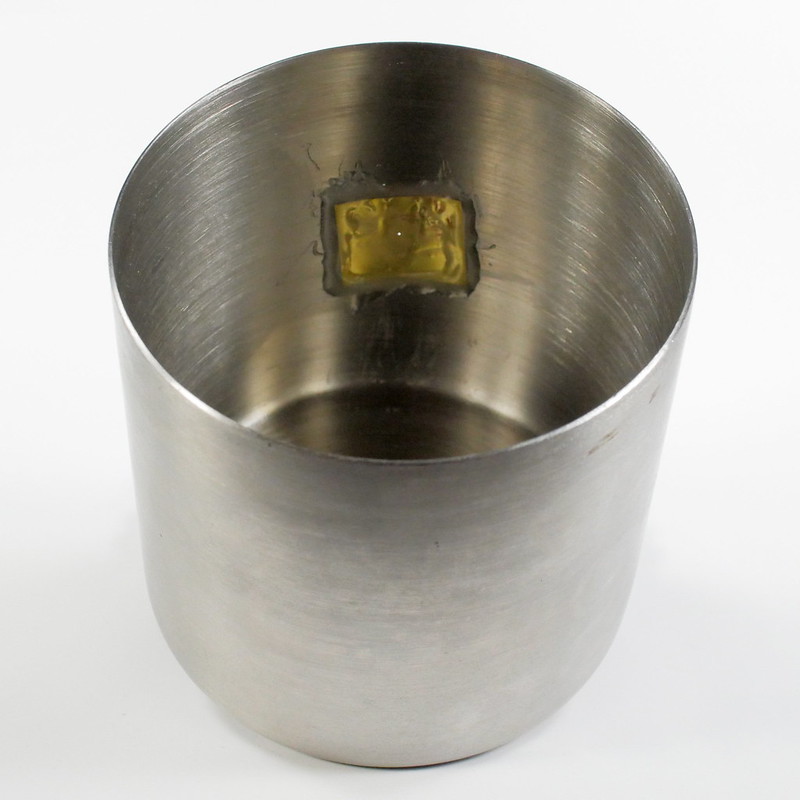
The focal length is 85mm from one side to the other, so I made a 0.3mm pinhole in a thin sheet of brass, which I epoxy glued to the inside, ensuring all four sides of the brass square were sealed with glue.
I'll be using a makeshift gaffers tape shutter for now, but may resort to a rotating plastic sleeve shutter, the kind I've used on 35mm film canister cameras.
Naturally, a person would wonder if the processing chemicals, especially stop bath (acetic acid) will corrode the brass and pinhole. The answer is most likely yes, which is why, when I rotary process the paper, I won't be doing entire revolutions of the tank, instead will be rocking it back and forth, with the pinhole face up on the top, as the tank sits on its side on my rotary base.
This little tank camera, along with a kit consisting of small containers (<100mL) of processing chemicals and a changing bag, would essentially provide the features of an Afghan Box Camera, if using Harman Direct Positive Paper. Alternately, the citric acid/peroxide reversal process could be employed, but it's very slow and the already long exposure times required by the pinhole aperture would be impractical. I hope to at least be able to do still-life and scenic images and process them in the field with the Harman paper.
Certainly a glass-lens self-developing camera would be more practical for portraits, as the faster optics would require much shorter exposure times. Perhaps that'll be the next project.
Here's Part One of my pinhole camera overview series, with Ethan Moses:
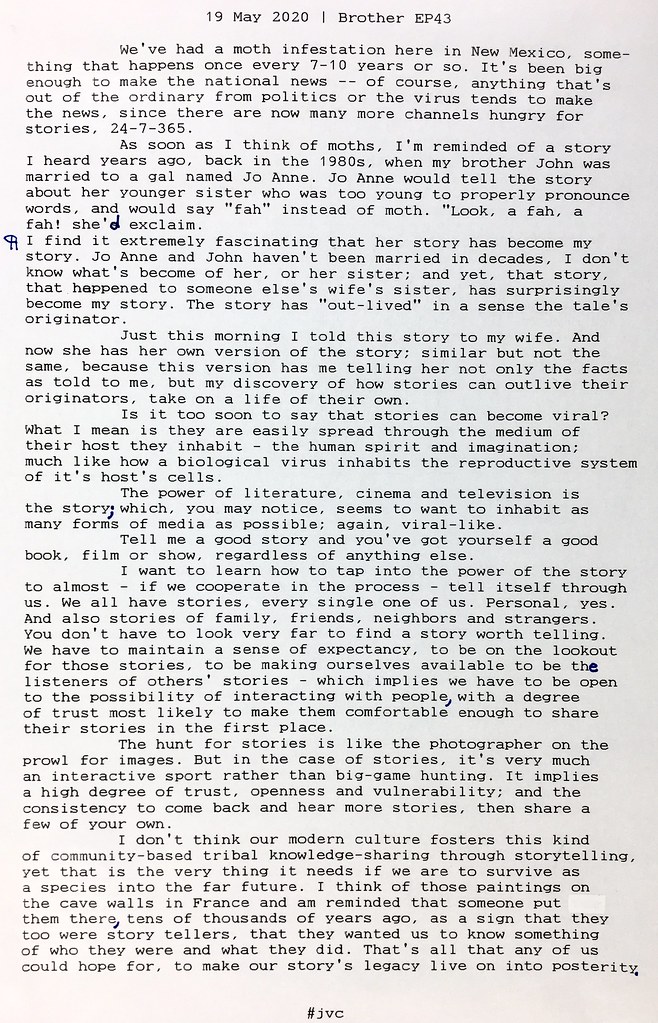
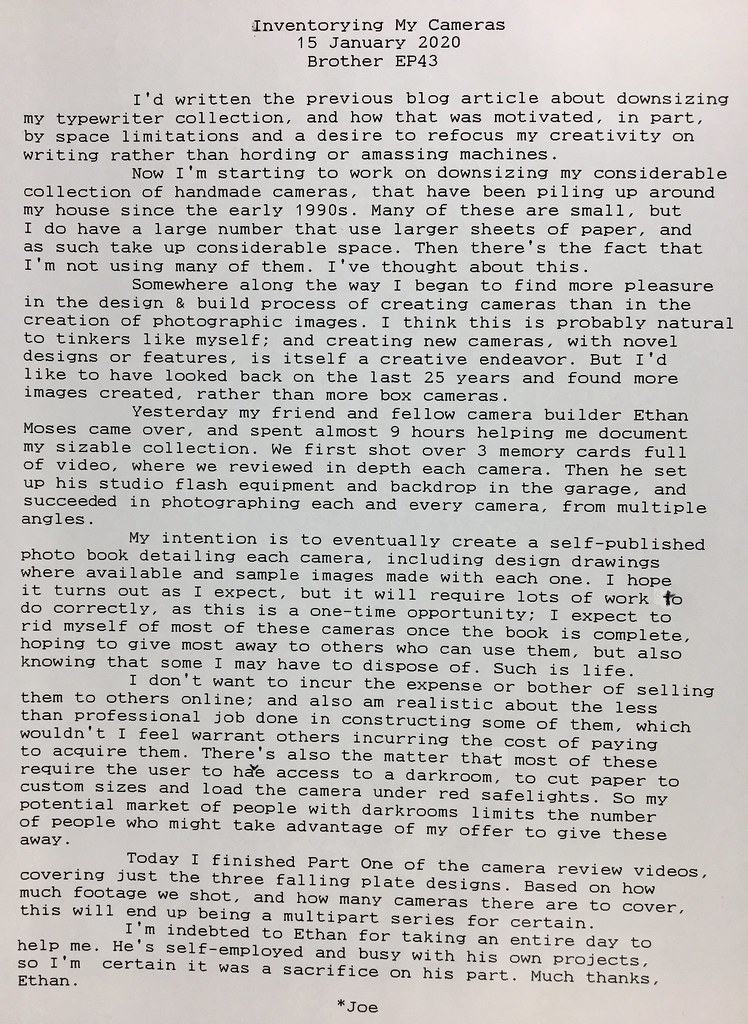
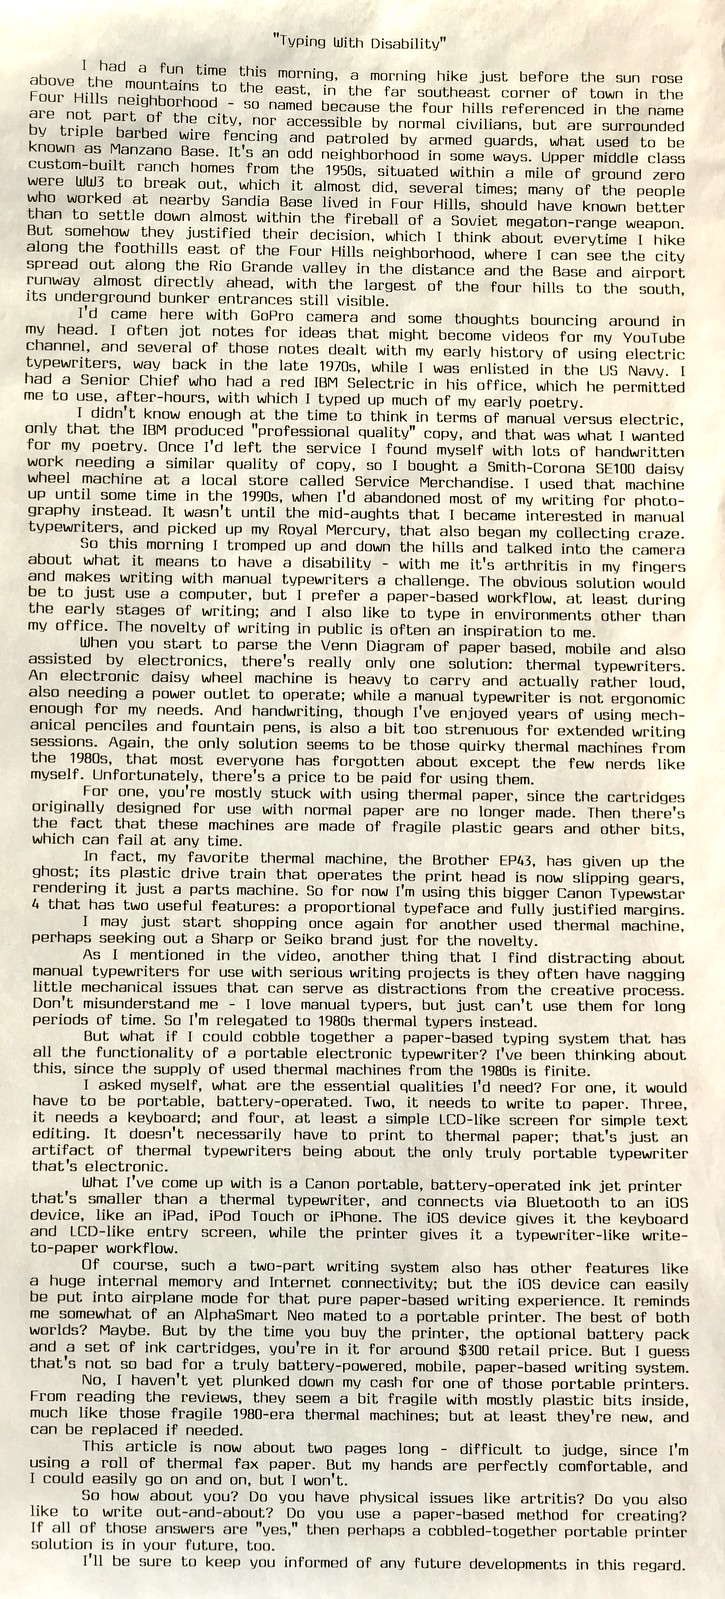
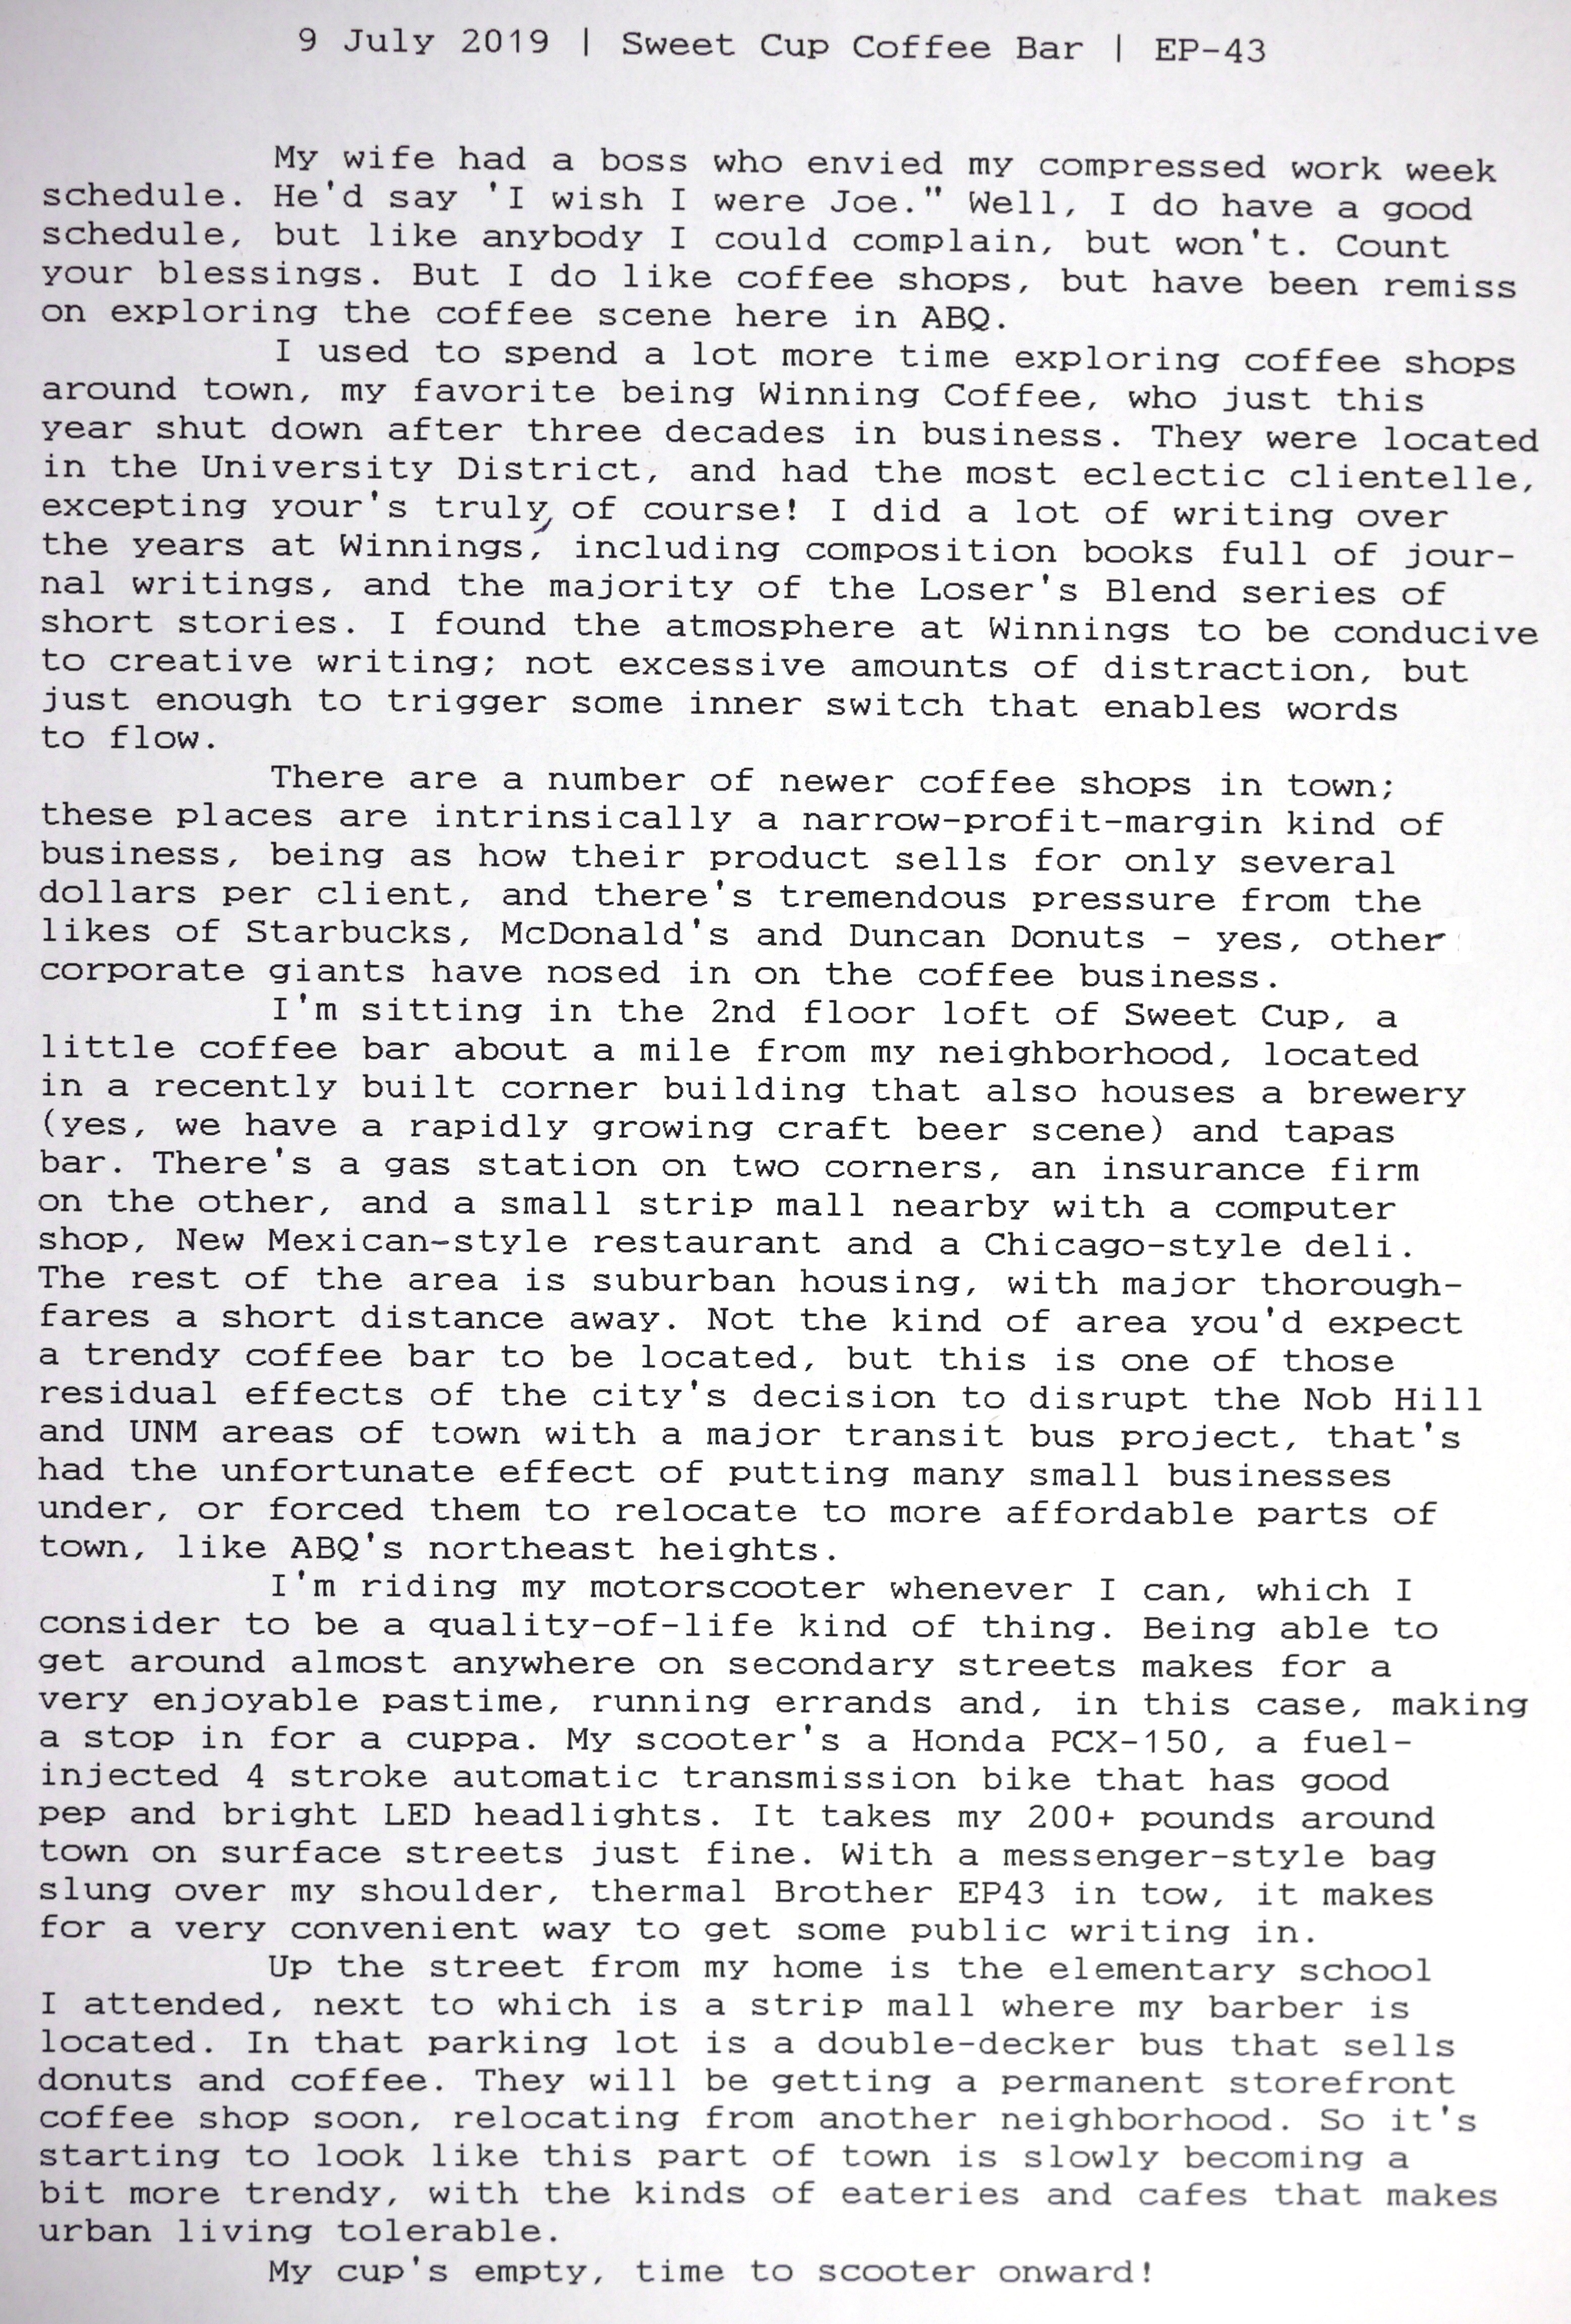
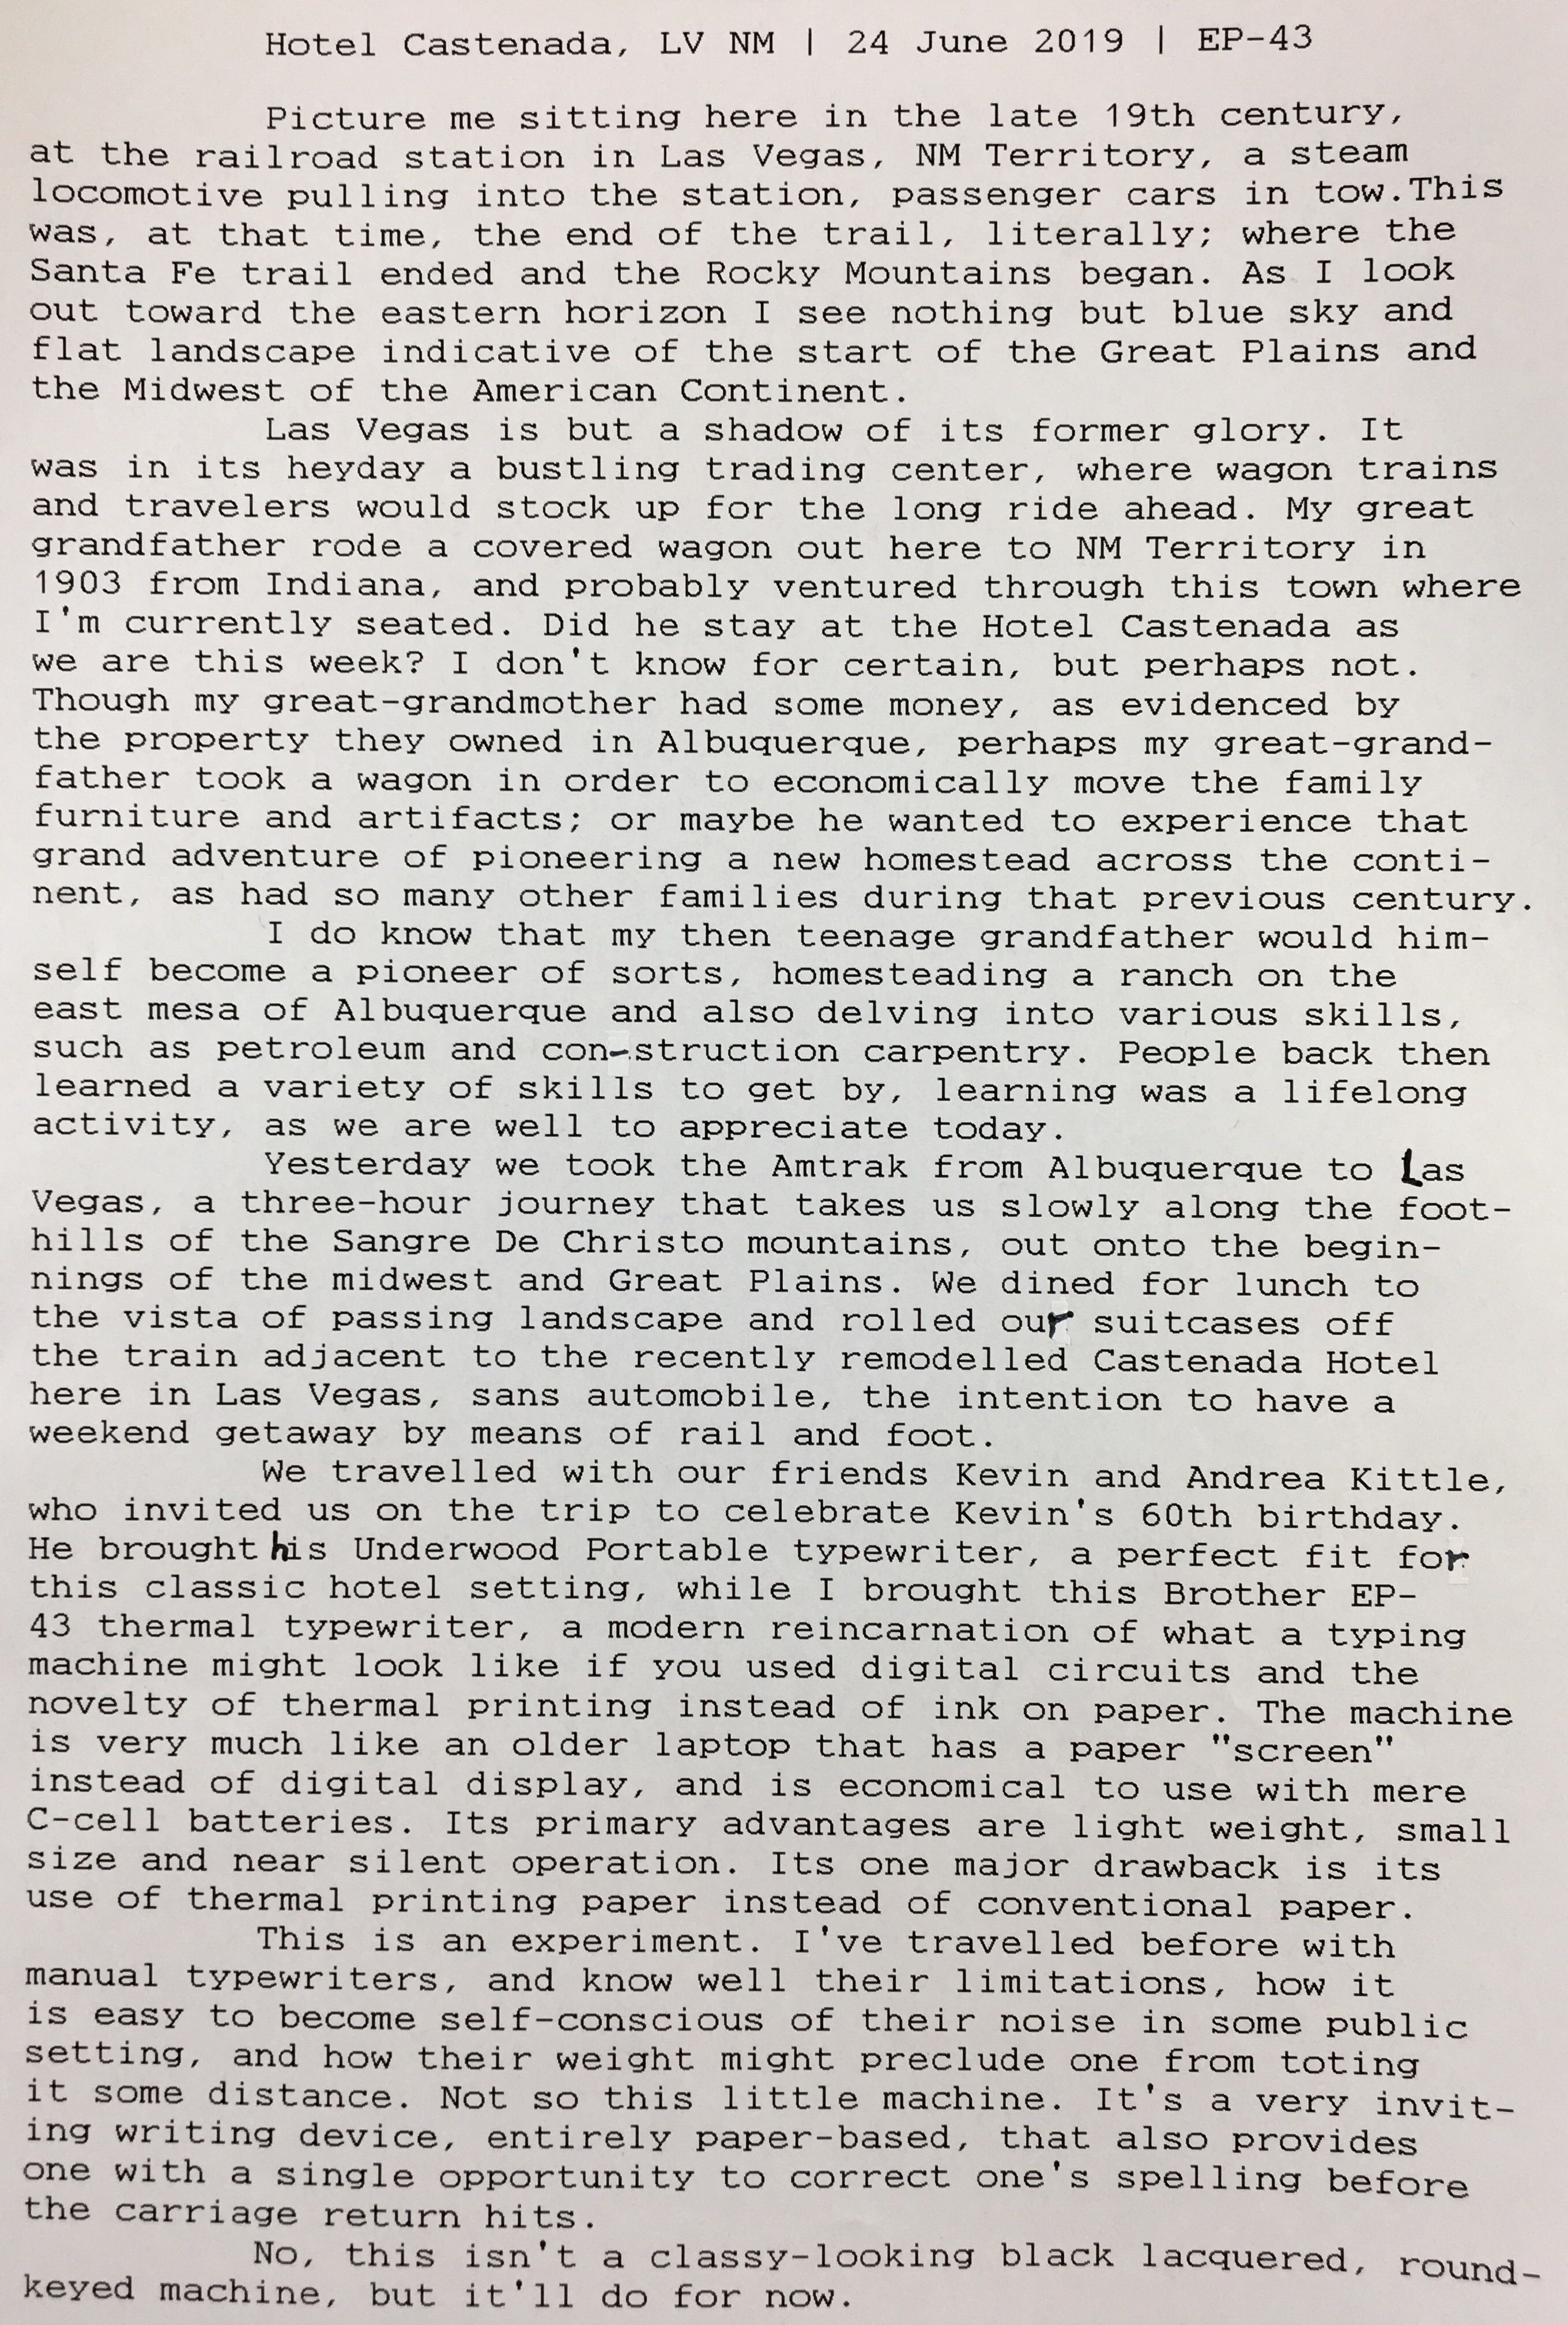
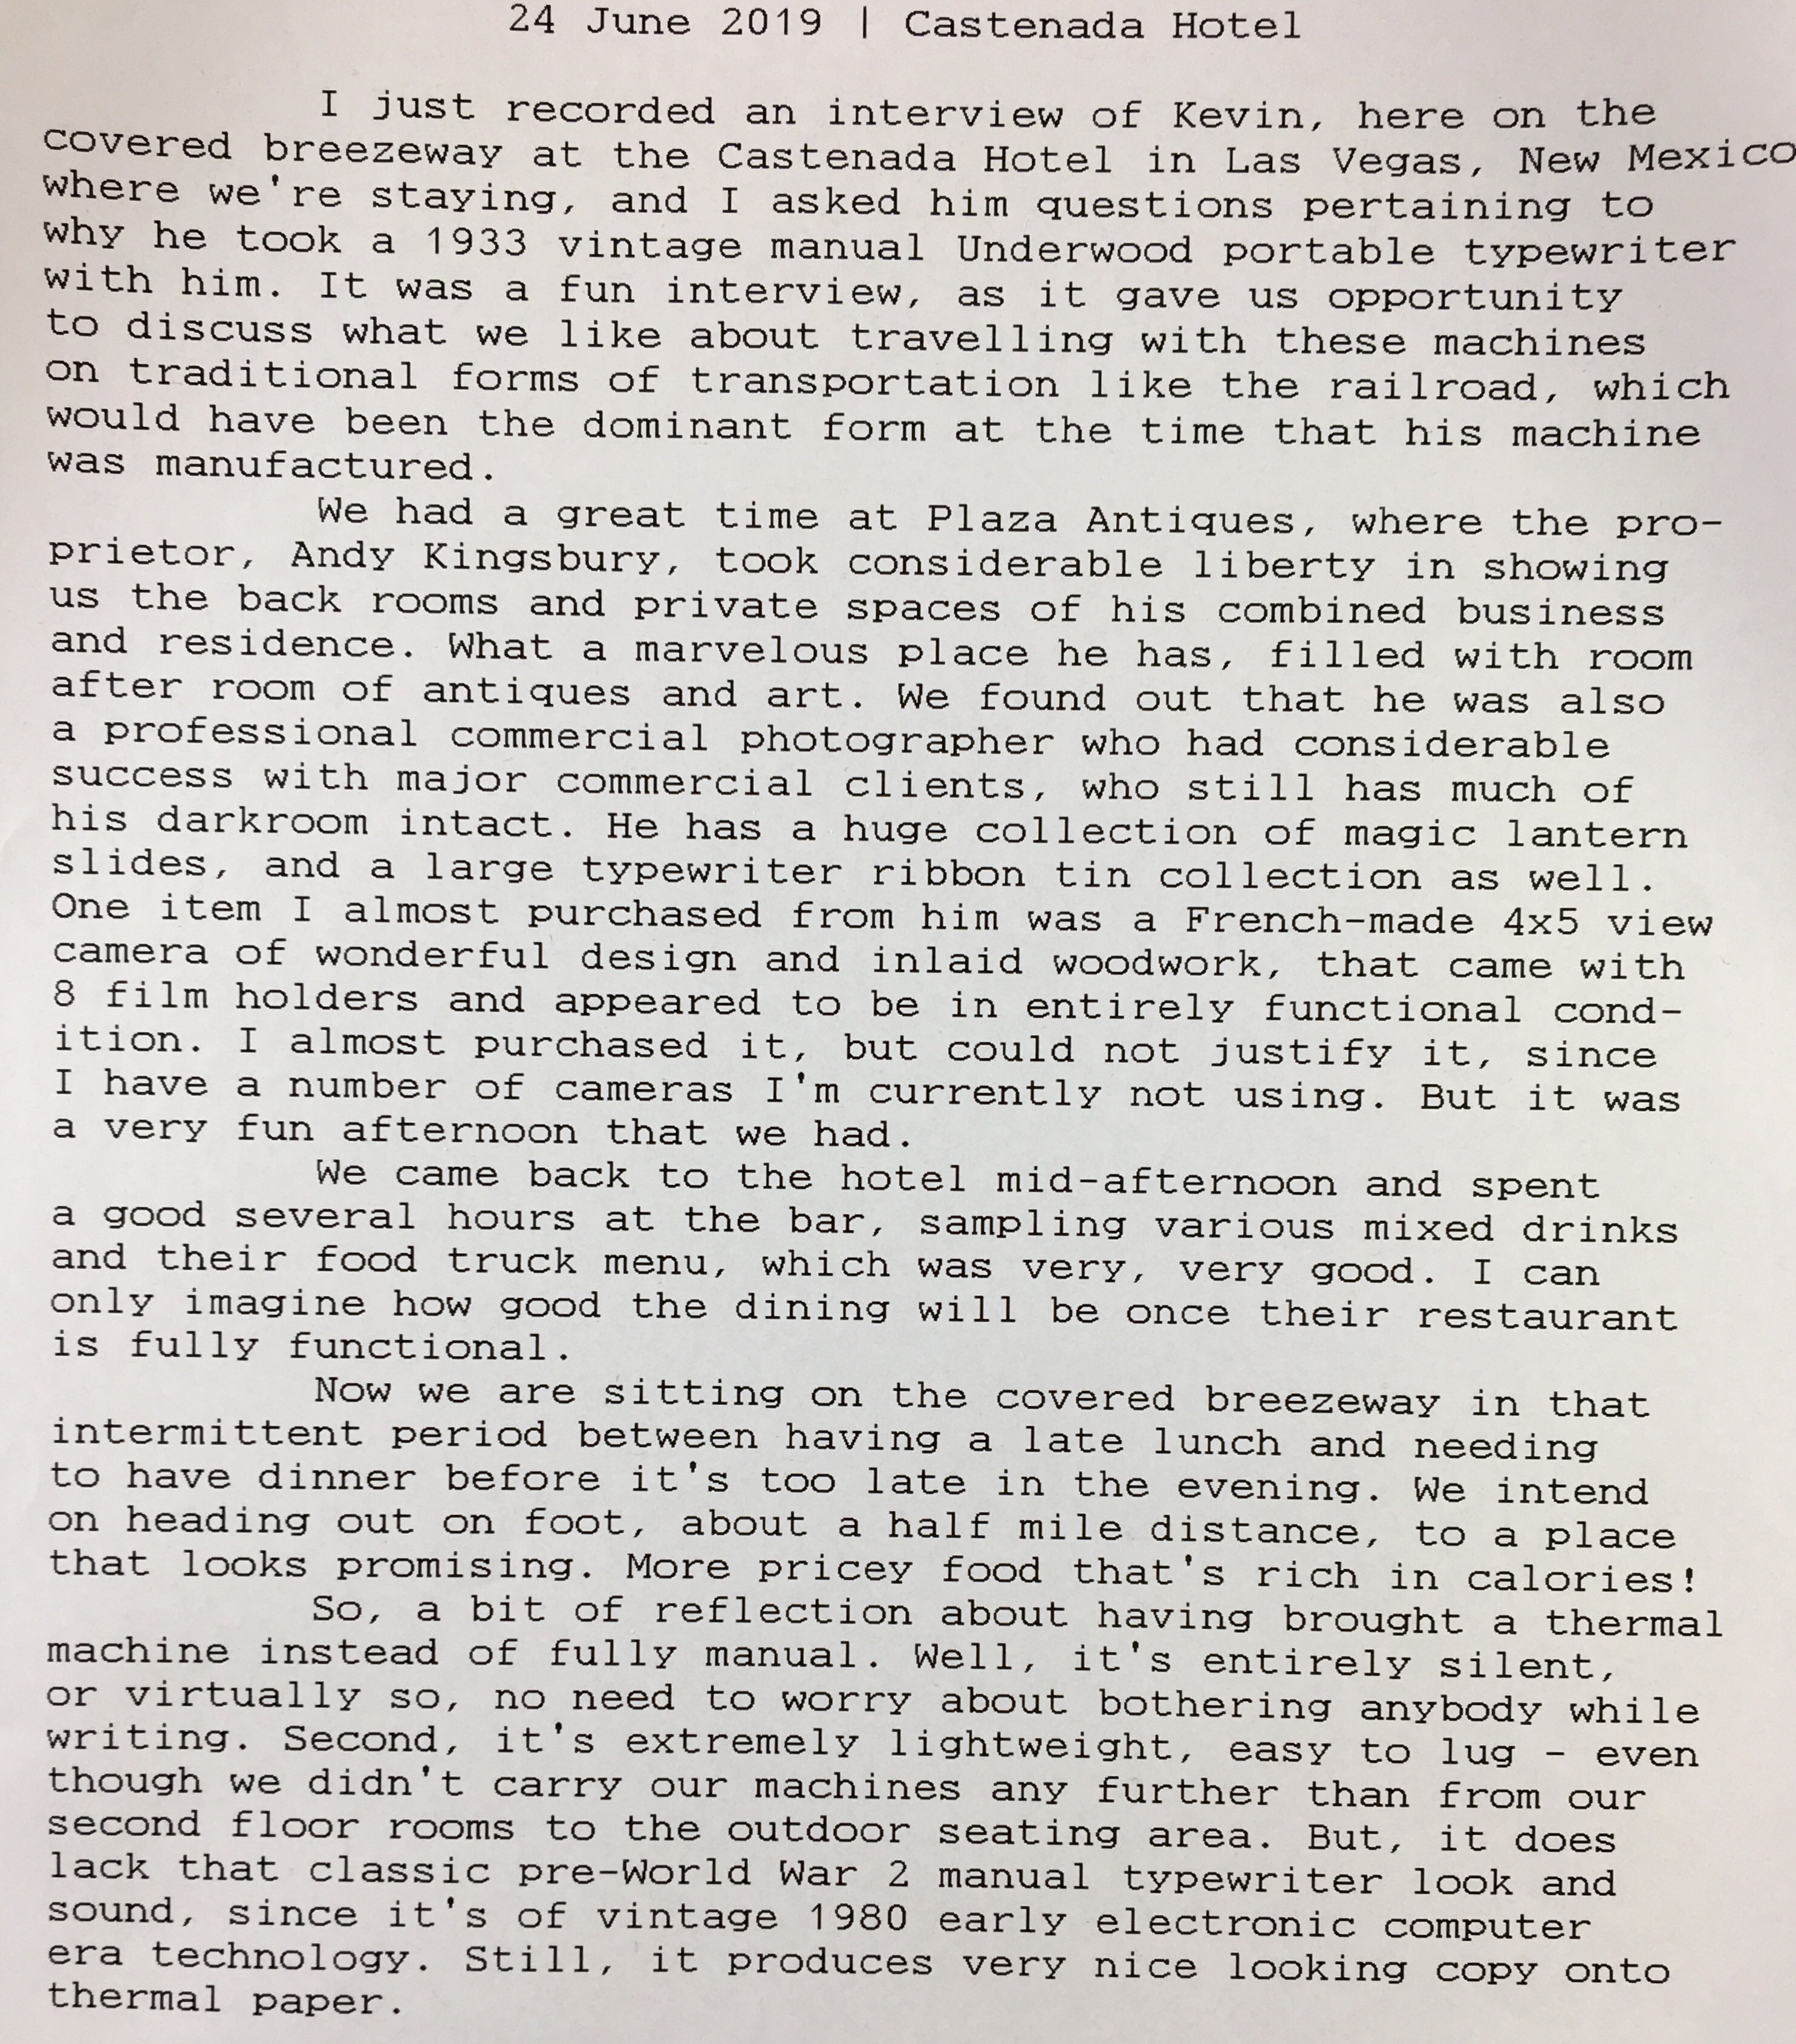
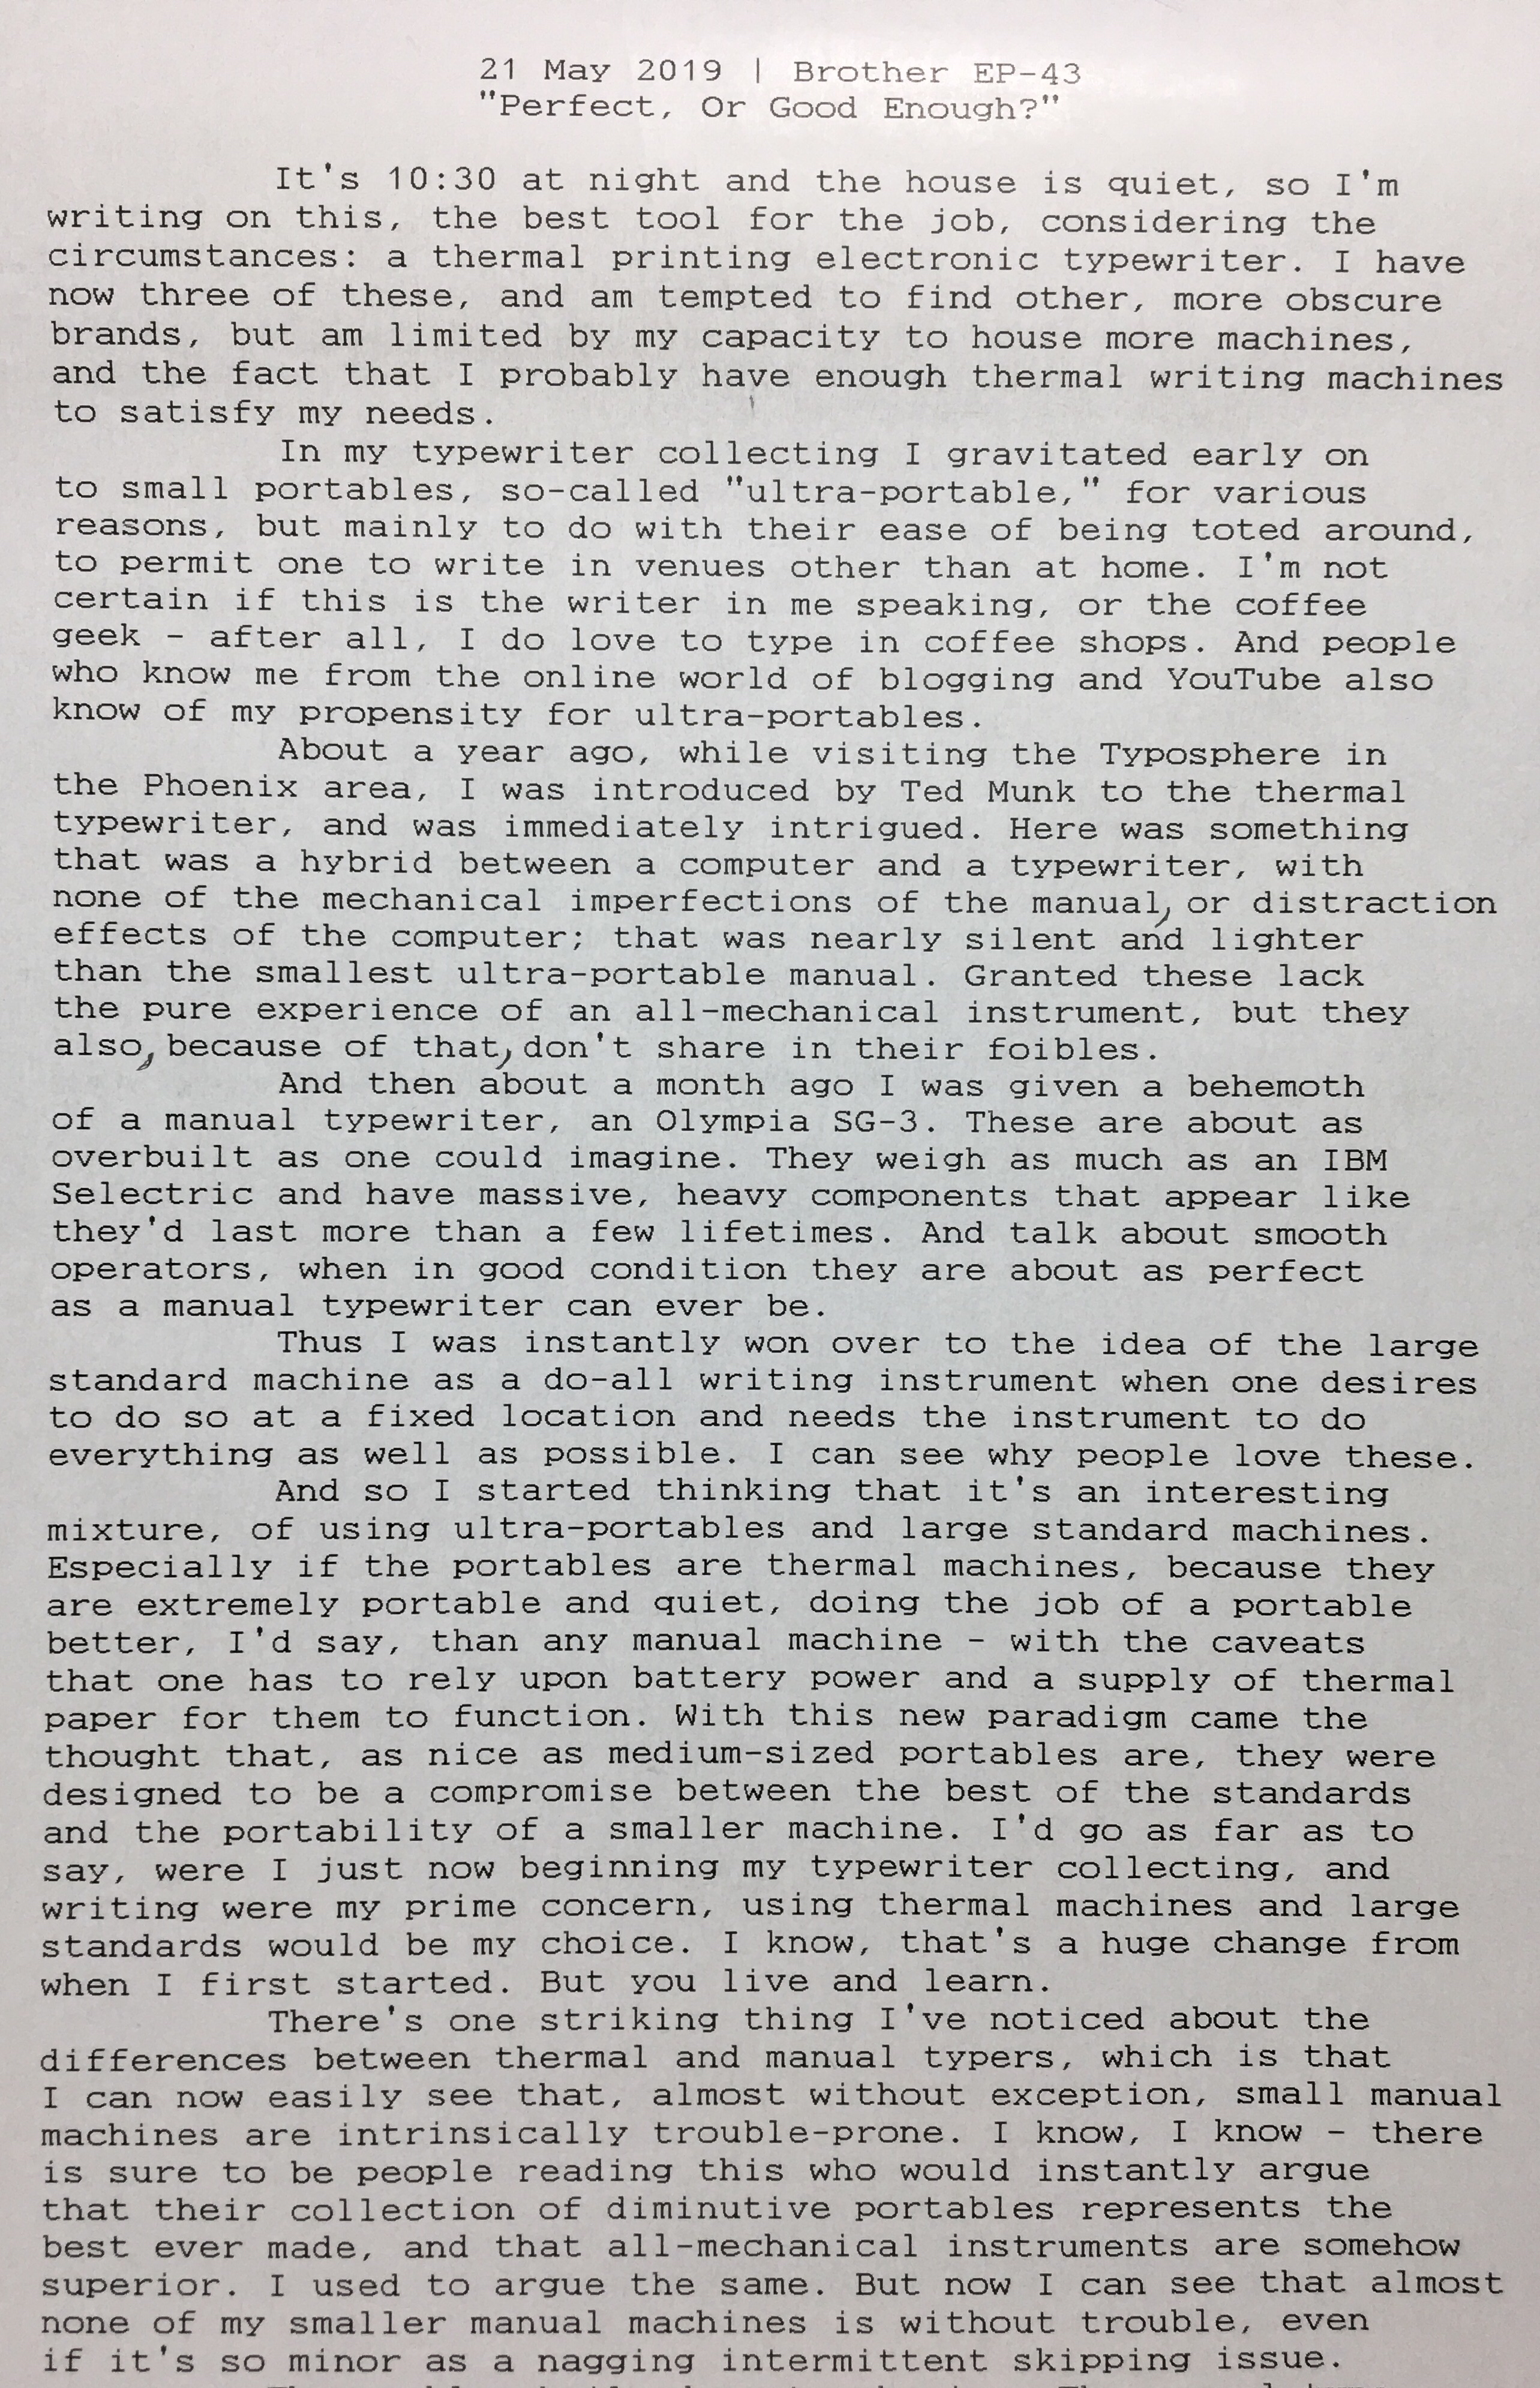
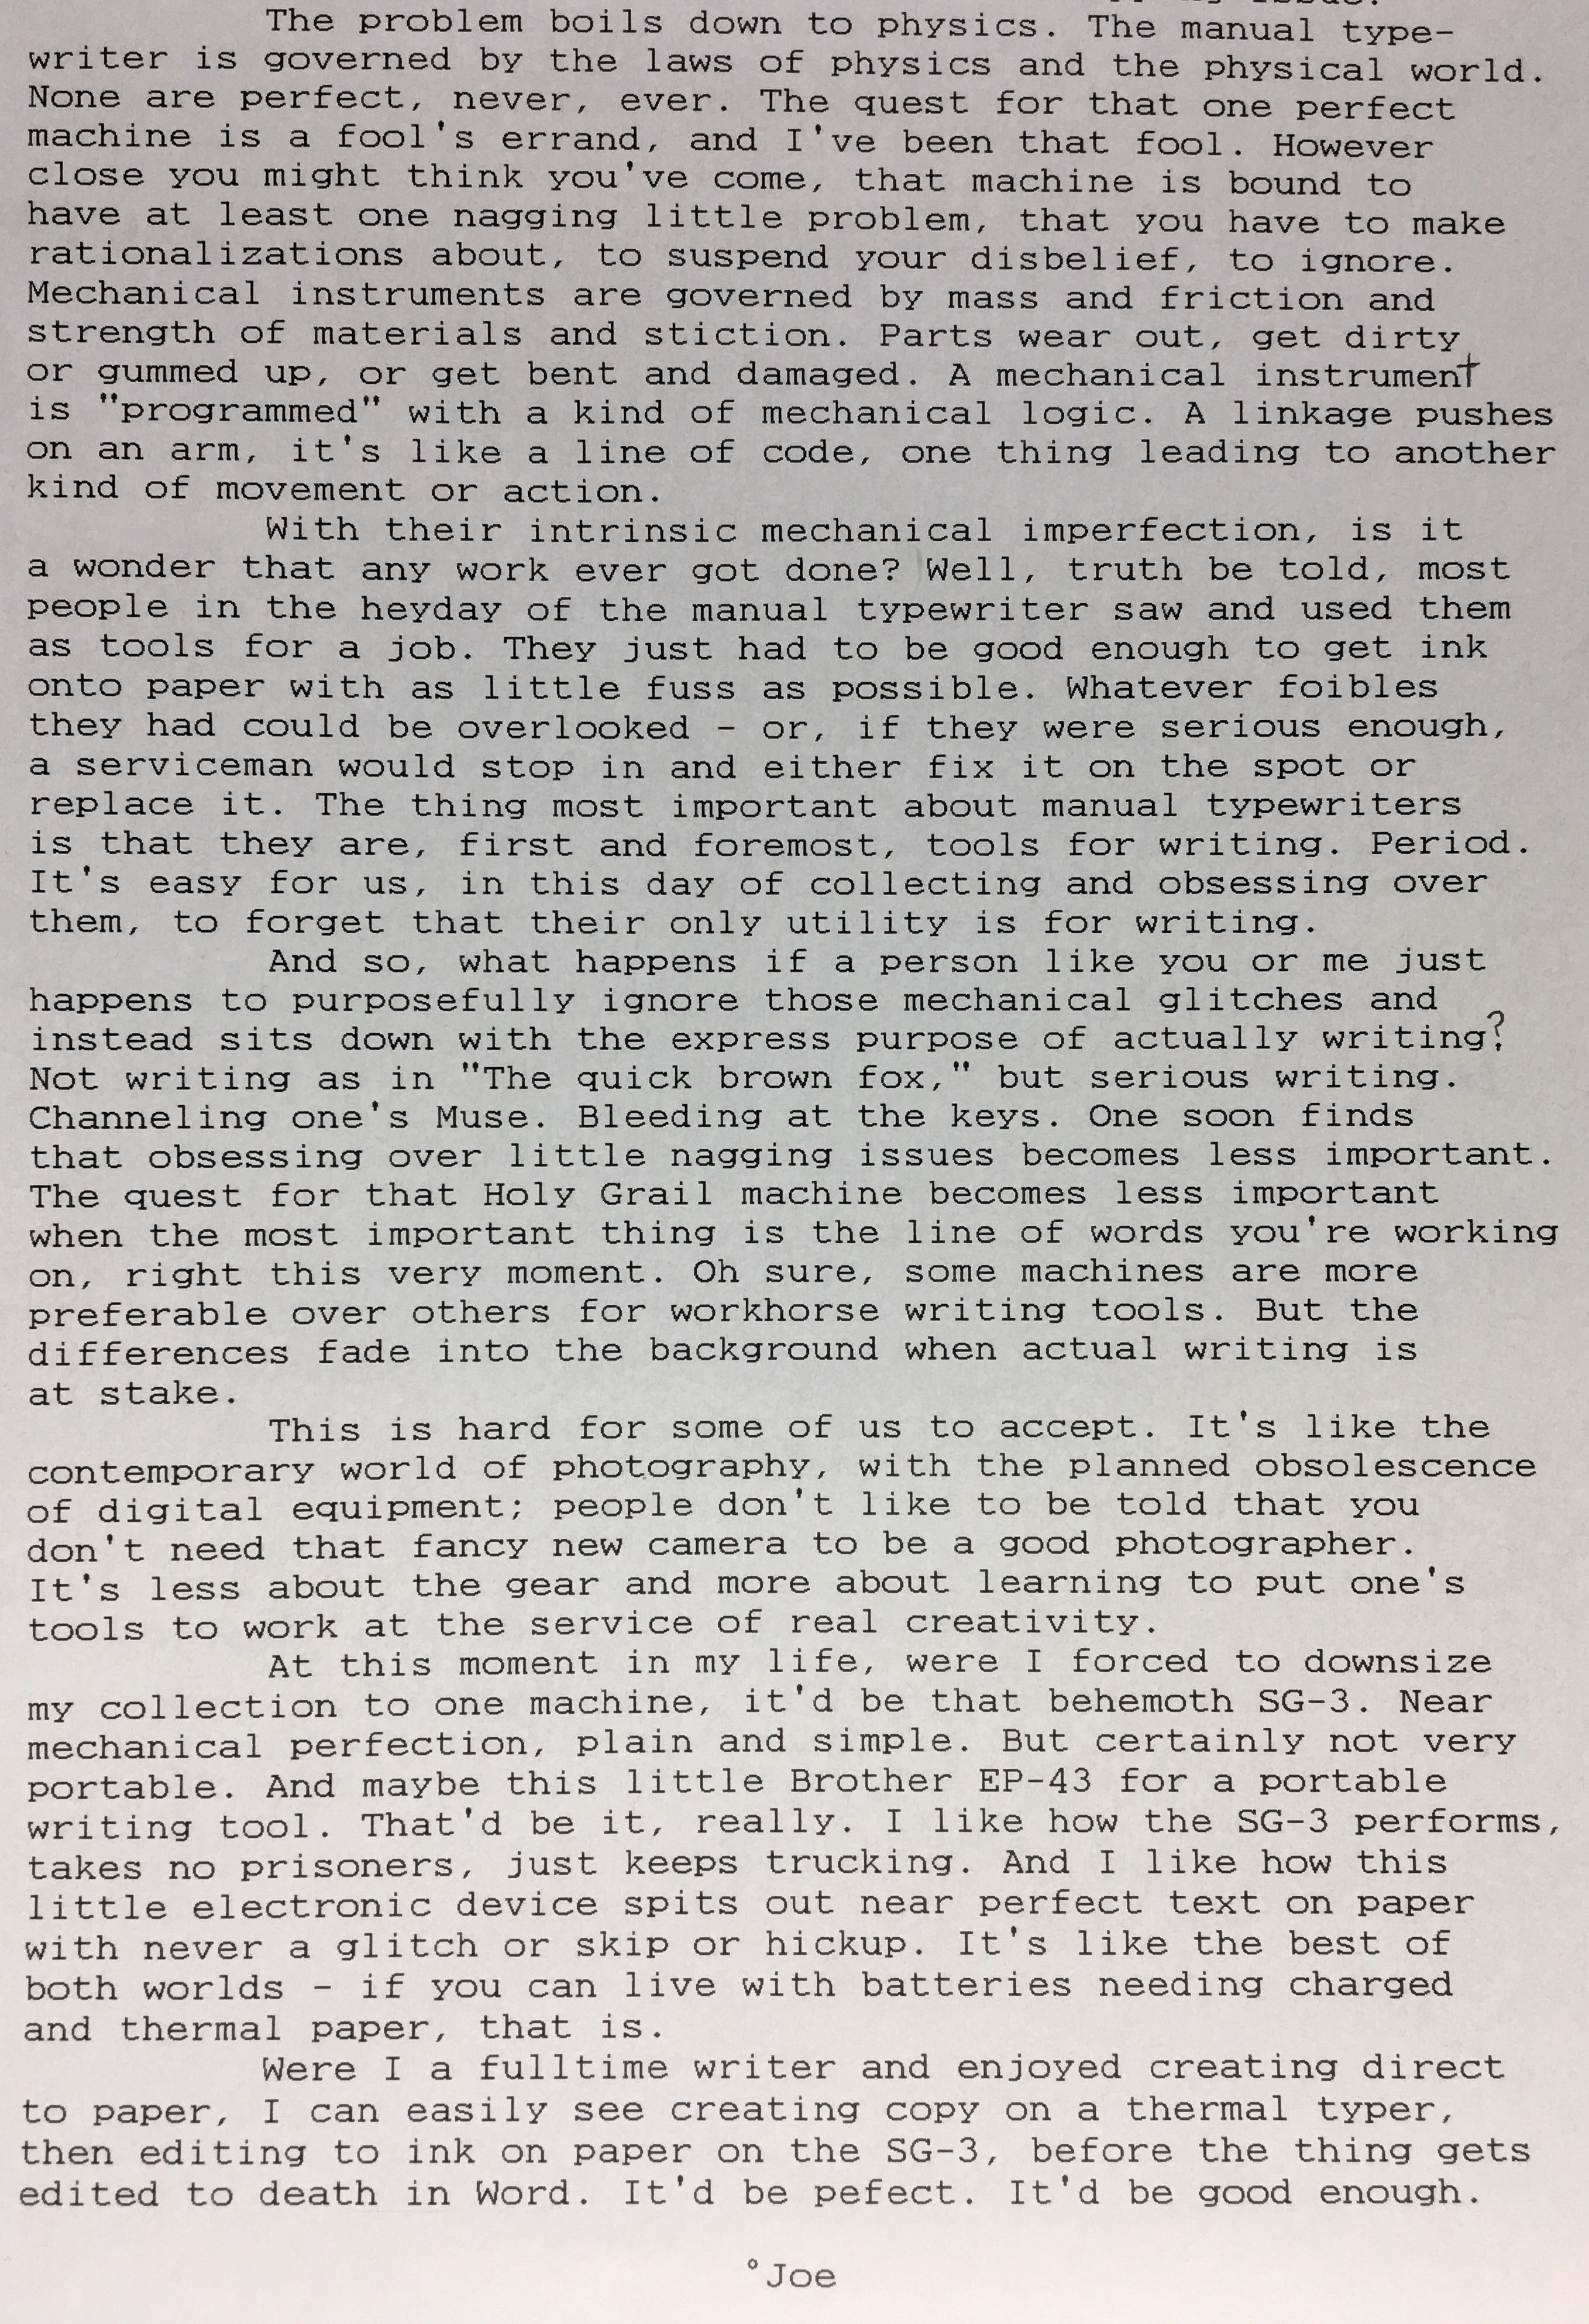
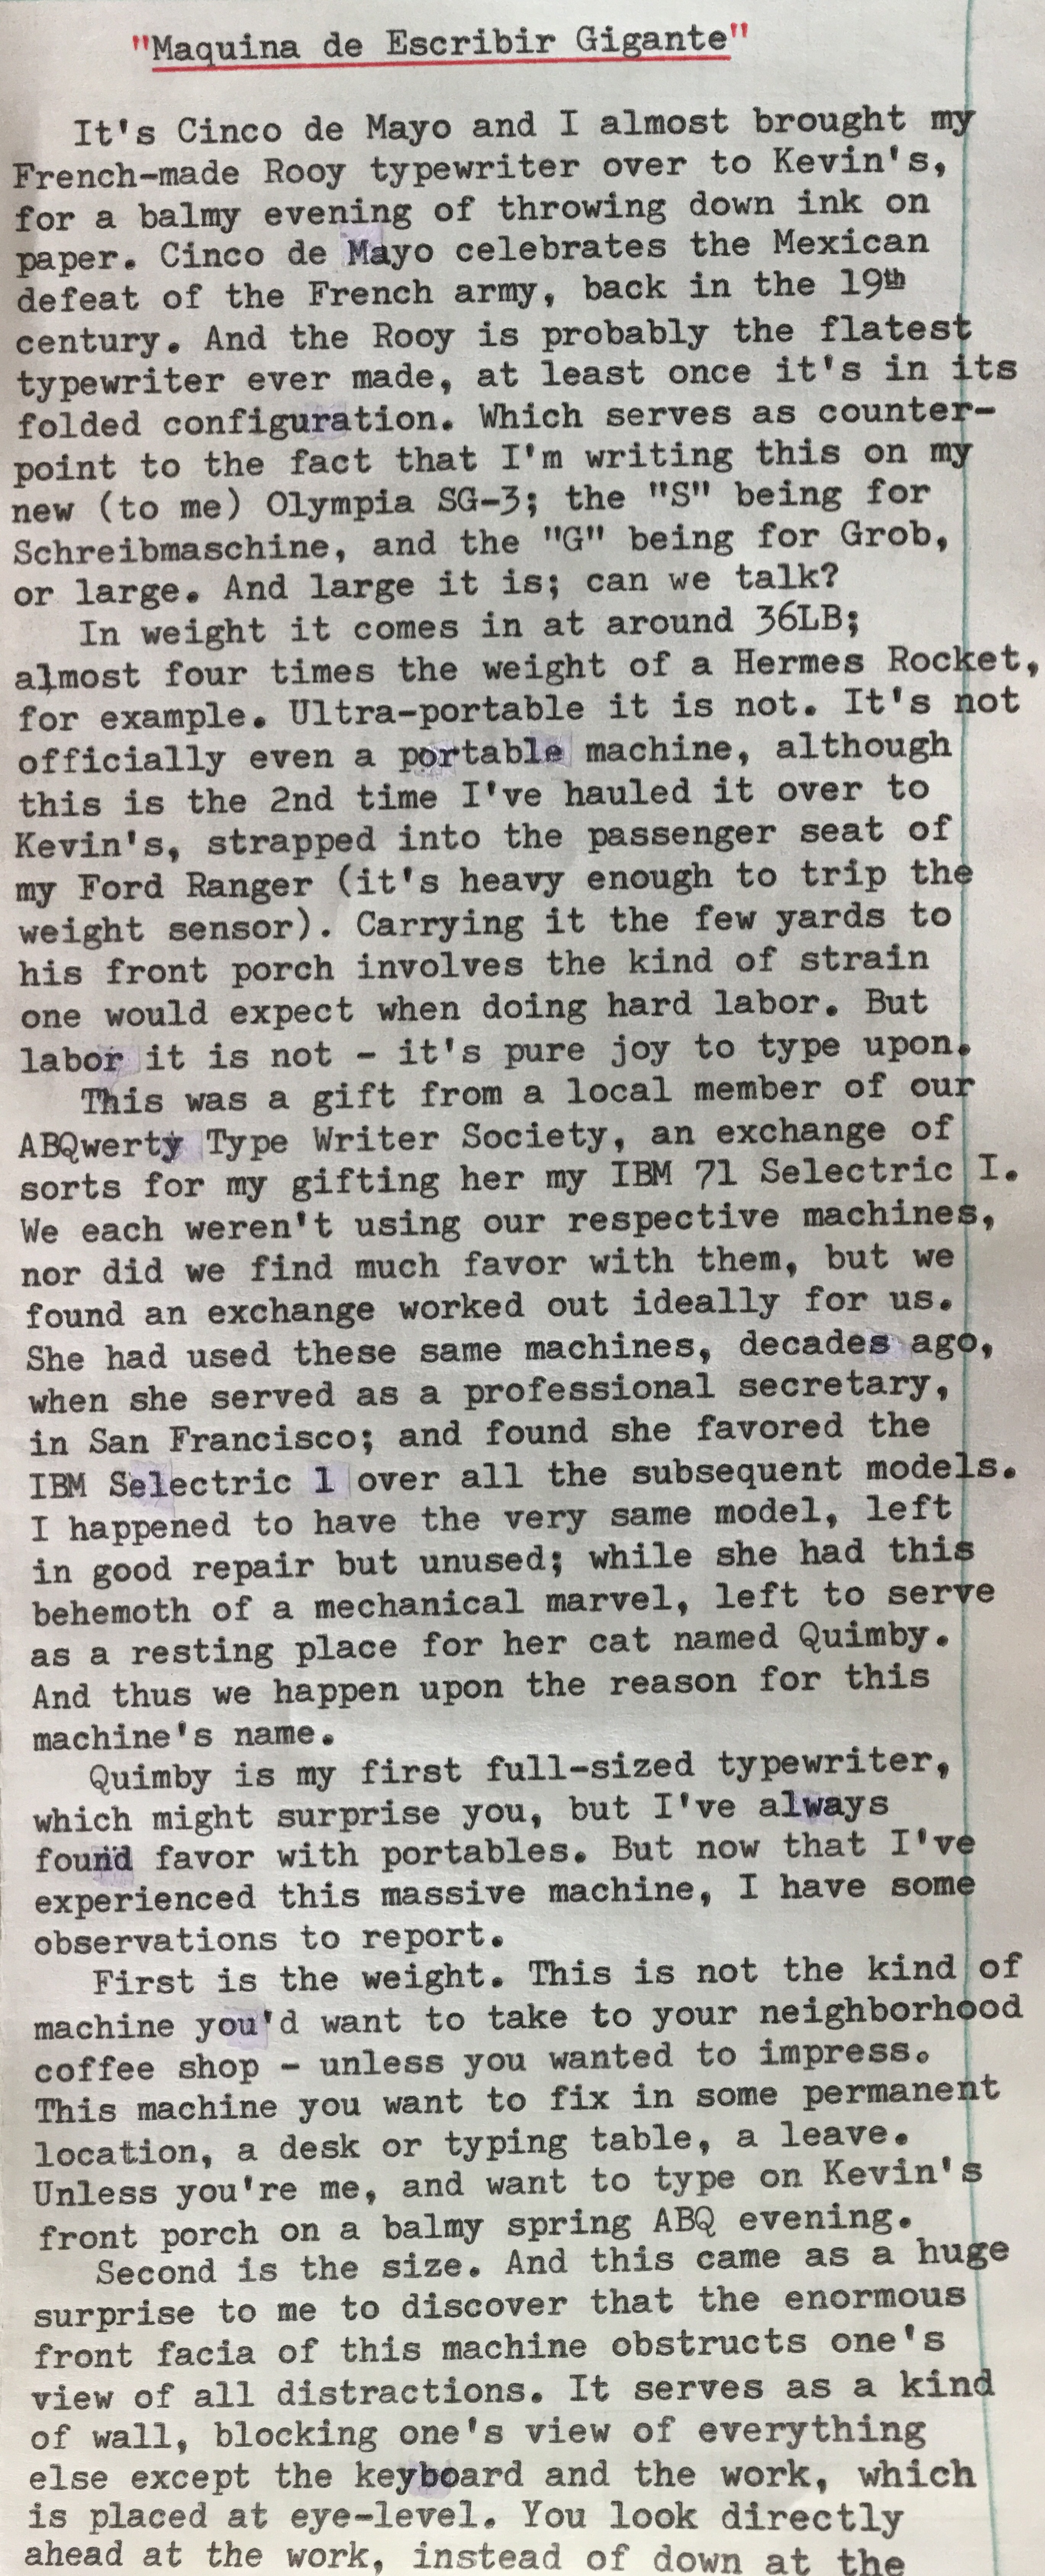
I "scanned" this piece using the panorama mode on the iPhone, which can result in wonky borders unless you're careful to keep the phone exactly aligned, and move it at a smooth, constant pace. But for these long scroll-like writings, it's about the only way to get a seamless image of the piece, without chopping it into separate images. This particular image is not perfectly straight, if you examine the edges there's a bit of wonkiness. I need to build a more precise fixture for this purpose, something like a manual slider that moves the phone horizontally past the typewritten piece at a precise speed and alignment.
Even my flatbed scanner is limited to pieces about 12" long. And a single still camera image would require a sensor with many more pixels than mine, to resolve the individual characters properly. Also, many such camera lenses, especially wide-angle lenses, exhibit field curvature, that make the edges of the image curved, which would then require correction in post.
Now, regarding this idea for a cobbled-together mobile electronic typewriter-like system, the Canon Pixma IP110 printer seems to be about the only small printer with a battery-power option, the battery costing another $100 or so. I've seen the whole package - printer, ink cartridges and battery - for around $300. Which sounds expensive, but considering the idea for a mobile, paper-based writing/typing/printing solution (there aren't any other options that I know of with new equipment), it's an interesting concept worth entertaining. Keep in mind that this cost assumes you already have a mobile device (i.e. smartphone) with which to link up to the printer via Bluetooth. I would also opt to use just black ink cartridges in the printer, to keep the cost down.
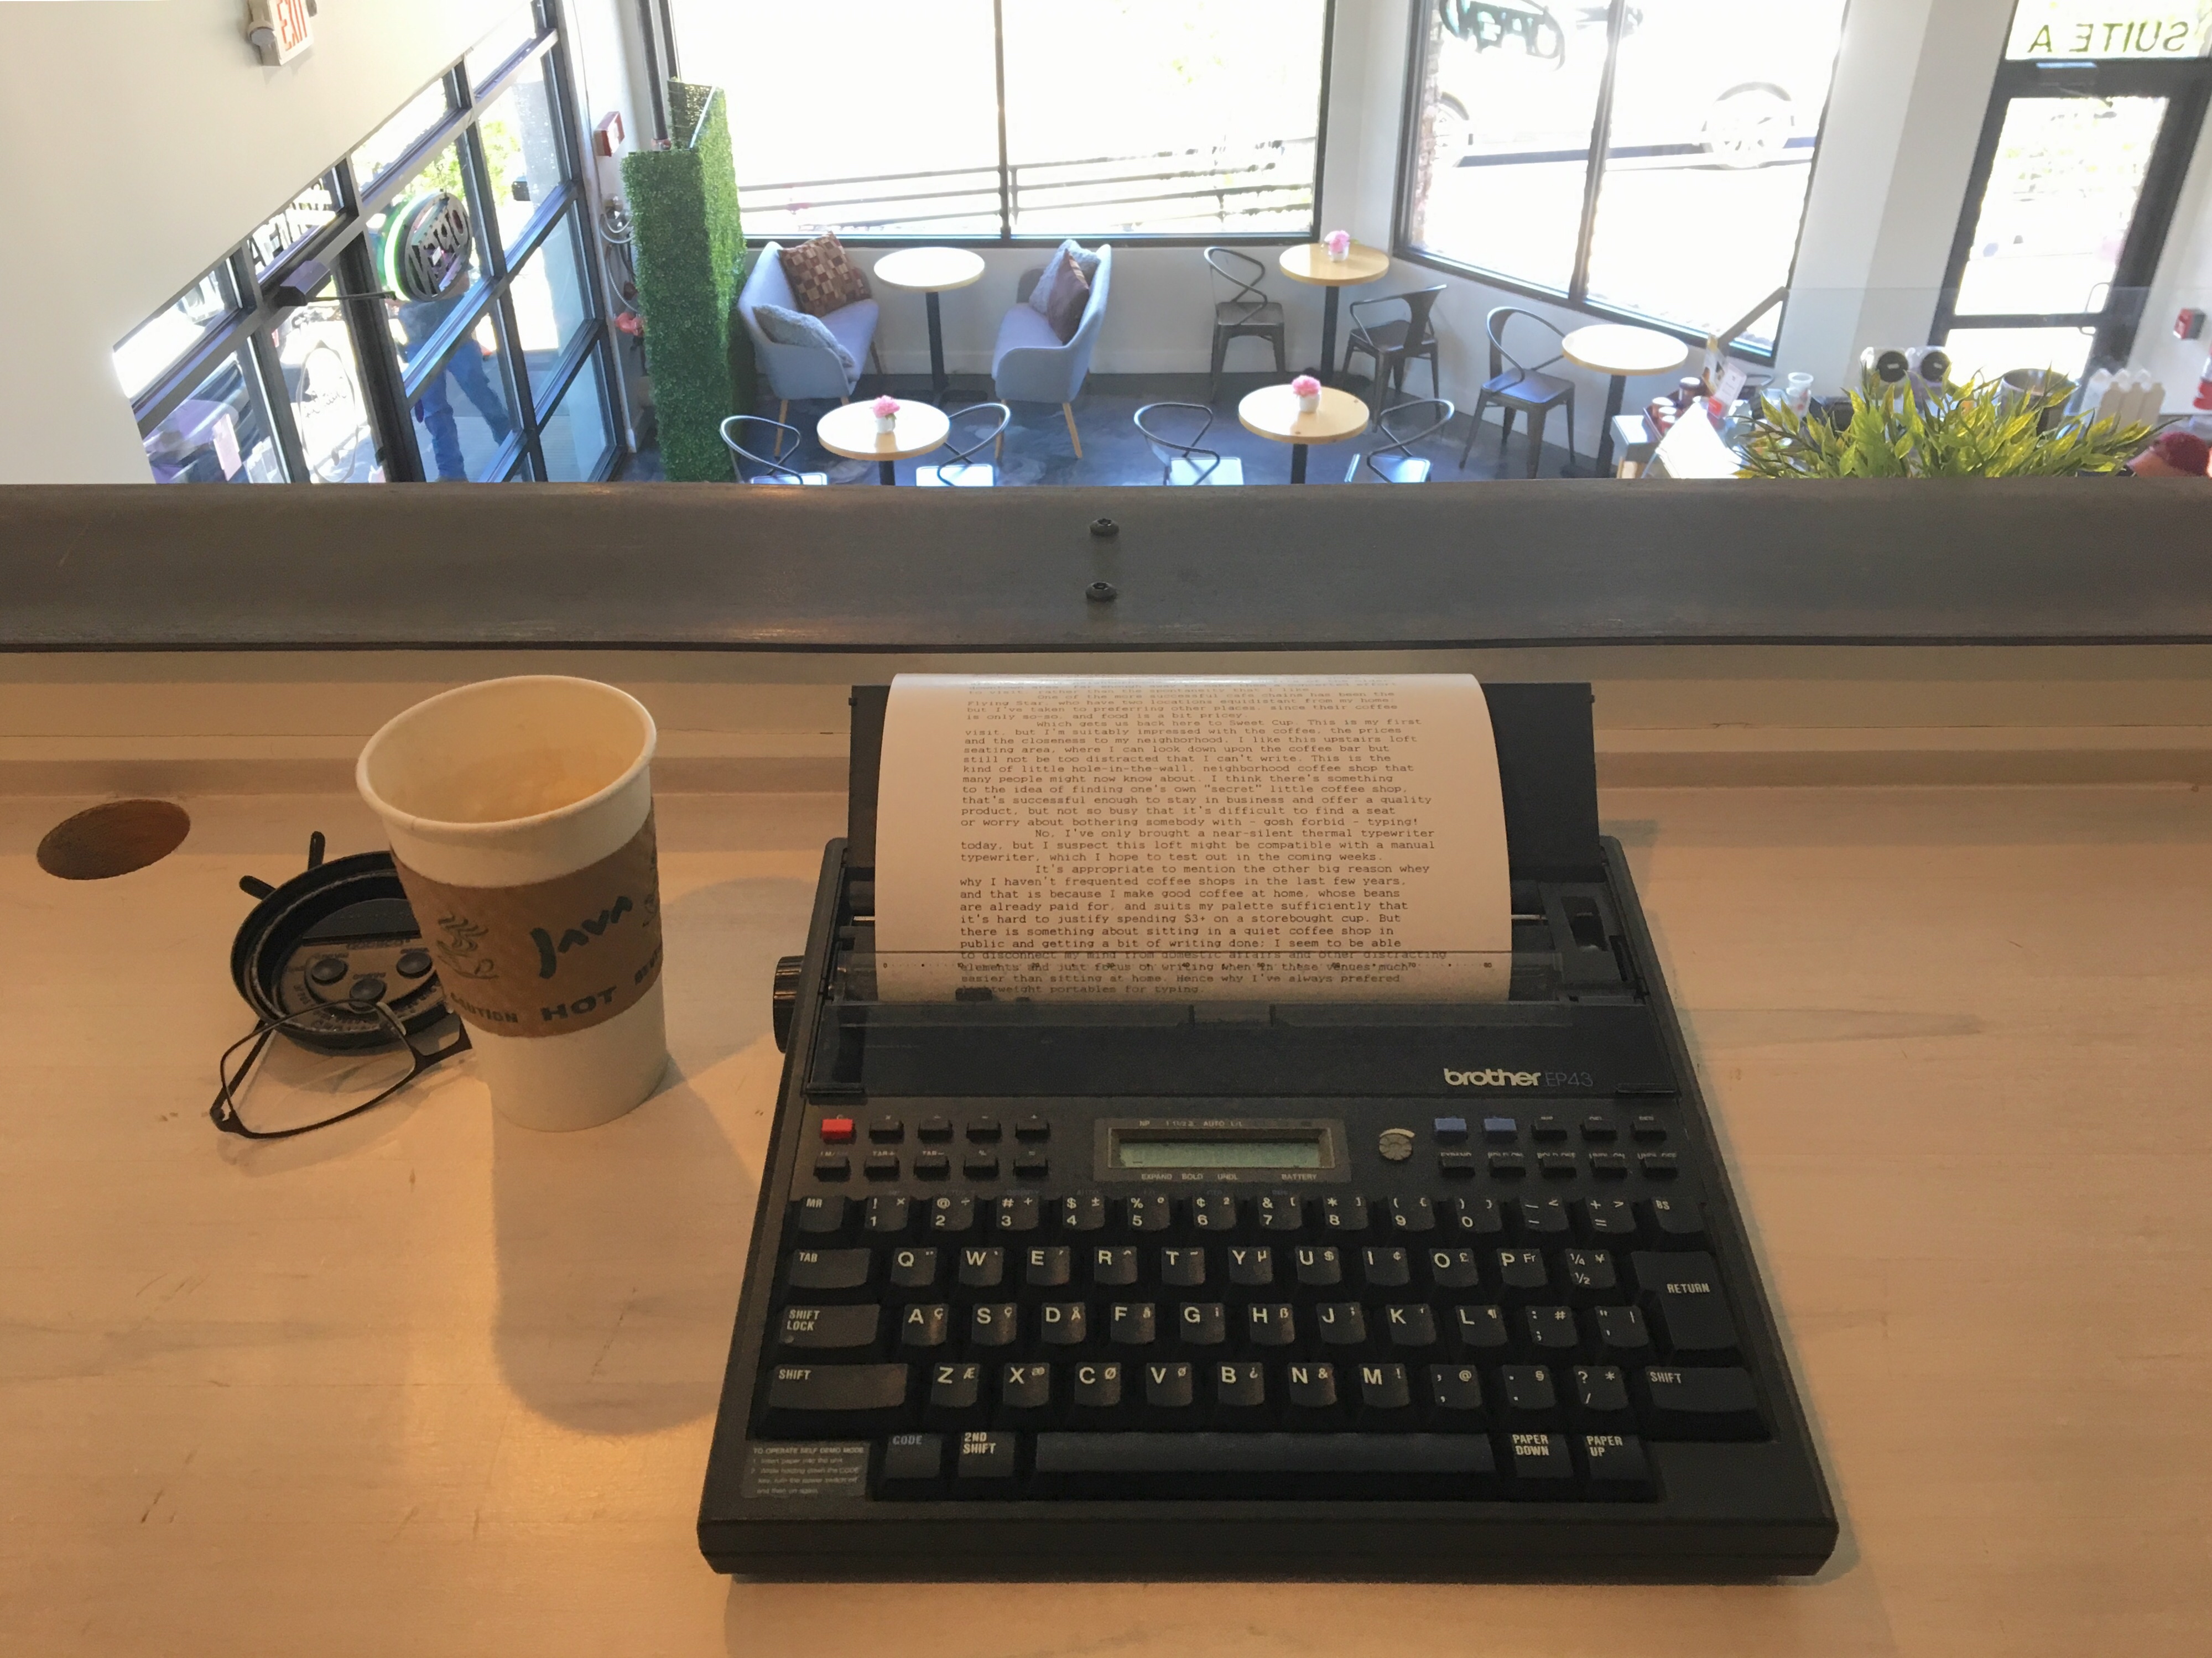
Certainly a person could buy a handful of used, 1980-era thermal typewriters for that $300, but those are used machines with uncertain lifespans remaining. Case in point: my beloved Brother EP43 has recently bitten the dust, the plastic gear train that drives the print head back and forth is now slipping. Yes, I'll probably replace it at some point with another (or just keep using the Canon Typestar 4), but for a battery-powered portable typewriter-like system comprise of newly manufactured components, this is probably the only option.
I recall several years ago using my 60% mechanical keyboard with my iPad2 via a USB adapter. Combining a mechanical keyboard with an iOS device and the Canon IP110 printer could be an interesting project - especially if a custom case is built to house all the components into a typewriter-looking housing.
I'll keep you updated on any progress I make with this project.
In the meanwhile, enjoy the video I made today:
Post-Script: I need to mention that the fall 2019 ABQ Type-Out is happening at Pennysmiths Papers, 4022 Rio Grande Blvd NW in Albuquerque, on Sunday, November 3, 2019, from 1pm-4pm. I hope you can make it, I'd love to meet you in person.
This last Sunday our fledgling ABQwerty Type Writer Society met at the historic Albuquerque Press Club, invited by one of its members. We had a great time writing and socializing on the shaded porch, and hope to return in the future for more typing events. Here's my video of the event:
Post-Script: I need to remind myself to do more train travel, even if it's a short ride, like this wonderful weekend getaway. The price of the tickets was reasonable, the trip took around 3 hours, and the dining car offered the option of lunch, which we enjoyed. But the destination of a remodeled former Fred Harvey hotel was a great destination. And, though Las Vegas, NM isn't exactly a cosmopolitan getaway, it offered sufficient entertainment in terms of eateries and antique stores, keeping in mind we were on foot - the furthest we had to walk was about a mile.
Yes, trains are also ideal for typewriters. The idea of sitting high up in the lounge car, scenery passing by through the picture windows, is a romantic notion. But alas, our relatively short ride was occupied mainly by a leisurely lunch in the dining car, so no typing was done. But for a longer trip, a typewriter is certainly a requirement.
Post-Script: I still haven't found a great way to photograph these long strips of writings with a camera without uneven lighting, or field curvature from the lens. The iOS panorama mode comes closest, but you have to move the camera along the strip of paper with absolute precision in terms of the camera's viewing angle and speed of motion. Perhaps a slider would work. Maybe I'll rig one together.
I was inspired late last night to write this, as I was waiting for my video to upload to YouTube. These thermal machines are great for late-night missives where you want absolute quiet in the house. And it's nice to see the results measured in terms of feet and inches, rather than pages. It feels like progress. In the case of this piece (literally a piece, torn off from a roll of thermal fax paper, after it was completed), it measured nearly 21 inches in length.
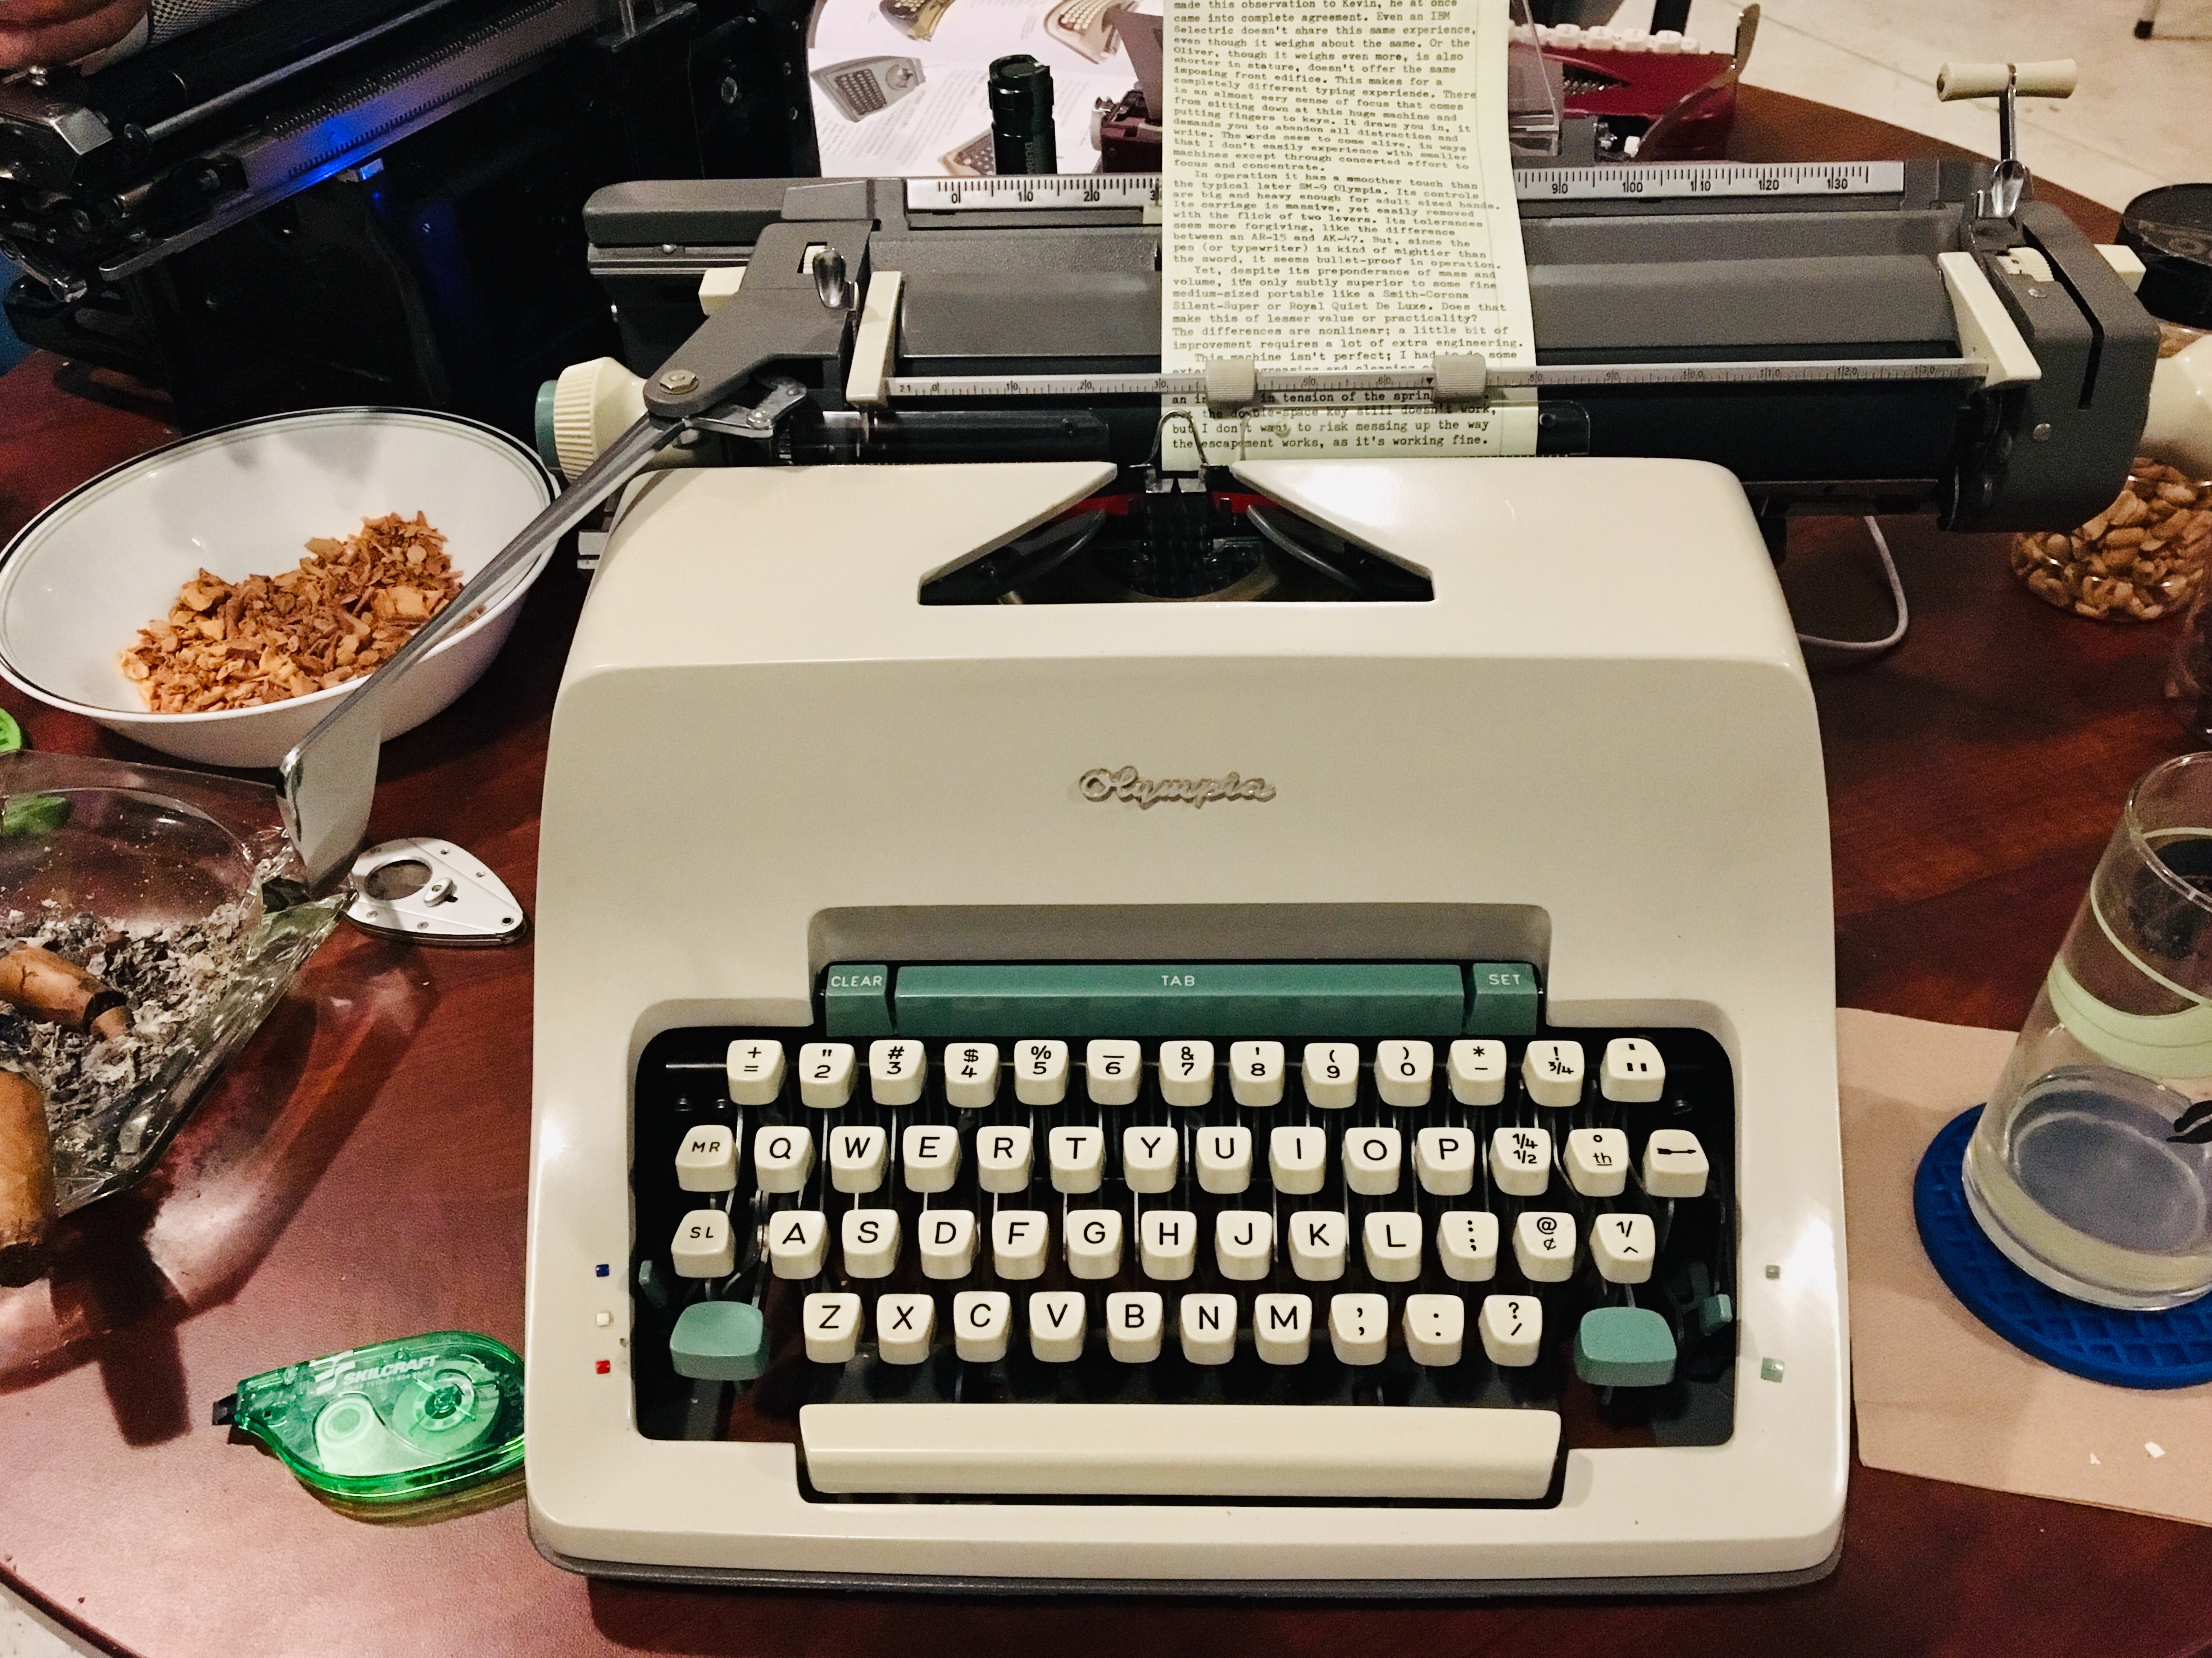
Post-Script: The SG-3 is not supposed to be "portable," so when you do carry it, do so with the carriage close to your torso, since that's the heaviest part. Alternately, you could remove the carriage and move the machine in two halves, but that gets a bit fiddly.
This phenomenon I spoke of in this piece is very real, and immediately noticeable, with these large machines. You (at least, I) really do notice it as soon as you begin typing, how your concentration is focused on the work at hand. It helps that the machine is such a great typer, the action is smooth and, at least on this particular example, the type alignment is darned near perfect.
Which get us to the wonky photos of the typed piece, done using the panorama mode on my iPhone, handheld. It looks like the lines aren't straight, but in fact they are. To do this better, you may need some kind of slider to hold the phone absolutely at the proper angle to the work, and move it with mechanical precision.
The irony of last night's typing session with Kevin is that he was documenting, with his Underwood 6, our mutual collections of ultra-portable machines.
I have another video and blog article to do this week, about my recently acquired Brother EP-43 thermal typewriter. Yes, this makes three such machines. Are they in fact "ultra-portable" typewriters too? Yes, for certain. But that's the subject for another day.
I'm starting to gravitate to the conclusion (at least for now, as I hold the right to change my mind at any time) that a combination of thermal typewriter for out-and-about typing, and a full-sized standard for fixed office/studio writing, is a great mix. What do you think?