Tuesday, April 28, 2015

Man Cave Musings

P1100066a

Typecast058

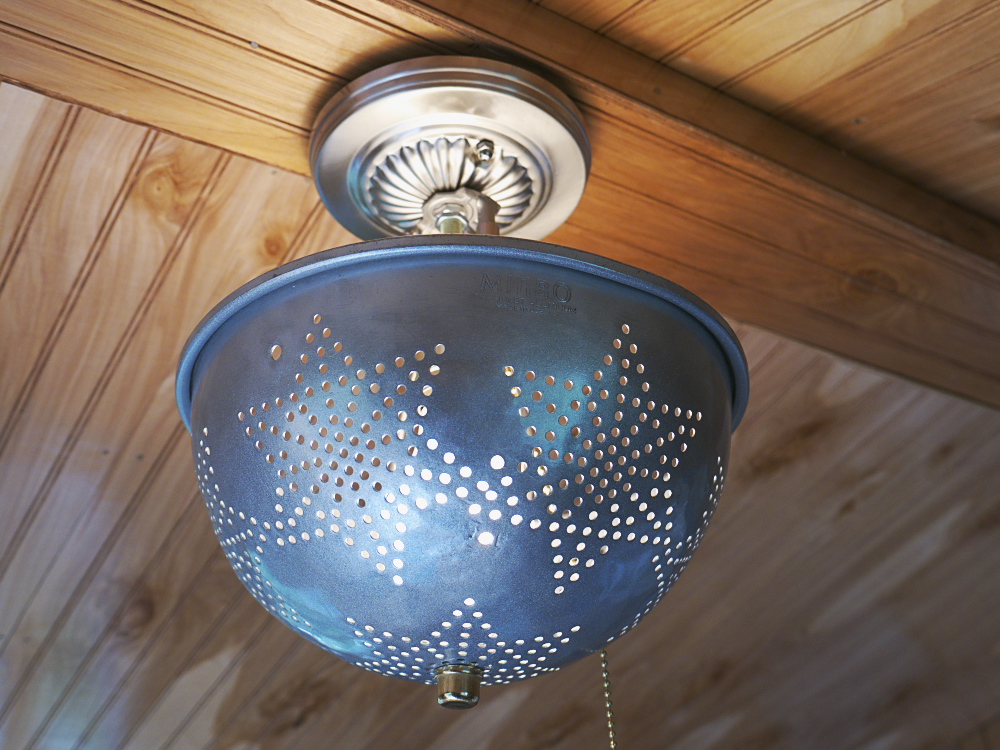
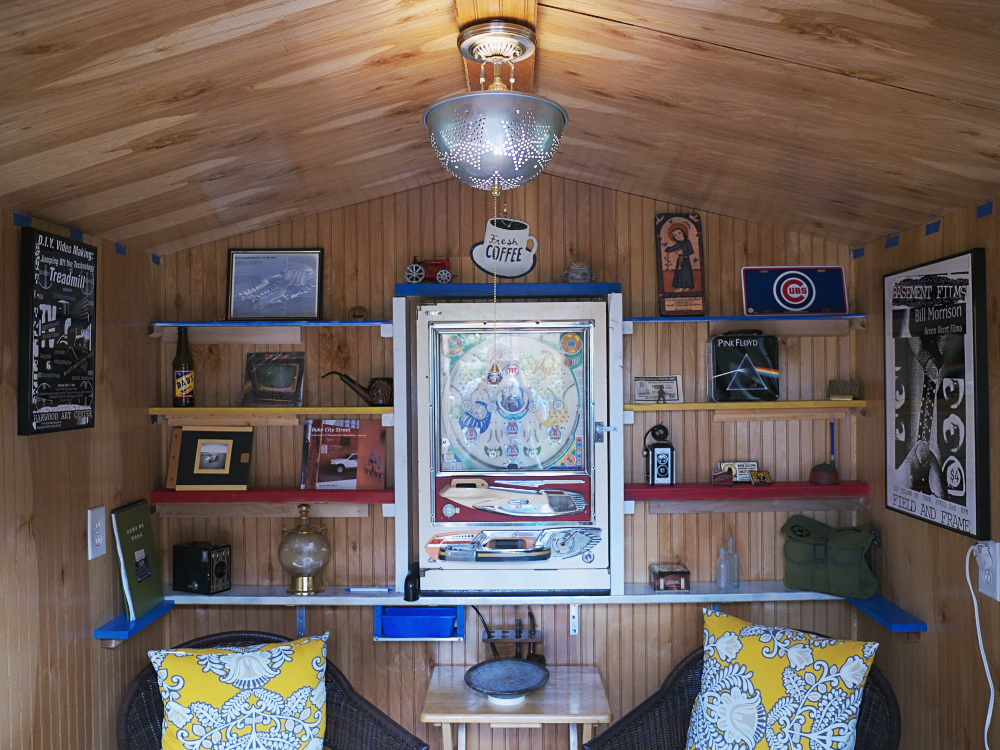
Post-Script: The Man Cave can get warm in the summer, with only a fan to keep cool, and an electric space heater does a passable job in the winter, so I wouldn't want to store a manual typewriter here year-round, but it's a great place to get away, relax, listen to music, write or surf the Internet (via WiFi). Here's a closeup of the former colander now converted to an overhead light fixture.

P1100067a

Photos via Lumix G5. Typecast via Smith-Corona Silent.

Sunday, April 26, 2015

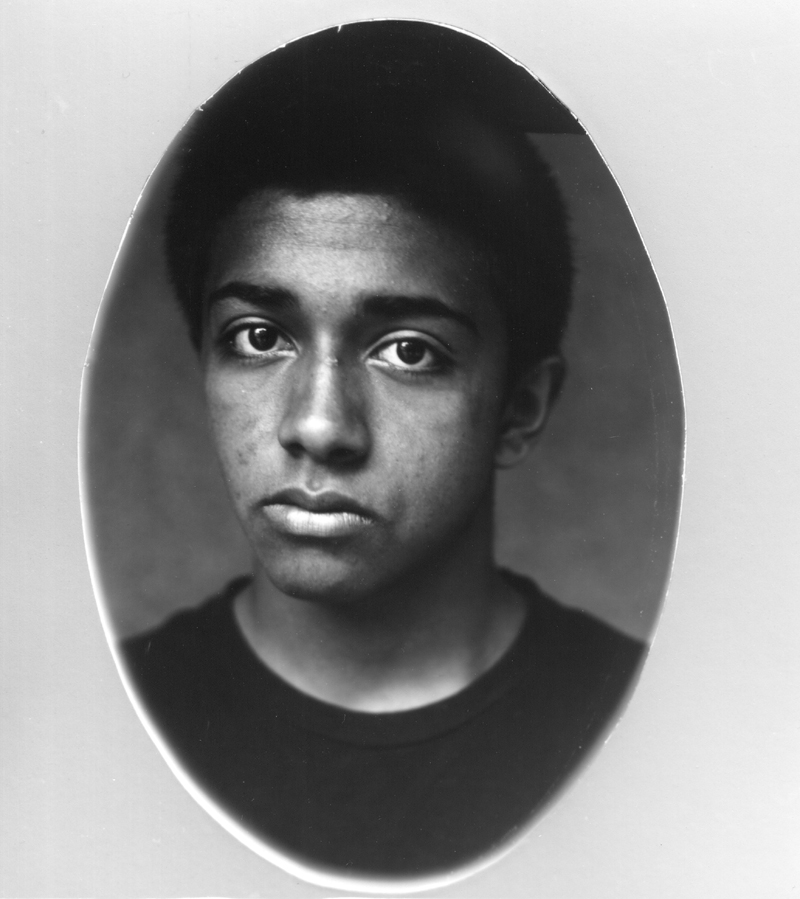
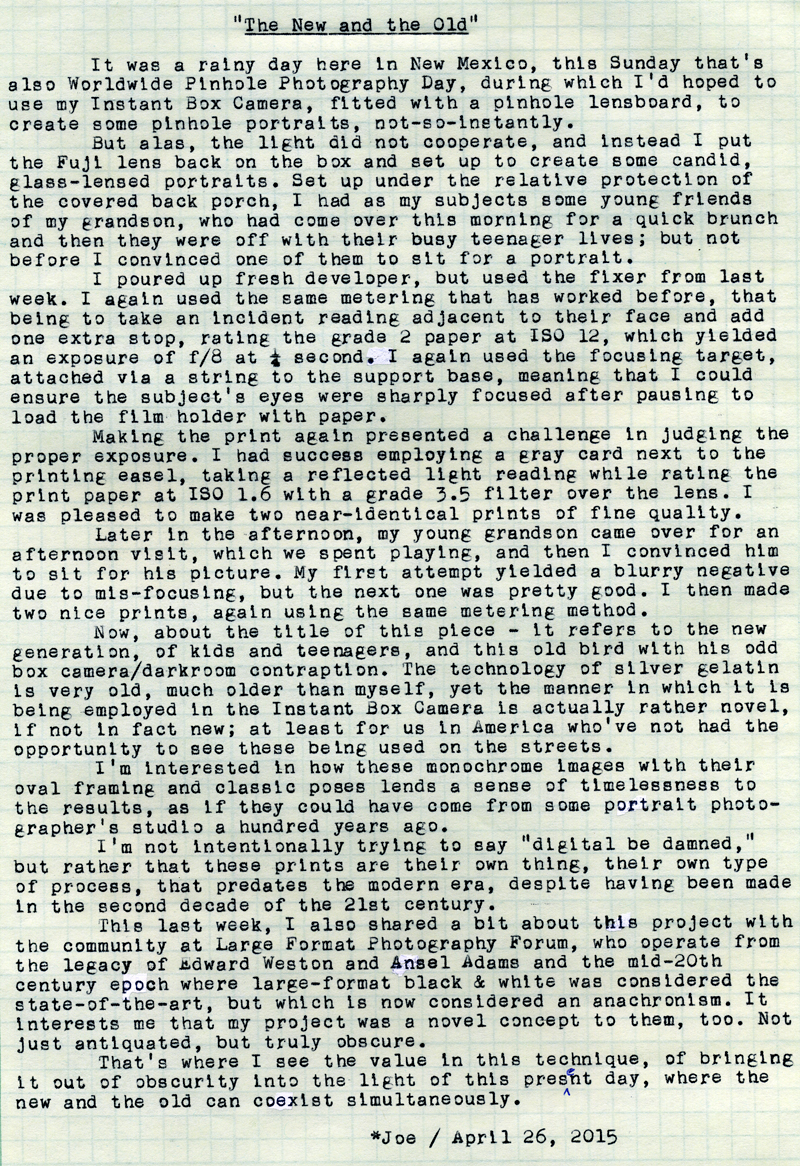
The New and the Old

Mark001a

Typecast057

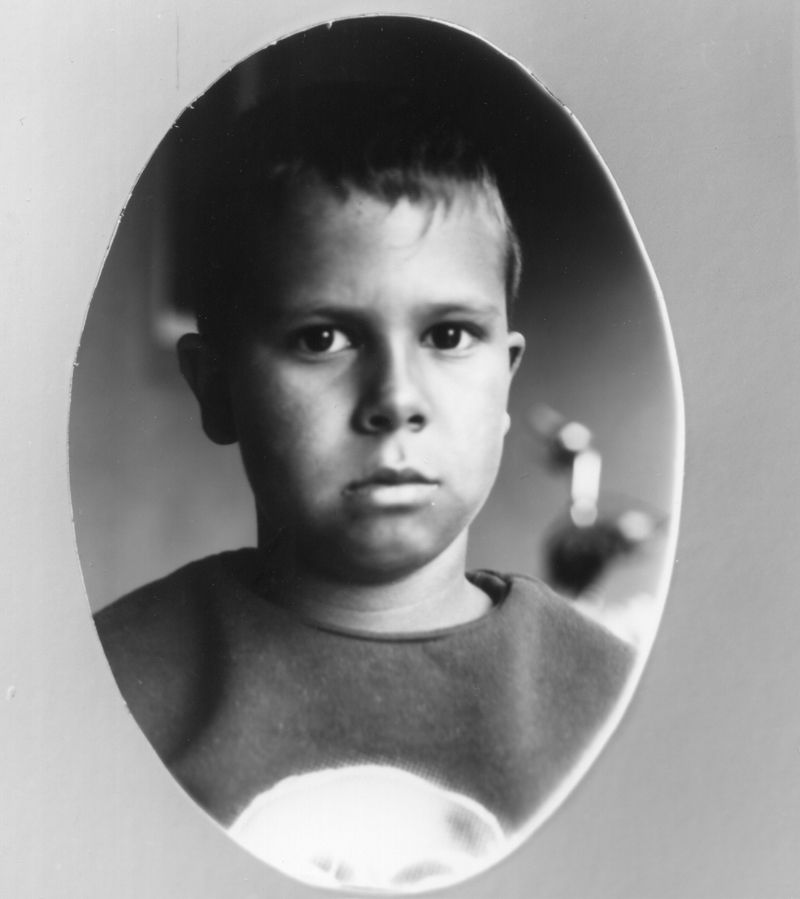
Post-Script: Here's a scan of my grandson's print:
Cash001a

While the focus on this bottom negative wasn't quite as sharp as I'd like, the portrait overall is very pleasing. I made the top negative with the camera facing the back of the porch, for an uncluttered background and even lighting. But due to the rain this afternoon, I had to position the camera pointing parallel to the porch for the second portrait, and so this image has a bit of a cluttered background to it. Also, the bottom image is very side-lit, due to the orientation of the camera to the source of light. I have a collapsible fabric reflector that I could employ for filling in such shadows, which I need to remember to include in my kit.

I continue to make copious notes, both during and after each portrait session, not only of the exposure data but on issues I encountered and things that need improving. One thing I've noted is regarding the magnetic rubber sheet, used for the oval mask, that adheres to another such sheet behind the negative, on the printing easel. There are places where the magnetic fields of both sheets oppose one another, resulting in the oval mask not remaining flat. I'm considering remaking the backing of the printing easel, using a sheet of galvanized steel, painted flat black, in place of the rear magnetic sheet. This will still permit the oval matte to adhere magnetically, but without issues of magnetic polarity.

Another issue is regarding the focus on the bottom image. Even though I was using a focusing target, his face is too close to the camera, as evidenced by his shoulder being in better focus behind his eyes. Perhaps I can attribute this to his young age, not keeping the string of the focusing target properly stretched tight, but perhaps there's a better method; or I just need to be more careful before tripping the shutter.

A further issue was that, on two occasions when unloading fresh paper from the paper safe, the sheets either fell into the developer tray or were placed there by mistake, due to the tray being too close to the safe. I need to ensure the tray is pushed as far toward the right side of the box as possible. It's these little errors of technique that I need to resolve, through continual practice and constant reflection on my results.

Alas, though this was Worldwide Pinhole Photography Day, I was unable to make a pinhole photo today, due to the inclement weather and resulting dim light which, with paper negatives, requires exposure times many minutes long. I'd like to offer, as an excuse, that perhaps the other 364 days of the year are also good opportunities; and that those other days of the year potentially make for a greater contribution to the art.

Typecast via Smith-Corona Silent.

Tuesday, April 21, 2015

Learning to Write for Radio

P1100065a

Typecast056

Post-Script: Here's the link to Transom's article on Alex Chadwick's advice on writing for radio.

Typecast via Smith-Corona Silent. My fingers are nicely adjusting to touch-typing on manual typewriters, especially on this and my SCM Galaxy 12. It's been a matter of just doing it, until those minor fingers get strong enough.

Sunday, April 19, 2015

Twenty Minute Selfie

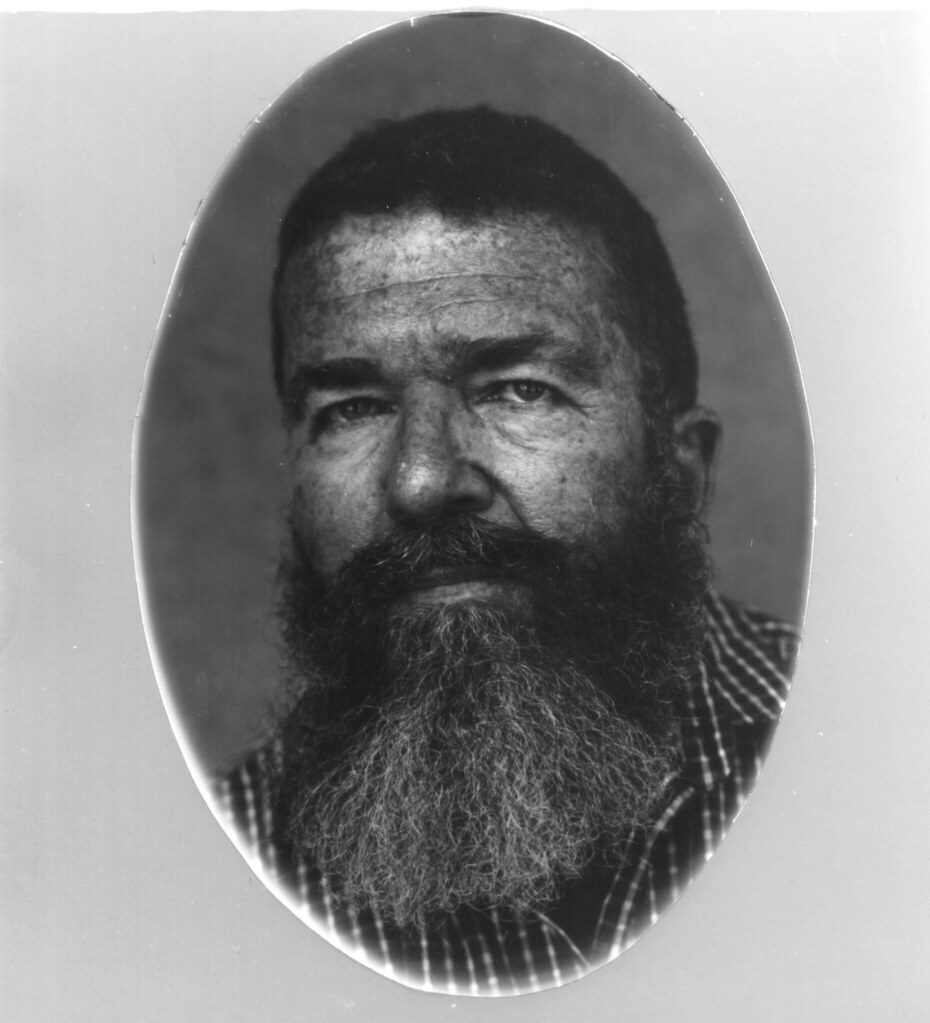
Joe001a

Typecast055

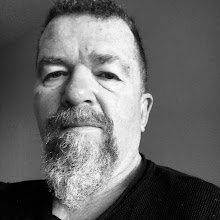
Post-Script: Even with the trouble of the printing filter getting wet, this session was quick, and the results satisfying. I've made no effort to clone stamp the dust spots off the print; some of these are actually from my scanner, as looking at the print in hand, it appears very clean.

I know I'm going to have to get a kit of supplies together, for doing this out in the field. One idea I've had is building a platform that rests on the tripod's three support struts, between the center column and legs, that would provide for a storage shelf. Moving all of this in one trip from my car will still be a challenge. I think I can carry all the small stuff in a backpack, with the camera atop the tripod in one hand and a folding stool in the other.

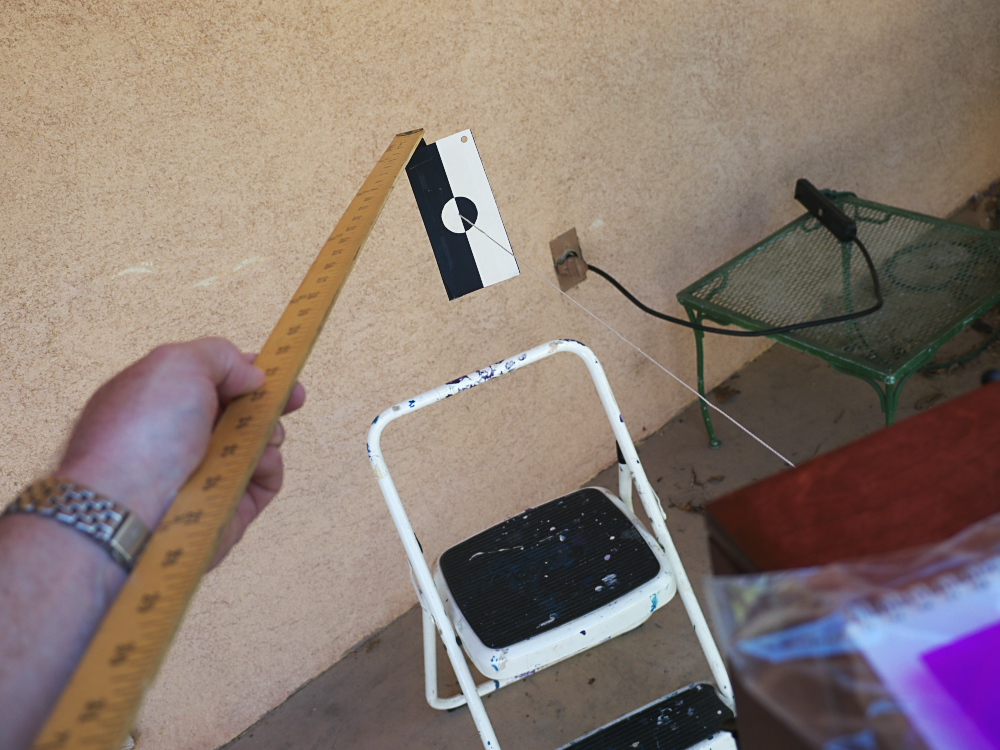
Here's a shot of how I supported the focusing target in front of the lens, via a wooden yardstick. I first sat on the stool, with the tripod's height adjusted to center the lens on my face, and adjusted the stool to make the string tight at my eyes. Then I attached the string to the yardstick and focused it by gazing into the rear access door.P1100060a

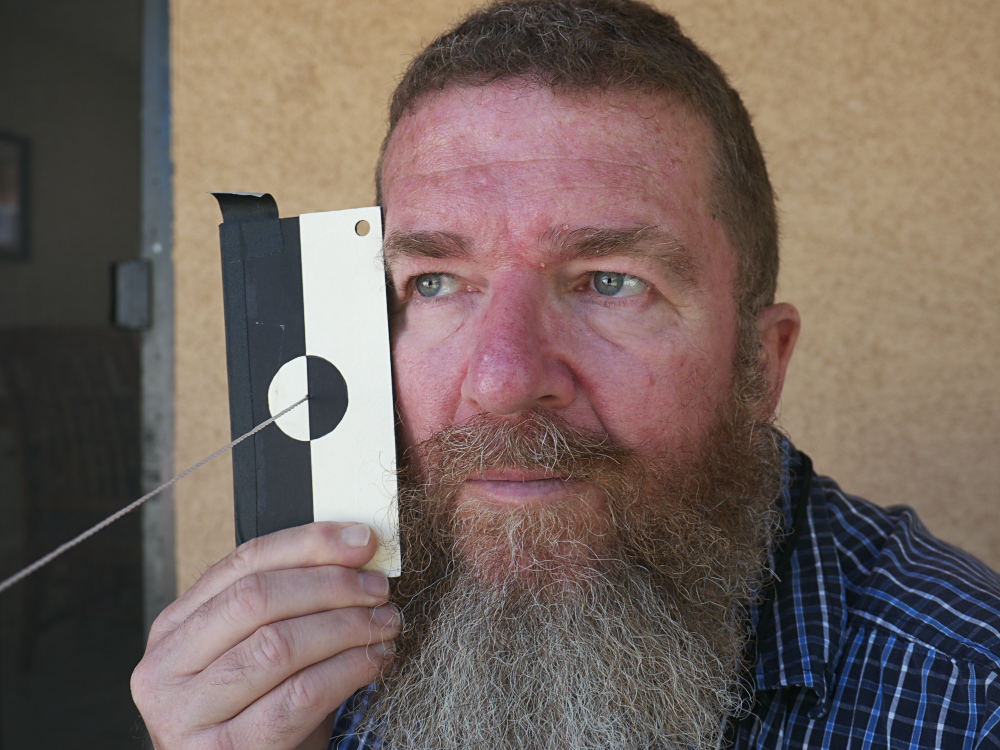
And here's me holding the focusing target on my temple, adjacent to my eyes. And holding my Lumix G5 with my left hand, to make this image; the G5's fold-out LCD screen is indispensable for these kinds of shots. For the actual portrait, I had the focusing target in my left hand and shutter release cable in my right. I stretched the string tight, moved my head into position, lowered my left hand and tripped the shutter.P1100061a

Typecast via Smith-Corona Silent.

Saturday, April 18, 2015

Newest Video - Instant Box Camera, Part 1


Last week I made a video describing the Instant Box Camera and how it works. This is part one of what will be a multi-part series of videos on this subject. Leave comments below if you have any questions.

Wednesday, April 15, 2015

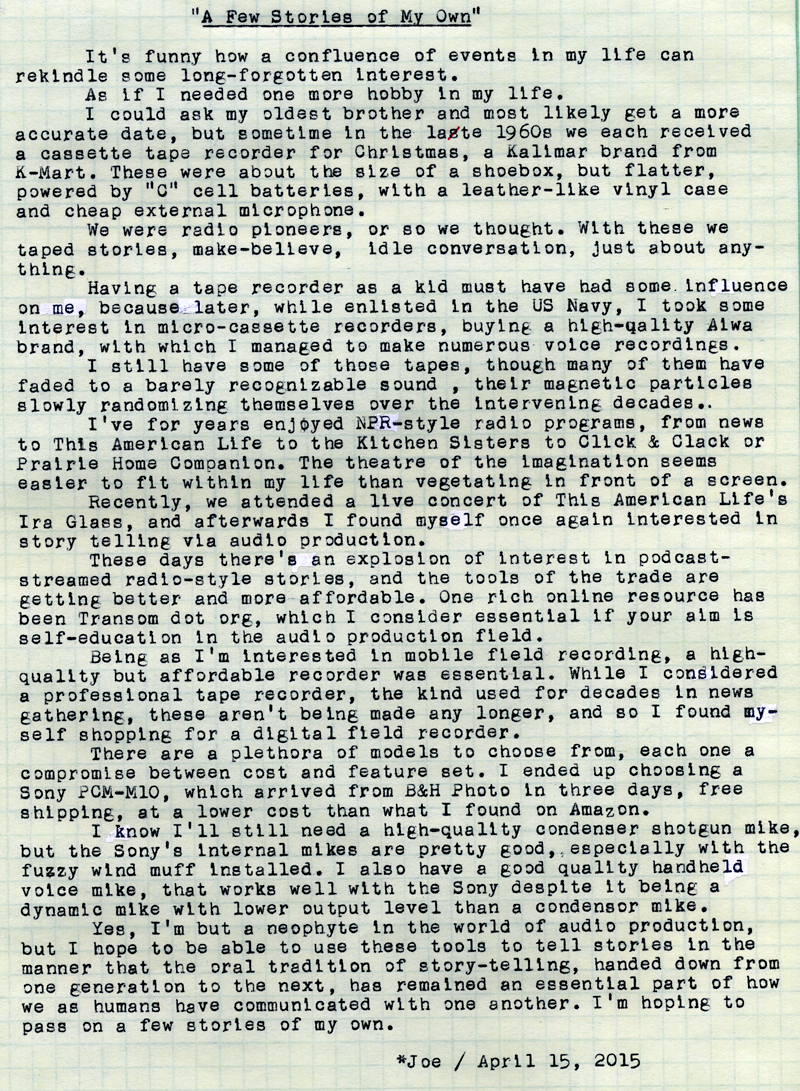
A Few Stories of My Own

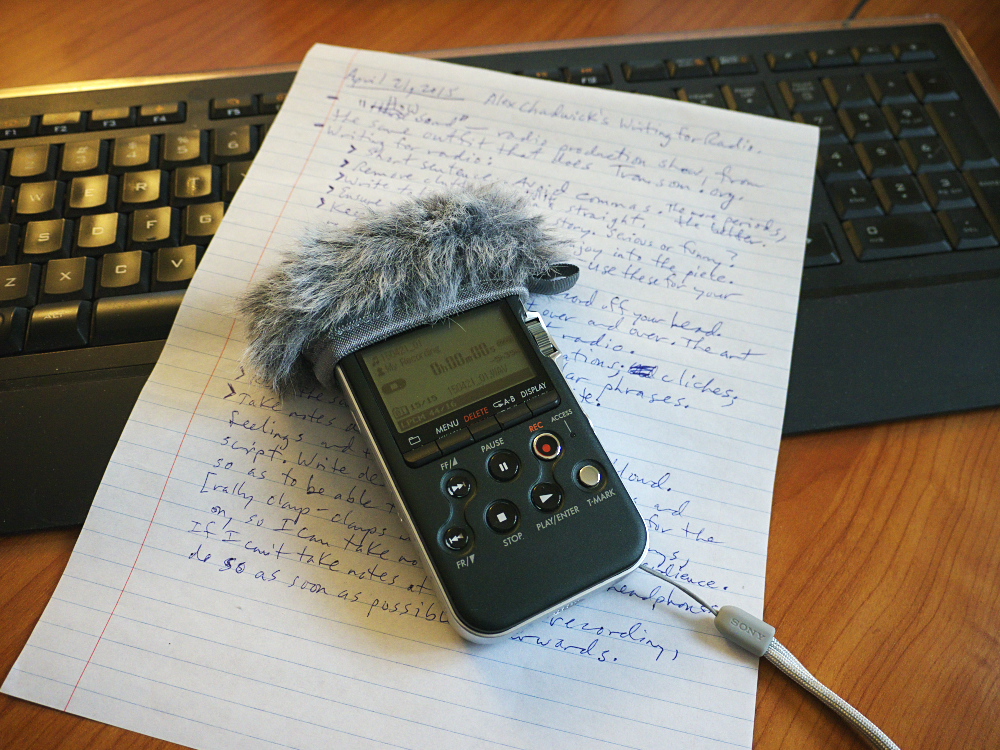
P1100059a

Typecast054

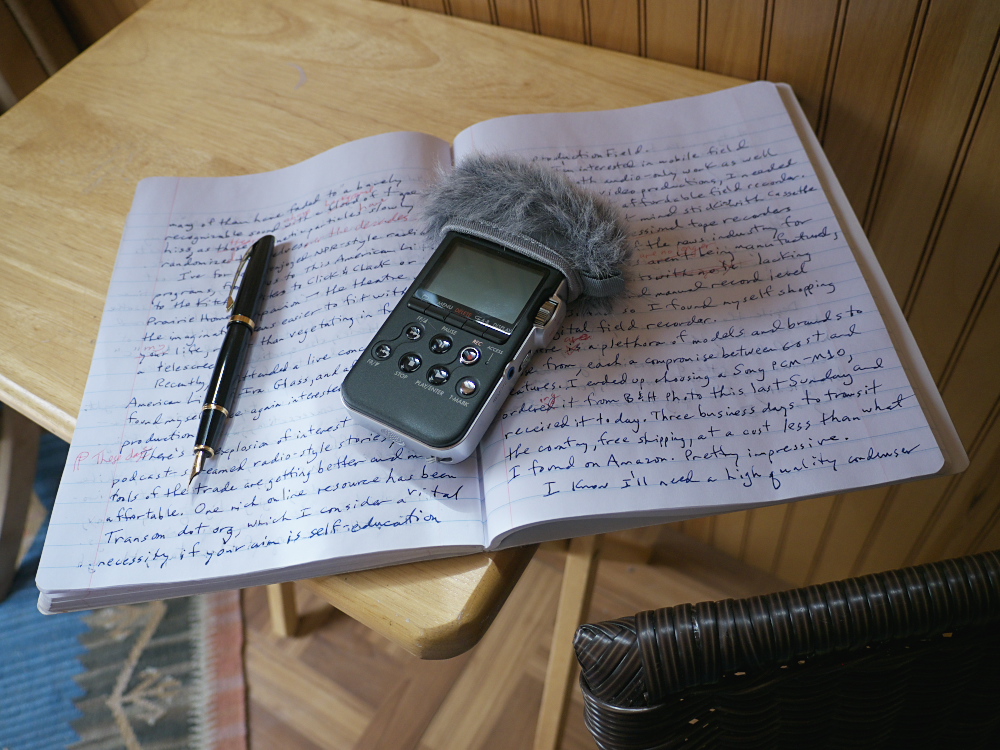
Post-Script: While writing this piece (on fountain pen in my Staples sugar cane pulp composition book) this afternoon in the Man Cave, I also did some practice audio recording sessions using the Sony PCM-M10, including a recording of myself reading this piece, using both the on board mikes and the external handheld dynamic mike. I used manual record levels, set to "3" for the internal mikes and around "6" for the dynamic mike, which was very clean sounding. I had the door of the shed open, and the sound of the afternoon breeze tinkling the wind chimes and whistling through the screened windows could easily be heard on the recordings using the internal mikes, which are omnidirectional. For a more serious studio recording environment, I'm going to have to make some sound reflecting panels and find a quiet spot in the house. I'm actually kicking around the idea of using the garage-based darkroom for that purpose, though it's cold in the winter and thus I don't want to store a computer out there (plus the fan noise from the computer can easily be picked up on microphone). But still, it would be a quiet, out-of-the-way spot to do some studio microphone work.

For some reason I began these test recordings with the line "This is Joe Van Cleave with another Missive From the Man Cave..." and I really liked how that sounds as a potential title for a podcast. Not that I'll be starting a podcast anytime soon, but it's fun to practice, and dream.

Here's a link to the Sony PCM-M10 from B&H Photo. I noticed the price has gone up 20 bucks since I ordered mine on Sunday. Strike while the iron's hot. Yes, there are more capable field recorders out there, but it's always the issue of how much money do you want to spend versus how much capability does one need. I'm hoping I made a wise choice.

Here's the link to Transom's website.

Typecast via Smith-Corona Silent.

Monday, April 13, 2015

Slow and Steady

Test003a

Typecast053

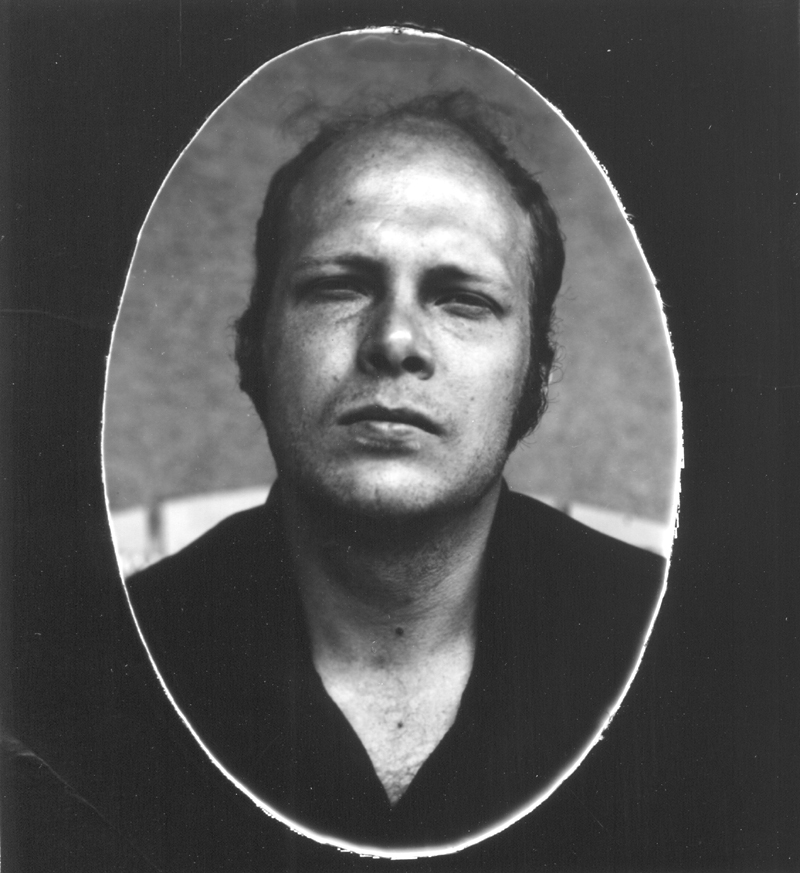
Post-Script: This optical print was a bit too dense in the shadows for my taste, there being details in the eyes on the negative not visible herein; tomorrow I'm going to make several more prints from the same negative with a more pleasing tonal rendition, and get one off in the mail for my friend. I am pleased with the out-of-focus background, as the lens was set to f/8 for 1/4 second exposure for the negative. I've also changed my contrast filtration for the print paper from 5 to 3.5.

One possibility for the inconsistency in my printing was the camera being located under my north-facing porch, pointed toward the house, with the printing easel pointing toward the north light; I was standing adjacent to the camera, with my arm in the camera's sleeve, and might have been blocking some of the light from reaching the paper negative on the easel. Tomorrow I must remember to close the inner door, remove my arm from the sleeve and stand behind the easel while exposing the print, thus not blocking the light. The newer Fuji lens is also being used with a shutter release cable, which should make this easy to manage.

In this test image above, the thin white border on the inside of the oval opening is from the dark gray rubberized magnetic sheet. The dark gray tones in the matte seen in the print are from a white adhesive paper covering this side of the magnetic sheet (all the tones being reversed during the printing process); were I to flip the matte over, I can get a much lighter tone on the border area from the dark gray rubber on the back side.

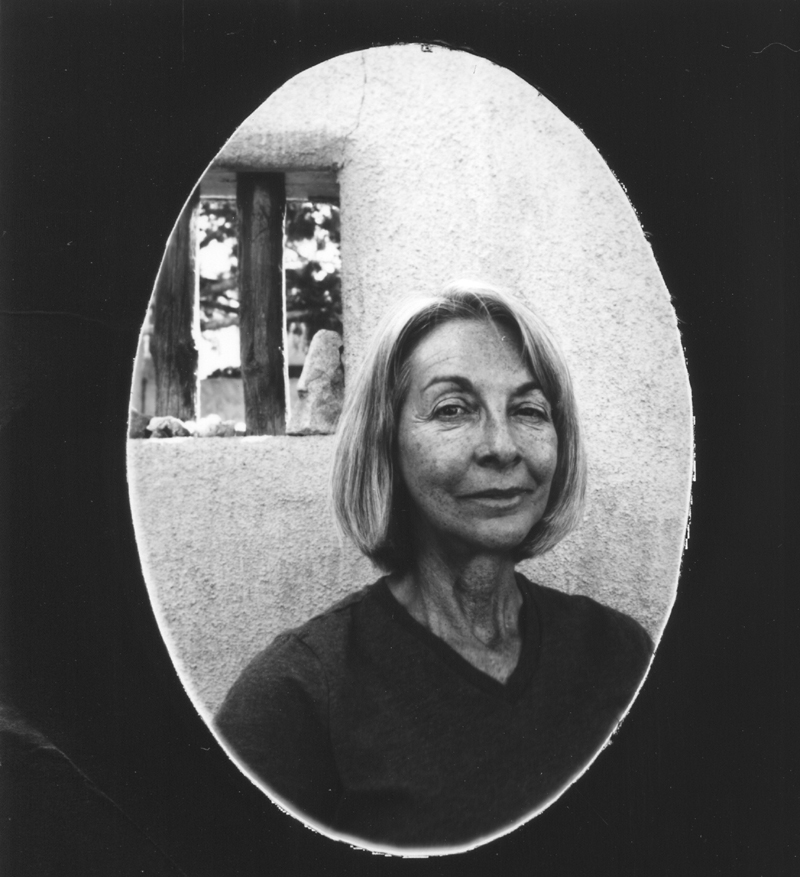
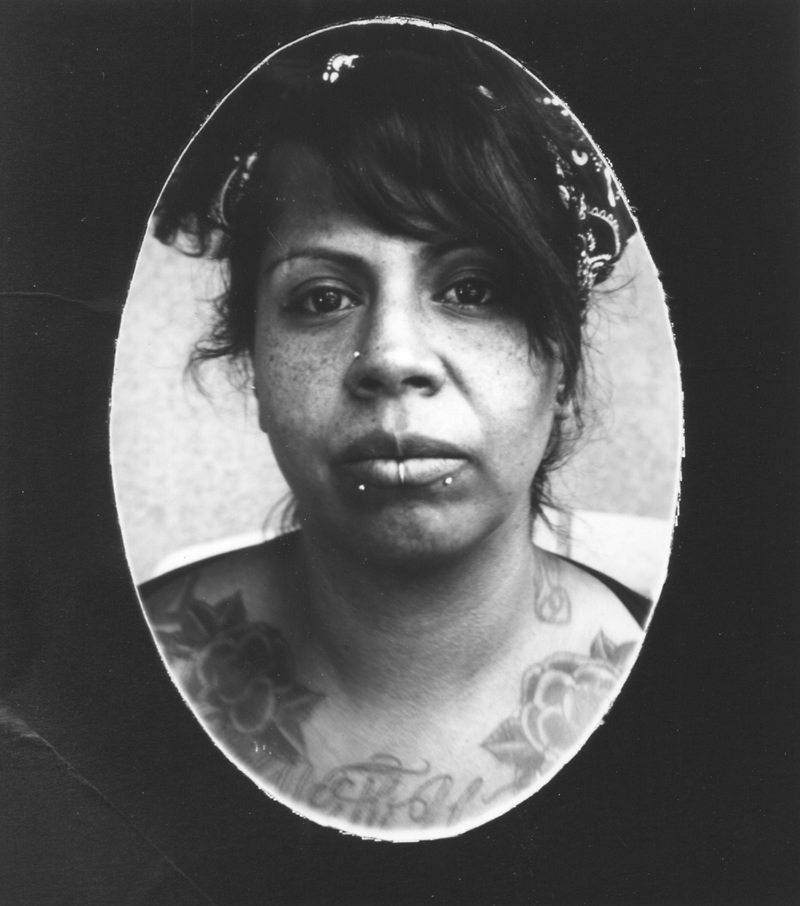
Here are two more test prints, whose paper negatives were made a week or two ago using the older Kodak Ektar 127 lens stopped down and multi-seconds long exposure times, today printed optically using the newer Fuji lens and the magnetic oval matte. I do like how the oval matte isolates the subject from the background while lending a classic 19th century appearance to the image.

Test002a

Test001a

Typecast via Smith-Corona Silent.

Monday, April 06, 2015

Reviving the Print in Hand

Noah003a

Typecast052

Post-Script: This morning I finished making the optical printing attachment, a wooden extension that bolts to the underside of the support platform, upon which slides the paper negative support plate, a thin piece of model plywood covered on its front side with a sheet of flexible rubber magnet. The plate slides fore and aft, meaning that I can adjust the size of the printed image. The magnetic surface enables me to hold the paper negative in place with pieces of galvanized steel, or another sheet of rubber magnet.
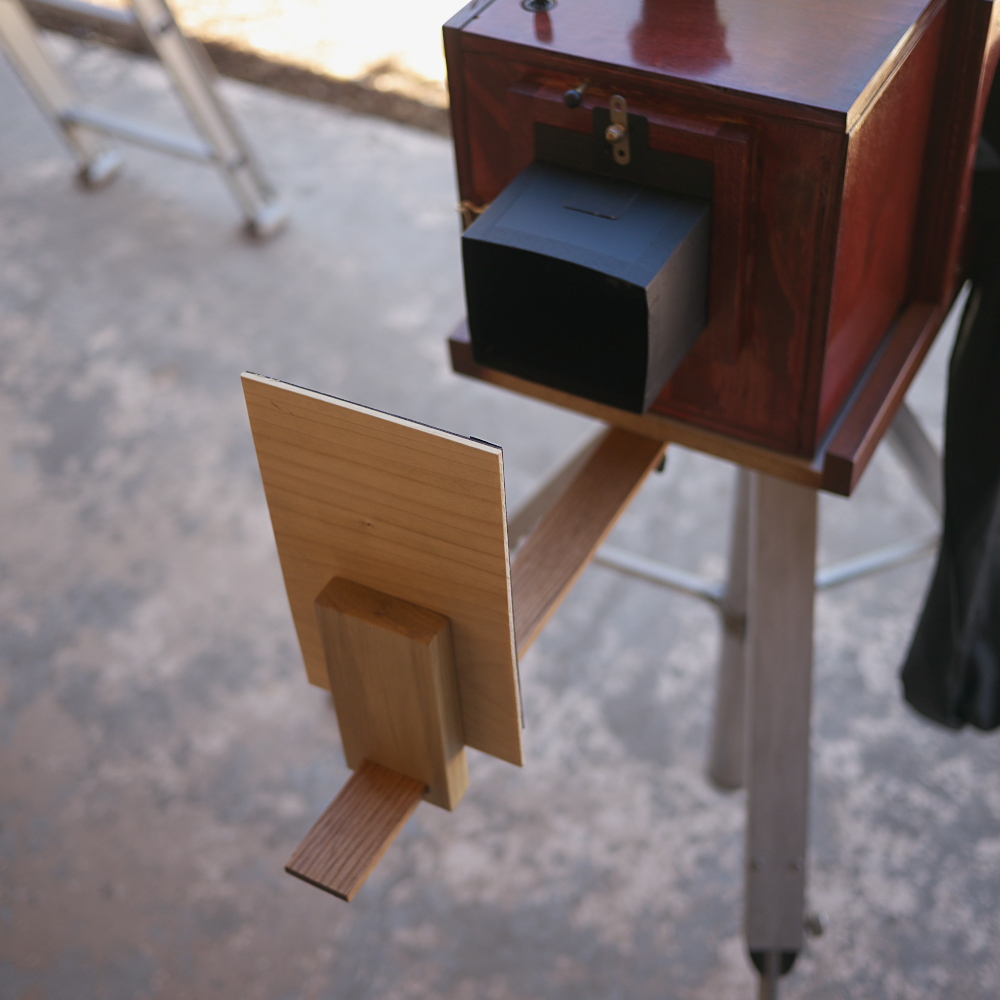
P1100014a

The top image in this article is a scan of the finished optical print, made upon Ilford's multigrade, resin coated, warm tone, pearl finish photo paper. I used a grade 5 contrast filter behind the lens, and rated the paper (with filtration in bright shade) at ISO 0.8 plus 1.6 stops of exposure, meaning f/8 for 10 seconds. I'm really pleased with the image's tones, as it resembles the look of such prints made in places such as Argentina, as I've seen on the Internet.

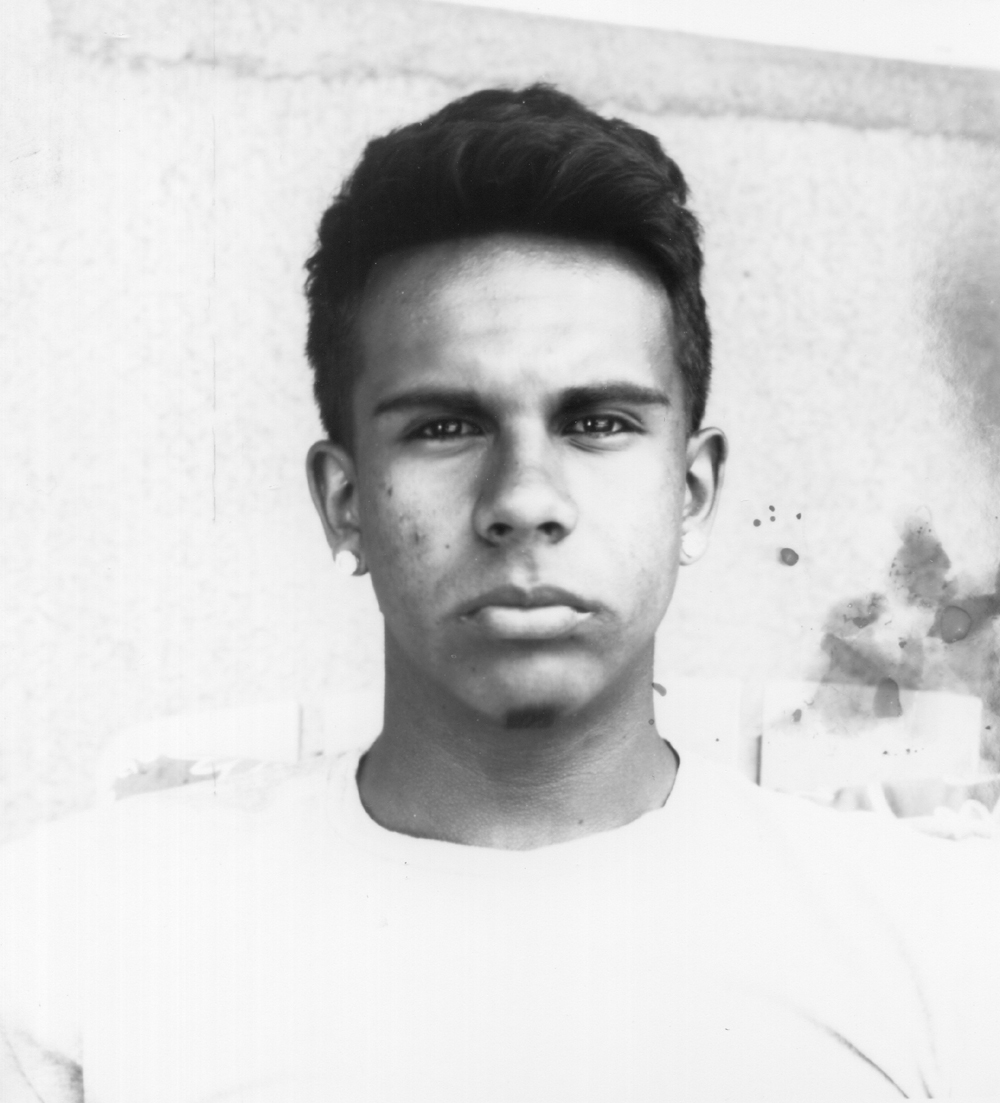
What surprised me about this print is how different it appears from an inverted scan of the negative, or the original negative itself. One problem I've noted in the past, when making paper negatives of people's faces, is that skin tones often appear darker than what you'd expect. Thus, in the original paper negative (as you can see below, with the negative mounted to the printing frame), the face was noticeably lighter than the background tones; which might present a problem in a digital scan. But when rephotographing this negative optically, using the Instant Box camera, that light facial complexion becomes the first thing to create significant tonal density in the finished print, thus recovering almost all the detail once thought lost. I'm also amazed at the detail in the subject's eyes, considering this was under a north-facing covered porch, no added artificial lighting or reflectors used.

The specific examples of camara minutera prints I've seen online show evidence of nice facial tones, floating in an almost all-white background. That seems to be the kind of look I've achieved herein, caused by effectively over-exposing the background (or, in the case of the print, not exposing it sufficiently, leaving it closer to paper-white), instead aiming toward achieving pleasing facial tones as the primary objective.

In case you were wondering what that strange splotchiness is to the right of the subject's face, it's some artifact in the negative's development process, most likely caused by residual chemicals on my fingers when handling the paper. But most of that becomes indistinct in the print, instead focusing the viewer's attention to the subject itself.
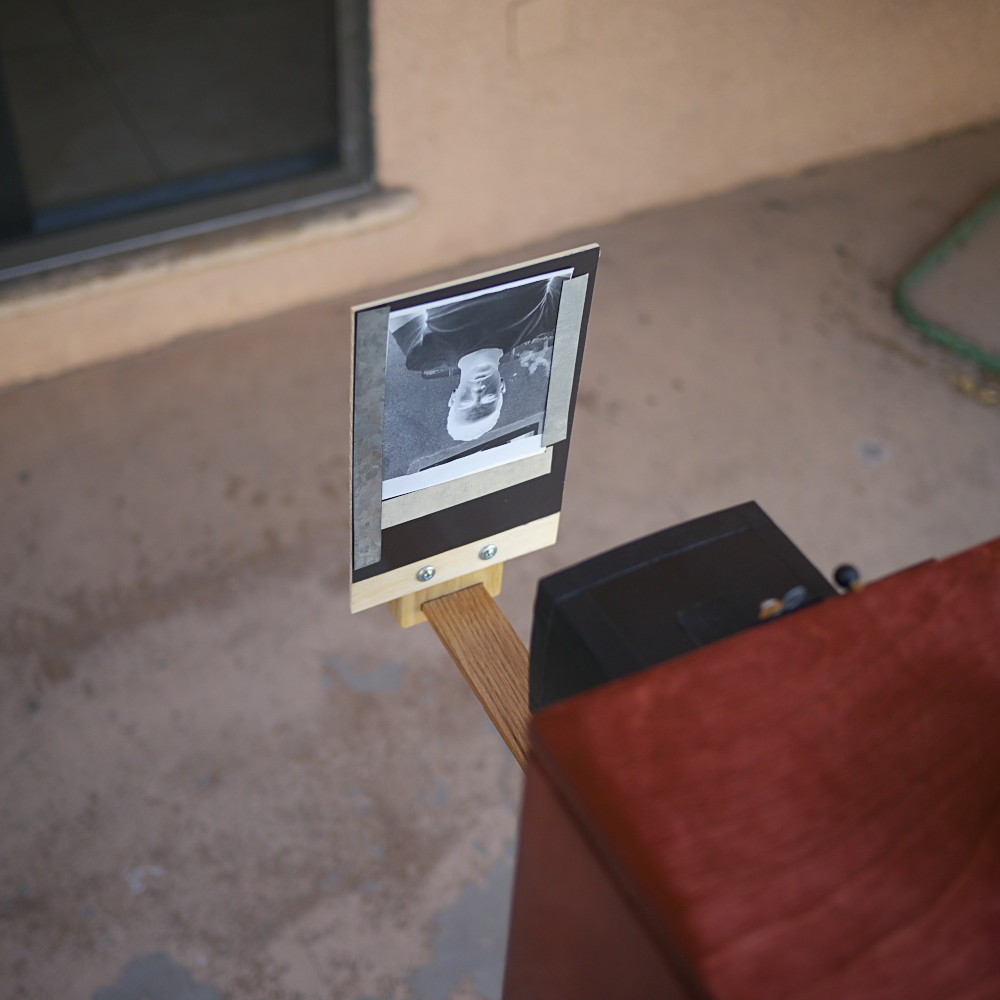
P1100013a

What would improve the presentation of this print even more is to matte it in an oval window matte. I've seen evidence of oval masks being used atop the paper negative at the time of the optical printing, effectively cropping the image to an oval-shaped portrait in the finished print. Perhaps in the future I'll use a sheet magnet cut with such an oval window mask.
Wednesday, April 01, 2015

IBC: First Field Trip

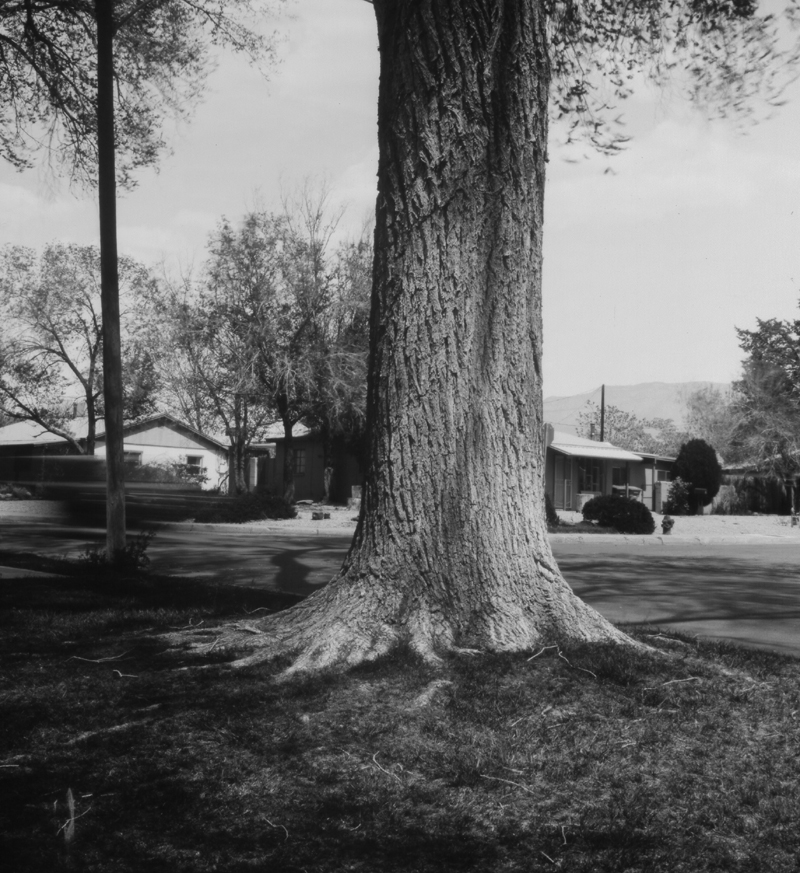
Park&Tree001a

Typecast051

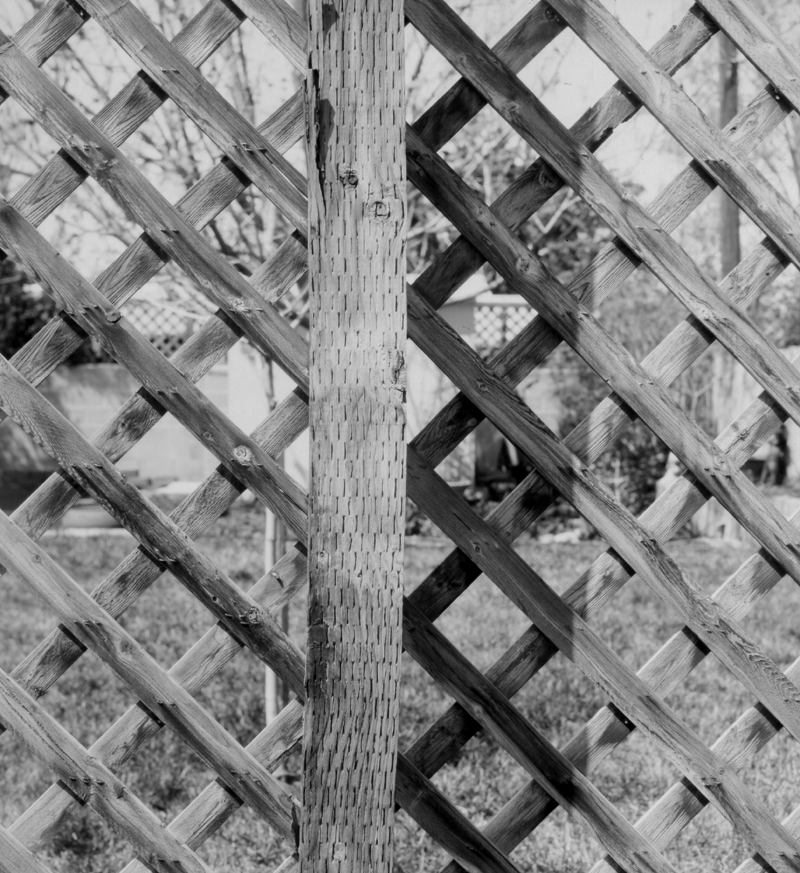
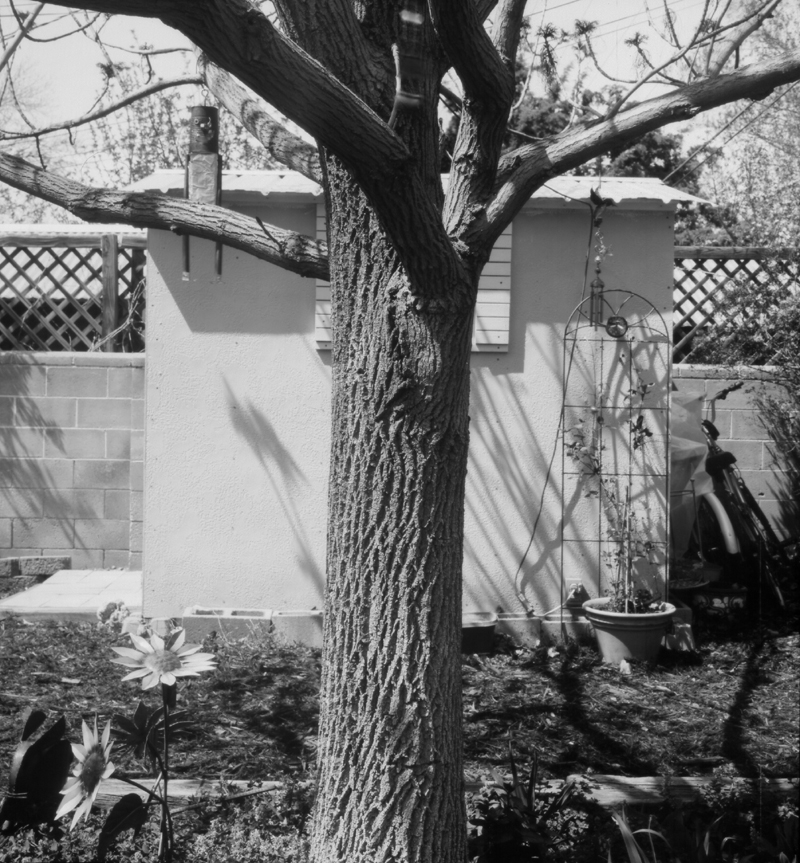
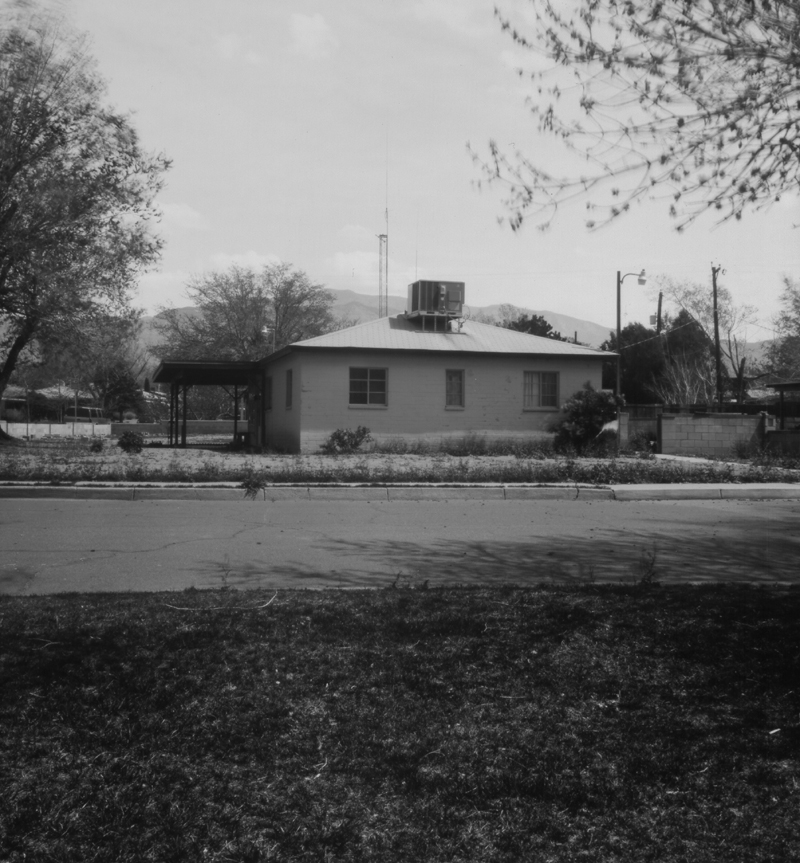
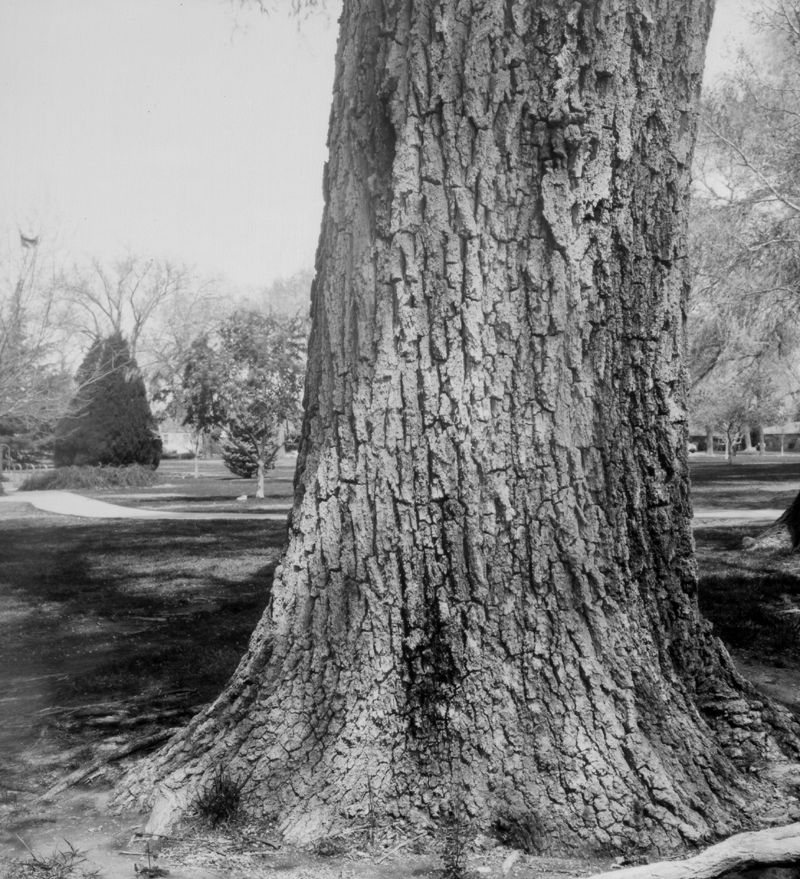
Post-Script: You think that processing these paper negatives out in the open air, with spring winds, dust, pollen and elm seeds blowing around, that they'd be pretty dirty. I was surprised to find, after a good rinse back home, that they scanned really well, with very little in the way of dust spots. The side panel to the camera was repeatedly opened as I poured chemicals back and forth between their storage bottles and the processing trays, with the rear panel being repeatedly opened for focusing the image upon the view screen. Not only was dust not a problem, but the new paper safe (a box-within-a-box) showed no evidence of light leaks.

My light meter indicated that these images should have been exposed at f/32 for a half second, but the quickest speed that I can accurately time the exposures by hand, using the lens cap shutter, is about 1 second; and my old lens's aperture doesn't stop down any tighter than f/32. Still, these came out rather good.

I should also note that I have not been applying any pre-flash exposure to these negatives, as has been my normal procedure when working with paper negatives. I've chosen to not yet apply a pre-flash in order to reduce the number of variables that I have to work with; when the time comes, I'll probably start pre-flashing these in the darkroom, prior to loading into the paper safe box. If you're not familiar with pre-flashing, it's a technique that reduces excessive contrast by rendering better shadow detail to the negative, from applying a faint, even exposure of light to the negative, prior to its in-camera exposure. This faint amount of light is not enough to increase the highlight exposure, and so it has the intended affect of improving dynamic range.

Trellis001a

Tree&Shed001a

House001a

Altura_Park001a