Reversal Print Progress
Never give up. That's good advice for anyone. I learned this lesson just recently, as I'd taken a pause from experimentation with this peroxide/citric acid reversal technique for creating direct positive prints from conventional photo paper.
What I had been doing was mixing the bleaching solution by combining the hydrogen peroxide and citric acid solutions together. I'd tried various concentrations of both but, not really understanding what I was doing, had mixed success; sometimes I'd get good reversal, other times it would take an hour or longer - or the bleaching simply wouldn't happen at all.
At the suggestion of a fellow APUG member (there's a thread on APUG documenting our progress with this new process), I tried separating the two constituent components of the bleaching process into individual trays. I also had a hunch that we'd been using way too much citric acid. So I mixed 1/5 gram (about 1/5 teaspoon) of citric acid powder into 200mL of water for the acid bath; then made a 300mL solution of 9% hydrogen peroxide (by diluting 77mL of 35% peroxide with 223mL of water) for the peroxide bath.
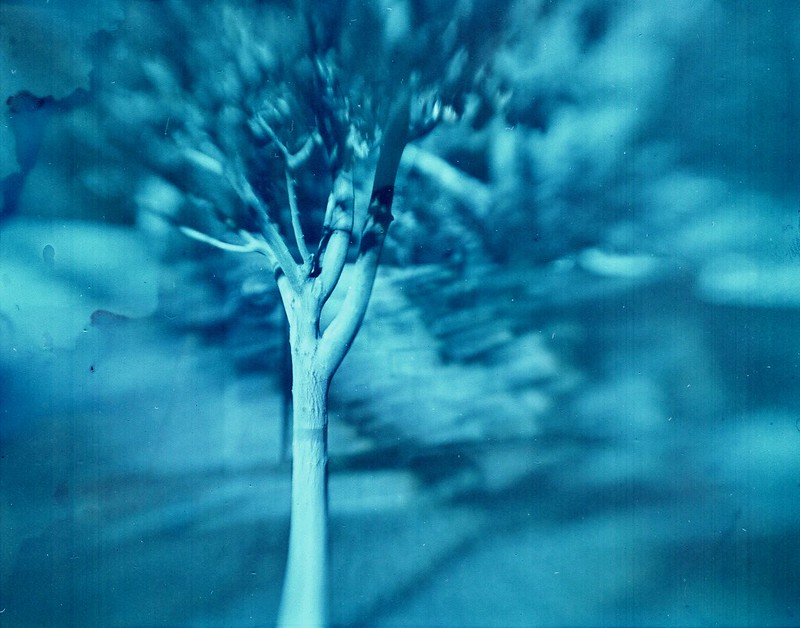
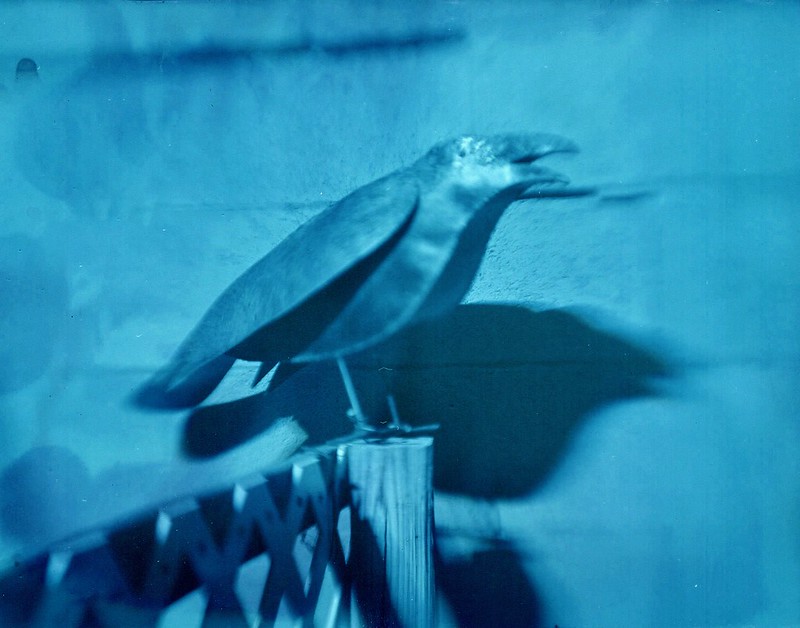
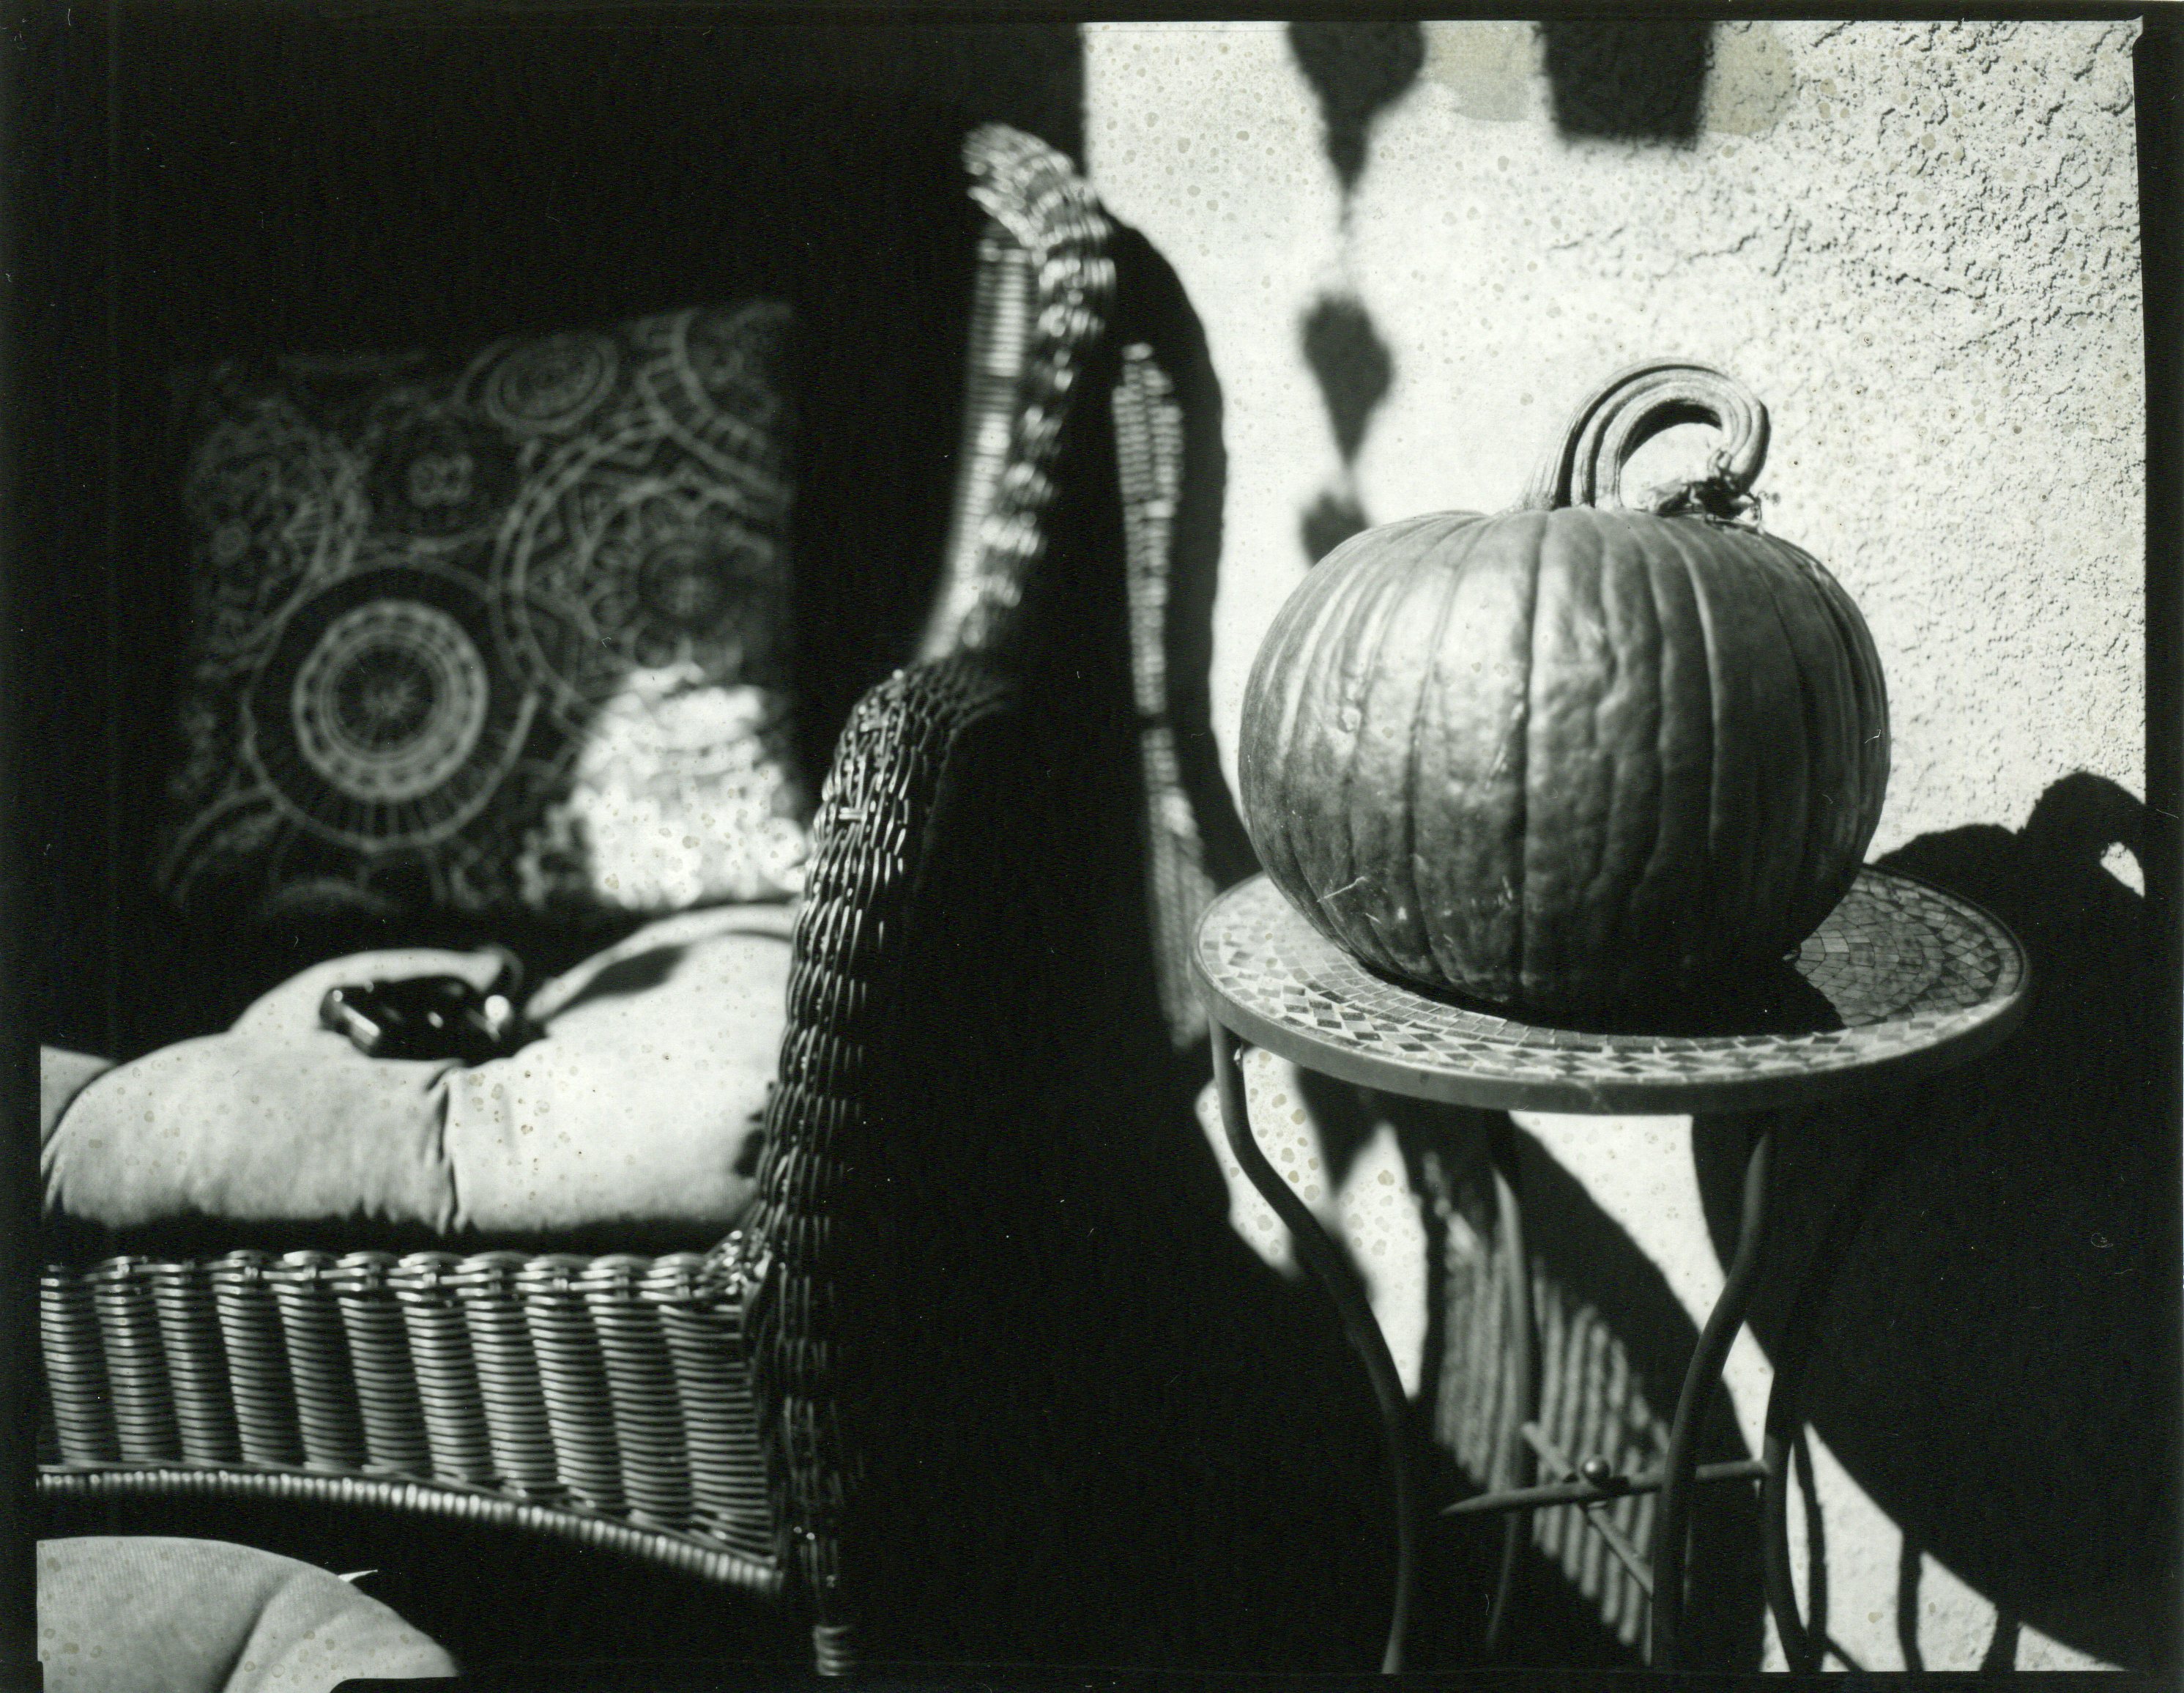
I was able to successfully process eight prints in a row with this batch of chemistry, with negatives exposed in both direct sun and shaded daylight - a far better success rate than I've experienced previously. Here's a synopsis of my process:
*Expose Freestyle Photo's Arista Ultra grade 2 RC paper (semi-matte finish) in-camera at ISO 1.6 (I also tested ISO 0.8, but it appears to be a bit too much exposure).
*First developer: Ilford Multigrade concentrate, mixed 1+15 to 1+20, developed for 1:30. The concentration and strength of the first developer has a lot to do with the overall contrast of the finished print, even with this fixed-grade 2 paper. The negative image on the paper usually appears very dark.
*Rinse: Thoroughly rinse the print in fresh water, to remove residual base-pH developer.
*First Citric Acid bath: process face-up for :30 with gentle agitation, ensuring the paper remains submerged.
*First Peroxide bath: process face-up for 2:00, ensuring the paper remains submerged. Avoid excess contact of paper surface with tongs. Gently press paper down with rubber tip of tong to ensure paper remains submerged. Avoid excess agitation. After about 1 minute the image will begin to reverse, with a sabbatier or solarization effect visible, as the darker tones (representing the image highlights) begin to fade. The fading or bleaching will slow or cease.
*Second Citric Acid bath: process face-up for :30 with gentle agitation, ensuring the paper remains submerged. The image should slightly fade even more, as the carry-over peroxide mixes with the fresh citric acid.
*Second Peroxide bath: process face-up for 2:00, ensuring the paper remains submerged. Avoid excess contact of paper surface with tongs. Gently press paper down with rubber tip of tong to ensure paper remains submerged. Avoid excess agitation. Most of the remaining darker tones should fade to near paper-white, with only a few areas of slight gray remaining. Total bleaching time is 5:00.
*Rinse: Thoroughly rinse residual peroxide solution from paper under running water.
*Fogging Exposure: Expose the remaining silver halides in the paper emulsion under enlarger, set to 16" height and f/22 aperture, for :15.
*Second Developer: Process for 1:30-2:00 in same developer solution as first developer.
*Stop Bath: Process for :30 in acetic acid or white vinegar stop bath solution (i.e. standard paper stop bath).
*Fixer: Process for 2:00 in standard paper fixer solution.
Complete the processing by a rinse aid and a 10 minute rinse, then squeegee and heat dry the print with a clean, dedicated hair dryer.
Processing the paper in separate bleaching solutions using this two-step technique seems to consistently produce a reliable bleaching of the darker tones after the first developer step. Careful monitoring of the image as it bleaches is helpful; some subtle moving of the print in the peroxide bath seems to help, but too much agitation is to be avoided. The process seems to require a specific technique to master. Gently and slowly pushing the paper down into the solution as it tends to float to the surface is important, as the peroxide solution seems to stratify as it's used.
The one remaining process issue left to resolve are little spots, that I call "freckle defects," that seems to happen on brightly exposed highlights, and more near the edges of the print than the center. This might be an indication of excessive exposure; or insufficient bleaching. More experimentation is needed.
I intend on repeating this same technique time and again, to verify its consistency, before scaling up the image size to 8"-by-10".

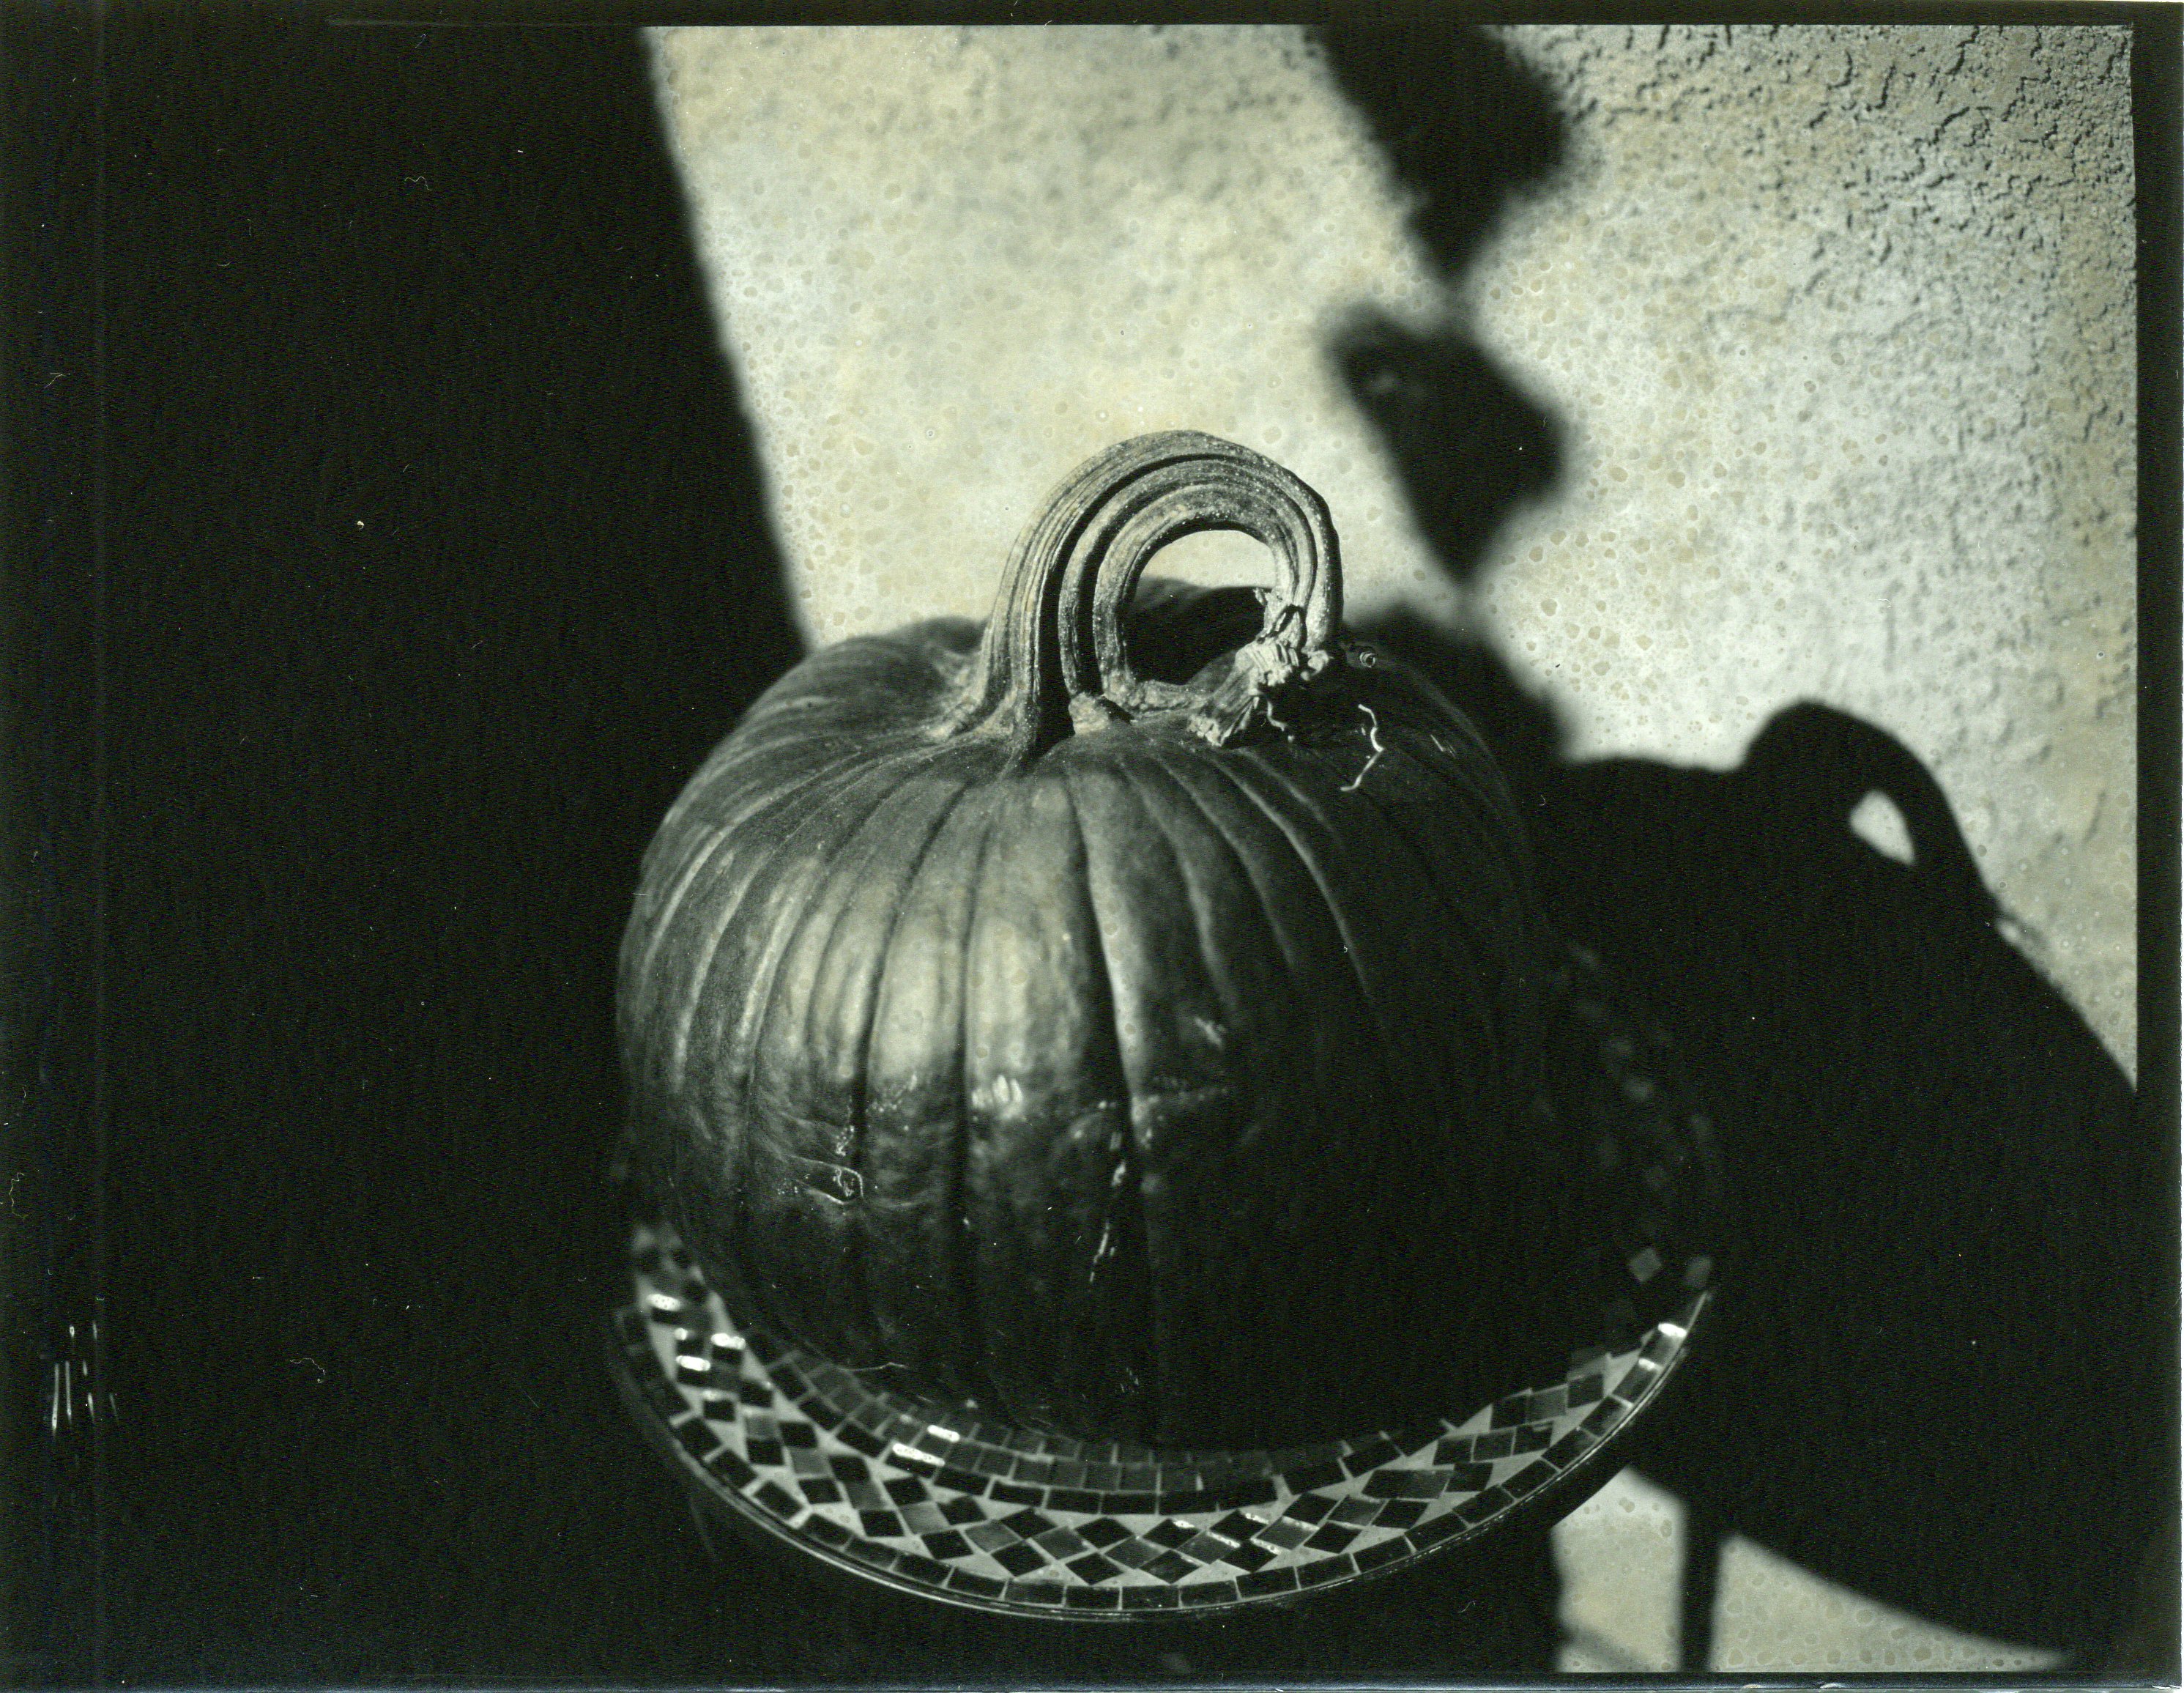
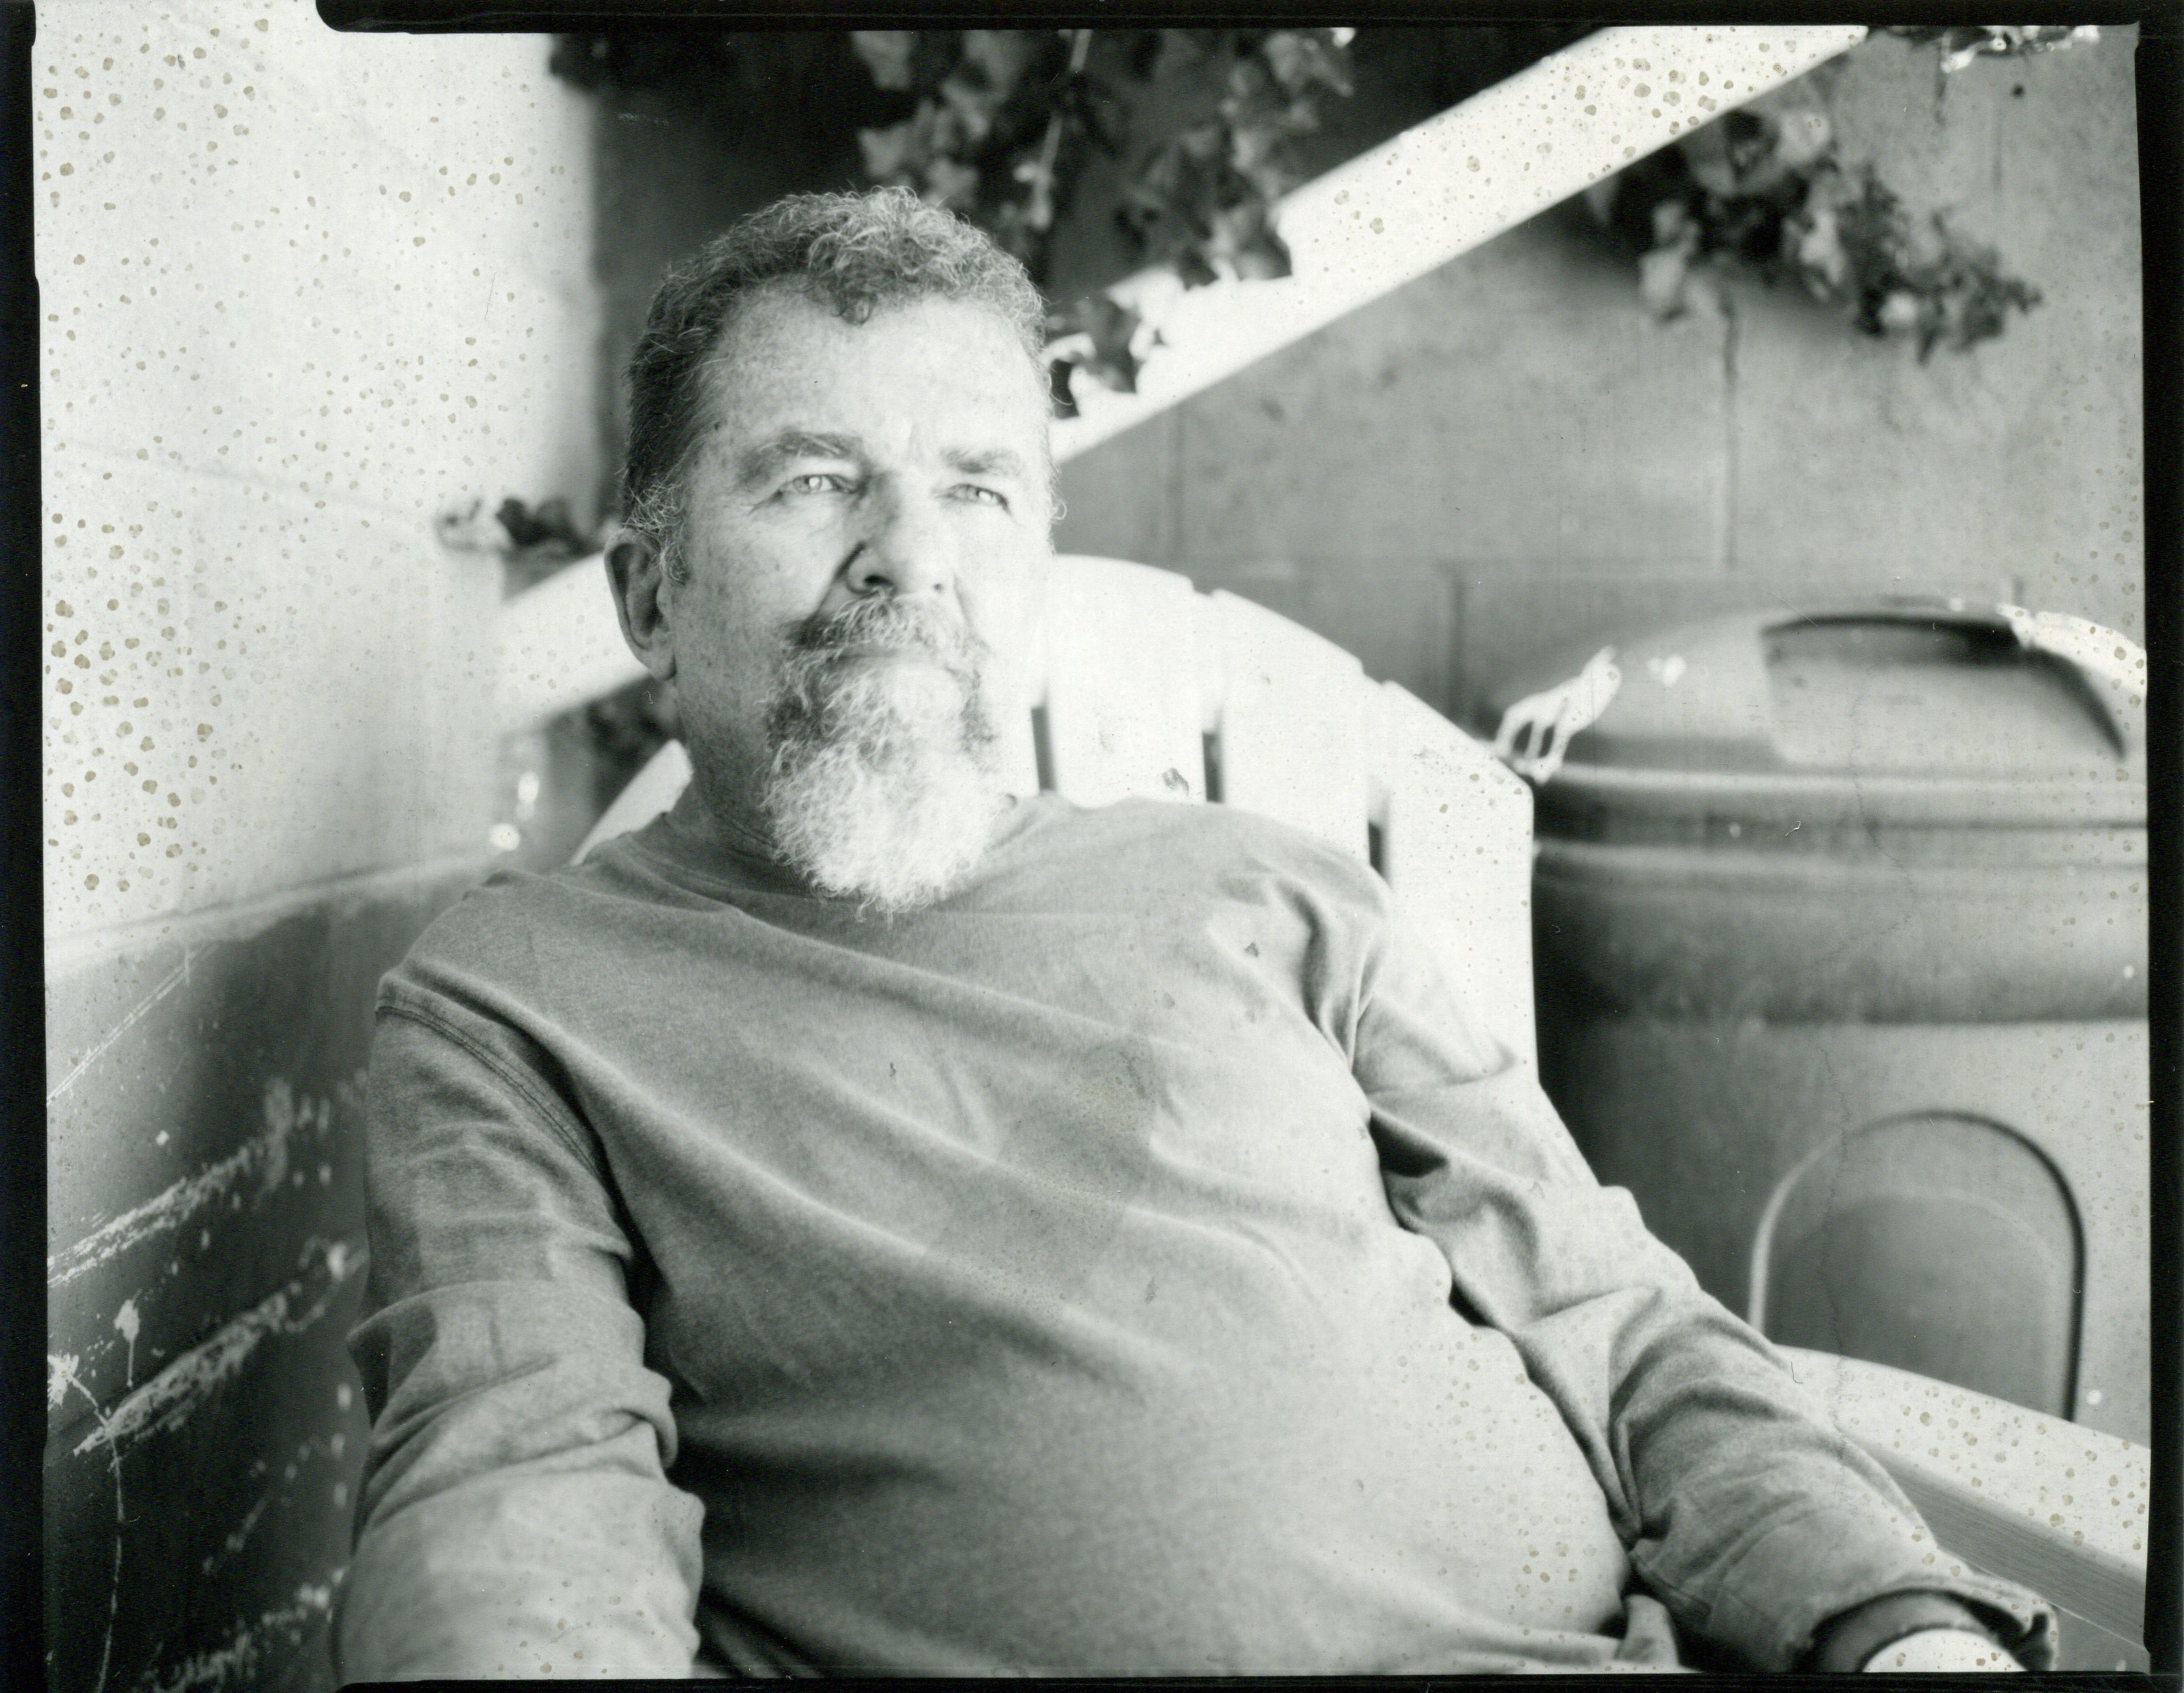
Excess exposure at ISO 0.8. Note too the freckle defects in the highlights.
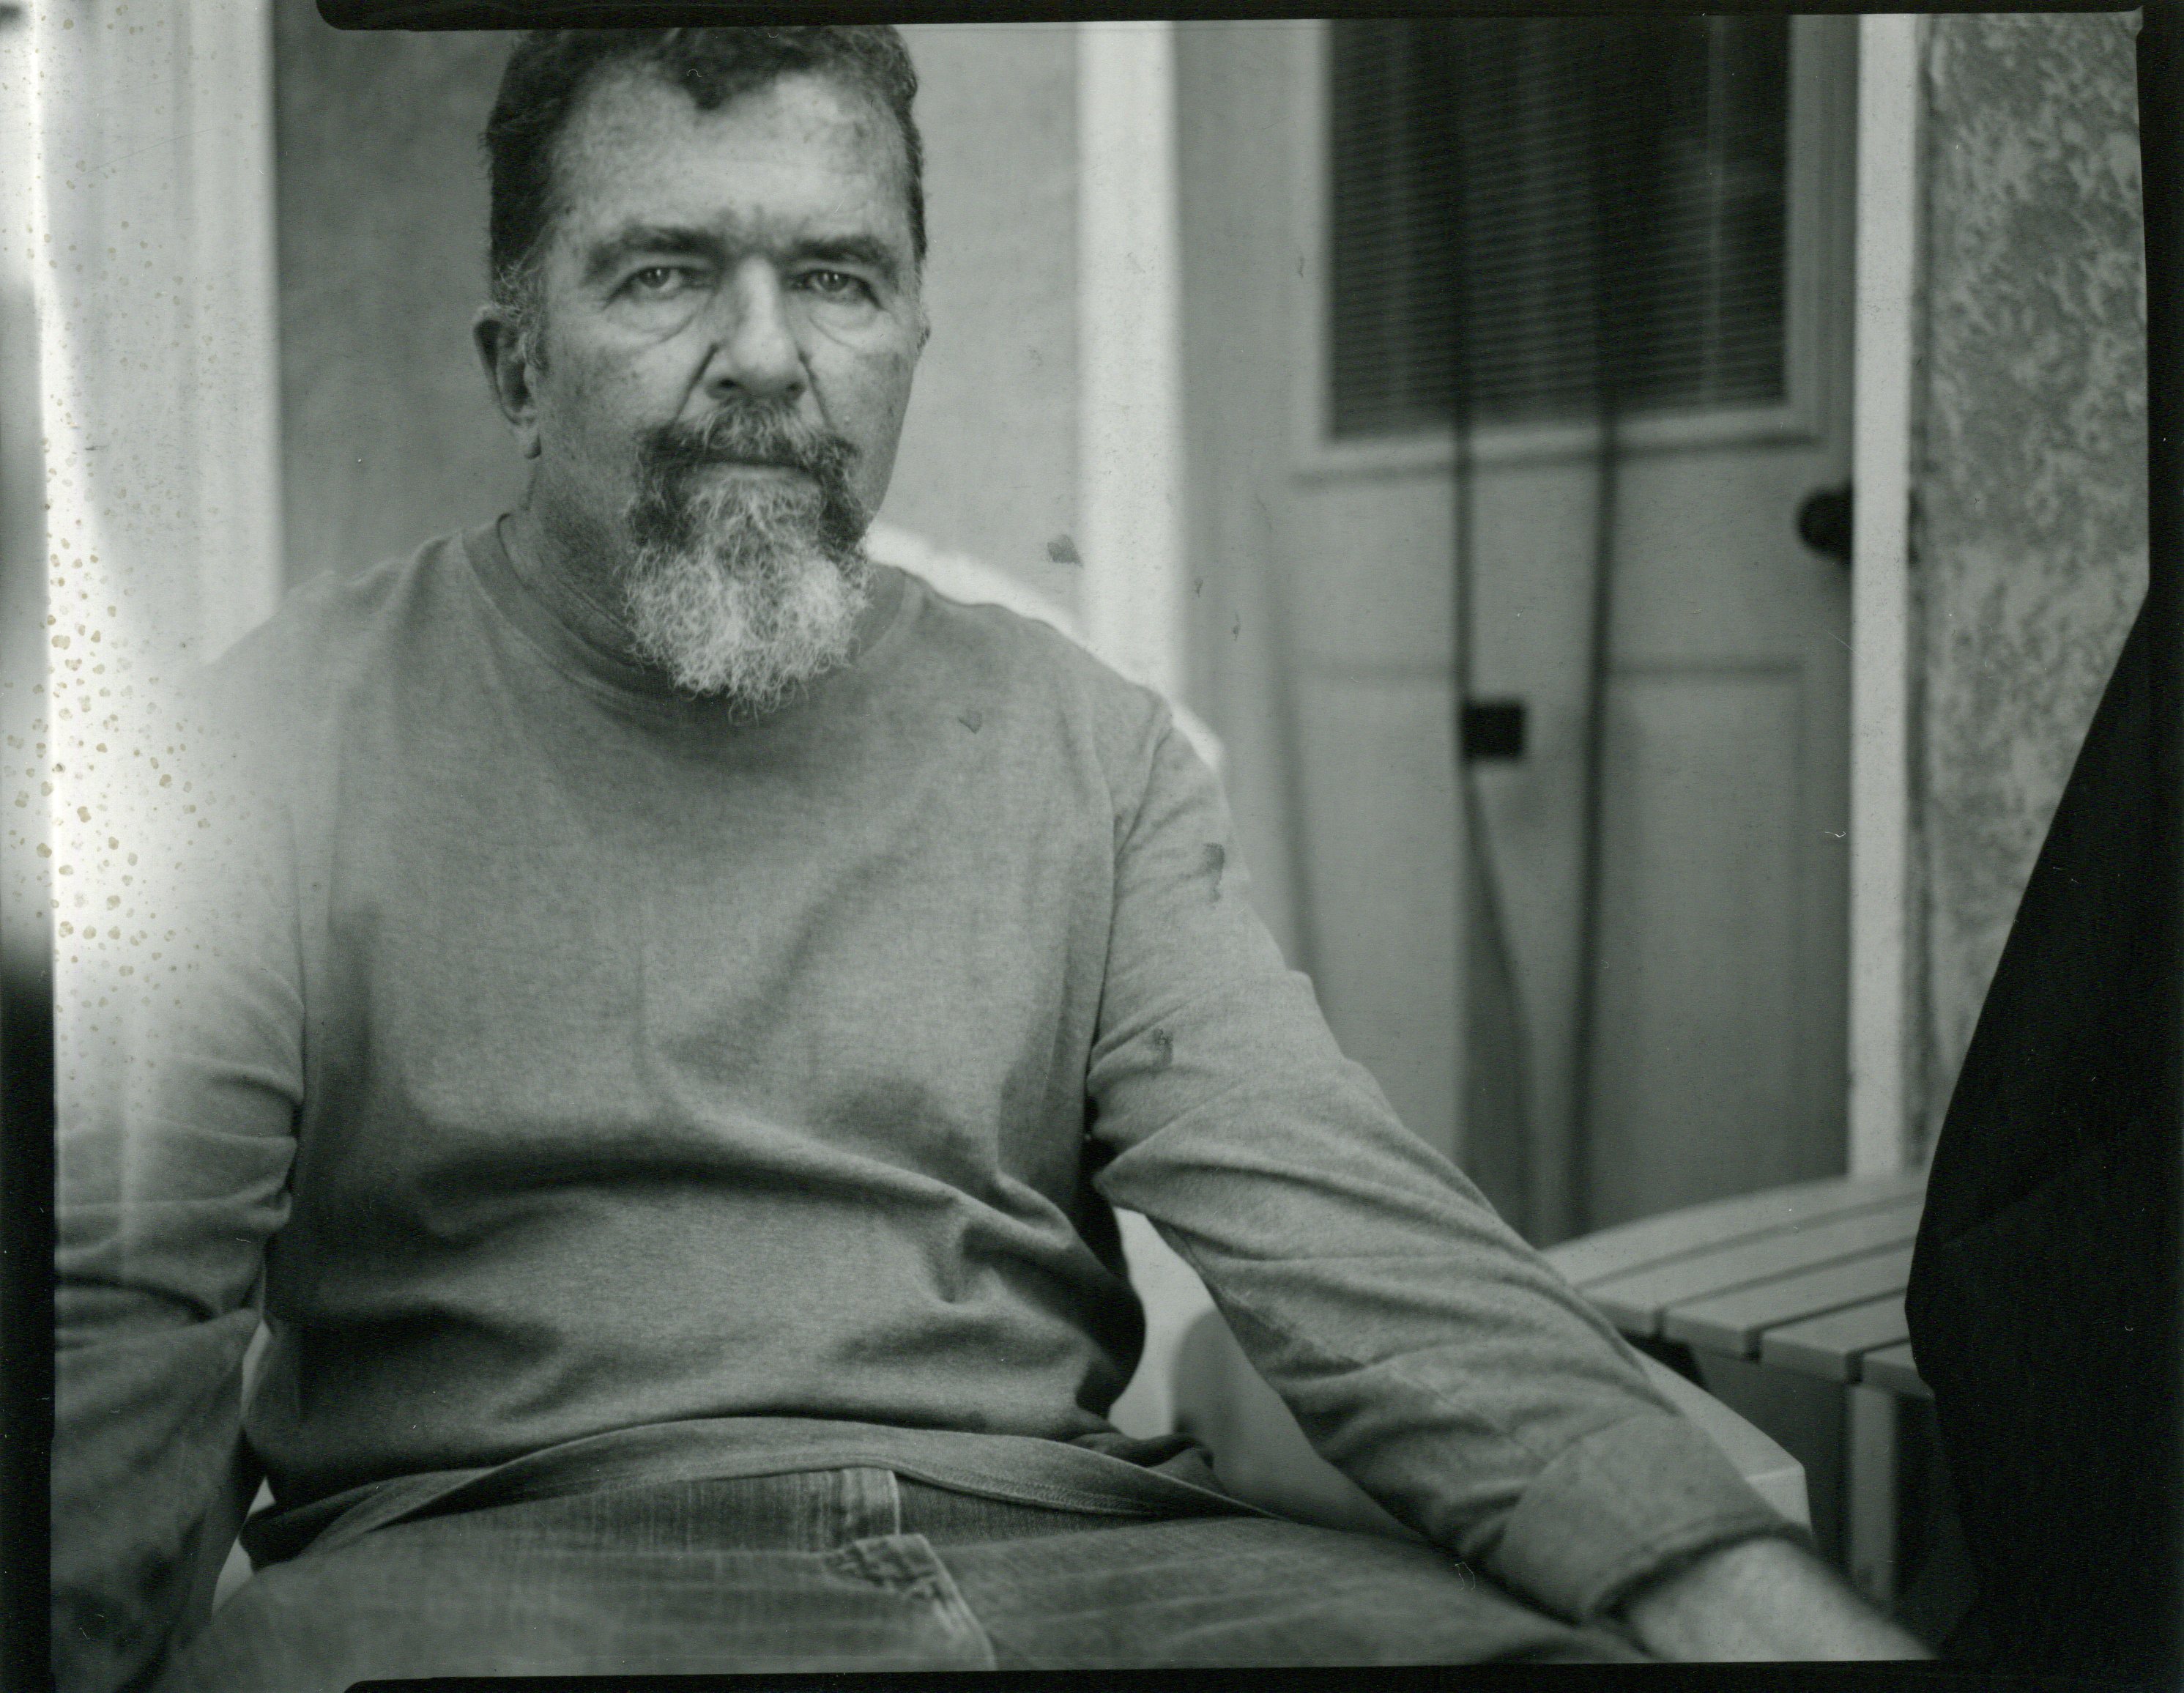
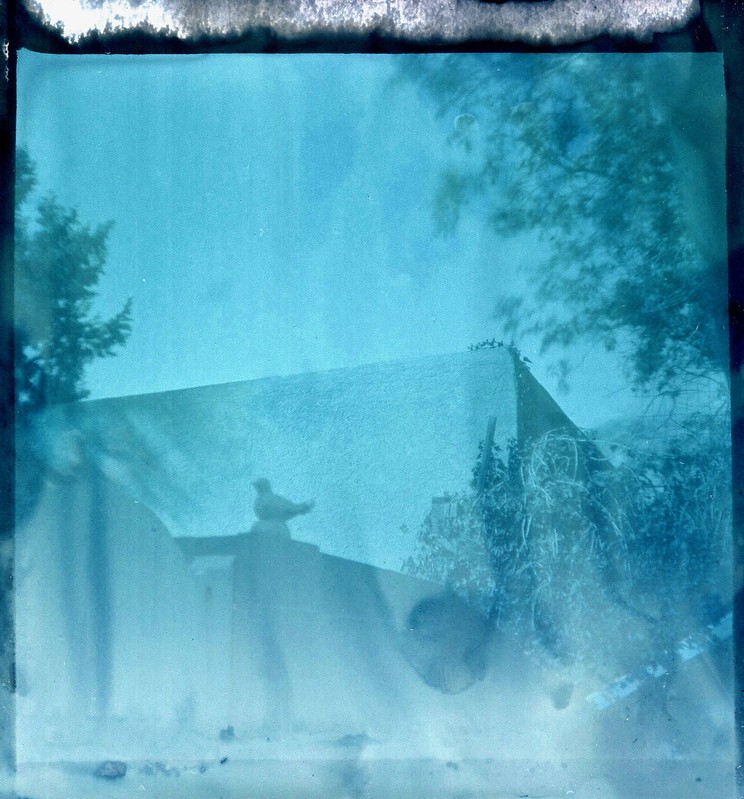
Here I reduced the exposure using ISO 1.5, but a light leak resulted from a wonky film holder. Note the freckle defects are only evident at this highlight area of fogging.
Labels: reversal processing
