Fine-Tuning the SM9 With Keycap Toppers

The blinged-out, tarted-up SM9

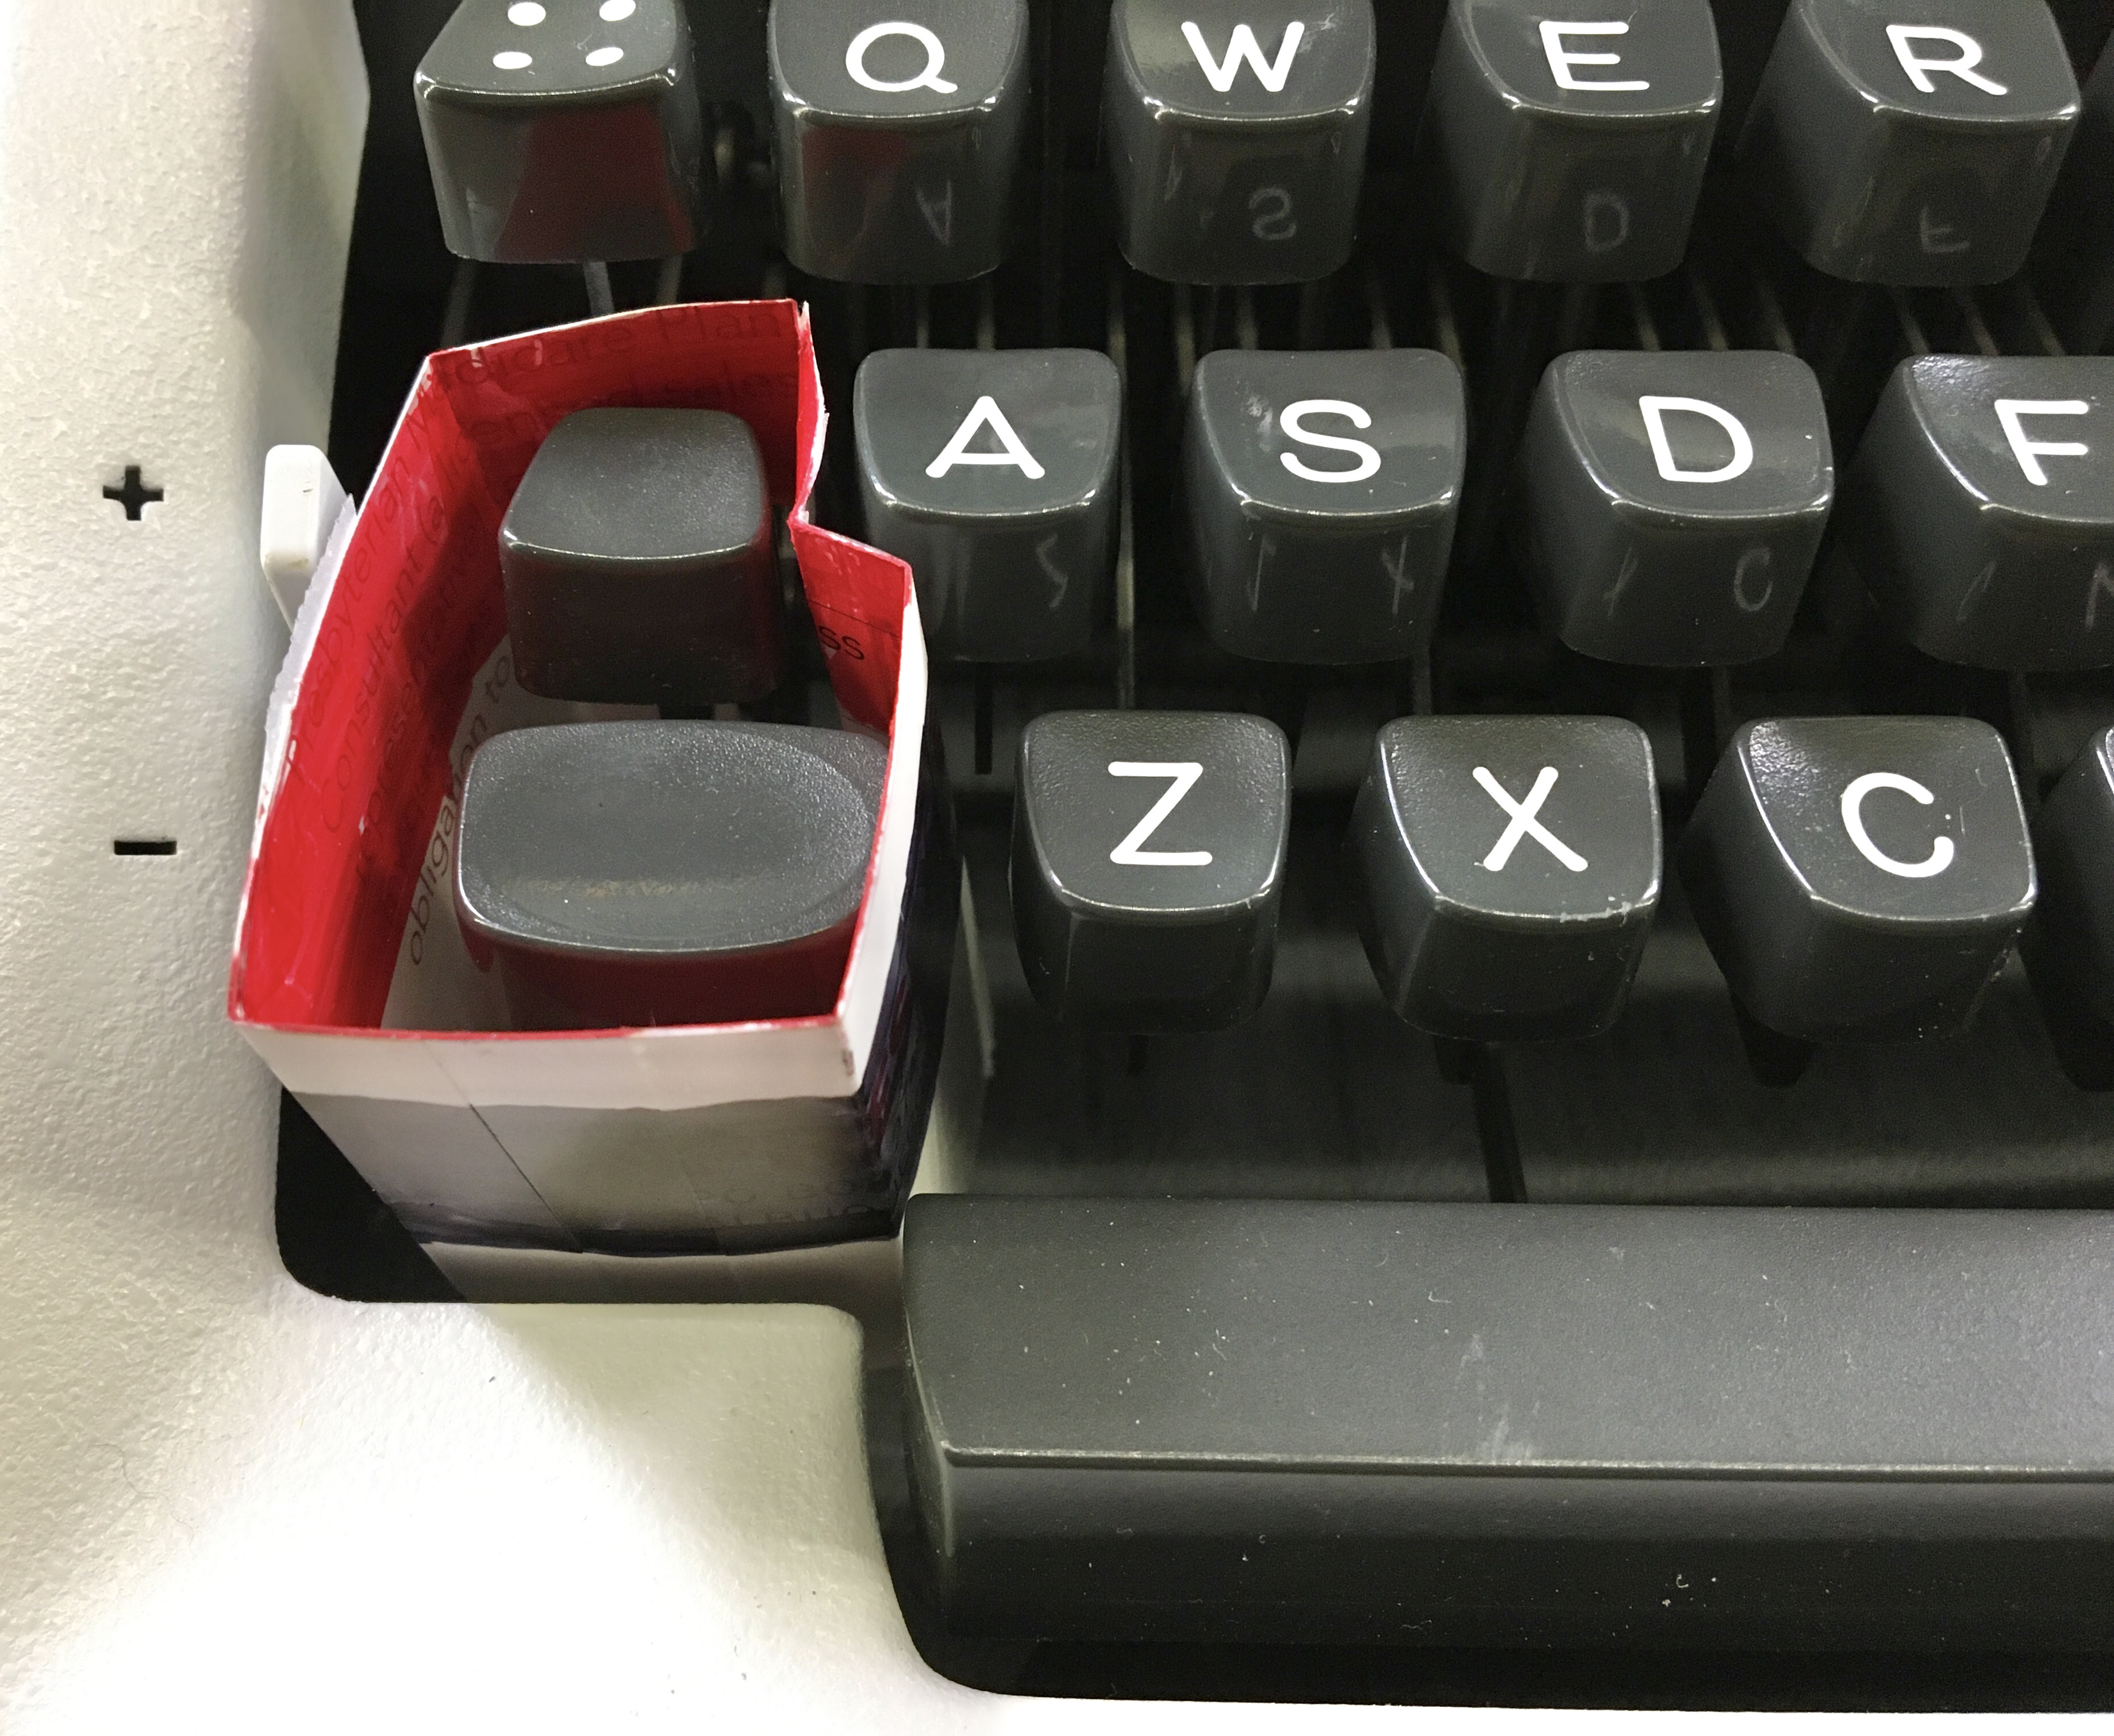
Here's my original idea, prototyped in cardstock:

Yes, it worked, sort of. No, it doesn't look good, and making a more permanent version in 3D-printed PLA filament would be complicated, and attaching it to the machine permanently would be problematic, involving potentially drilling a mounting hole in the bottom frame of the machine.
Here are the undersides of the version 1.7 keycap toppers; they are snug enough to just press-fit onto the existing keycaps:

Achieving a precise snug fit is a challenge, even the color of PLA filament affects the thermal properties of the print, and hence the fit. It's probably best to make them slightly oversized, then use some double-sided tape on the inside to keep them from falling off when carrying the machine around; but so far I haven't had any issues and these caps are just press-fit on.
I need to specifically state: No, I'm not going to be printing people keycap toppers, so please don't ask. I WILL provide a link to the files, here.
There are several reasons for this. Firstly, I'm not in the 3D printing BUSINESS, nor do I want to be. Secondly, unless you have this era of Olympia SM9, these keycap toppers probably won't fit your machine. Thirdly, you'll want to choose the color yourself, and I don't want to stock dozens and dozens of colors. Even though the gold bling is the shizz. Also, I can't find an orange color exactly like the Olympia logo. Bummer. Fourthly, there's some trimming of extraneous filament when the parts come off the printer, and you'll need to test-fit them to your own machine. This means you'll either need to be a 3D printing hobbyist yourself, or know someone in your area with a machine to help you. For reference, I'm using an Ender 3 Pro. Also, you'll need to take the files and run them through a slicing program set to your printer's specifications. It's the output file from the slicer that runs on the 3D printer. The slicing program has lots of settings involving layer thickness and bed & nozzle temperatures, so you'll want to fiddle with those to get the part quality just right for your needs.
So, if I'm not going to print you a set of keycap toppers, than what the heck am I doing posting this here blog article? Well, I'm mainly wanting to inspire other hobbyists to pursue ideas like this. I challenge and welcome any and all to take this idea and run with it. We all will benefit greatly.
 Some keycap examples at WASD
What I was hoping for in this project was to expand the idea and make keycap toppers for ALL the keys, especially the alphabetic keys, so a person could personalize their typewriter, like the way computer keyboards are customized with crazy key color schemes. But alas, at least on this SM9, the clearances between neighboring keys is so tight that I don't think toppers of reasonable thickness (and hence durability) would fit without interfering with neighboring key operation. But it would be great to be able to print crazy bright toppers to liven up that otherwise drap gray or brown machine. Maybe on others brands or models there's enough room for toppers to work. Stay tuned for more updates to this idea.
Ideally, you'd want letter legends in the keytops, but you can only 3D print those with a dual-filament machine, which I don't have. Alternatively, you can design the letters as recesses into the keytops, then after printing you'd have to carefully inject colored epoxy resin into the recesses of each cap with a syringe. This sounds like very detailed work that'd be slow and fiddly. Not the sort of thing you'd want to do commercially without the right equipment. But as a hobbyist, I think it's doable, given enough patience and time.
Again, the link to the files specifically for this 1978 Olympia SM9 are: here.

