Ribbon Winder Project


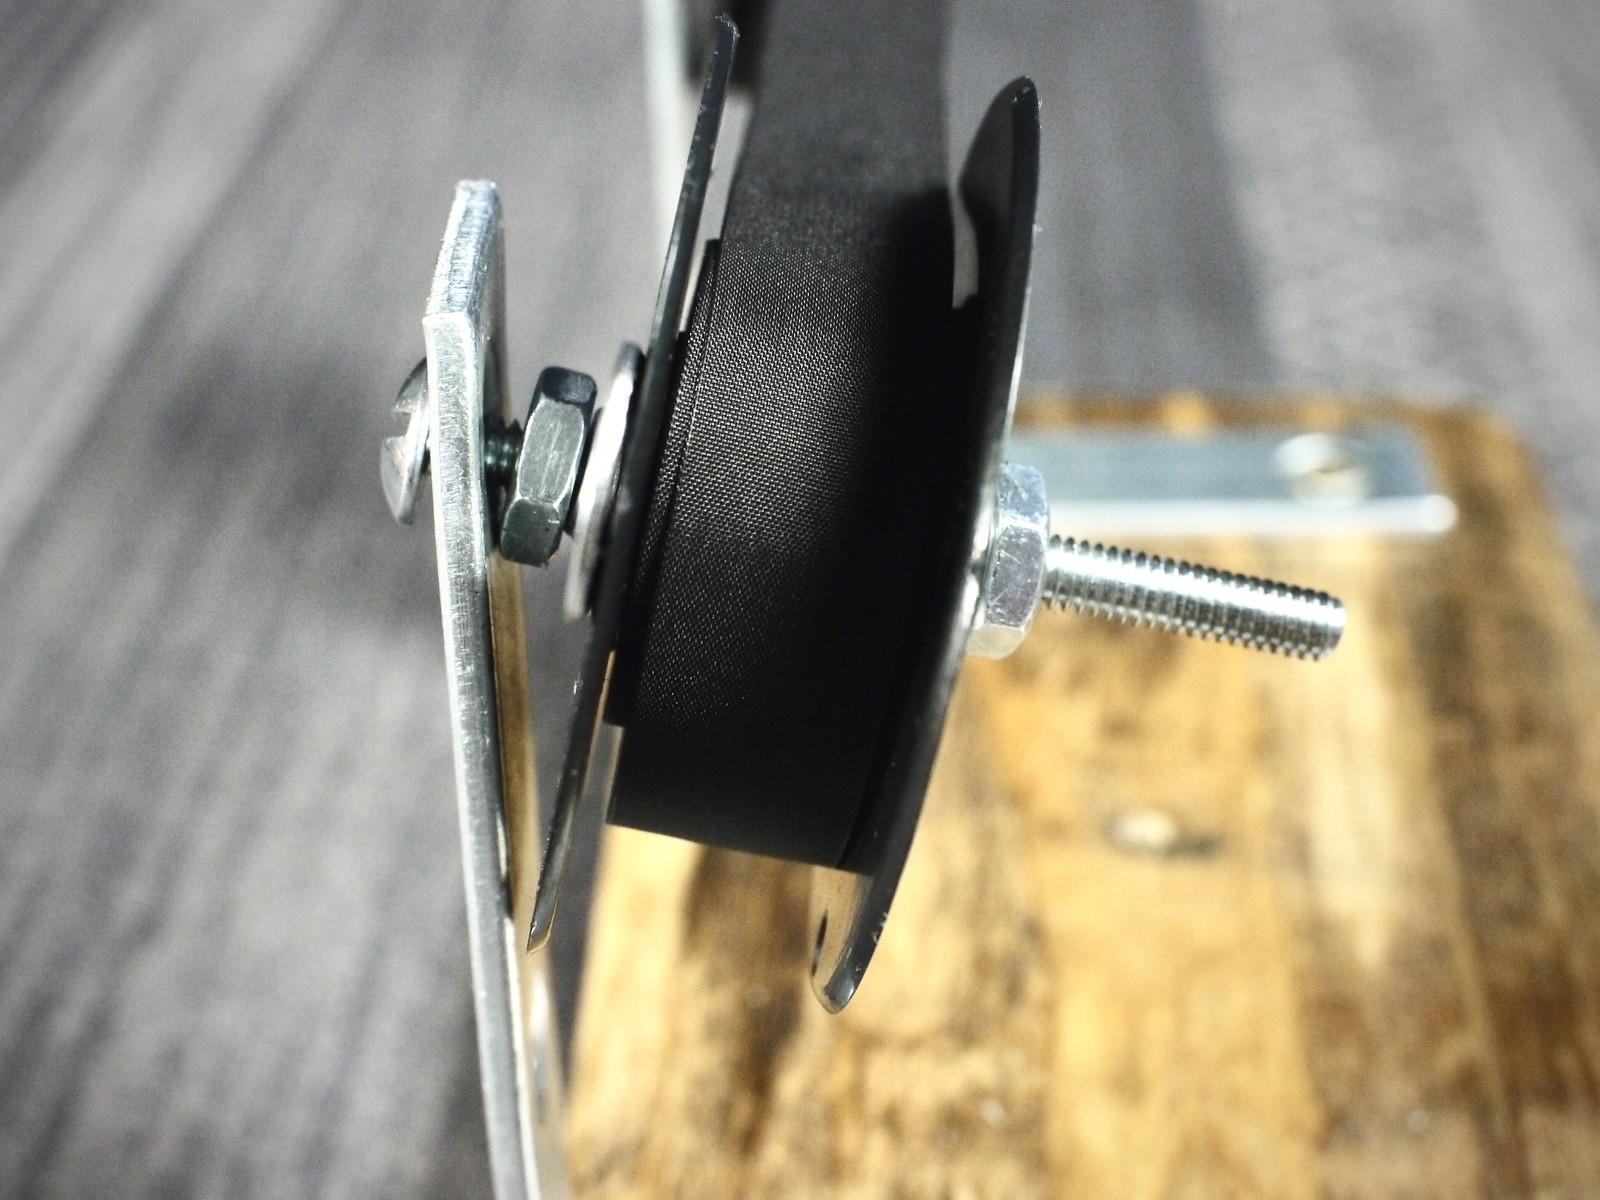
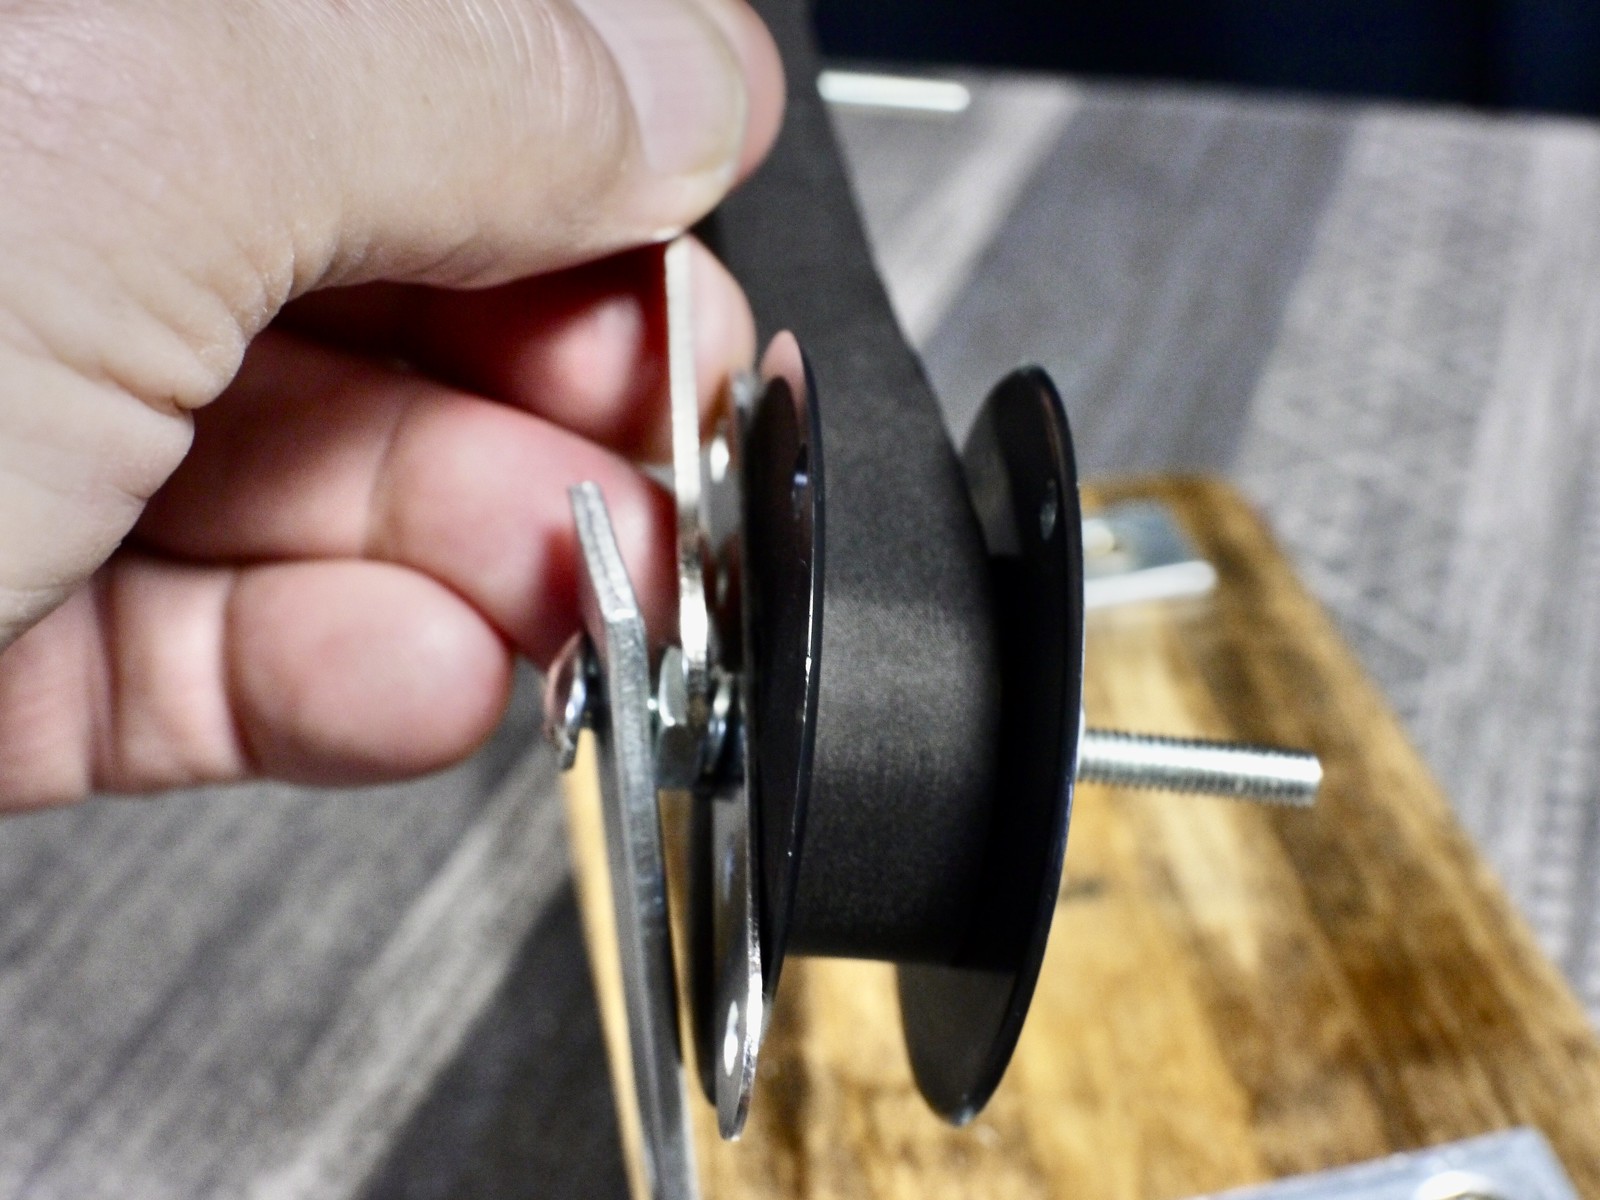
The heart of the system are these machine screws that function as axle bolts. The ribbon spools are secured to the bolts tightly with a set of lock washers and nuts. Meanwhile, the axle bolt is free to rotate in the hole of the angle bracket.

The 3/8" nuts are tightened using a chuck key wrench from a Dremel Moto-tool kit.

Here are both ribbon spools attached to their respective axle bolts. The oddly-shaped brackets are from my assortment of odds & ends spare hardware bits & bobs; they function as washers to help clamp the spools to the bolts, via the lock nuts.

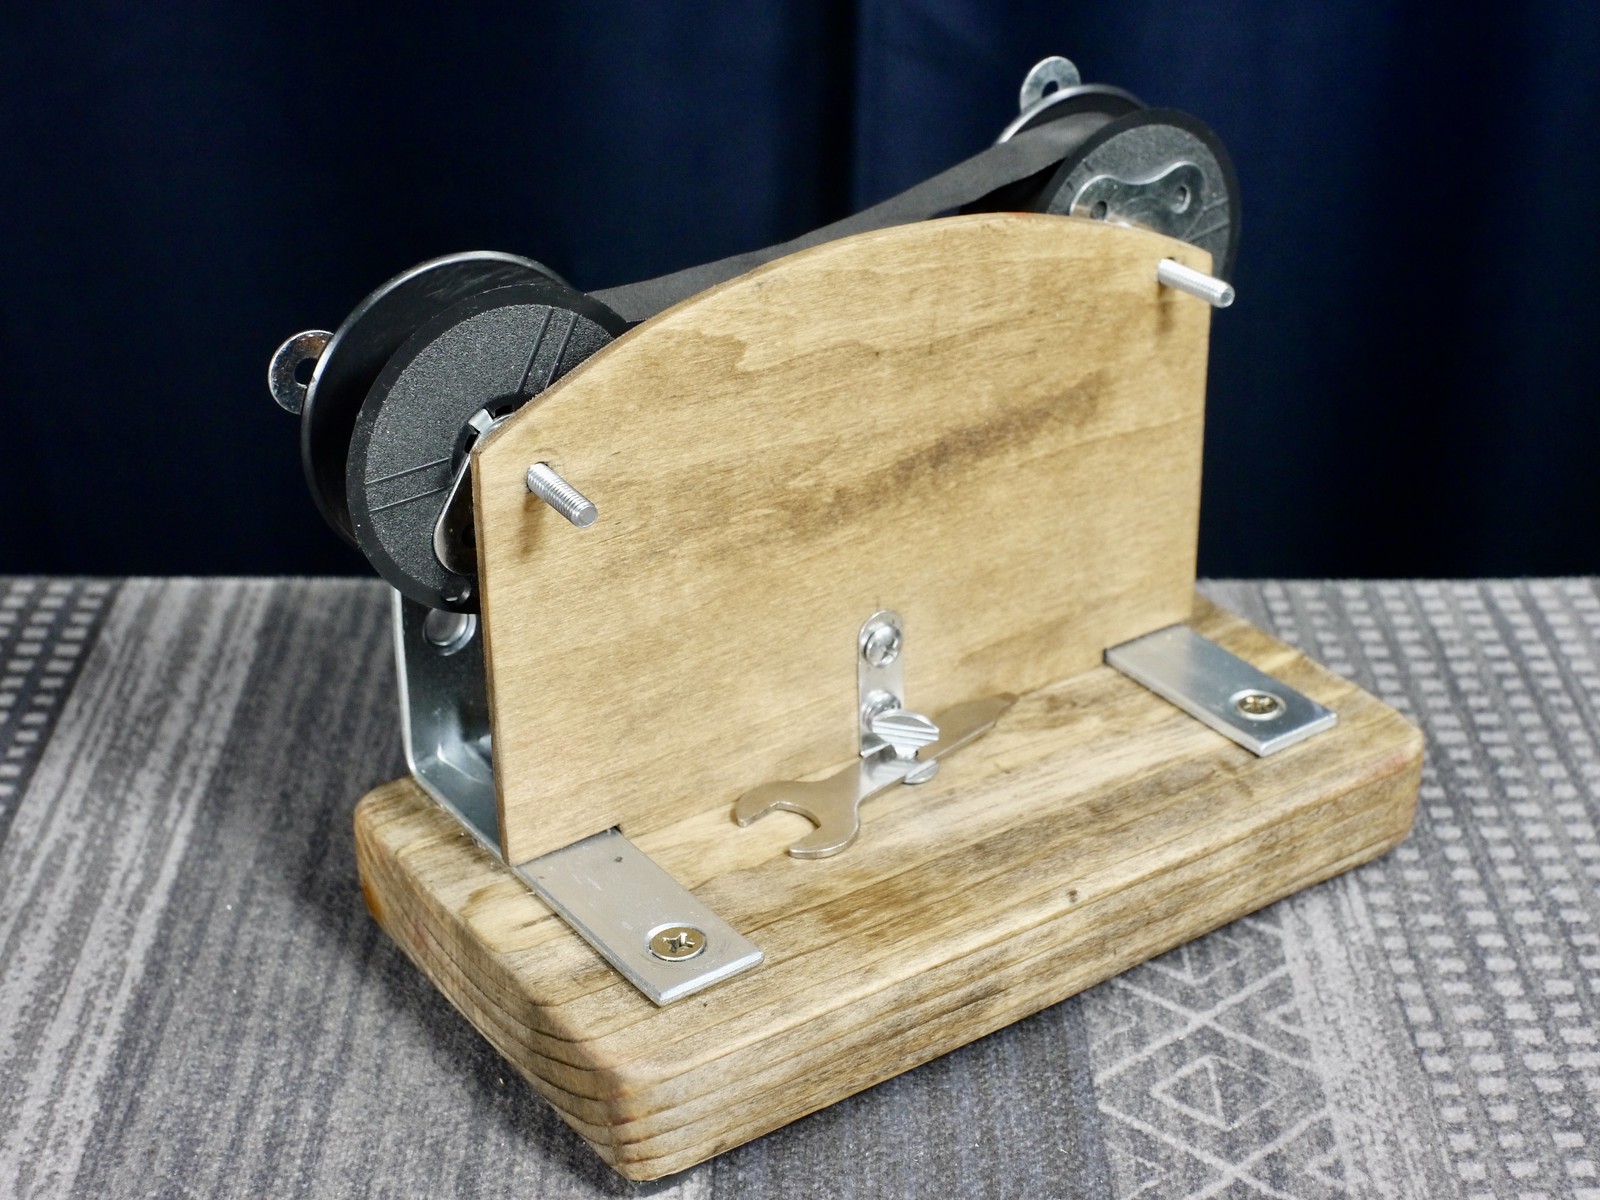
The wooden plate is installed mainly to keep the ends of the axle bolts secured, and the bolts parallel to one another while winding. The plate is secured to the base with a short thumb screw that functions as a locating pin. Also seen is the Dremel chuck key wrench, whose middle hole is a perfect fit for the locating pin.

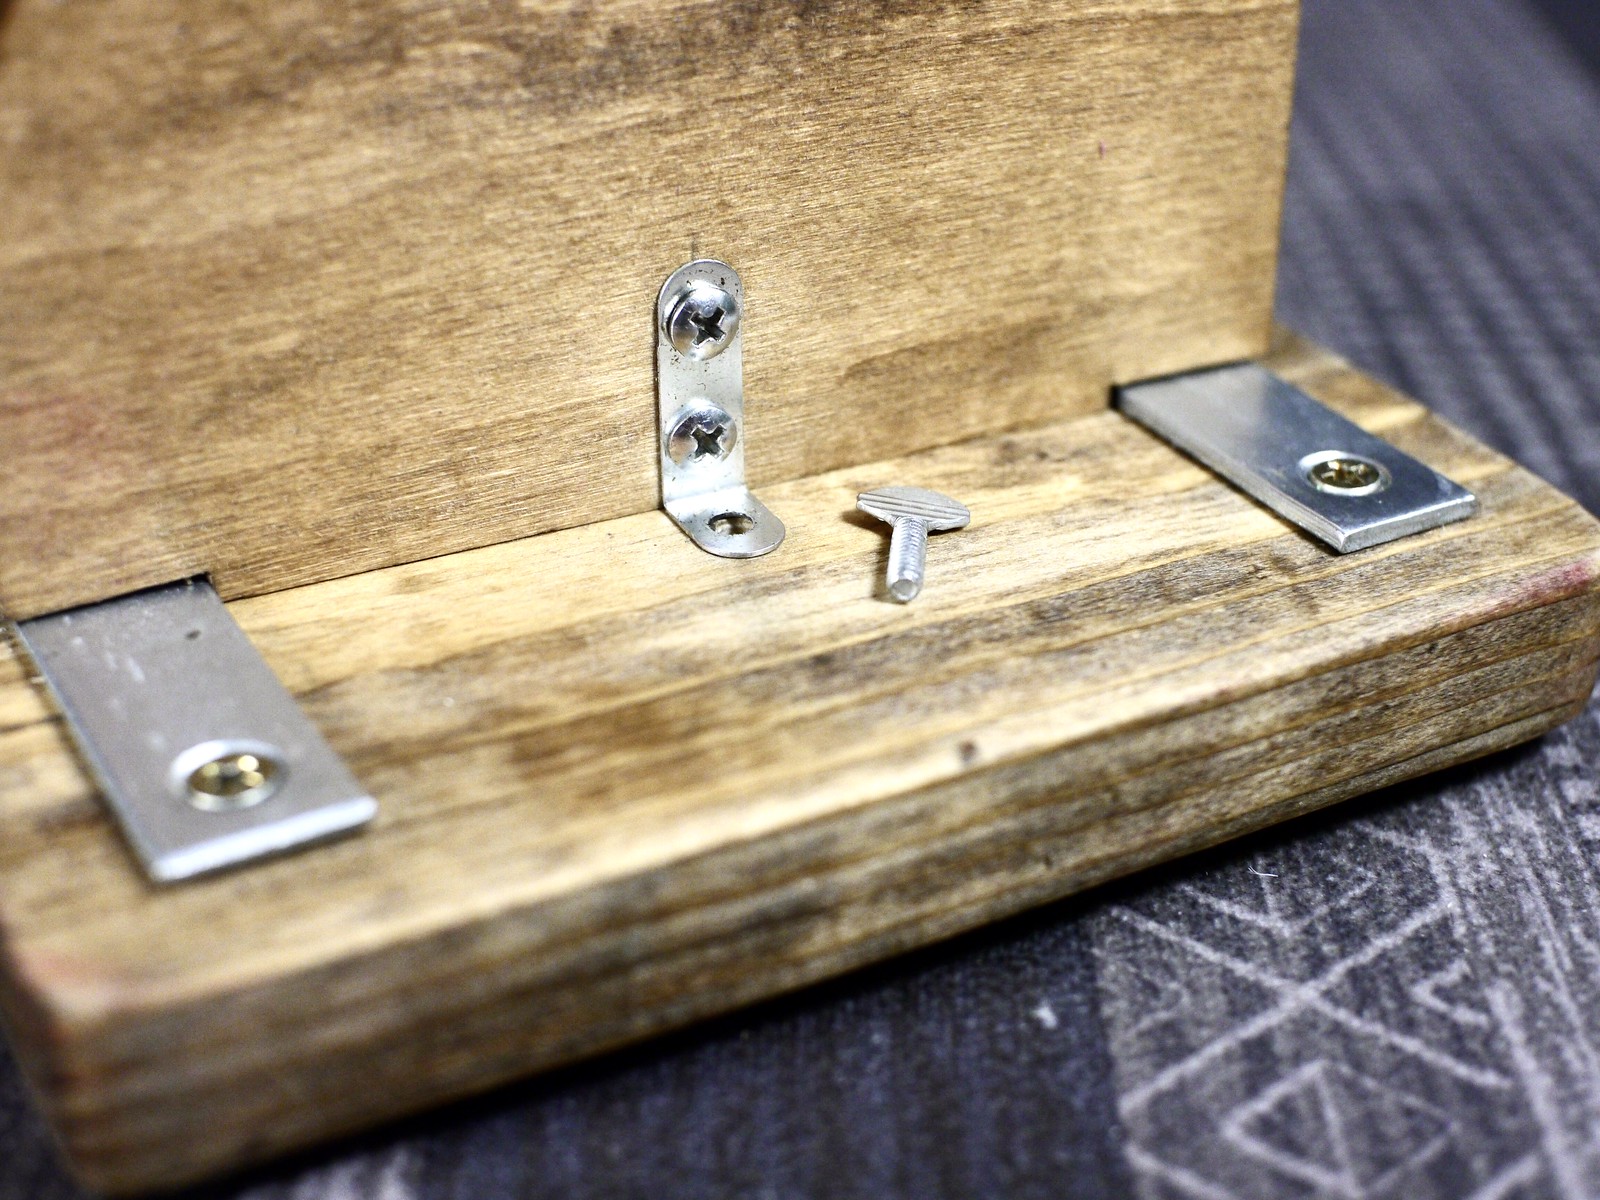
Here's a detail of the locating pin, removed from its hole.

Here is the other side of the winder, with wooden plate installed. The wide brackets on the spools are more of those miscellaneous hardware brackets I had stored away. They do seem to function rather well to keep the ribbon spools nicely secured, regardless of how wide the central ribbon spool spindle hole is.

One feature not obvious in these still photos is that an electric screwdriver, with drill bit chuck attached, can be chucked onto the end of the take-up spool bolt, and with backtension applied to the supply-side spool, the ribbon can be wound on with tremendous speed and efficiency. Here's a video about this project:


