I
I've been experimenting more with the direct positive reversal process for black-&-white print paper, and decided that, since it's two days after Christmas, it was high time to do a holiday-themed still-life. Naturally, I'm late; but there are twelve days to Christmas, right?
Today's a windy, wet day here in the high desert, not fit for man or large format camera, so naturally I figured it best to do the project under artificial lights. I don't have a stable of high-powered strobe lights, so daylight-balanced LED lights would have to suffice; the same lighting I use for my videos.
Here's the basic setup:

I've repositioned my studio lights to be more direct-on to the subject, which is a glass angel figure. The backdrop is a roll of 4-mil translucent polyethylene film, and the angel is supported atop an inverted drinking glass - because improvisation is key to these kinds of projects, right?
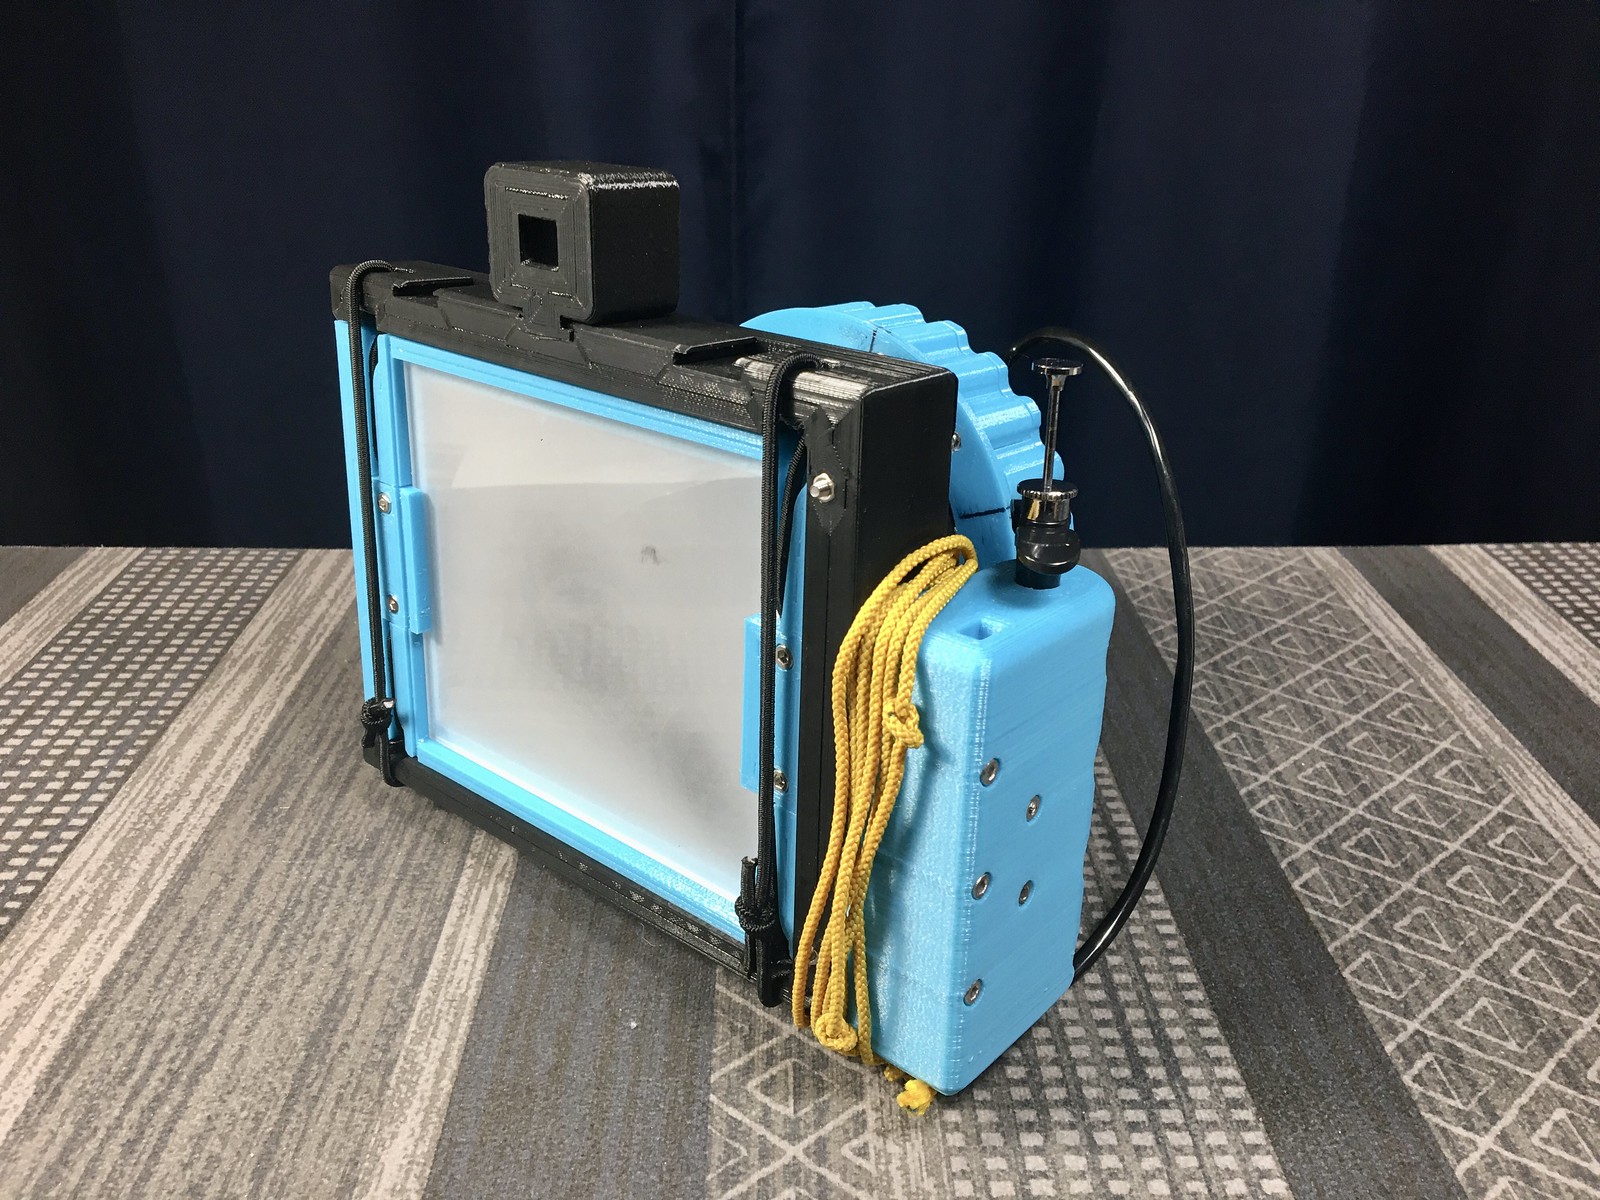
I used the Intrepid 4-by-5 (5-by-4 inches in the UK) with the Fujinon 135mm F/5.6 lens, set up atop a Bogen tripod. Wide open at F/5.6 there was inadequate depth-of-focus to bring the figure in sharp relief, but I made a test print anyway, to check my exposure.
Here's the subject focused upon the ground glass, open at F/5.6:

You may be able to tell that the diffusers for my high-tech, $8 hardware store lights are sheets of translucent drafting vellum, clipped onto the lights with bulldog clips. Again, improvisation is key.
I've been working with the direct positive reversal process enough to have confidence with using Arista grade 2 RC paper, purchased from Freestyle Photo. It's a bit harder finding fixed-grade RC coated print paper than multi-contrast papers. Earlier this week, I made a series of tests to see what happens with multigrade RC paper, which I hadn't tried before with this process; Ilford warm tone, to be exact. In daylight, the multi-contrast paper is exceedingly contrasty, almost like lithographic film, not really suitable for continuous tone subjects. I tried filtering the camera lens using contrast control filters, and had a series of "interesting" results, none of which were of sufficient quality to be of use in serious projects. But after those experiments, I went back and tried my trusty grade 2 RC paper, using the same chemistry, with predictably nice results; again confirming my previous experience that fixed-contrast paper seems to work better for me with this process.
People have asked me how I do the reversal process, so here goes. This week I've been using LPD paper developer, mixed 1+4 (50mL concentrate into 200mL water, for a dilution ratio of 1:5). I've had good results with this new developer, and will thus continue to stick with it. For the citric acid solution I mix 4 teaspoons of citric acid powder into 500mL of water. For the H2O2 I mixed fresh 35% H2O2 in a 1 +1 solution with water, for an effective strength of 18%. I get my concentrated, food-grade H2O2 at Moses Kountry Health Food store (it's sold for use in "peroxide therapy"), here in ABQ. Besides some trays of water, I'm also using a mild stop bath, of 500mL water with a "dash" of white vinegar, to render the solution mildly acidic. All of the trays are brought up to room temperature, no small feat considering my garage-based darkroom is nominally around 48f in the winter; I run a space heater in the darkroom, and microwave the chemicals before pouring into trays.
Care must be taken to wear gloves and eye protection when working with concentrated H2O2, and to ensure one doesn't slosh the stuff around when transiting from garage to kitchen microwave.
The subject is metered at ISO3, then I add 3 additional stops of exposure; my meter only goes down to ISO 3, so the effective exposure index would be less than ISO 1. Today's initial test was metered at F/5.6 for 2 seconds, but I gave an extra stop to account for bellows extension, for a final exposure time of 4 seconds. I think this is "short" enough that a portrait could be made under the same conditions, if the subject had a head brace.
Processing was as follows:
First development 2 minutes. The image should look over-exposed, almost completely black.
Rinse/stop for 30 seconds in the mild acid solution, just to stop development.
First citric acid bath for 30 seconds.
First H2O2 bath for 1 minute, face down, continuous agitation. The print should look white with just a few dark areas. Expect plenty of fizzing action.
Repeat the citric acid and H2O2 steps. The print should now look almost completely white, with just a few gray areas. Be careful of peroxide drips contaminating the work area when moving the print from tray-to-tray.
Rinse the print of residual H2O2 in a tray or over running water, to make it safe to handle.
Turn on the white lights. Second exposure for 30 seconds adjacent to a bright white LED bulb. You may begin to see a faint image begin to auto-develop.
Under white lights, place print back into developer tray, face-up, for the second development. Very quickly (<30 seconds) you should see the positive image form on the paper. This is the magic happening.
Permit the print to fully develop for at least 2 minutes, then give an archival rinse. There should be no unexposed silver halides left in the paper, so no need to stop or fix.
For the second exposure, I stopped the lens down to F/16, to give sufficient depth-of-focus to render the angel figure sharply focused. Since F/16 is three stops more than F/5.6, the exposure time was 32 seconds. Processing was the same as previous. It came out nice, I'm very pleased.
Note that with printing paper there's little or no reciprocity failure, since these exposure times are what you'd typically use in the darkroom for printing from negatives. Both prints (4 seconds versus 32 seconds) look identical in terms of exposure.
This batch of H2O2 (diluted 1+1 with water) I poured up yesterday from a fresh bottle, during my struggles with the variable contrast paper tests. But I've saved the older batch of peroxide, which I've been using for the last year (!), as I think it's still usable. It seems to have a very long life, another positive attribute to the process.
I'm finding this process to be less trouble-prone than using Harman Direct Positive paper, which is developed in standard print chemistry (developer, stop bath, fixer). I tried some outdoor tests with the Harman paper earlier this week, with poor results; it requires fresh, strong developer at room temperature, and seems to lose speed in the winter daylight with its lack of strong UV light; it's also very contrasty, whereas the grade 2 paper is much less so. Since either process requires the use of three chemicals (developer, stop bath and fix versus developer, citric acid and H2O2), and I can use a variety of RC papers for the peroxide process (Harman Direct only comes in a fiber paper), I'm finding it more convenient, since RC paper requires much shorter rinse times, and dries flat without curling. Also, the grade 2 RC paper I'm using has a semi-matte finish, a nice surface for a print. And it's quicker than processing paper negatives, then having to contact print a positive (which means running at least one test strip before hand). The only downsides to the direct positive process are you don't have a master negative from which to make more prints, and the exposure times are longer than for paper negatives.
I mentioned previously that I'd been using that older batch of H2O2 (and an older batch of citric acid) for the last year. It's gotten me thinking about residual silver. If you're a darkroom worker, you should know that fixer removes unexposed silver halides from paper and film, which gradually builds up in the solution of used fixer until it's saturated and no longer usable. The exhausted fixer I will turn in to the local hazardous waste disposal site (it shouldn't be poured down the drain, since silver may be considered a heavy metal); although others report success with auto-plating the silver out of solution using fine steel wool.
My question is this: why wasn't I seeing a build-up of residual silver in the used citric acid and/or H2O2 solutions? I've been using the same solutions for over a year; what gives? In a bottle of used fixer it's common to see a dark gray film of oxidized silver build up on the inside surface of the container, but no such film is seen in either solution. I'm guessing here (and I'm not a chemist) that the silver that gets "bleached out" of the paper is in fact still in the paper, it's just bonded with something to render it white (or very light gray) in tone.
Well, that's my report for now. I'm pleased with the final print, and will also be doing more images with the 8-by-10 (10-by-8 inches in the UK) box camera with its F/4.5, 240mm Fujinon Xerox lens.
I wish you all much joy and happiness in the coming year, and thank you for visiting. Please leave a comment below if you have any questions.
Which reminds me, do you have issues with leaving comments here on Blogger? I find on my iOS devices that I have to visit a blog using Private Browsing mode, otherwise Blogger doesn't give me an option to log in when leaving comments on other's Blogger sites. Go figure ...
Labels: darkroom experiments, direct positive process, Harman DPP