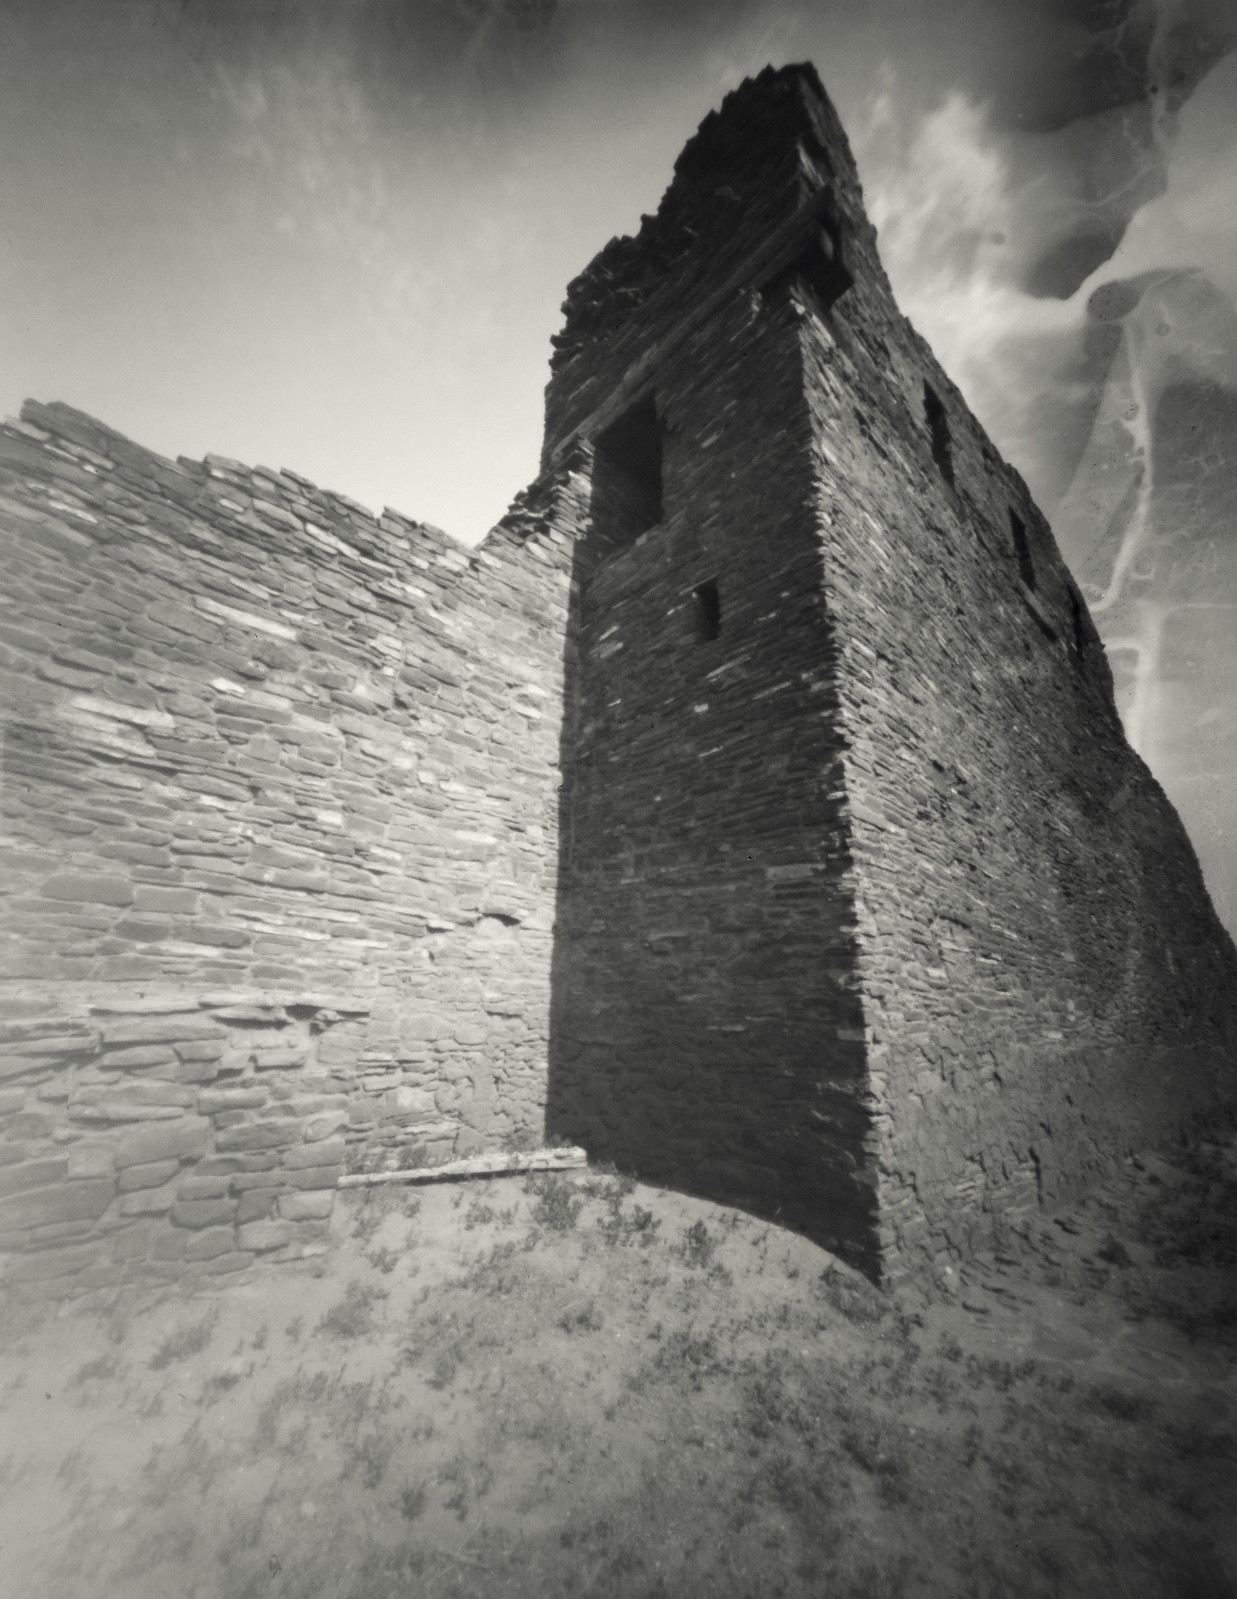
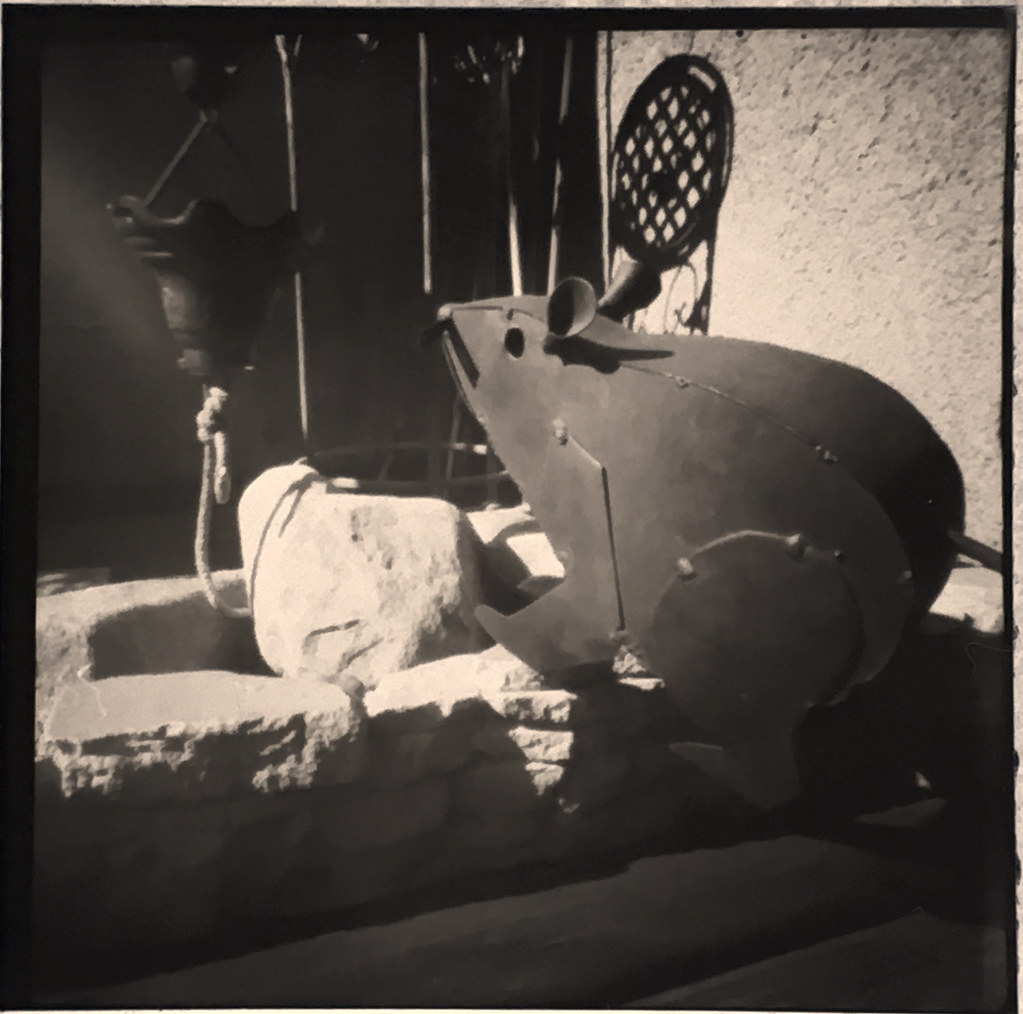
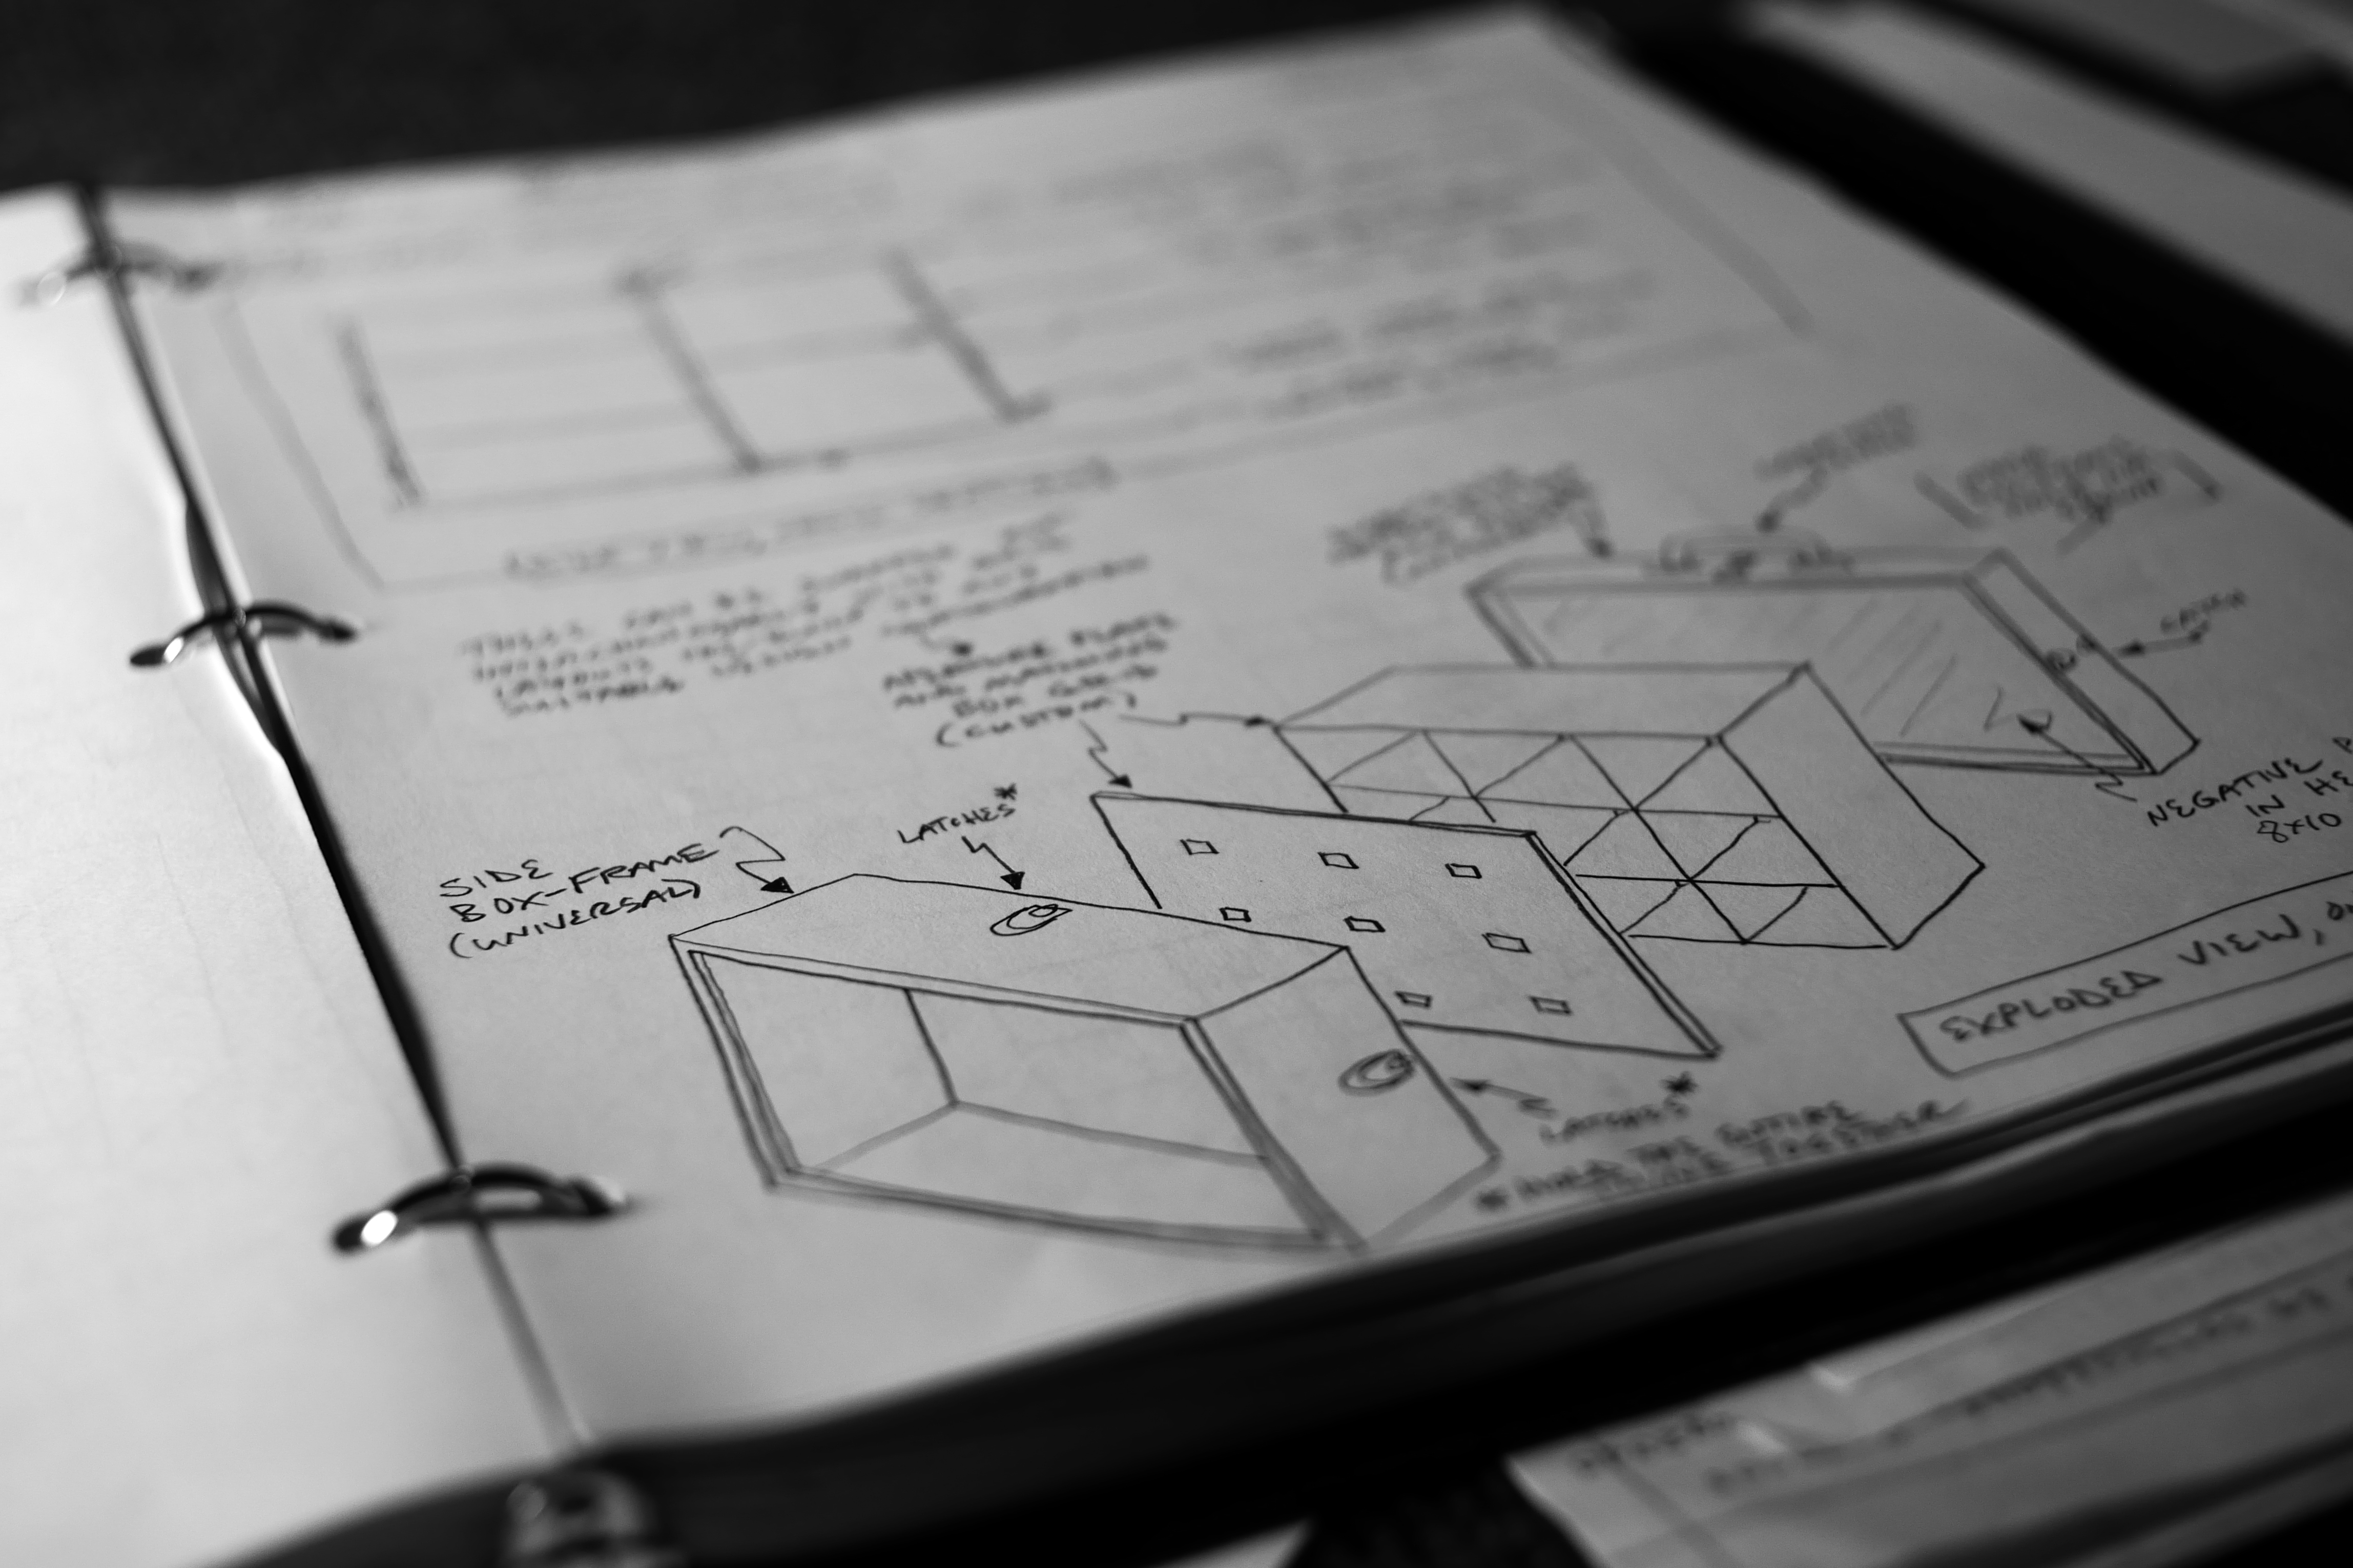
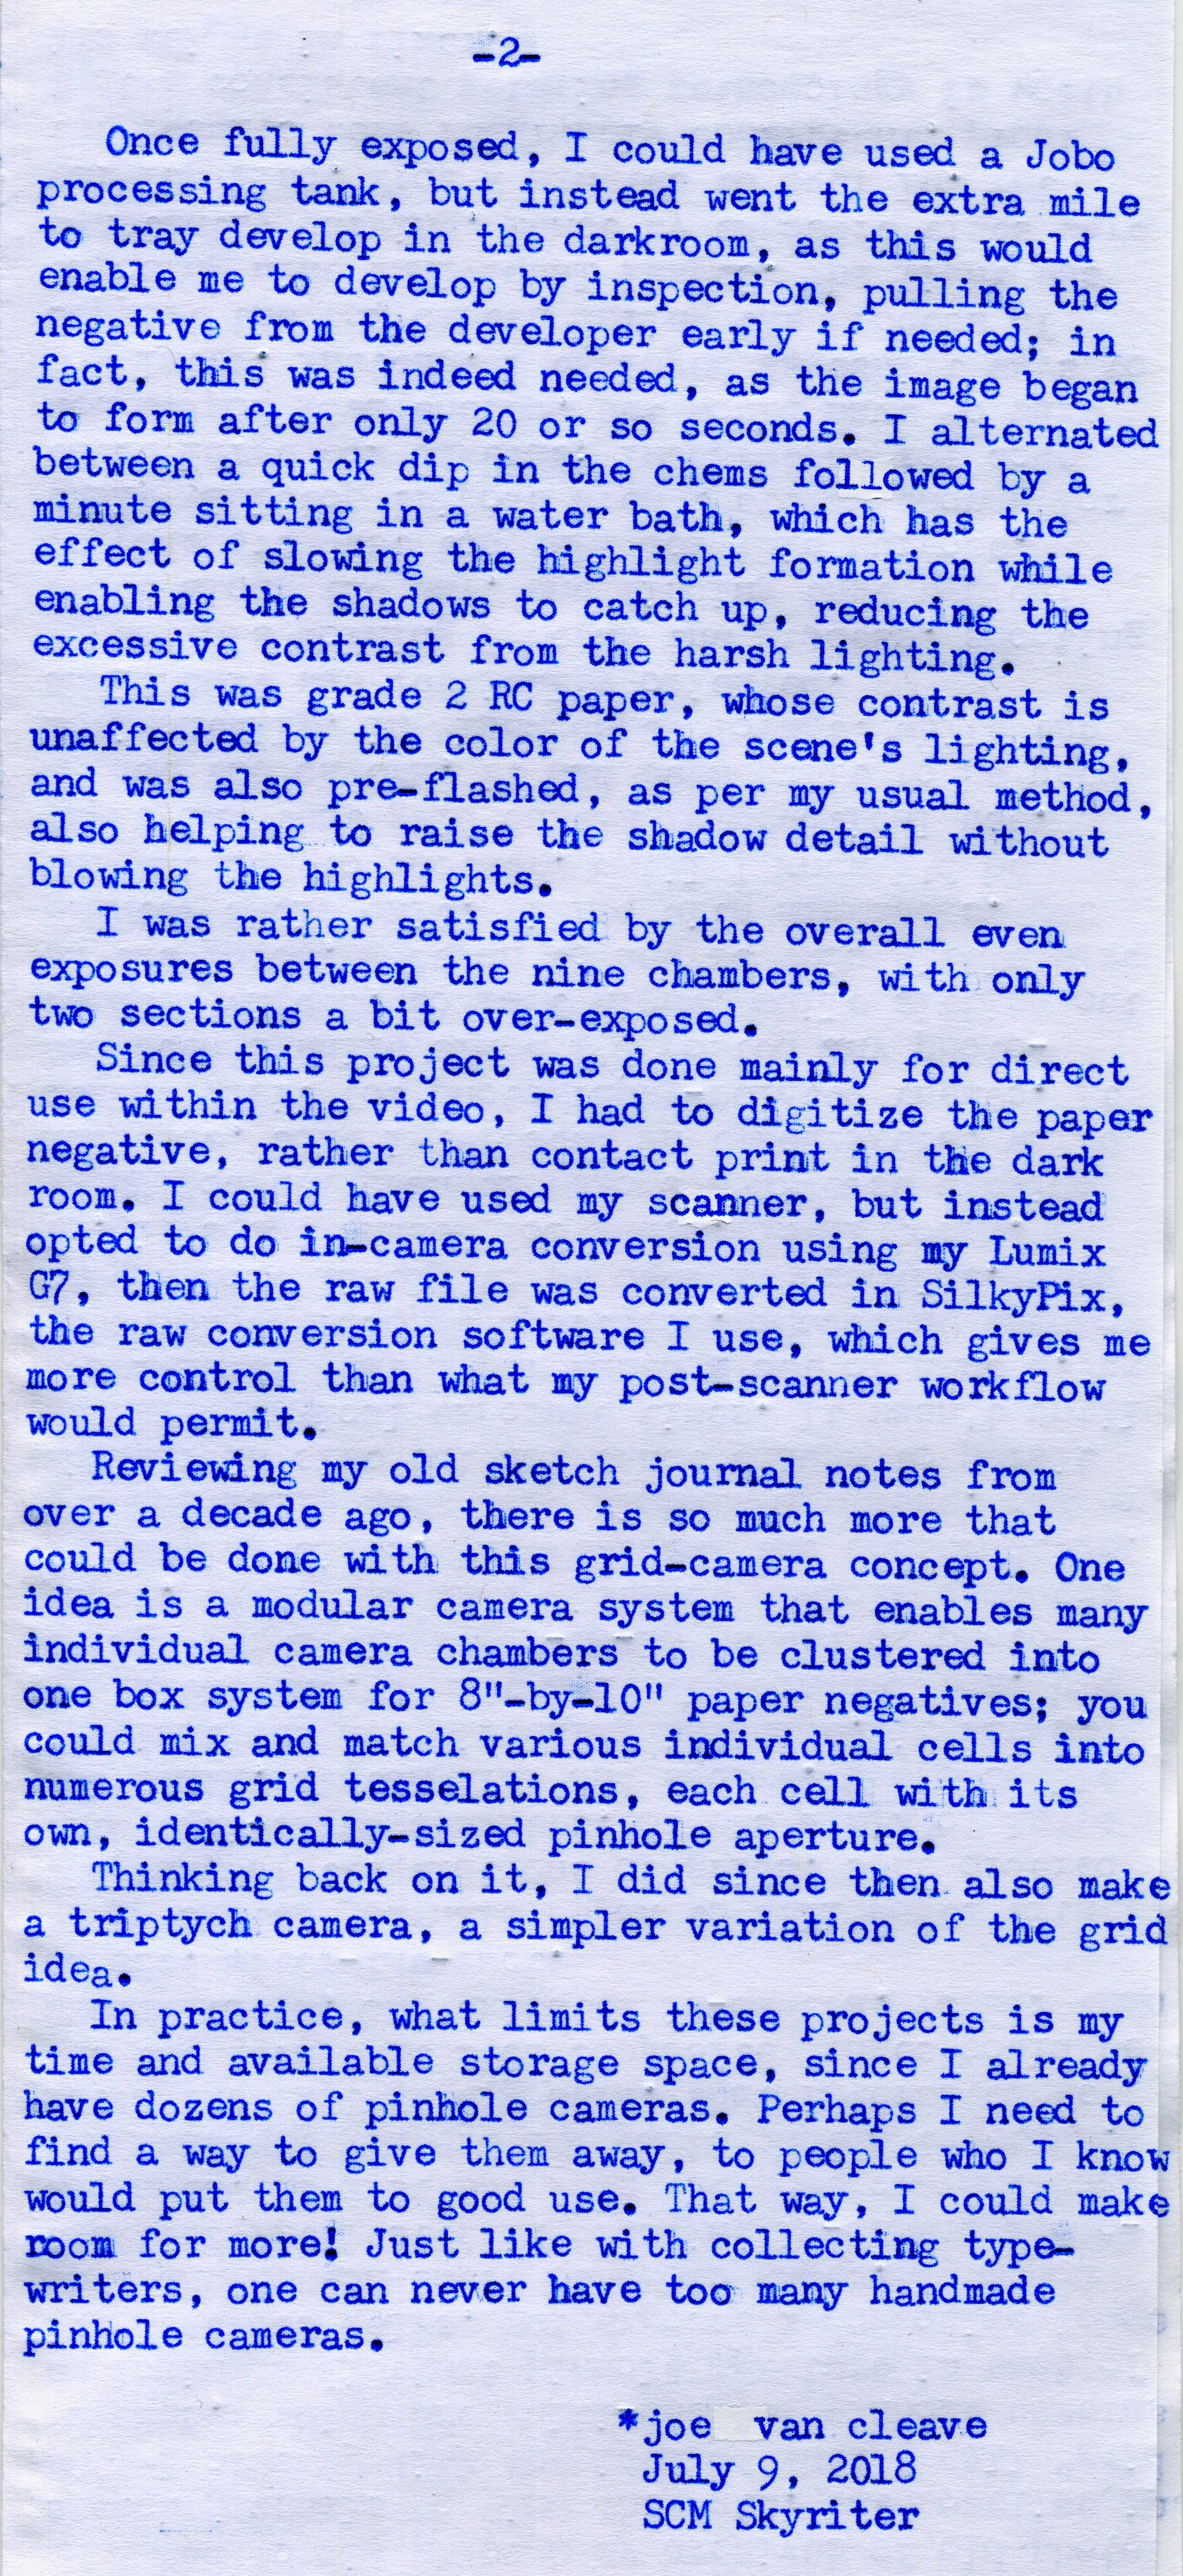
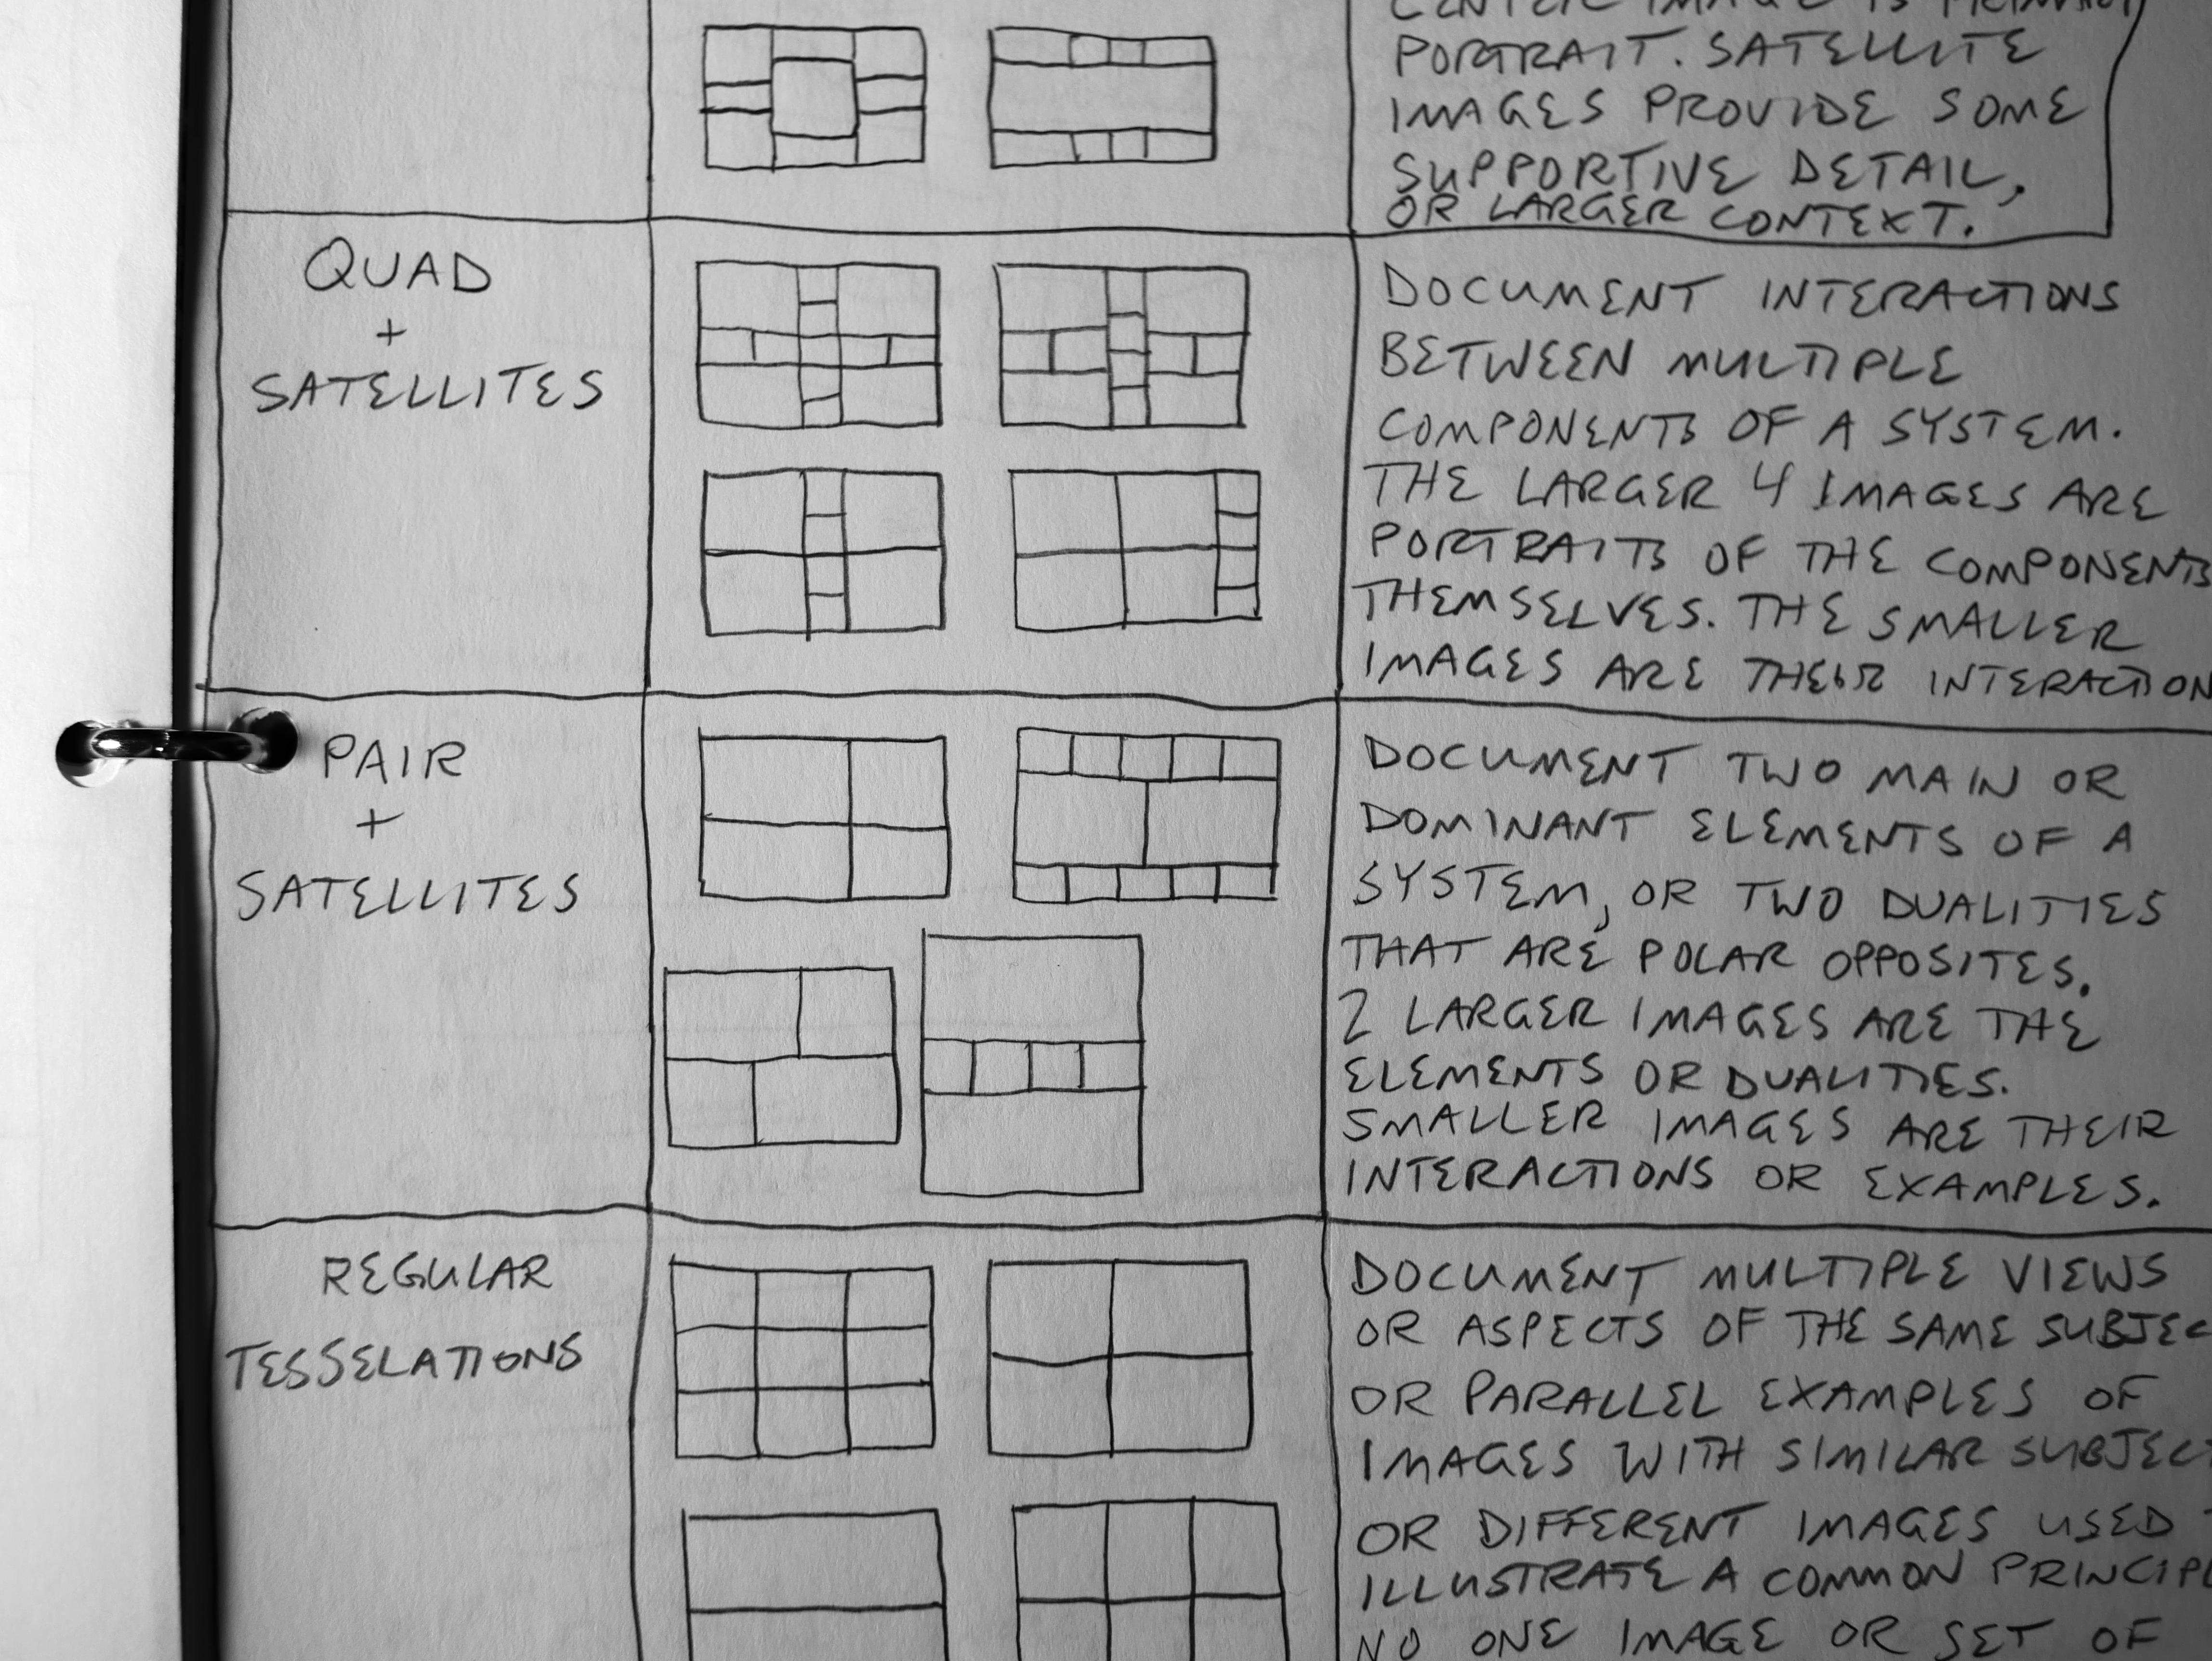
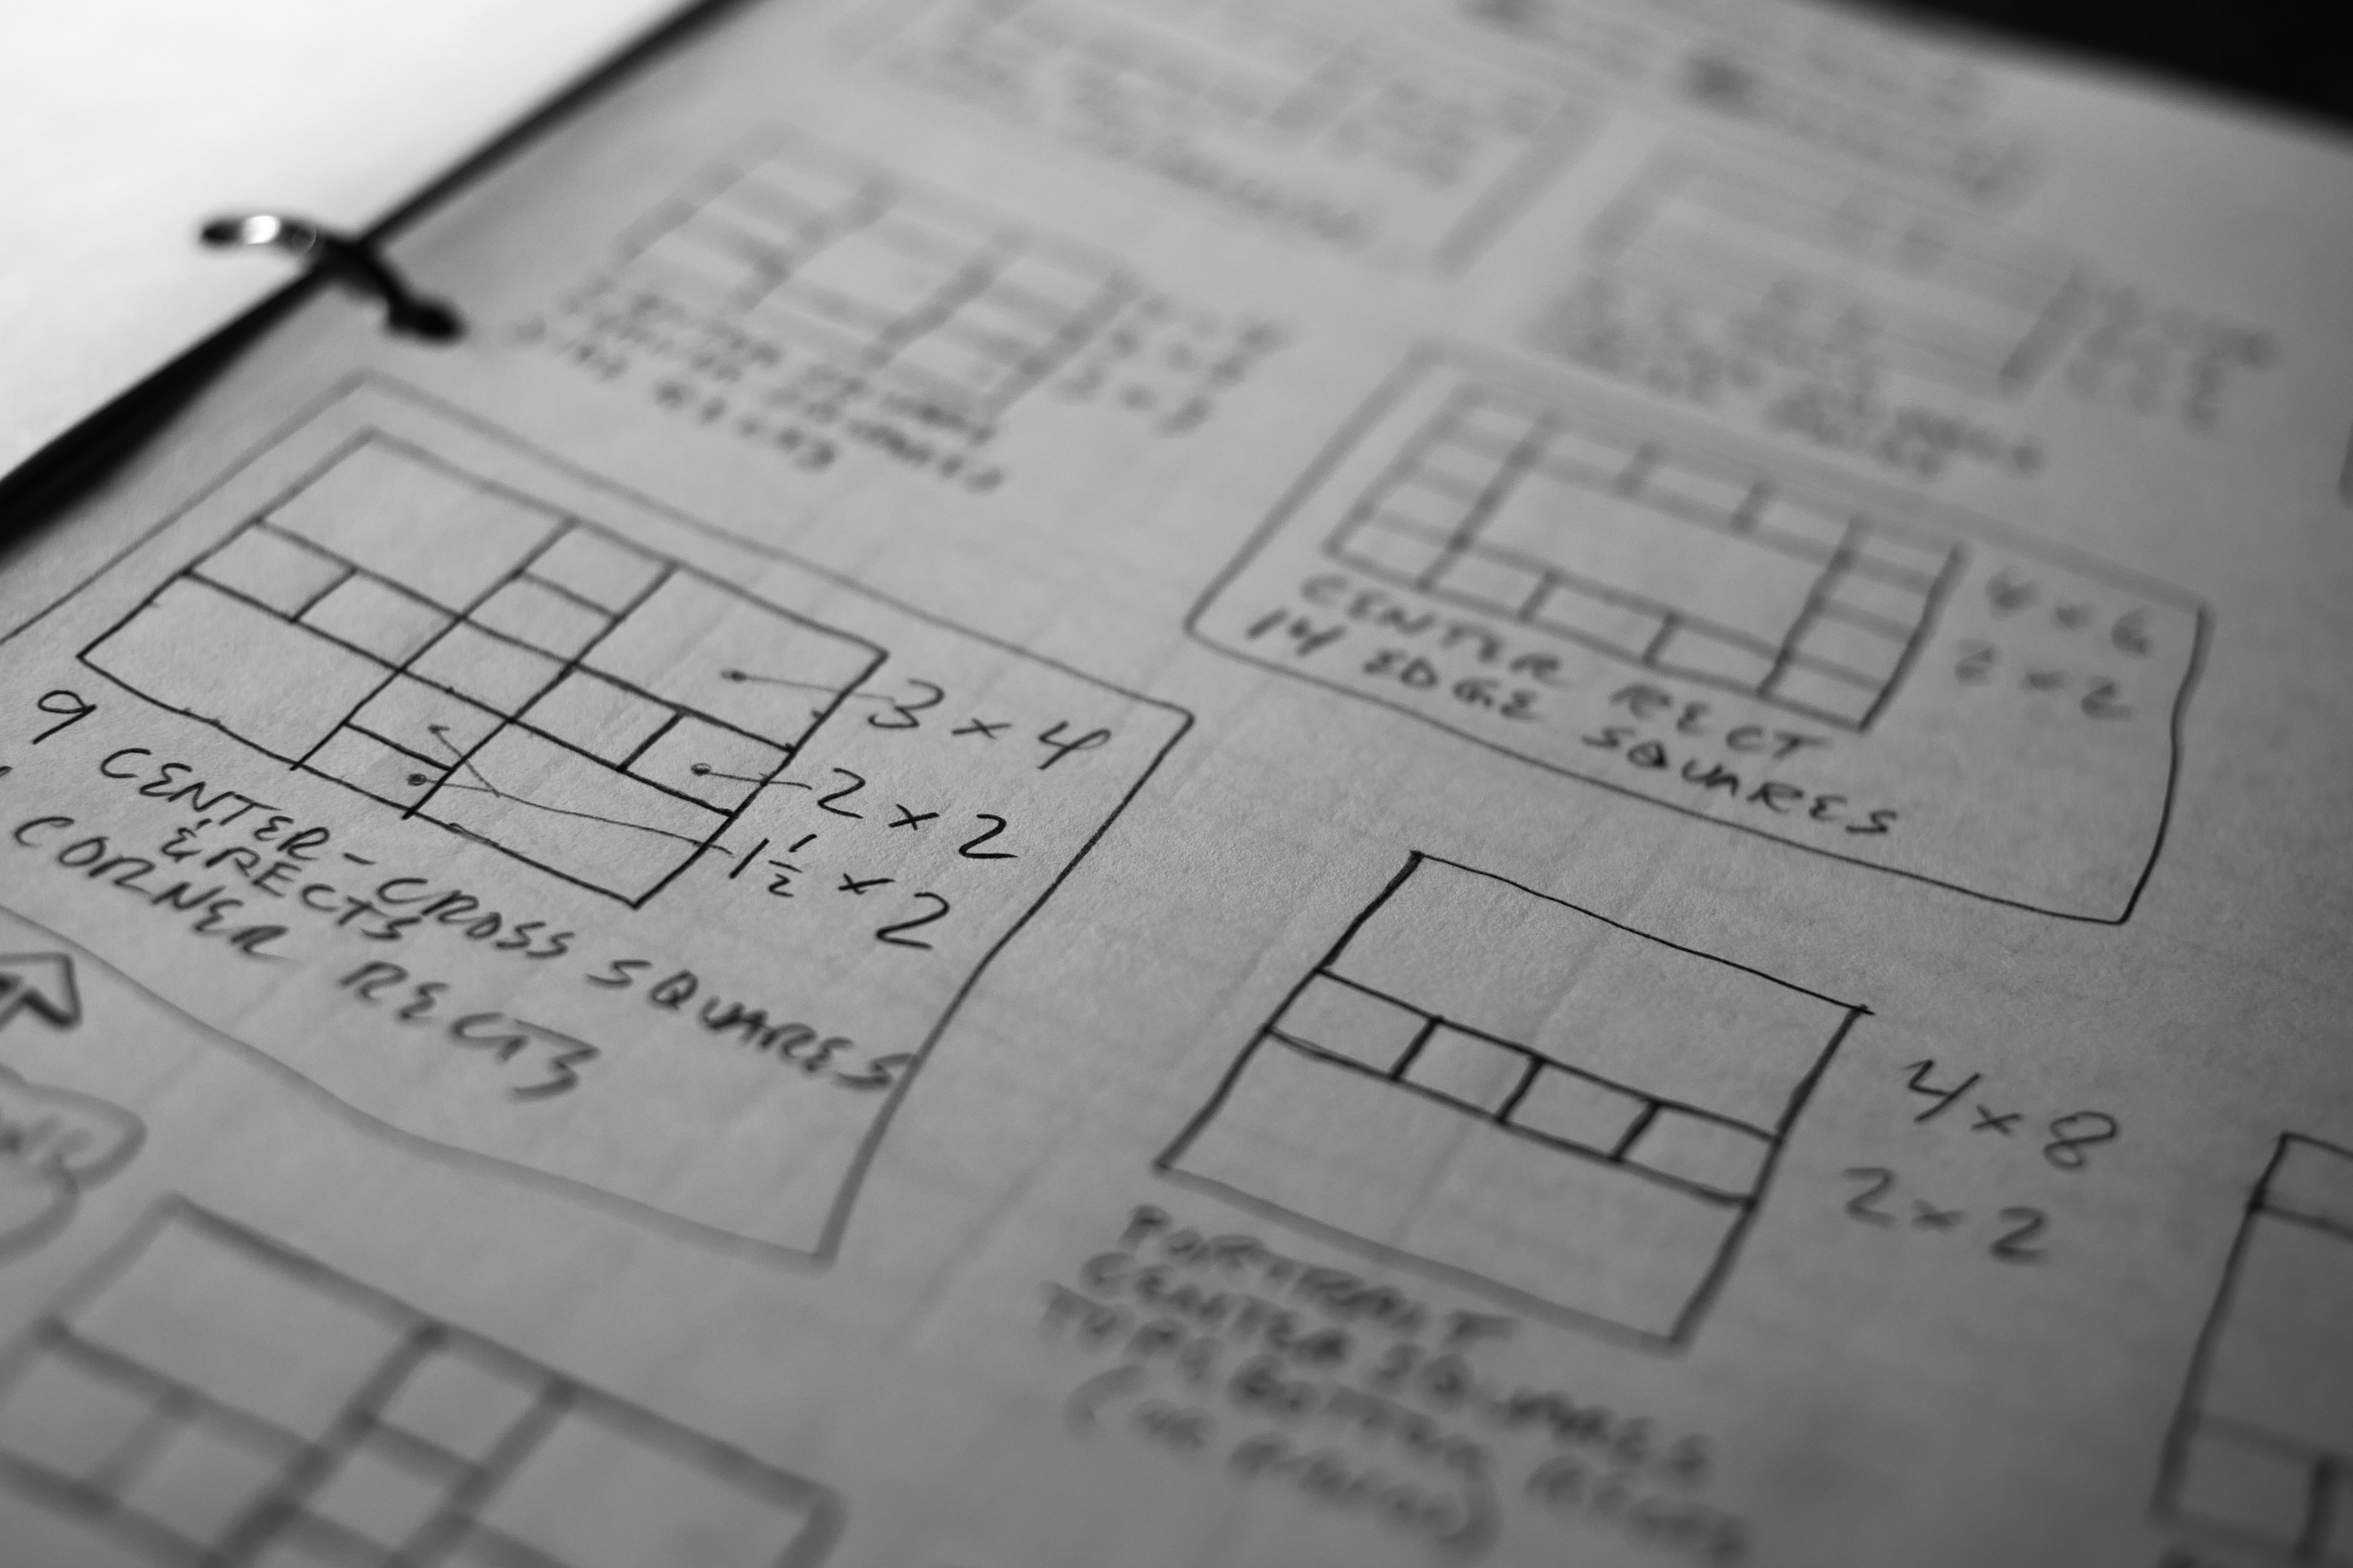
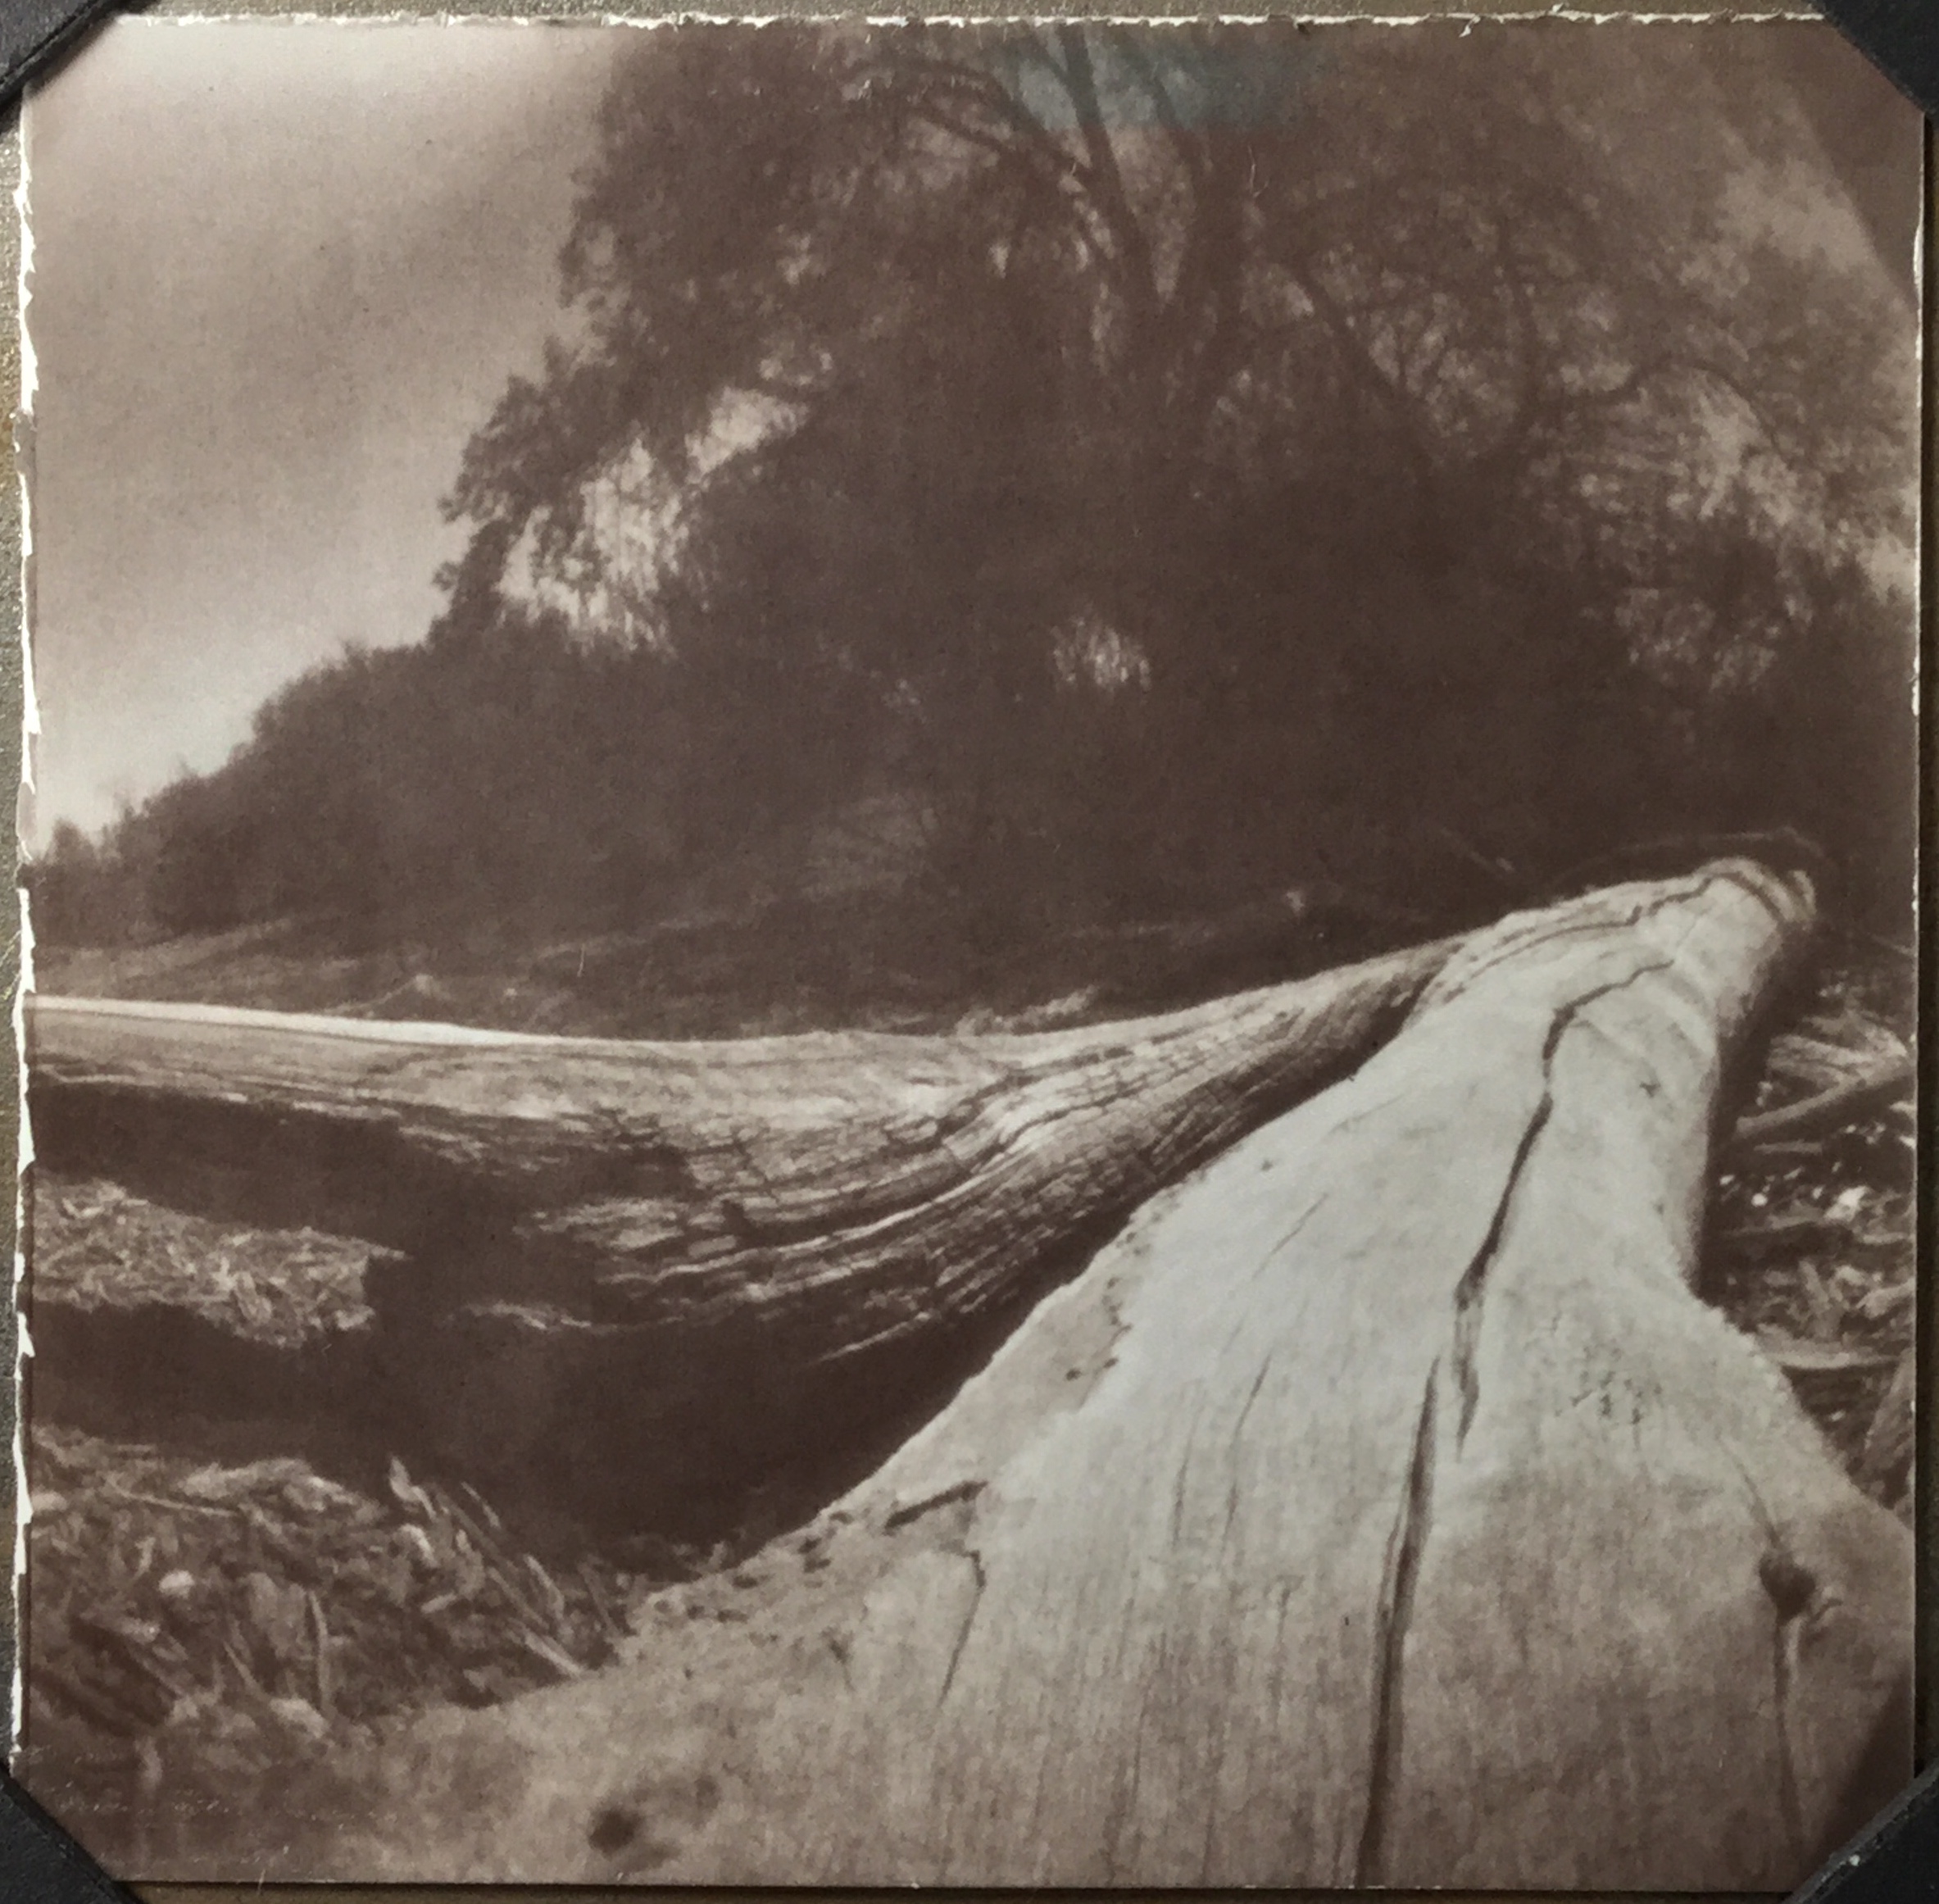
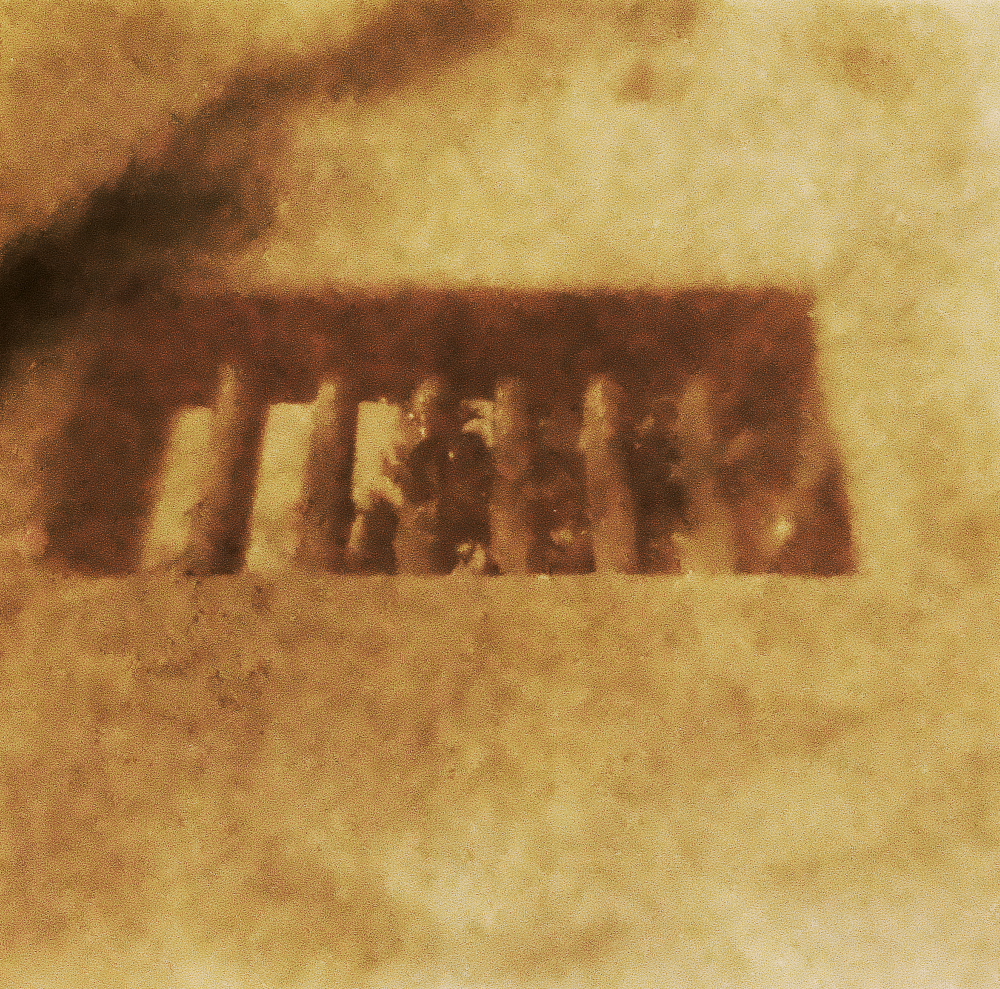
Here's one of the paper negatives from the wide-angle pinhole camera, with "processing artifacts" in the sky.
I actually like it, though I can't take credit for an accident. This is one of those examples where a true artist would know how to embrace serendipity in their process; whereas myself, as more of a technician than artist, just sees fault. I think it's important that photographers learn to inhabit that space where the unpredictable arises as a result of a continual process of experimentation. It's all too easy to get wrapped up in the classic 20th century photographic techniques, that were refined more for commercial purposes.
My mistake was sloshing an unmeasured quantity of fresh developer in the tray as a replenishment, which then proved too strong, as the subsequent negative got too dense too fast. Then, to compensate, I pulled the next negative out after only 20 seconds and let it sit face-up, in an attempt at compensating development (where the shadows continue processing but the highlights slow down), but this resulted in the uneven tones.
As I mentioned in the typecast, today I did a controlled experiment, using only 50mL of used developer, merely enough to barely submerge a 4x5 negative in a 5x7 tray, and with sufficient agitation (intermittent but thorough) the result was rather nice.
Note the compensating effect, as the sky retains some detail that might otherwise be lost. This technique certainly deserves more testing.
Here's another iPhone image I like:
Here I purposefully exposed for the clouds to retain some detail (since digital sensors can so easily over-expose the highlights), then pulled up the shadows and adjusted the tones afterward.
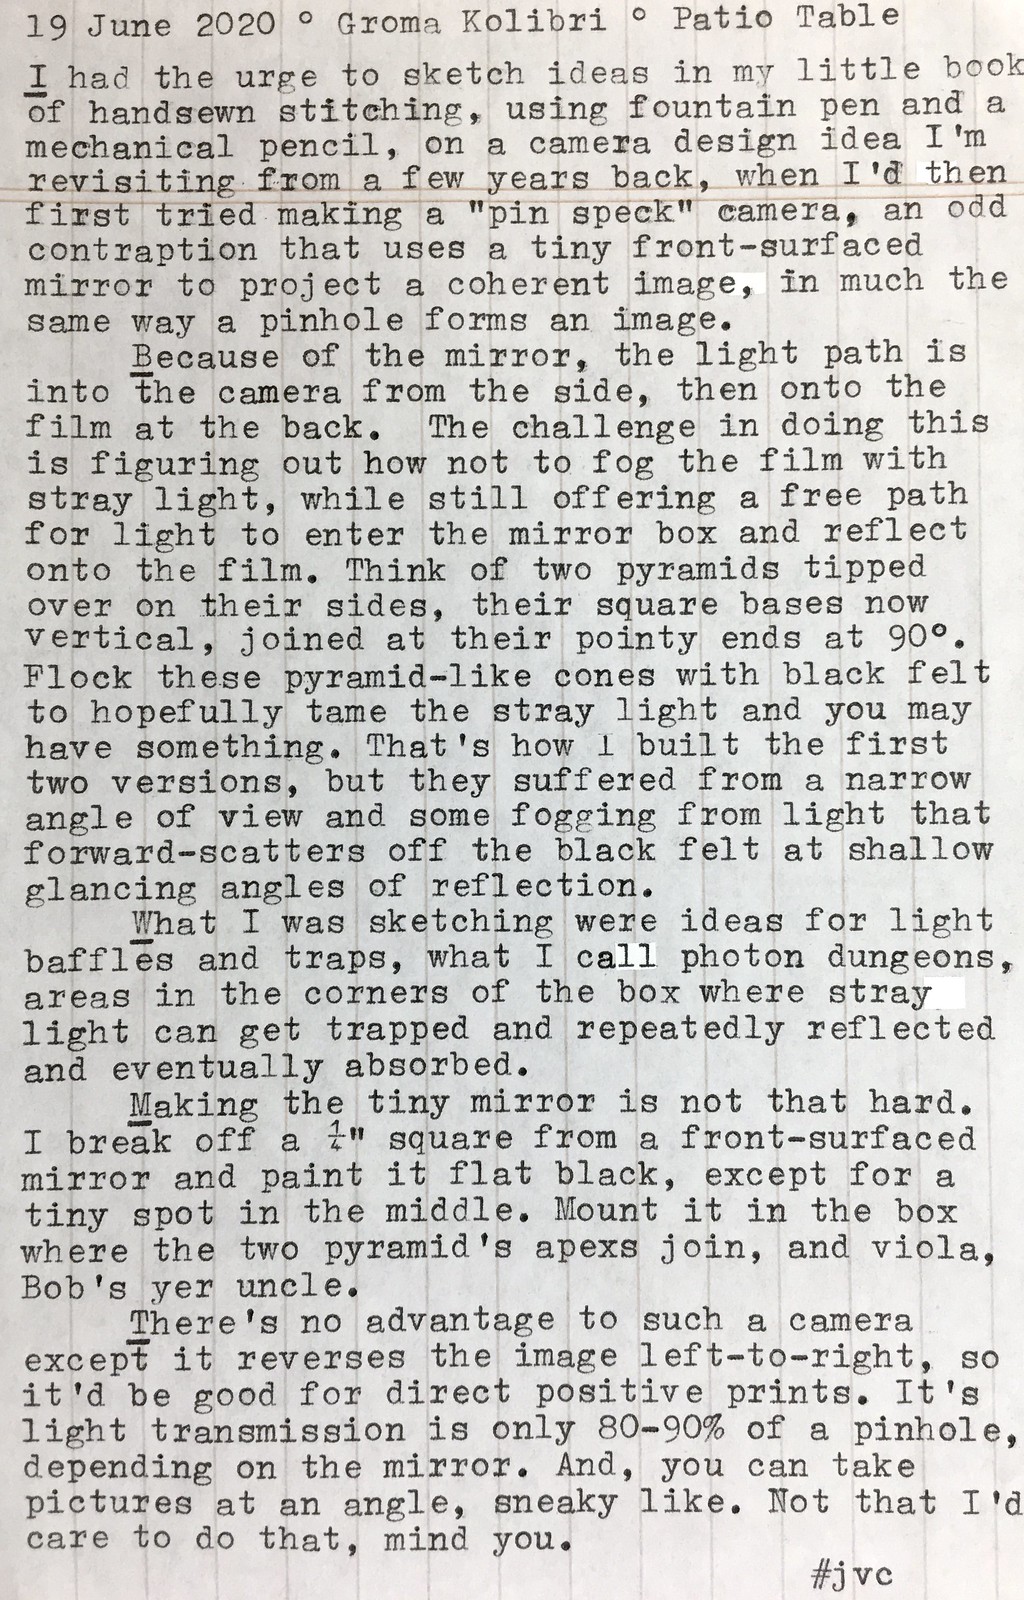
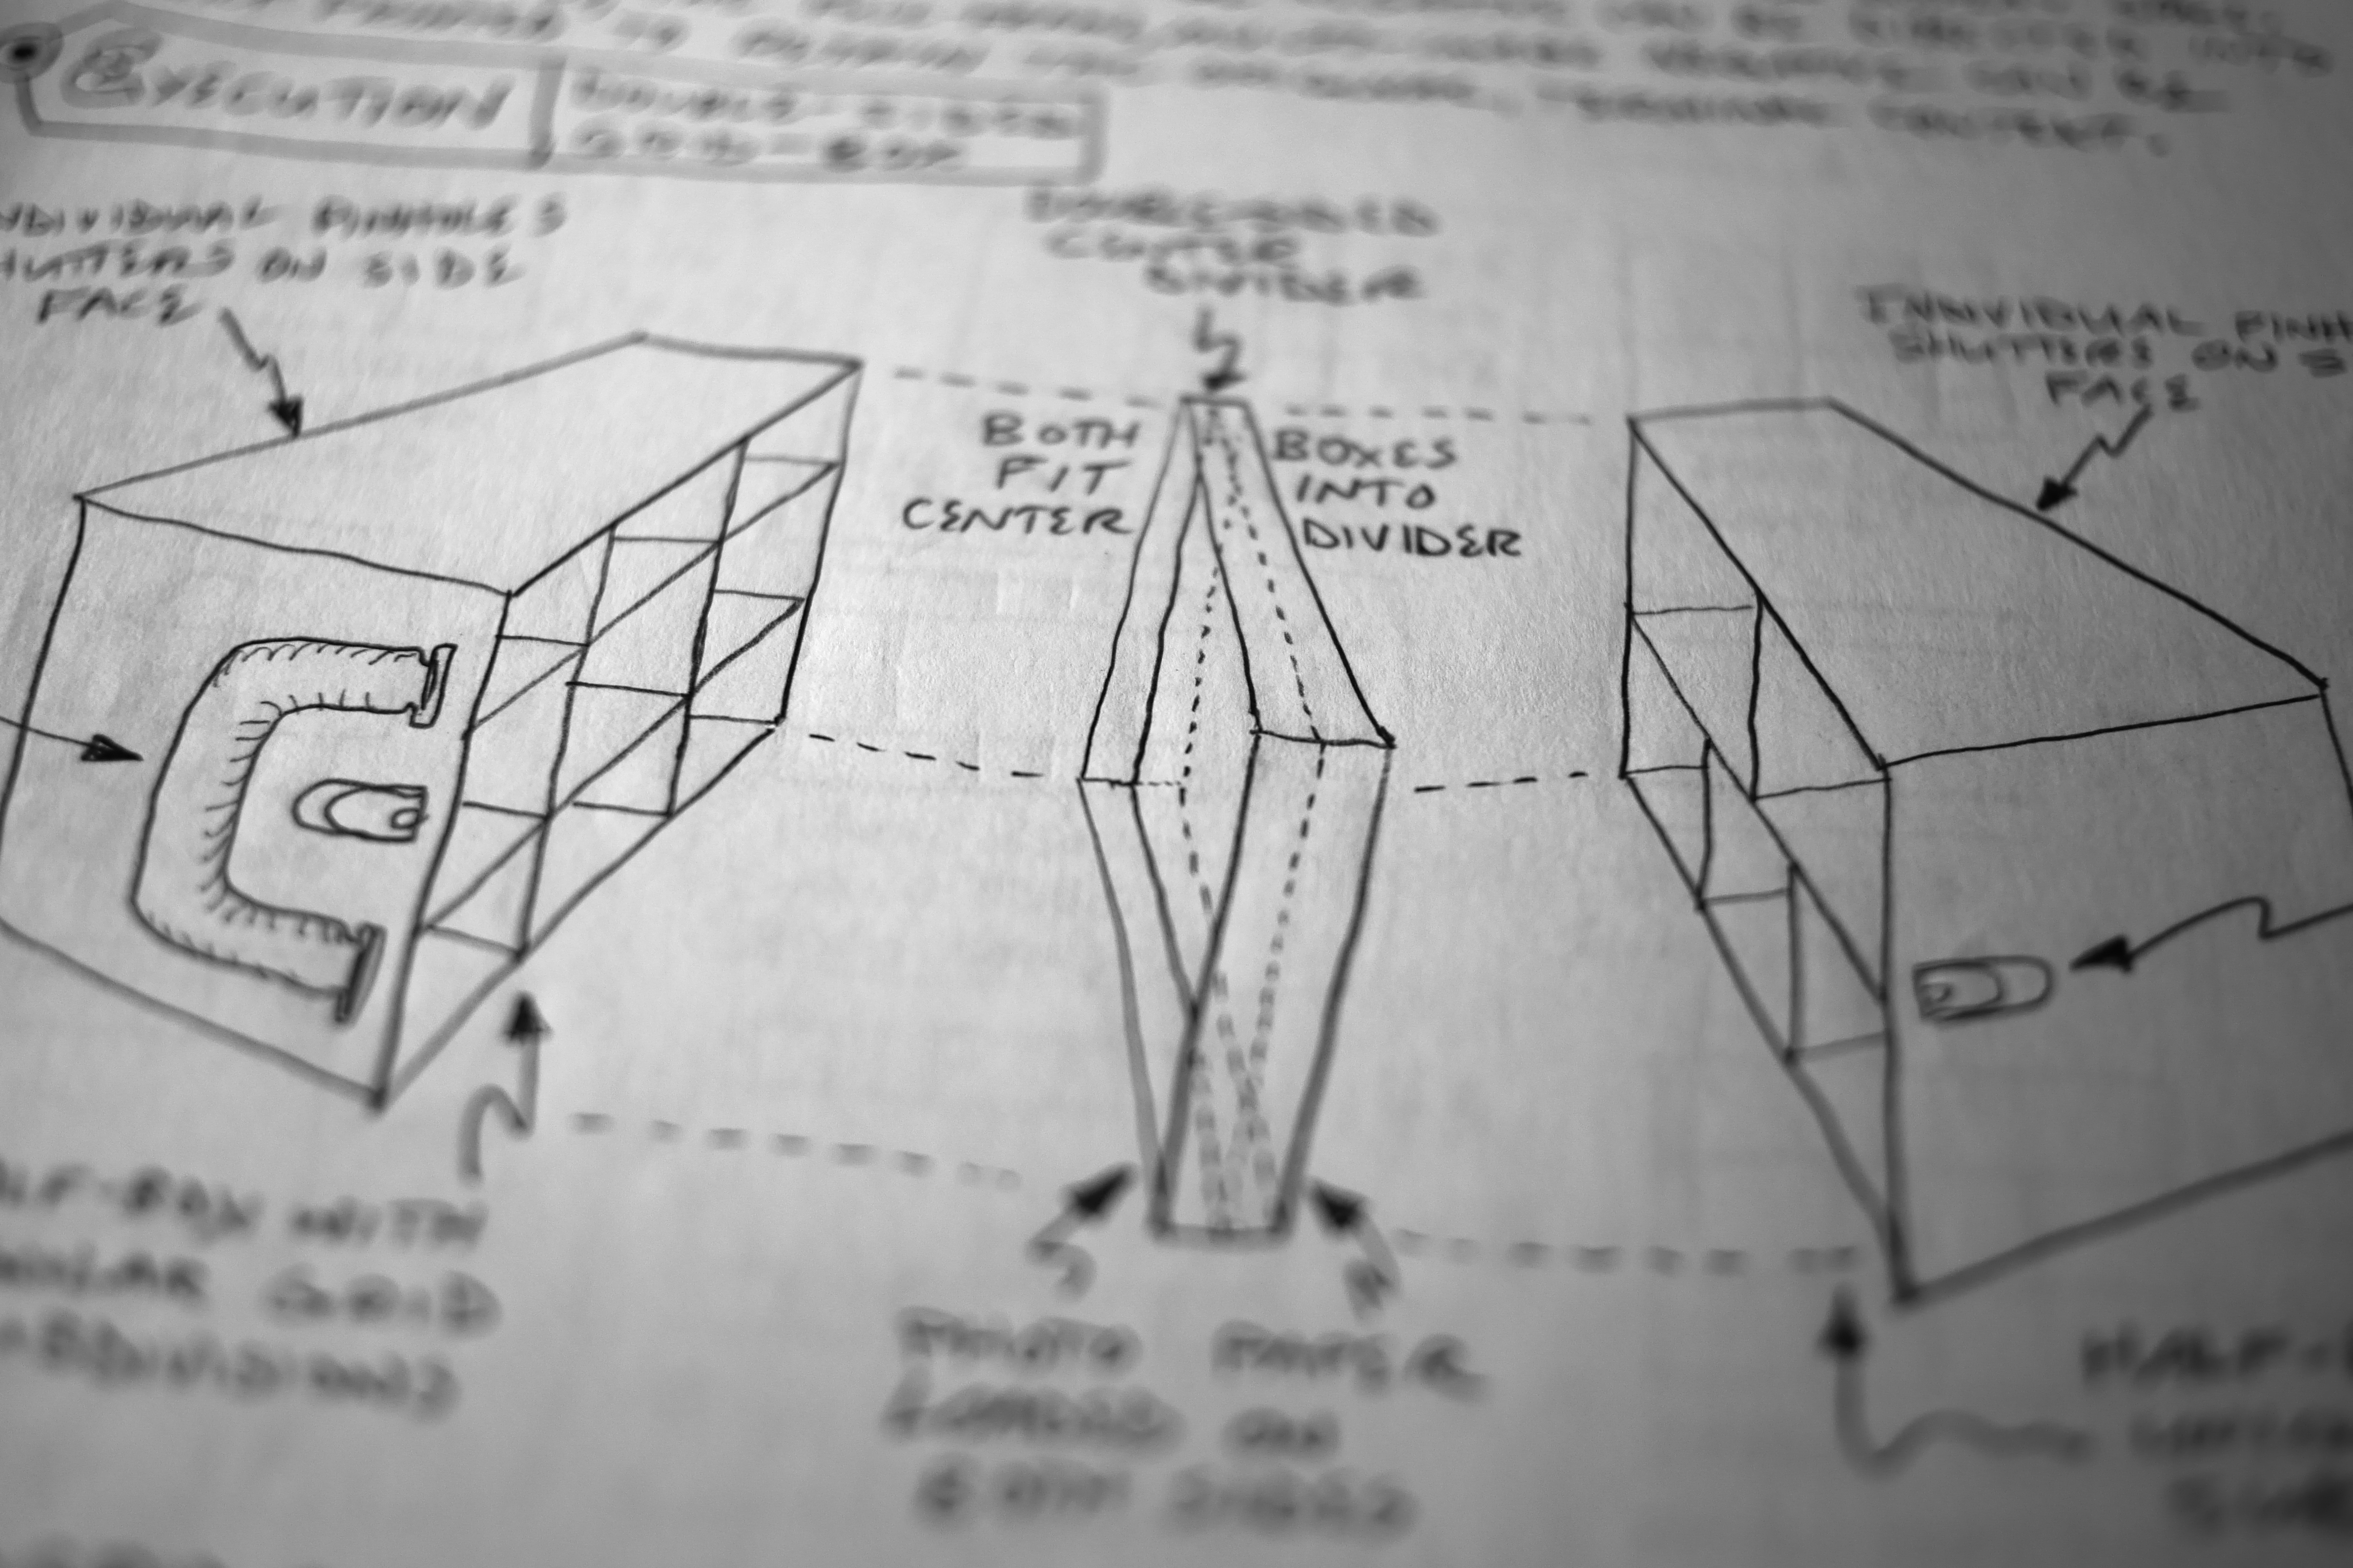
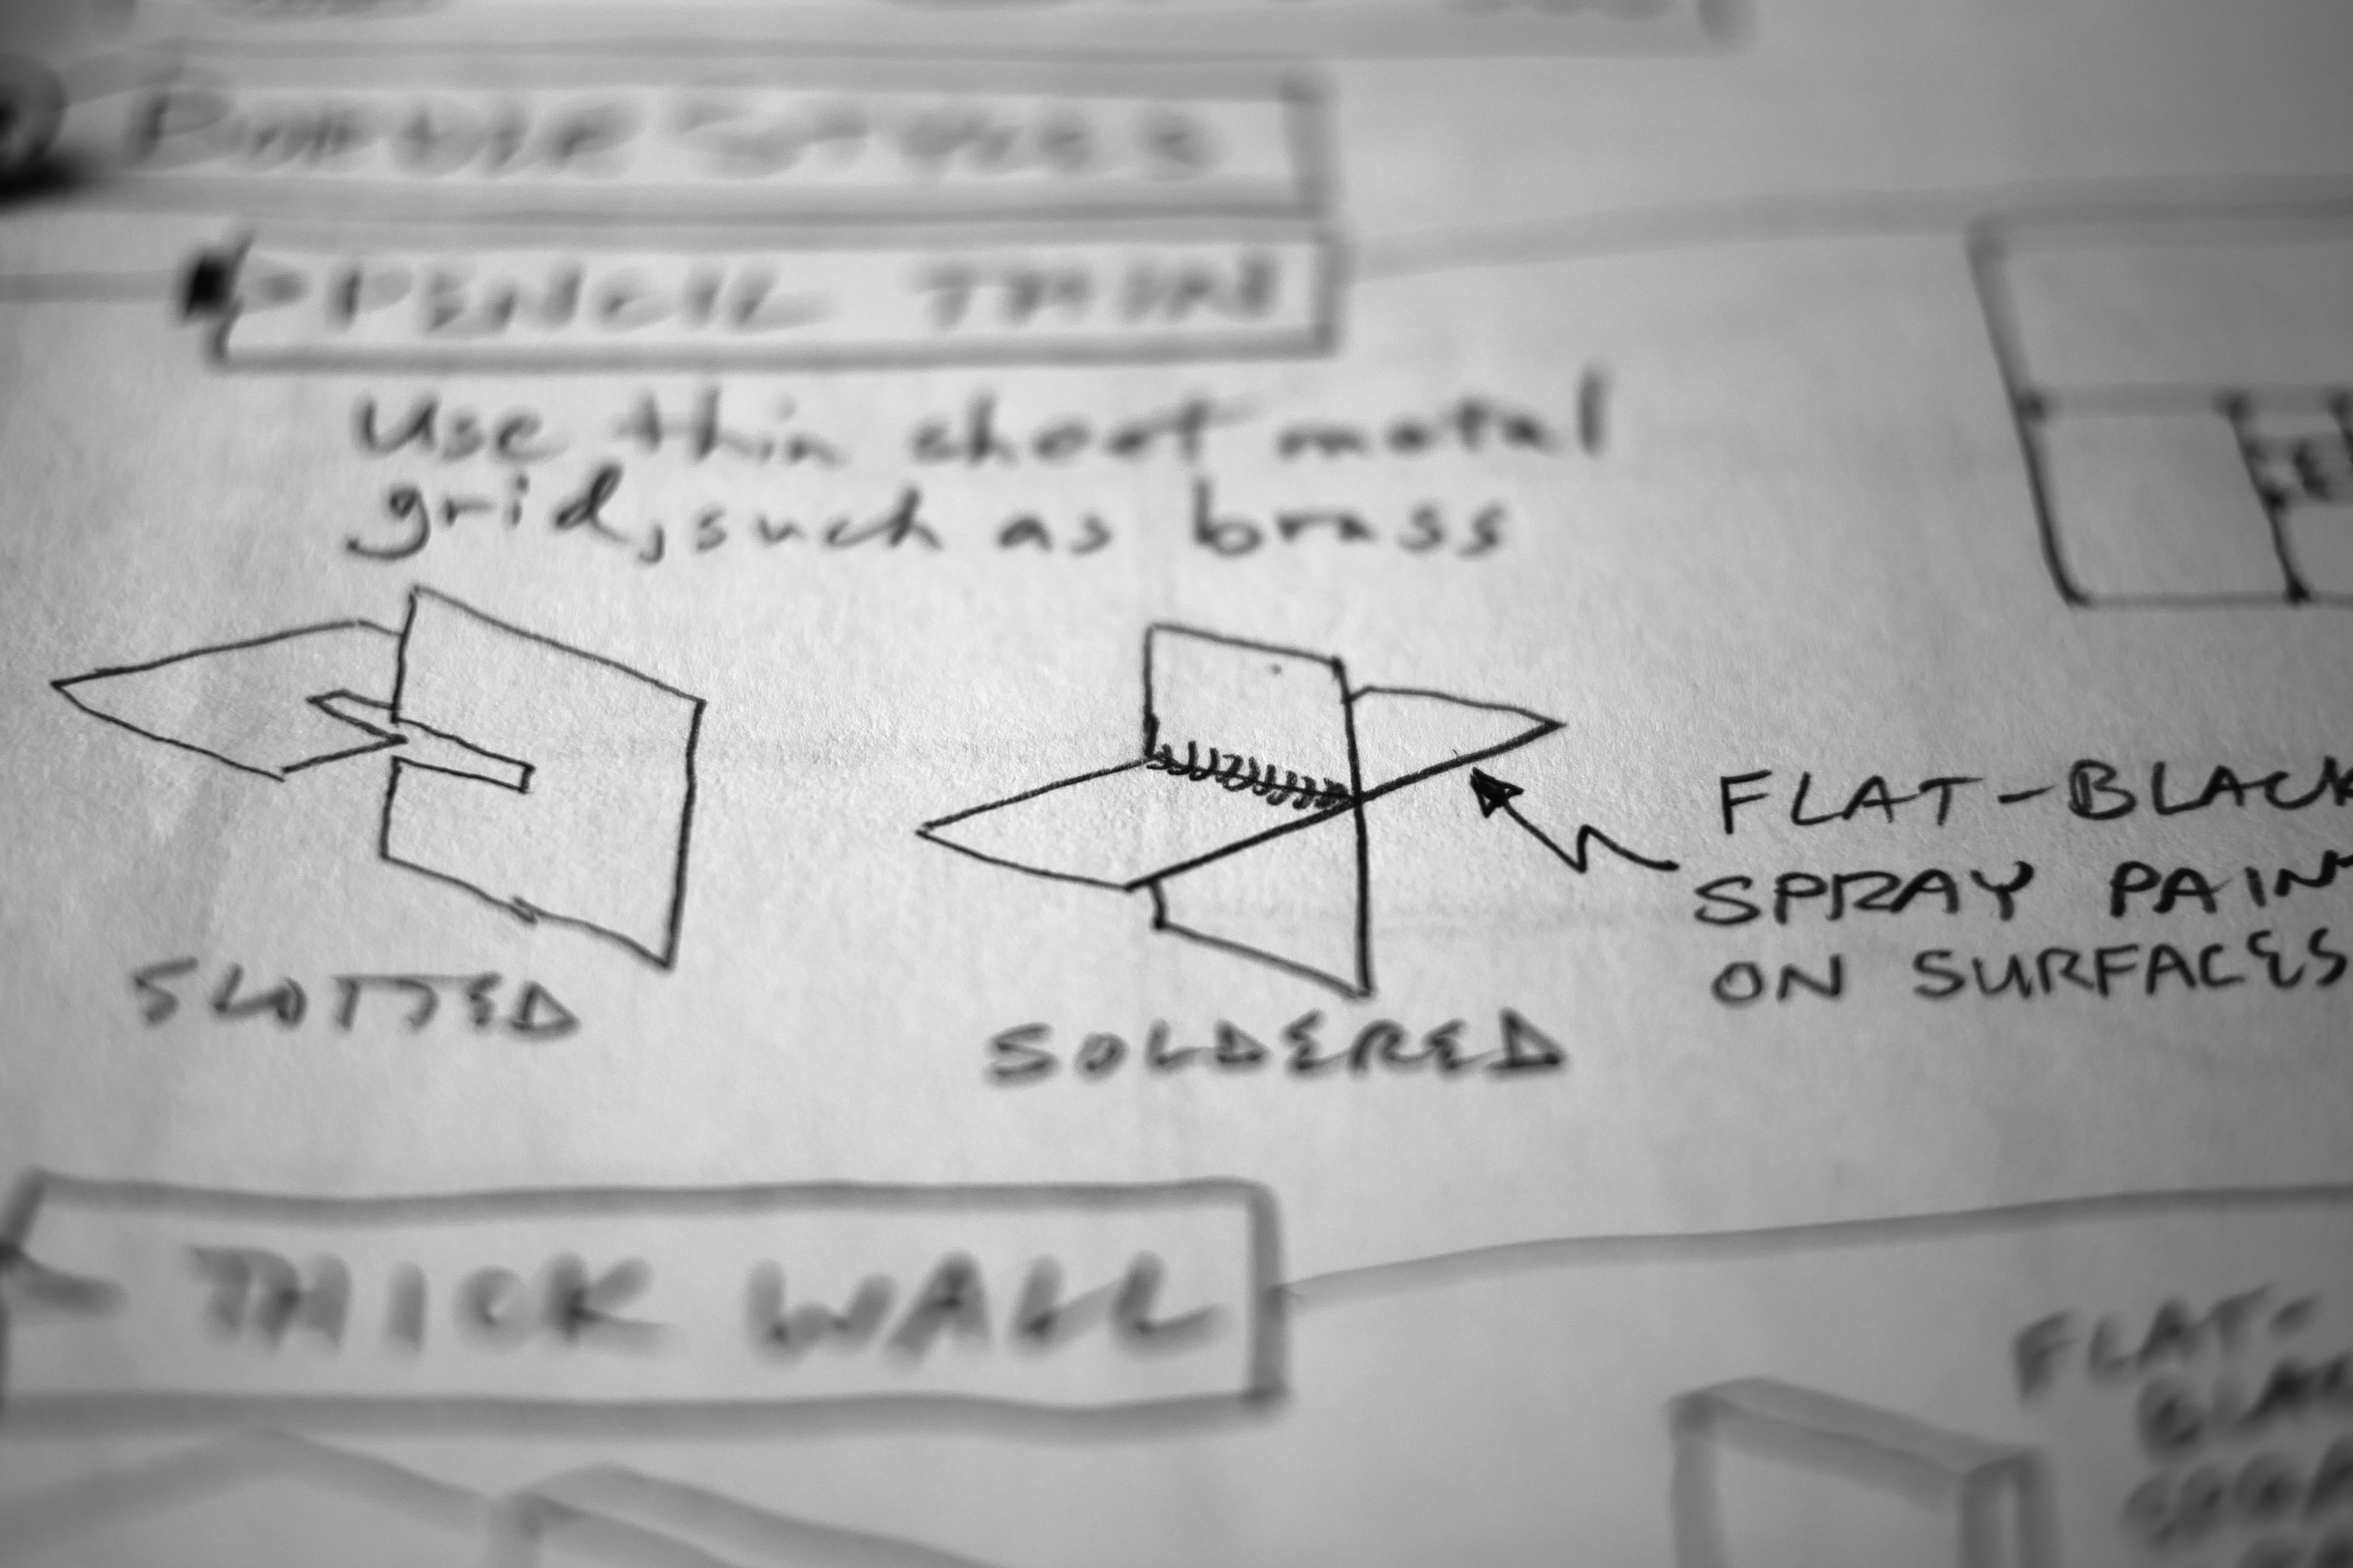
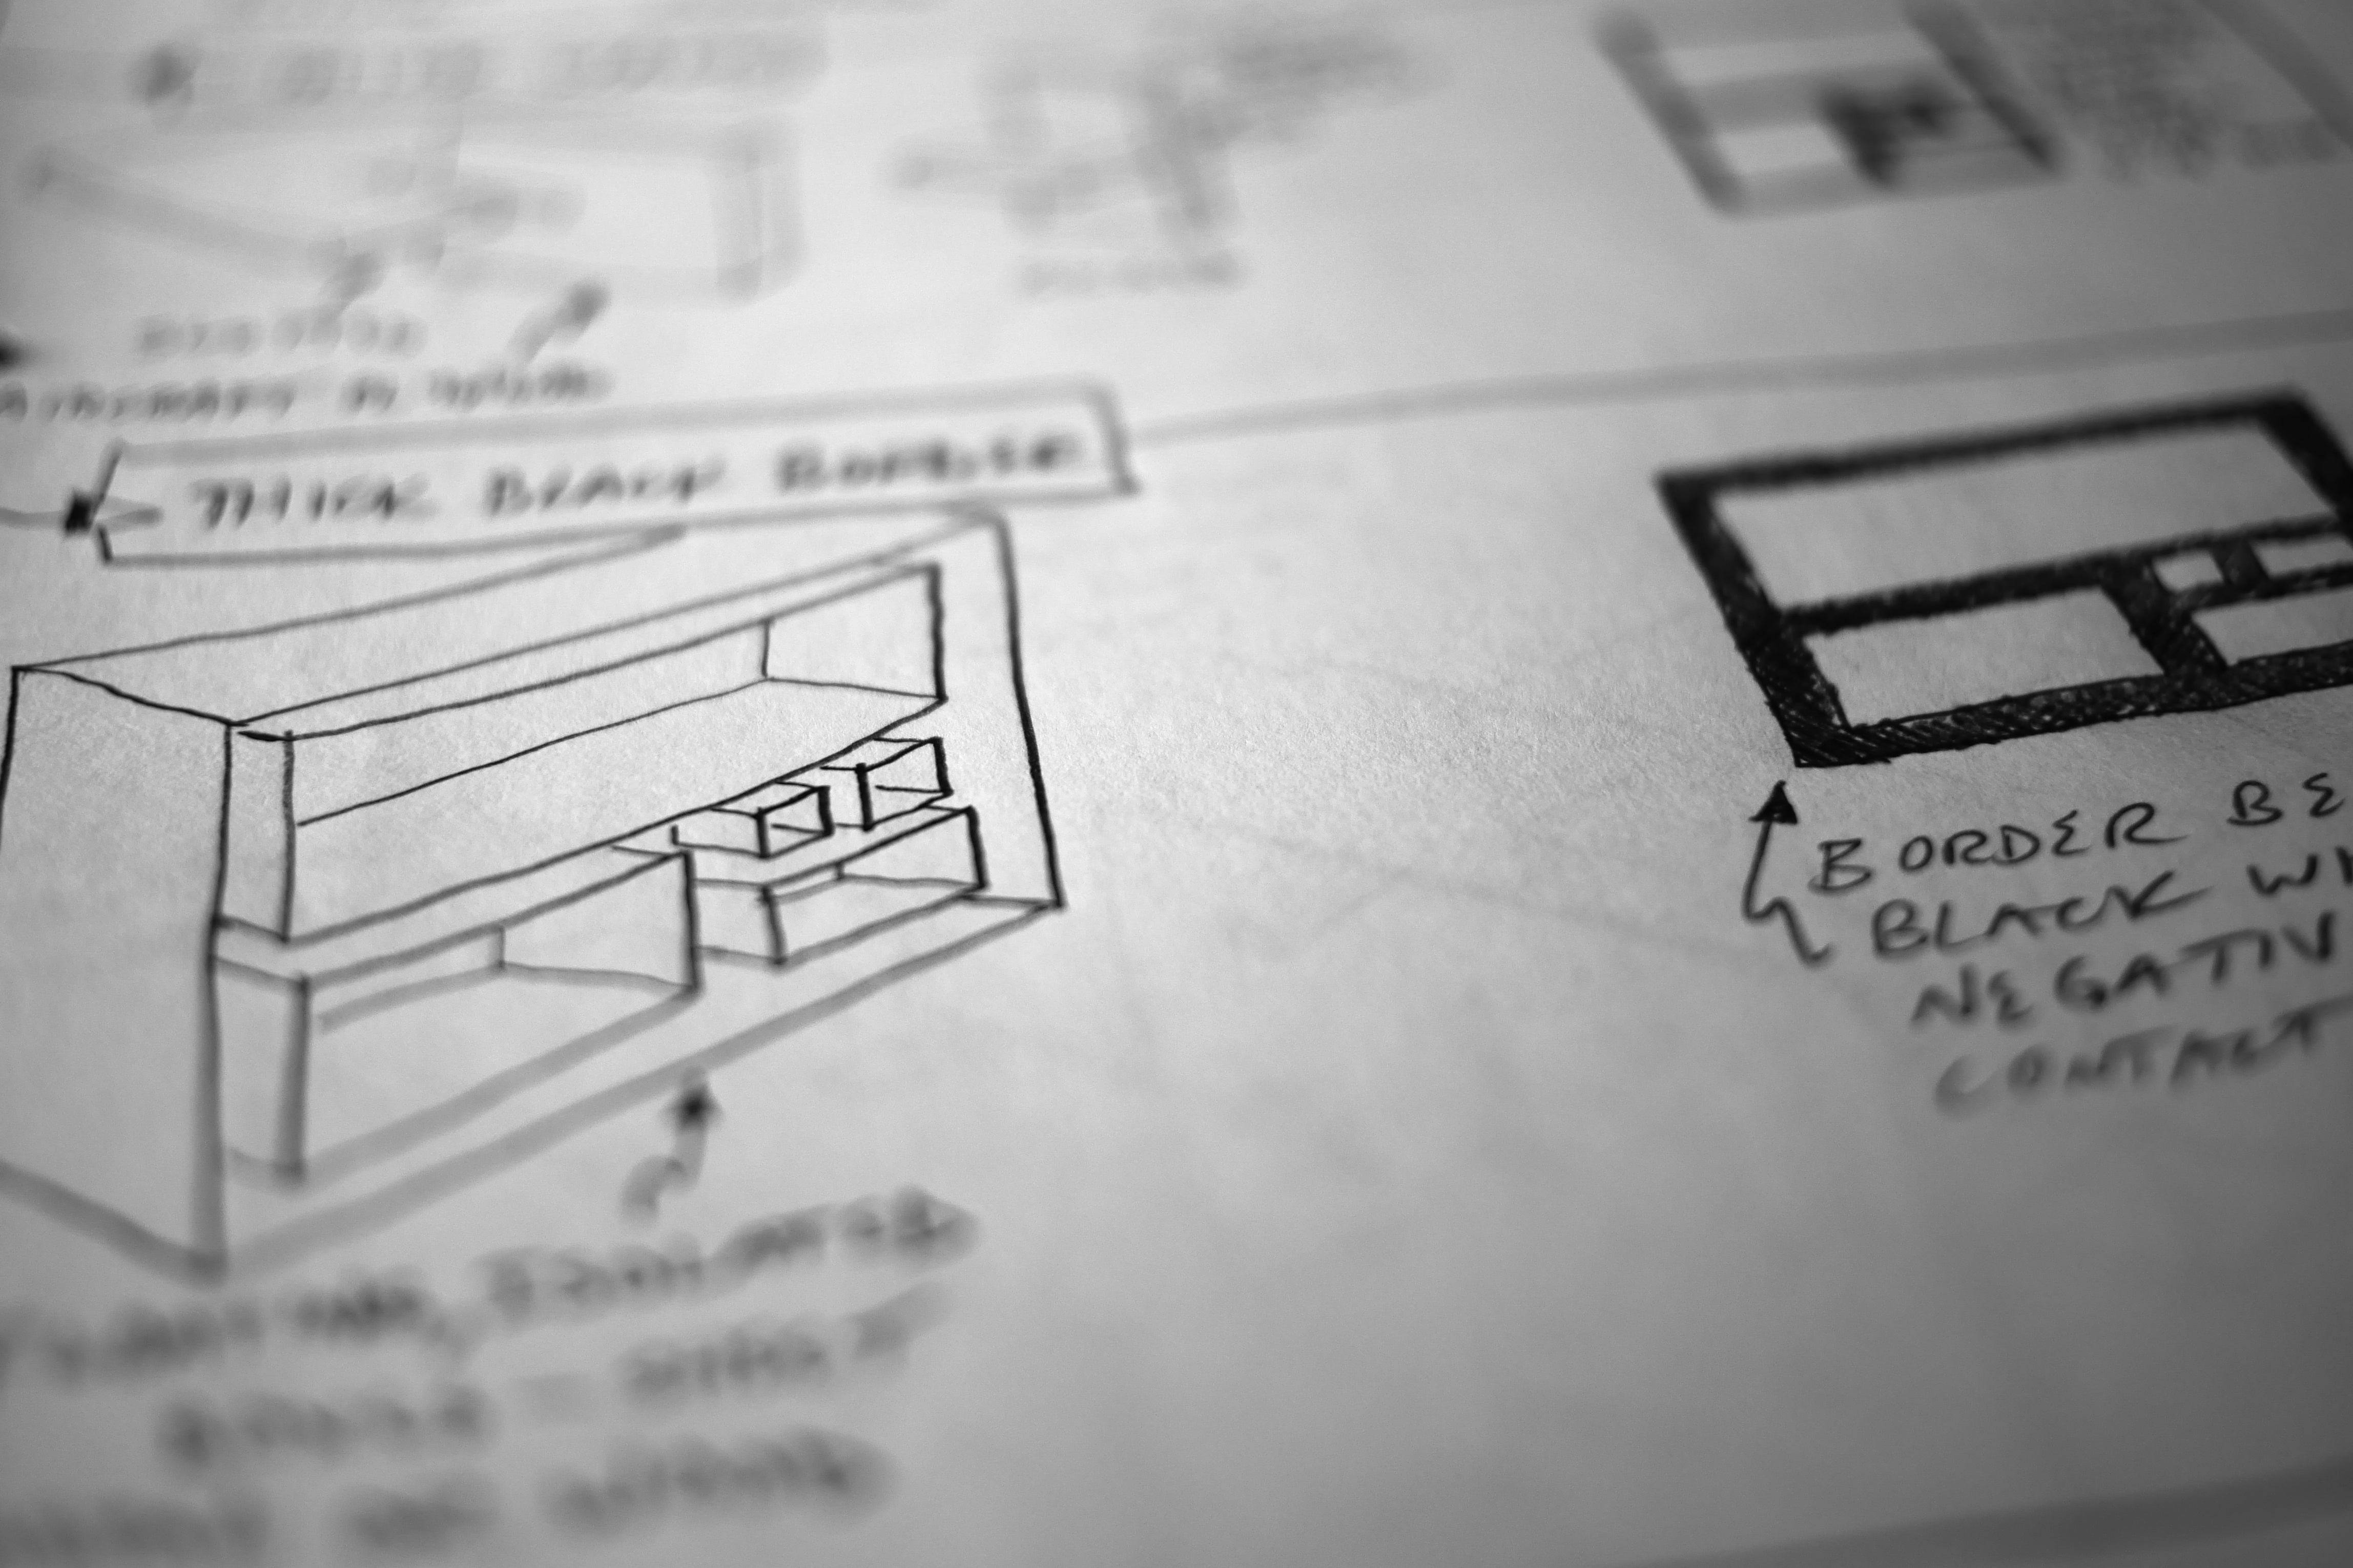
In the top right hand portion of my sketch journal, the light path is defined by the dashed ink lines, which enter the camera on its left, into the mirror box area, then down onto the film. The various pencil lines define primary and secondary sources of potential light fogging, which I've attempted to minimize using various baffles and other means.
Here's a crop of a sketch of a simpler design that uses an angle of view just under 45 degrees, without all the complicated baffles:
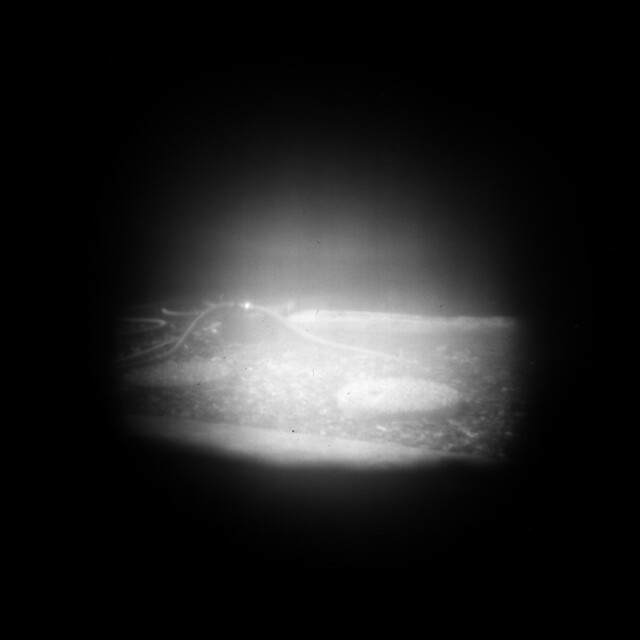
The tiny mirror is in the upper right corner of the box. The light enters the box from the left, reflects off the tiny mirror to form a coherent, pinhole-like image, and onto the film at the bottom. The diagonal wall protects the interior from stray light. Any stray light that glances off the upper wall, past the mirror, will hopefully be absorbed by the flocked interior walls before fogging the film. These narrower angles of view are relatively easy to achieve. Still, an earlier test camera, from circa 2013, only showed marginal success:
As you can see, the image above was partially obstructed by the black felt covering the surfaces near the mirror box. The more felt used to cover the interior surfaces, especially near the mirror itself, the more obstruction results; less felt gives a wider angle of view but doesn't absorb stray light as well.
My newer design idea (at the top right sketch journal photo) is for a camera with a 60 degree angle of view, much more challenging than the 45 degree version. As I alluded to in the typed piece, even black felt can reflect light, if it's off the surface at a slight glancing angle, so-call "forward scattering". This new idea permits the film to "see" a black chamber behind the mirror, a space mostly devoid of stray light.
The primary fogging light comes from the left, through the gap between the open edge of the diagonal dividing wall and the mirror, then on to the right side of the camera. Here I've made a "photon dungeon", a space with non-parallel walls covered in black felt that will (hopefully) absorb the stray light, using a baffle wall that keeps this light from fogging the film. There's a secondary potential source of fogging, a view from the film to just left of the edge of this baffle wall, then into the upper right corner of the box behind the mirror. This corner space could be fogged by stray light from the primary fogging source, so I've included another wall dividing the two. So the film should "see" a mostly black space just to the right of the mirror.
Another decision is the lower wall of the inlet pyramid, on the left side of the camera. I could flock it with felt and make it follow just outside of the light path, but this would risk forward-scattering of light into and around the mirror box. Instead, I've chosen to make this side of the camera be the outer side of the diagonal dividing wall itself, with the light inlet mask at the left opening providing a shadow for this surface. Yes, light will reflect off this wall, but not at such a severe glancing angle.
There are further light baffles, providing photon dungeons, in the upper left corner of the drawing.
Another insight I had was the volume and size of the camera has a direct effect on the efficiency of the light-absorbing properties of the photon dungeons. Even though the film format may be, say, 4"x5", if the camera is made much larger, say at least 10" wide, those darkened interior spaces opposite the film, being much larger, will do a better job of absorbing light, due to the inverse square law causing more light intensity fall-off of stray light.
The thickness of the main diagonal dividing wall has a direct effect on the size of the gap between the open edge of the wall and the mirror. A thicker wall, flocked much heavier, will need a larger gap, in order not to obstruct the 60 degree angle of view; which in turn will cause more stray light to enter the camera. A thinner wall means its open edge can be closer to the mirror, providing a smaller gap for stray light to enter; but can a thinner wall still have low reflective (and forward scattering) properties? Maybe I need some of that new "vantablack" material, made from carbon nanotubes, that has less than 1% reflectivity.
Stepping back from the technical minutia of this project, there is no practical reason to build such a camera, except to be able to say that I built it. Conventional pinhole cameras do just fine. As do modern digital cameras and smart phones, for capturing photographic images. So what's the point? I think for me it's somehow tied into my long history of camera-making, especially oddball cameras employing strange or novel ideas. It's doing it for the sake of doing it.
A sample image, exposed and processed in-Pinholio.
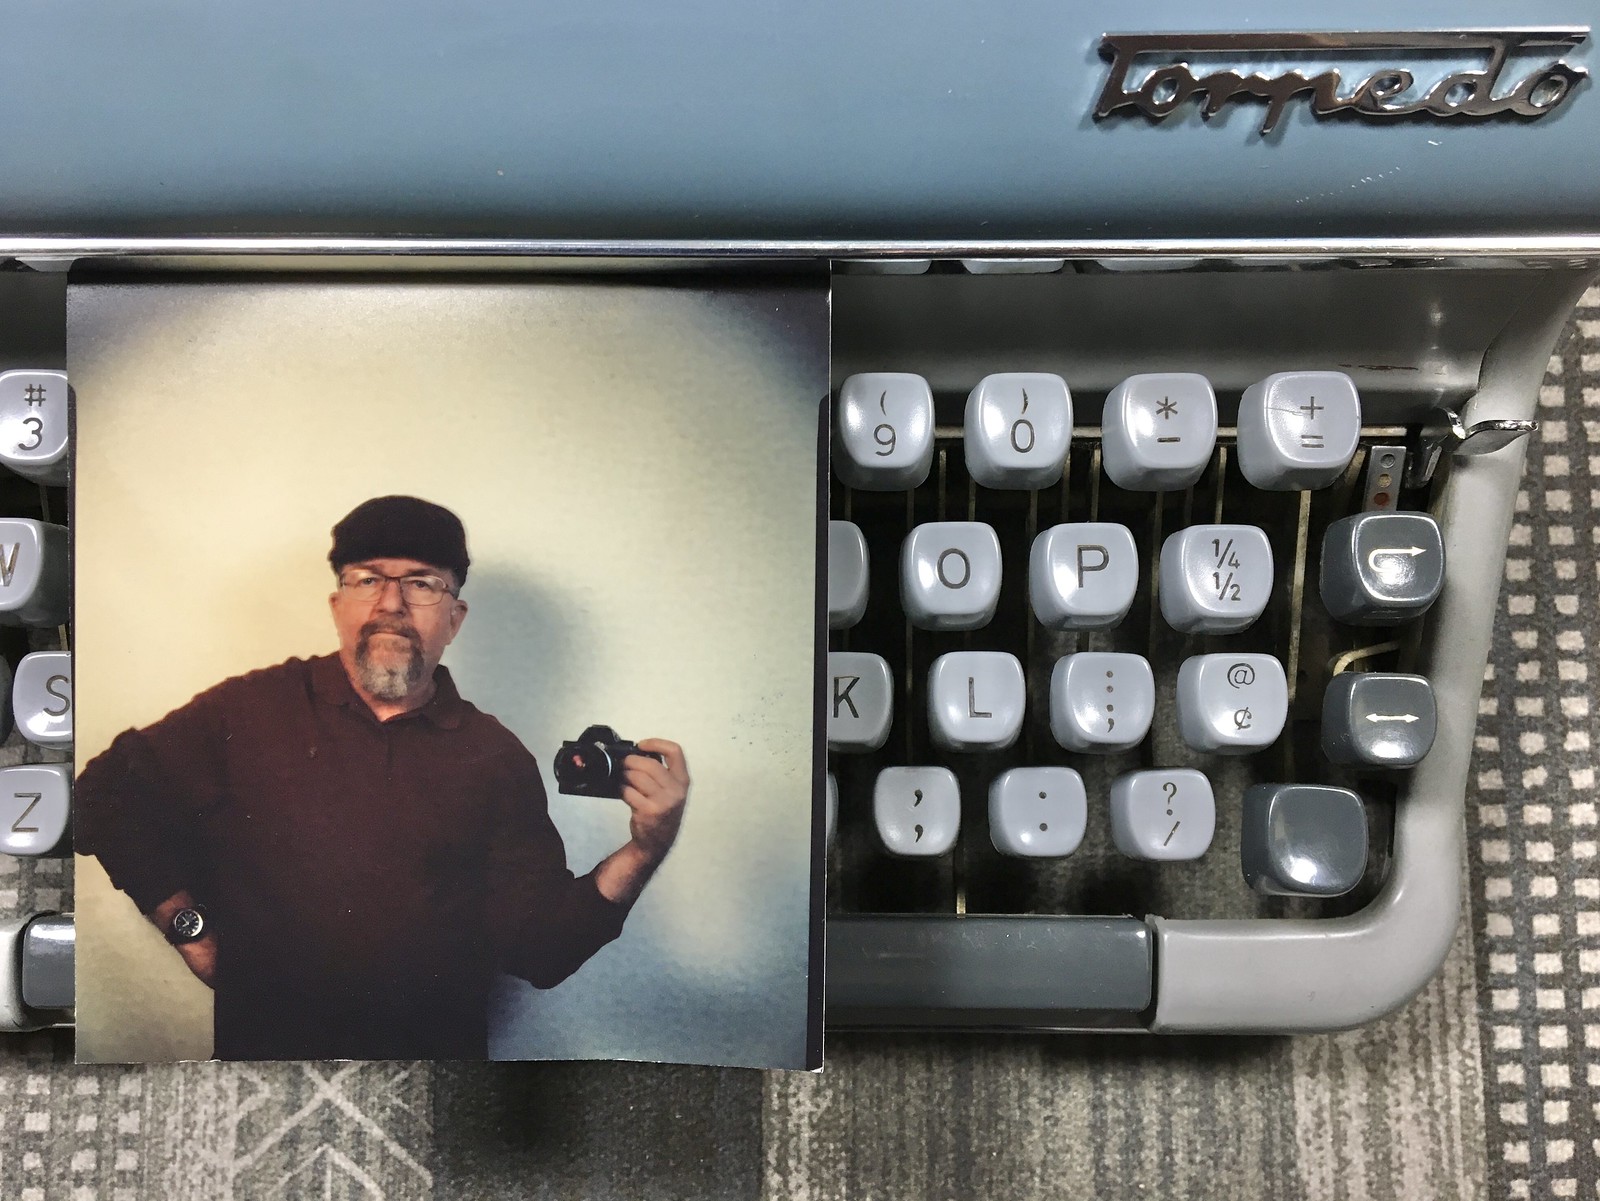
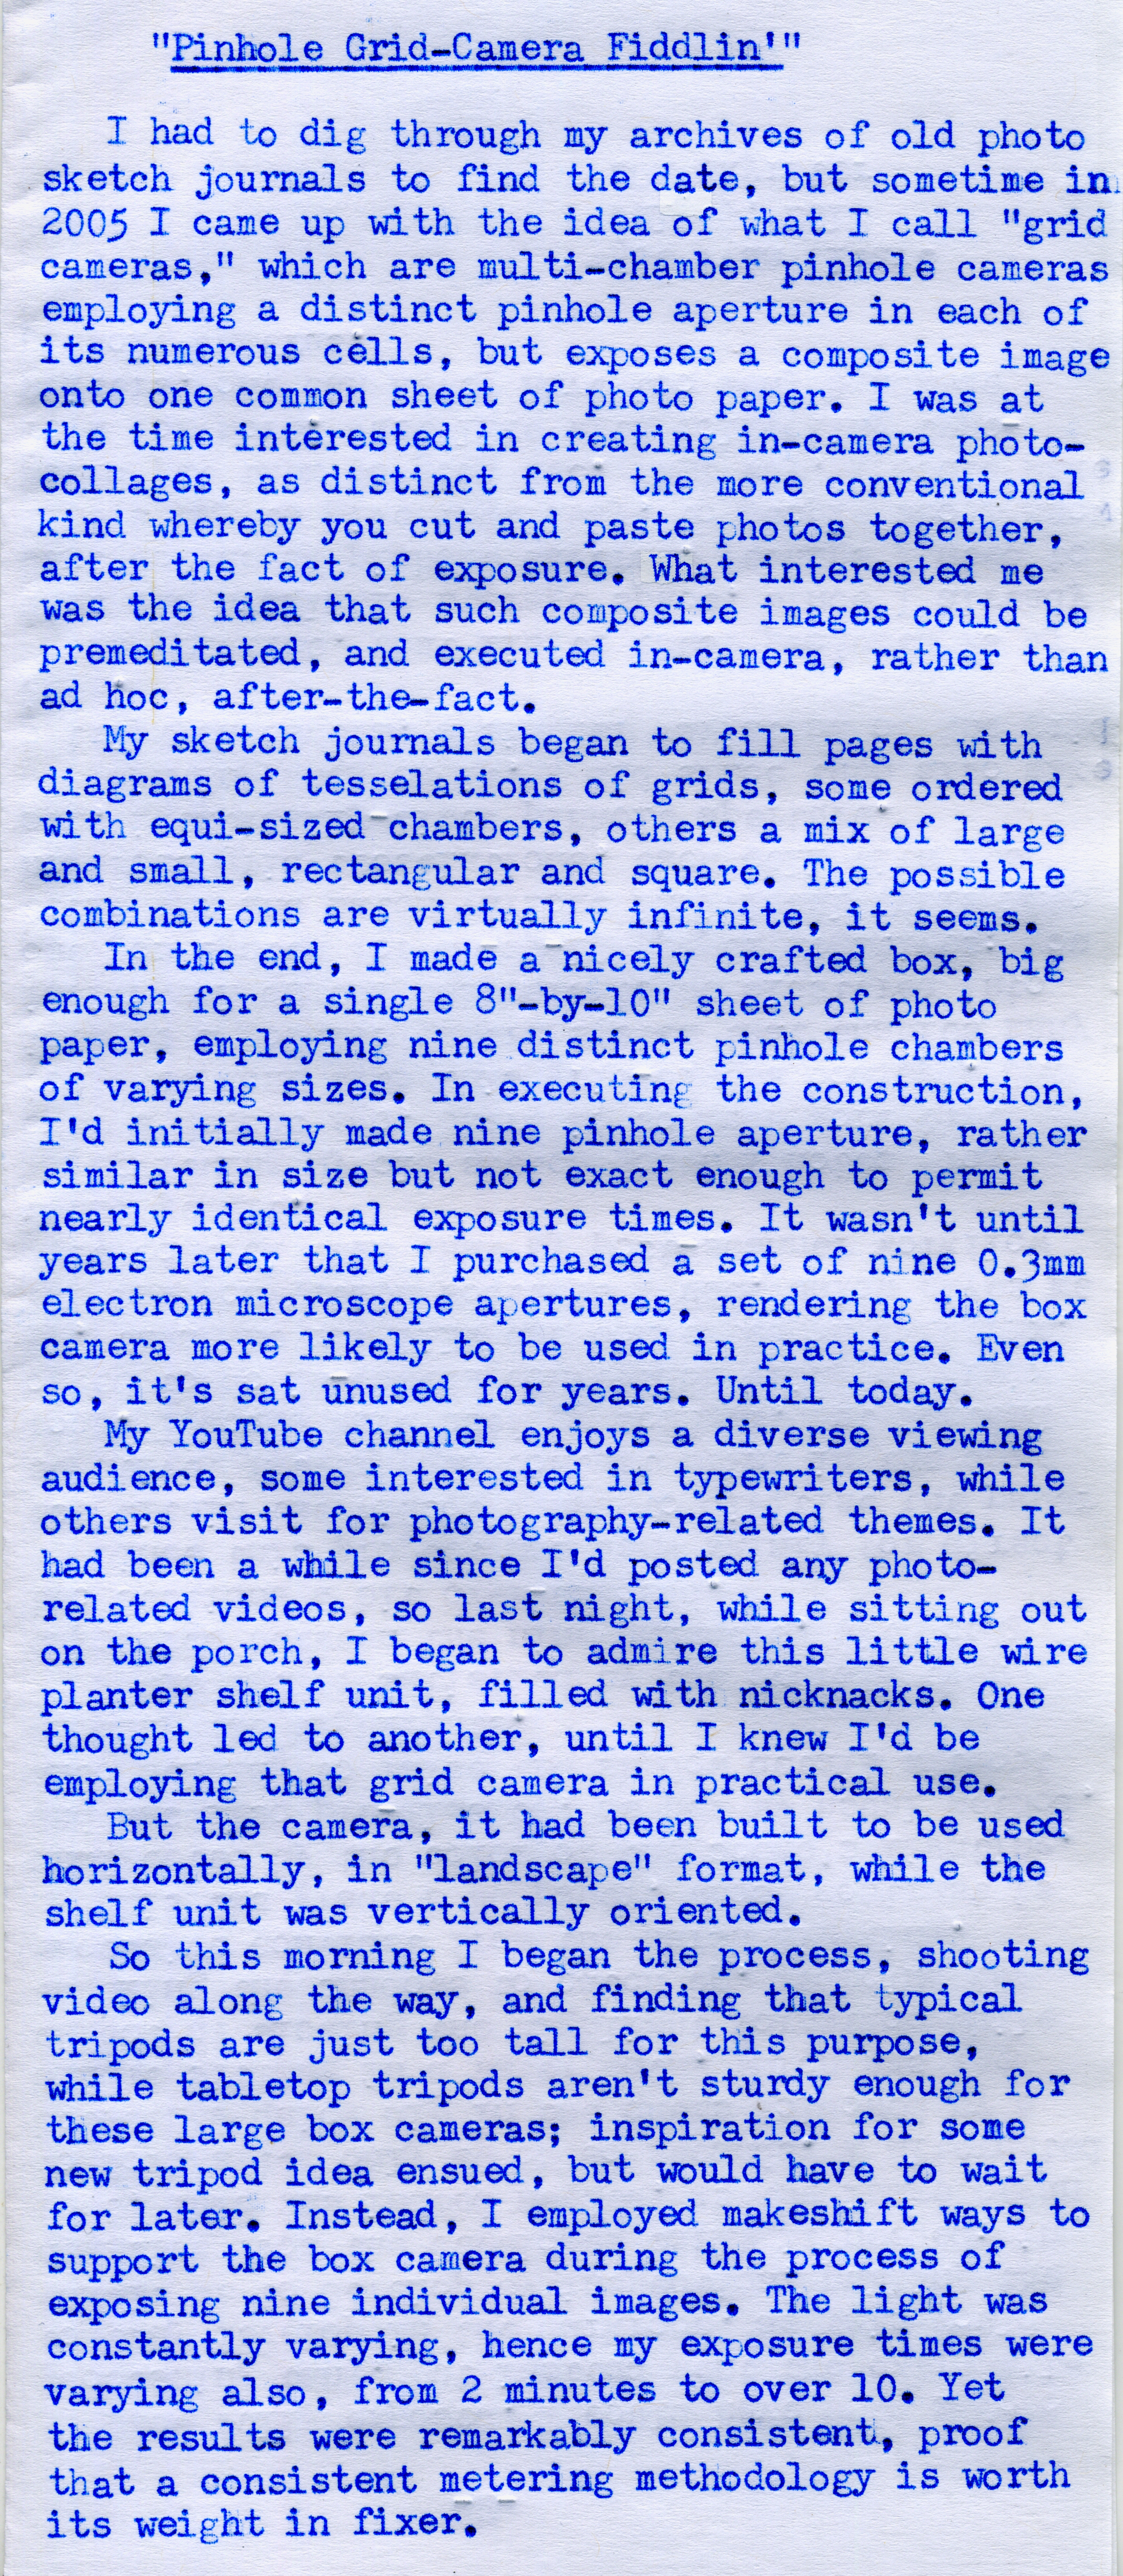
I just finished replacing the worn feet of this Torpedo 18 with some hardware store rubber feet and decided it needed a test typing, as I’d recently installed a dark and inky adding machine ribbon. So I grabbed this grid paper, upon which was a bit of cyphering I’d done for the video, and proceeded to let the Muse have her way.
I love these late-night, impromptu typing surprises using such fine machines like the Torpedo. It looks like it’s been through the ringer, but can it type!
The nice thing about receiving the Cameradactyl Pinholio was that I had the opportunity during last week's visit to choose my color for the pinhole cap (gray), and also to watch his 3D printers begin their slave-like work of printing the parts for the camera.
The Pinholio has an internal pull-shutter, and a removable threaded front pinhole cap. Once the exposure is made, the shutter is closed and the pinhole cap replaced with a 3D-printed, light-proof pour spout, the kind seen on film developing tanks, permitting the paper to be processed within the same camera, out in the field. Since all the parts are made of resilient plastic, exposure to chemicals is no problem.
I hope to soon begin testing the camera, both for exposing and process paper negatives, as well as the peroxide/citric acid reversal process. One caveat with that reversal process is the effective film speed of the paper drops to sub-ISO 1 values, meaning for this pinhole camera with an aperture of F/235 I'm looking at exposure times in bright sun of >10 minutes. Probably too long for seated portraits!
It is for this reason that I'd like to convert (or have Ethan 3D print) a lens cap adapted for a single-element meniscus lens. I've seen a plethora of such lenses available online at places like Surplus Shed. My idea is to build a spacer that fits between the rear flange of the inner box and the rear lip of the front part of the camera, to serve as a focal length extender that would preset the camera for a certain focal range, for use with seated portraits. A fast enough lens should permit exposure times in bright sun of a second or two. Then to be able to process the paper into a unique positive print would be a blast. The inner rear portion of the box slides in and out in a well-designed light trap slot that seems near ideally suited for focus adjustments. Since the intended design holds the paper tight against the rear of the camera by the two box halves completely closed, I'd use a loop of masking tape on the reverse side of the paper, since I'd be extending the box for focusing.
With a changing bag, a person could use this handheld "Afghan Box Camera" for making portraits in public. I'll keep this blog updated with progress.
WPPD 2018, Grounded Rocket and Addiator Pouch Repair
This previous Sunday, the last Sunday in April, was Worldwide Pinhole Photography Day. While I don't practice the craft of pinhole as prolifically as I once did, I try to make an effort to get out with a pinhole camera on this day, if for no other reason than to remind myself why it is that I have a virtual mountain of pinhole cameras (mostly collecting dust) that deserve to be employed in the pursuit of that elusive image.
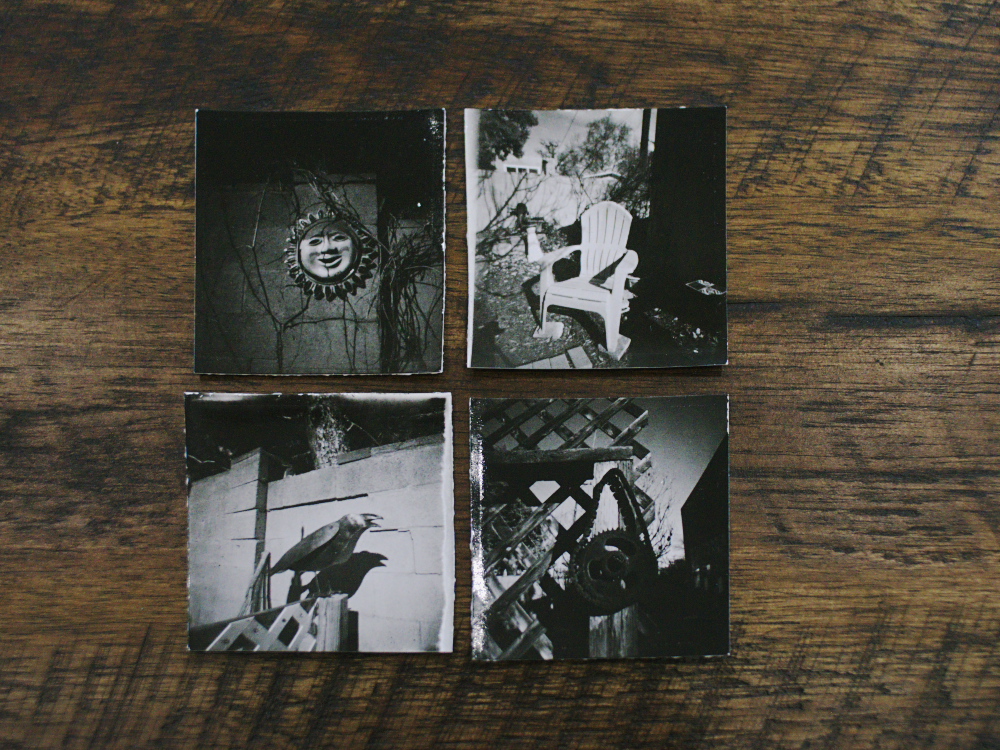
This day, I chose to stroll the river forest of the Rio Grande, just north of Albuquerque, with two small one-shot cameras, both made from 1.5" PVC pipe and employing a curved film plane with 2.5" squares of Harman Direct Positive Paper. While I've been trying to conserve this paper, due to it limited supply, these small prints are just big enough to hold in your hand and appreciate up close, while being diminutive enough to not be wasteful of paper.
I developed both images in a steel 35mm developing tank, sans reels, with the prints taped to the inside walls of the tank and rotary processed on its side. This method uses only 100mL of chemistry and produces very consistent results, while also not requiring a full darkroom with open trays of chemicals - ideal for those with limited space or, like me, desiring to process in the comfort of one's kitchen.
Being fiber-based prints, I archivally washed them using my recently devised method of employing a slow trickle of garden hose water under the canopy of a tree in my yard, which serves to wash the prints while also watering my landscaping - we do live in a desert, as we are apt to say. After, I selenium toned them and completed another wash.
The prints were dried flat by being superficially squeegeed, then taped face-up to a sheet of glass, using drafting tape, and placed in my film drying cabinet.
I was please with the way these came out; I'll have to do this more often, with more of my pinhole cameras.
There's something very satisfying about creating one-of-a-kind direct prints on fiber paper. Each is a unique object, and usually intimate in size as are these.
Here's a video documenting the process:
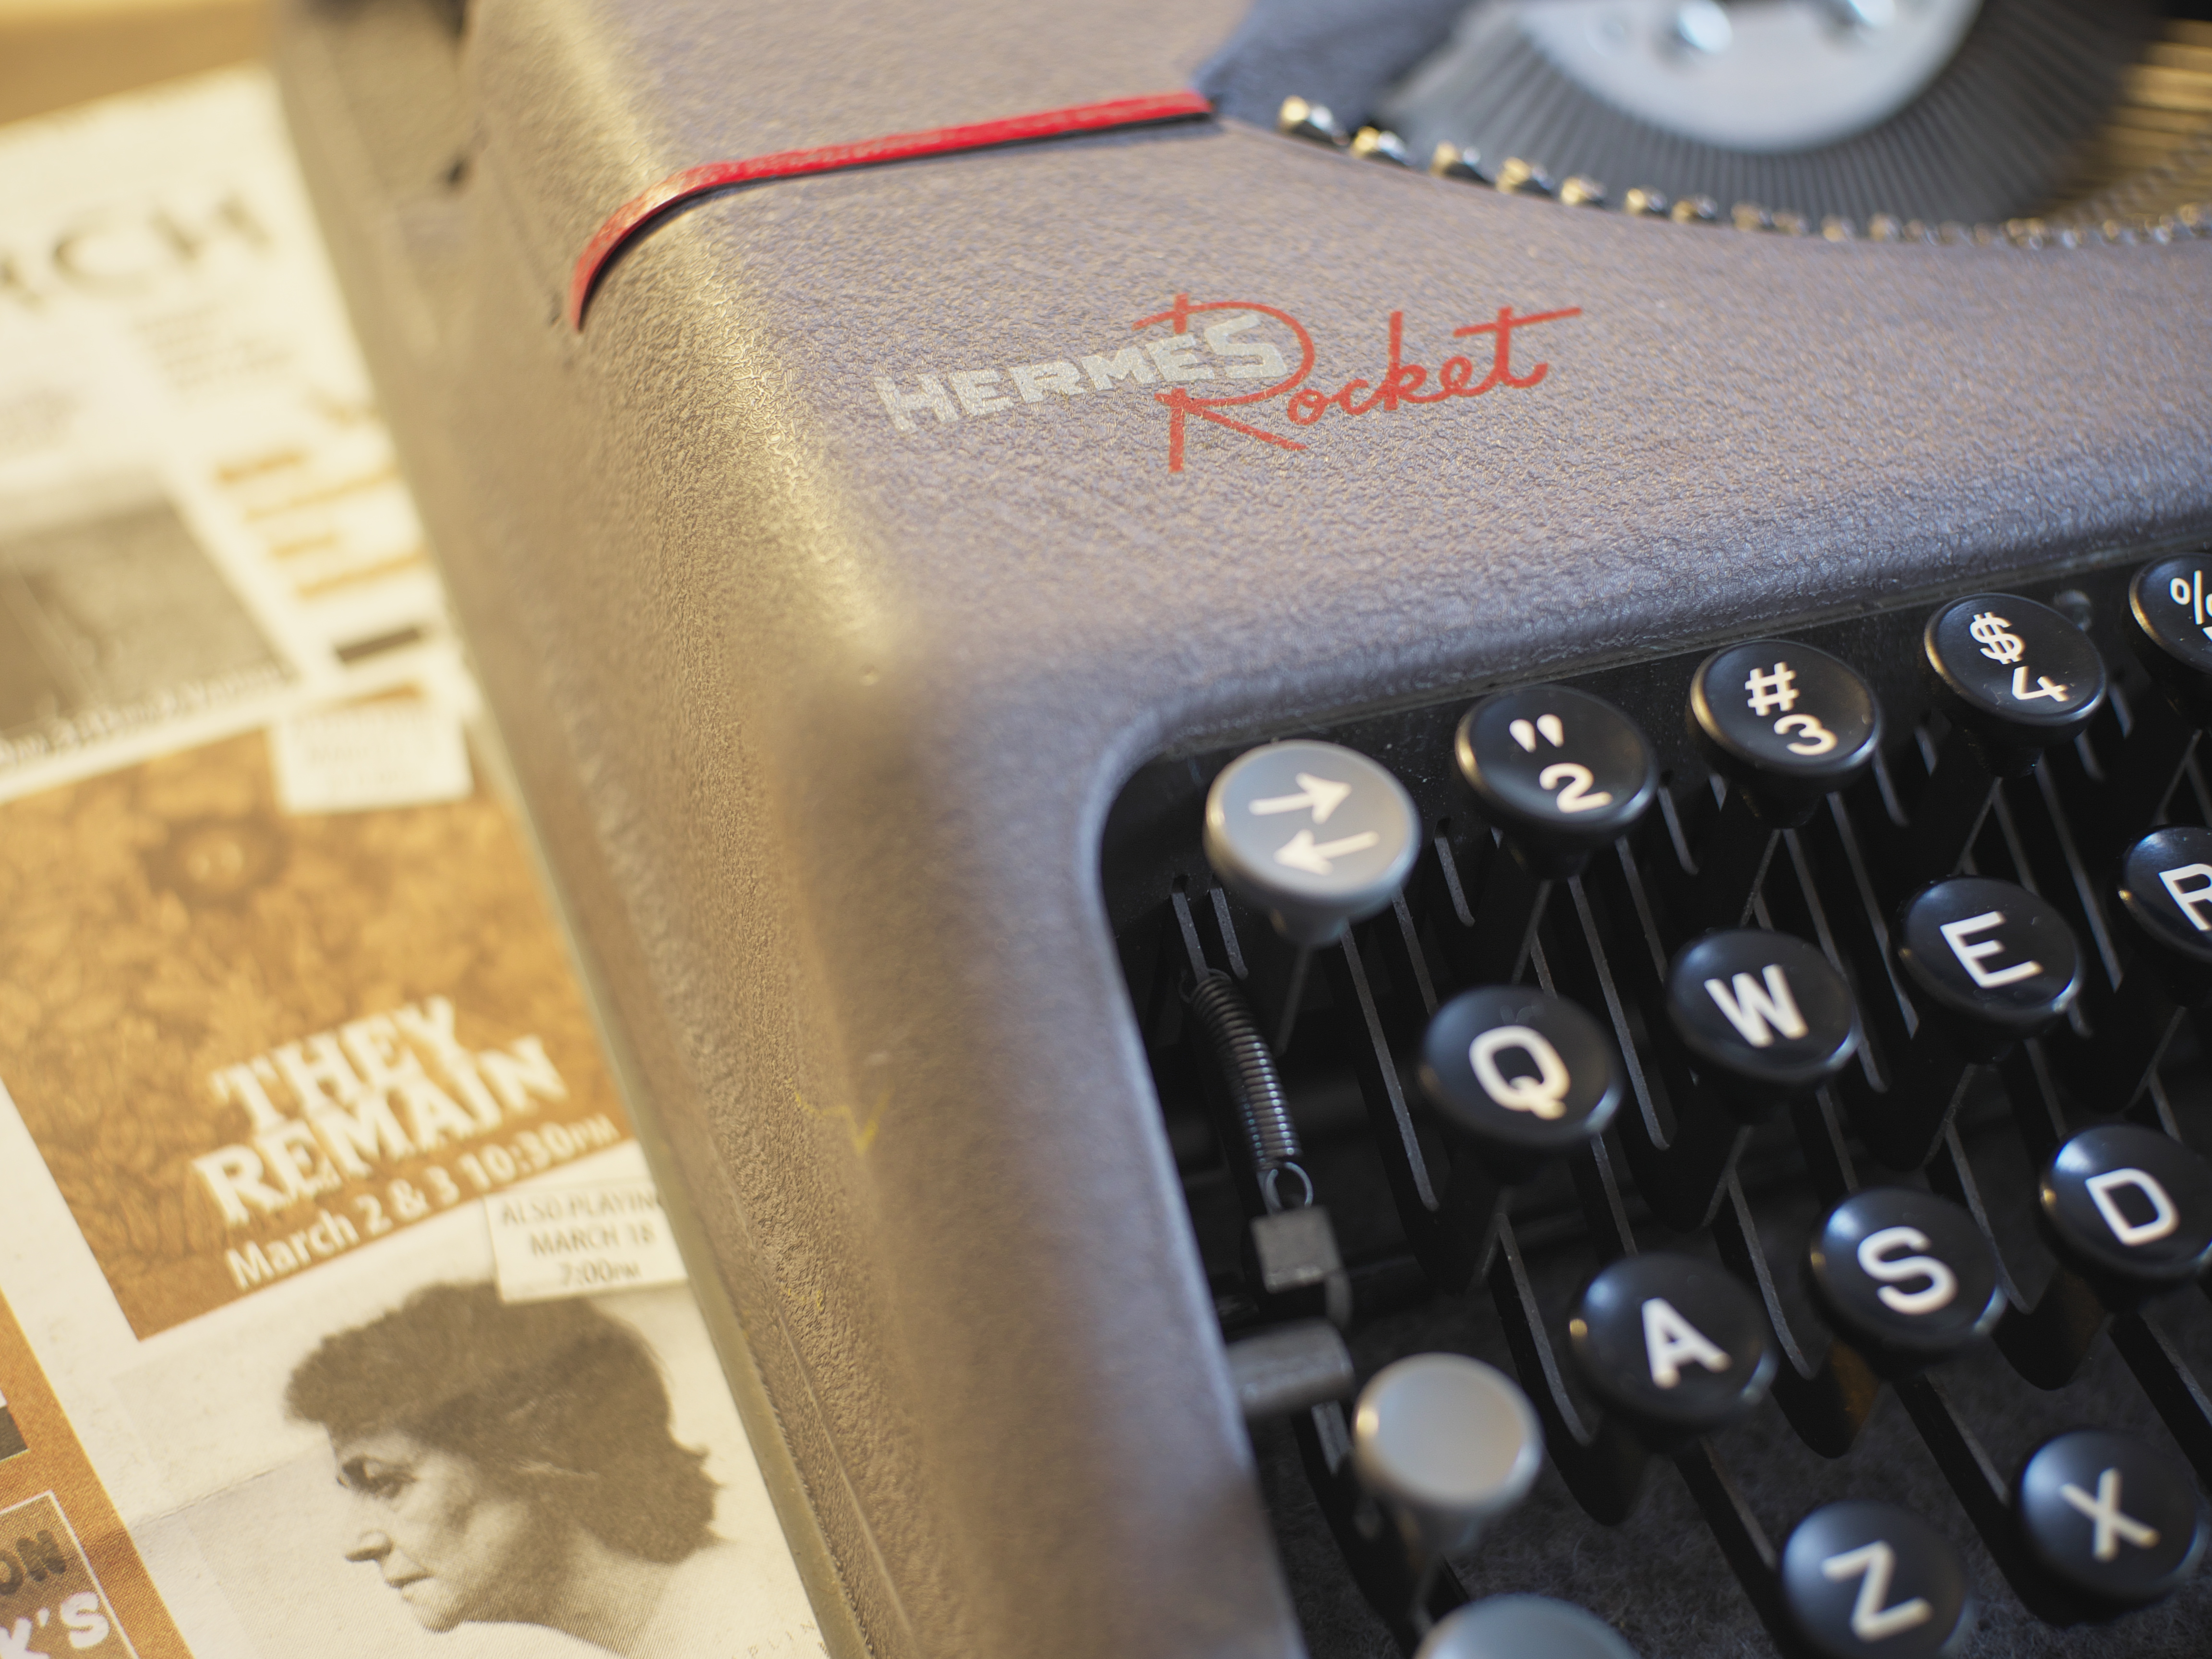
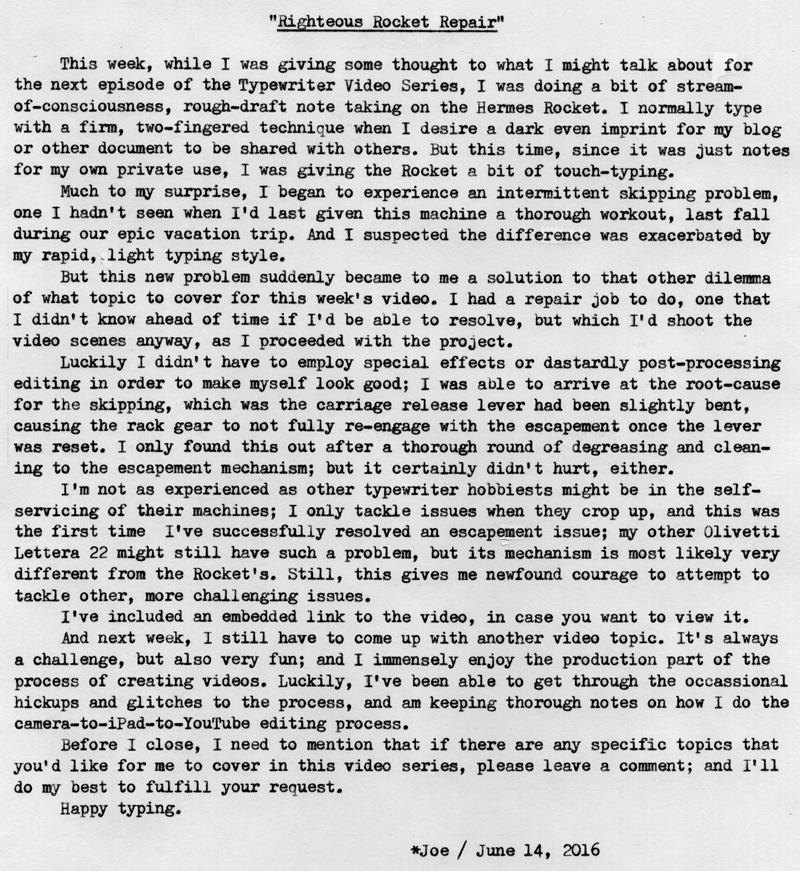
Now onto some sad news. During last weekend's Spring ABQ Type-Out I brought my 1953 Hermes Rocket, which performed fine during the event. Then this last Sunday, while typing up a story for Typing Assignment No. 16, I noticed the carriage was intermittently skipping spaces. This has been a recurring problem with this machine for a long while, one of the reasons why I haven't used it much. I know from previous experience that the problem has been related to the carriage release lever arm, which connects to the rack gear and serves to pivot the rack gear away from the escapement cog when releasing the carriage. This arm appears rather soft and is easily bent. Usually reforming it back into shape solves the problem. But this time I couldn't fix the issue; it seemed the rack gear just wasn't meshing tight enough with the escapement cog.
So yesterday I decided to dig in and see if I could make it better. I started disassembling parts of the carriage, in order to remove the rack gear. In the process, I decided to disconnect the draw band from its anchor on the right side of the carriage. I tried to be careful to let the tension of the spring motor relax itself as I wound the draw band back onto the drum of the spring motor. But evidently I wasn't careful enough, because suddenly the spring motor made an awful noise, and now it's dead.
I also spent many hours afterwards, into the wee hours of the morning, getting the carriage back together. I still have one spring under the paper table that provides pressure for the rollers that isn't properly installed. So now I have a broken Hermes Rocket, in need of a spring motor. I can't see any way to regain tension on the old motor. Attempting to turn it, it just spins; I can't see where the anchor point is, unless it's somehow in around the central hole where it mounts to a bolt-like fixture.
Live and learn. That's why I have 19 other typewriters in my collection, right? Seriously, I wasn't going to be using that machine much in the future anyway, because of its known fragility. Perhaps I can find a working spring motor from a donor machine.
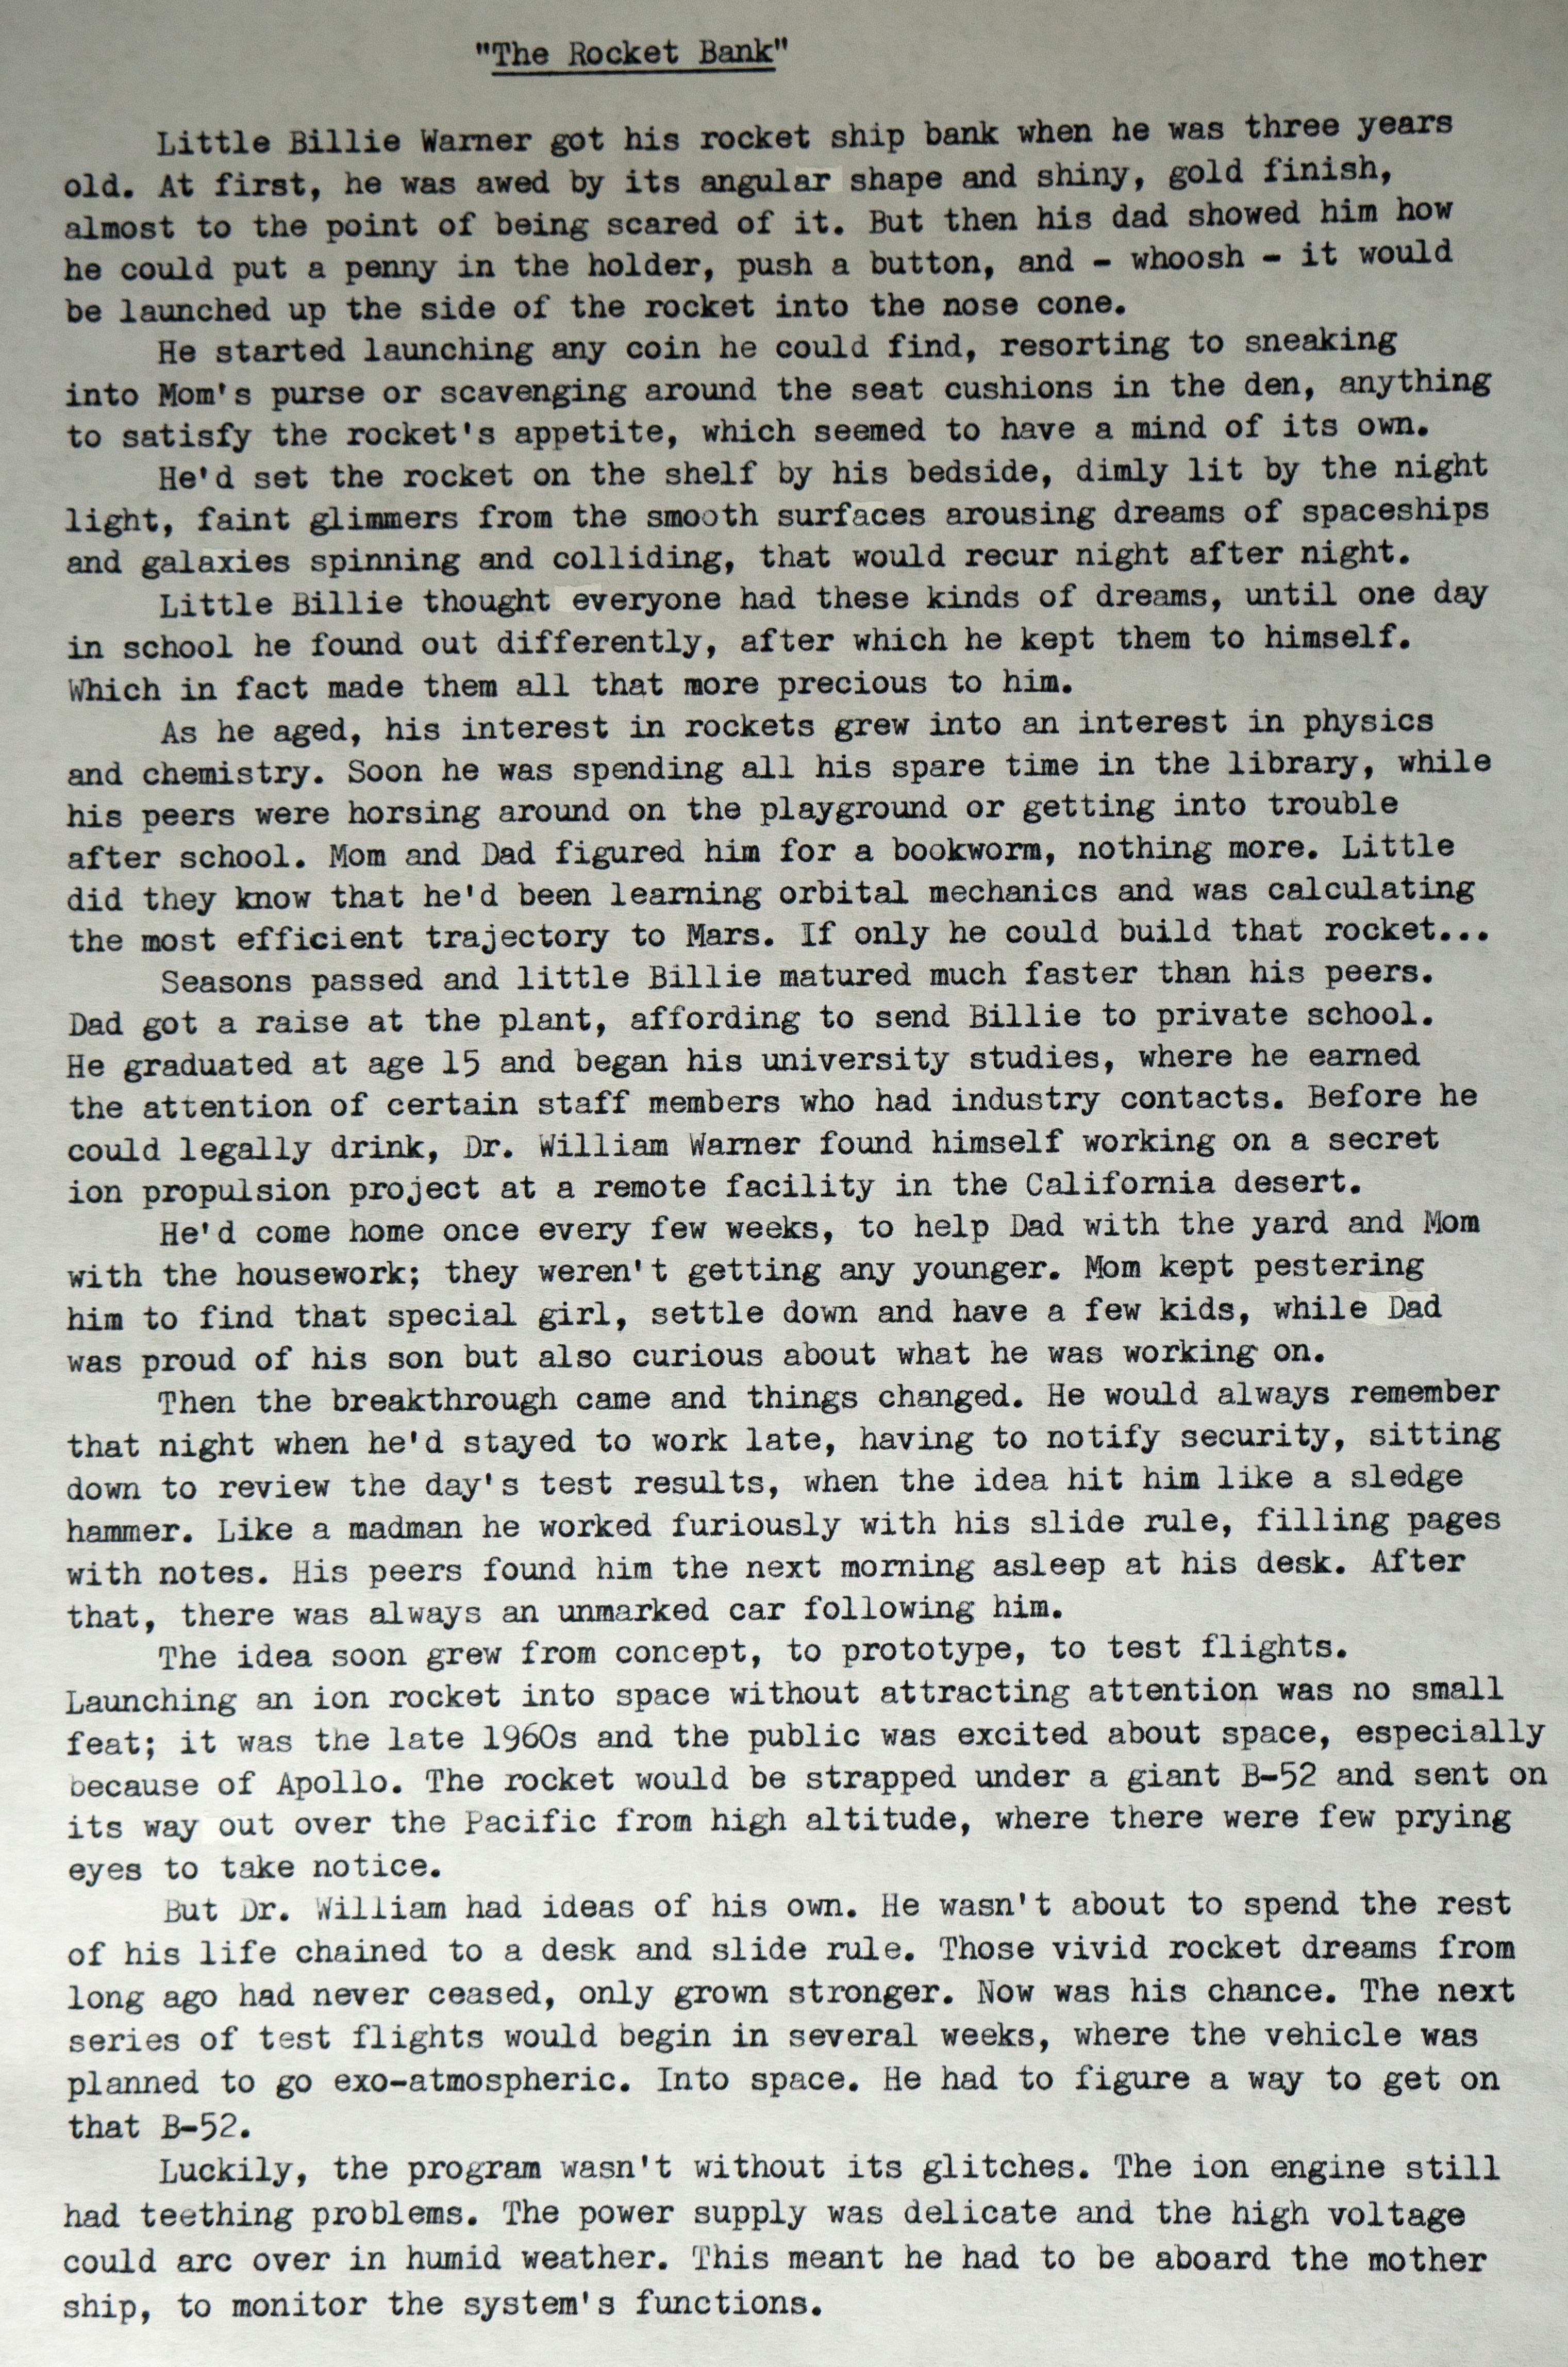
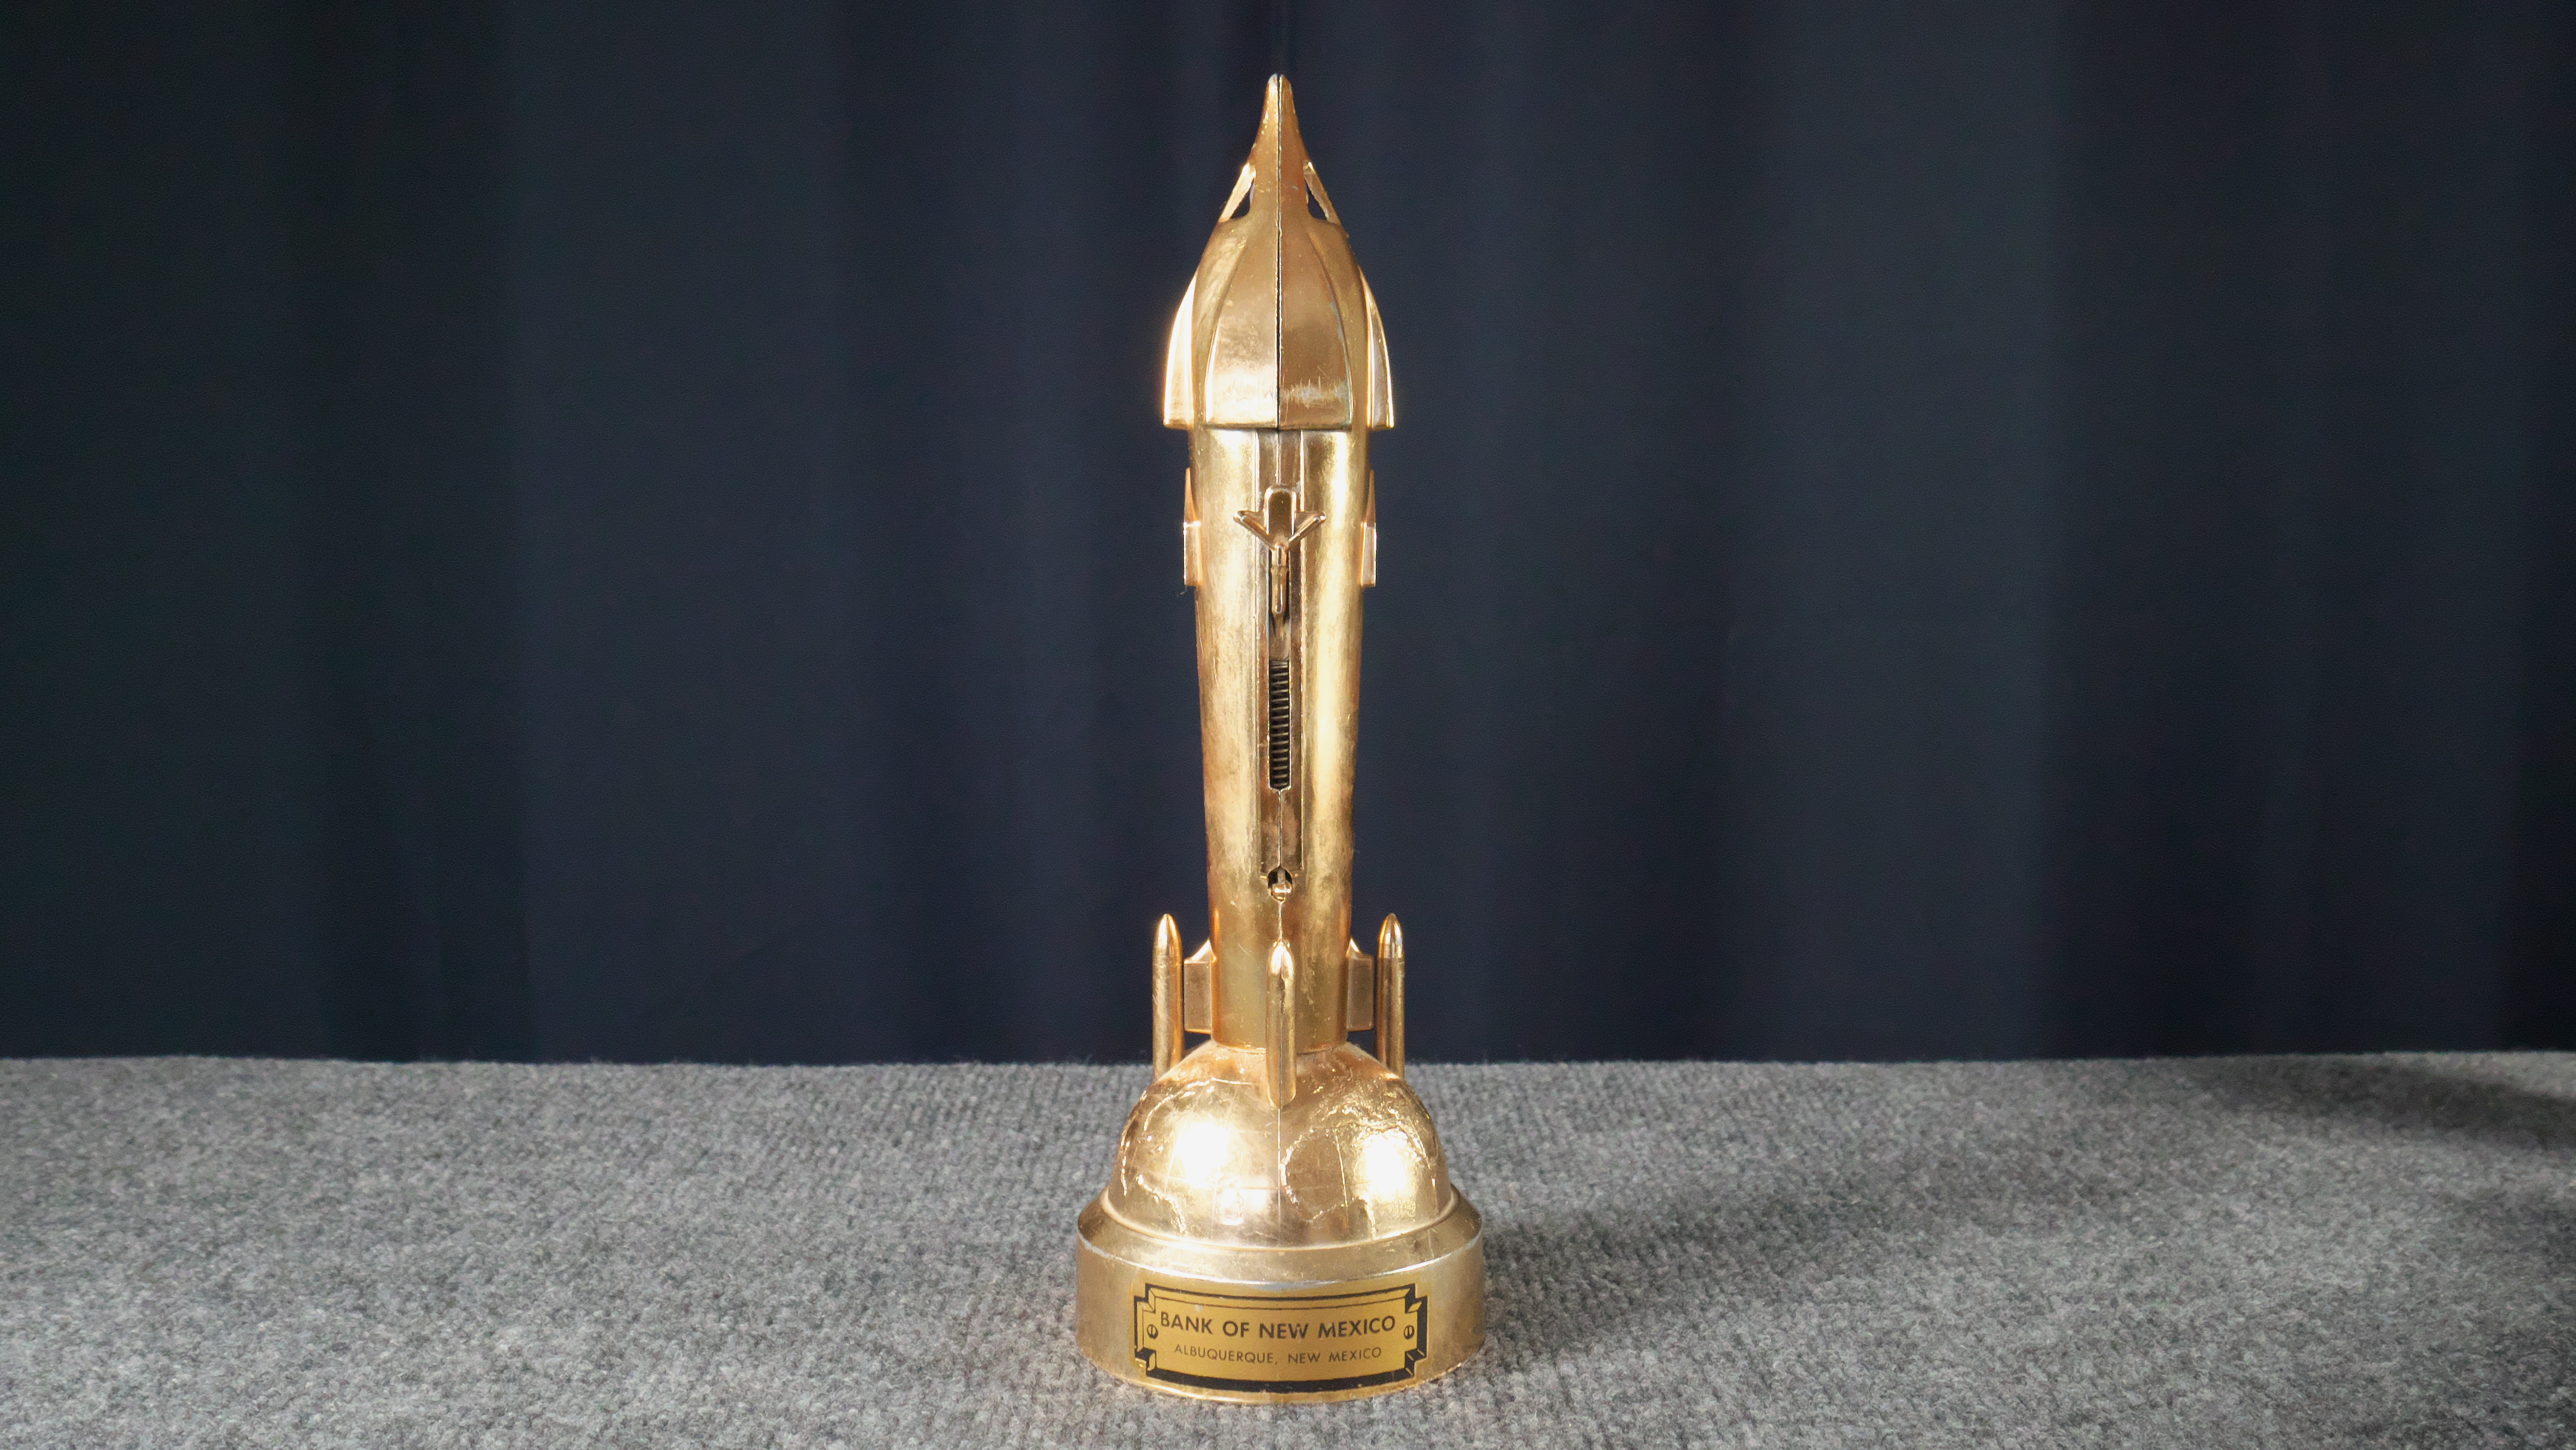
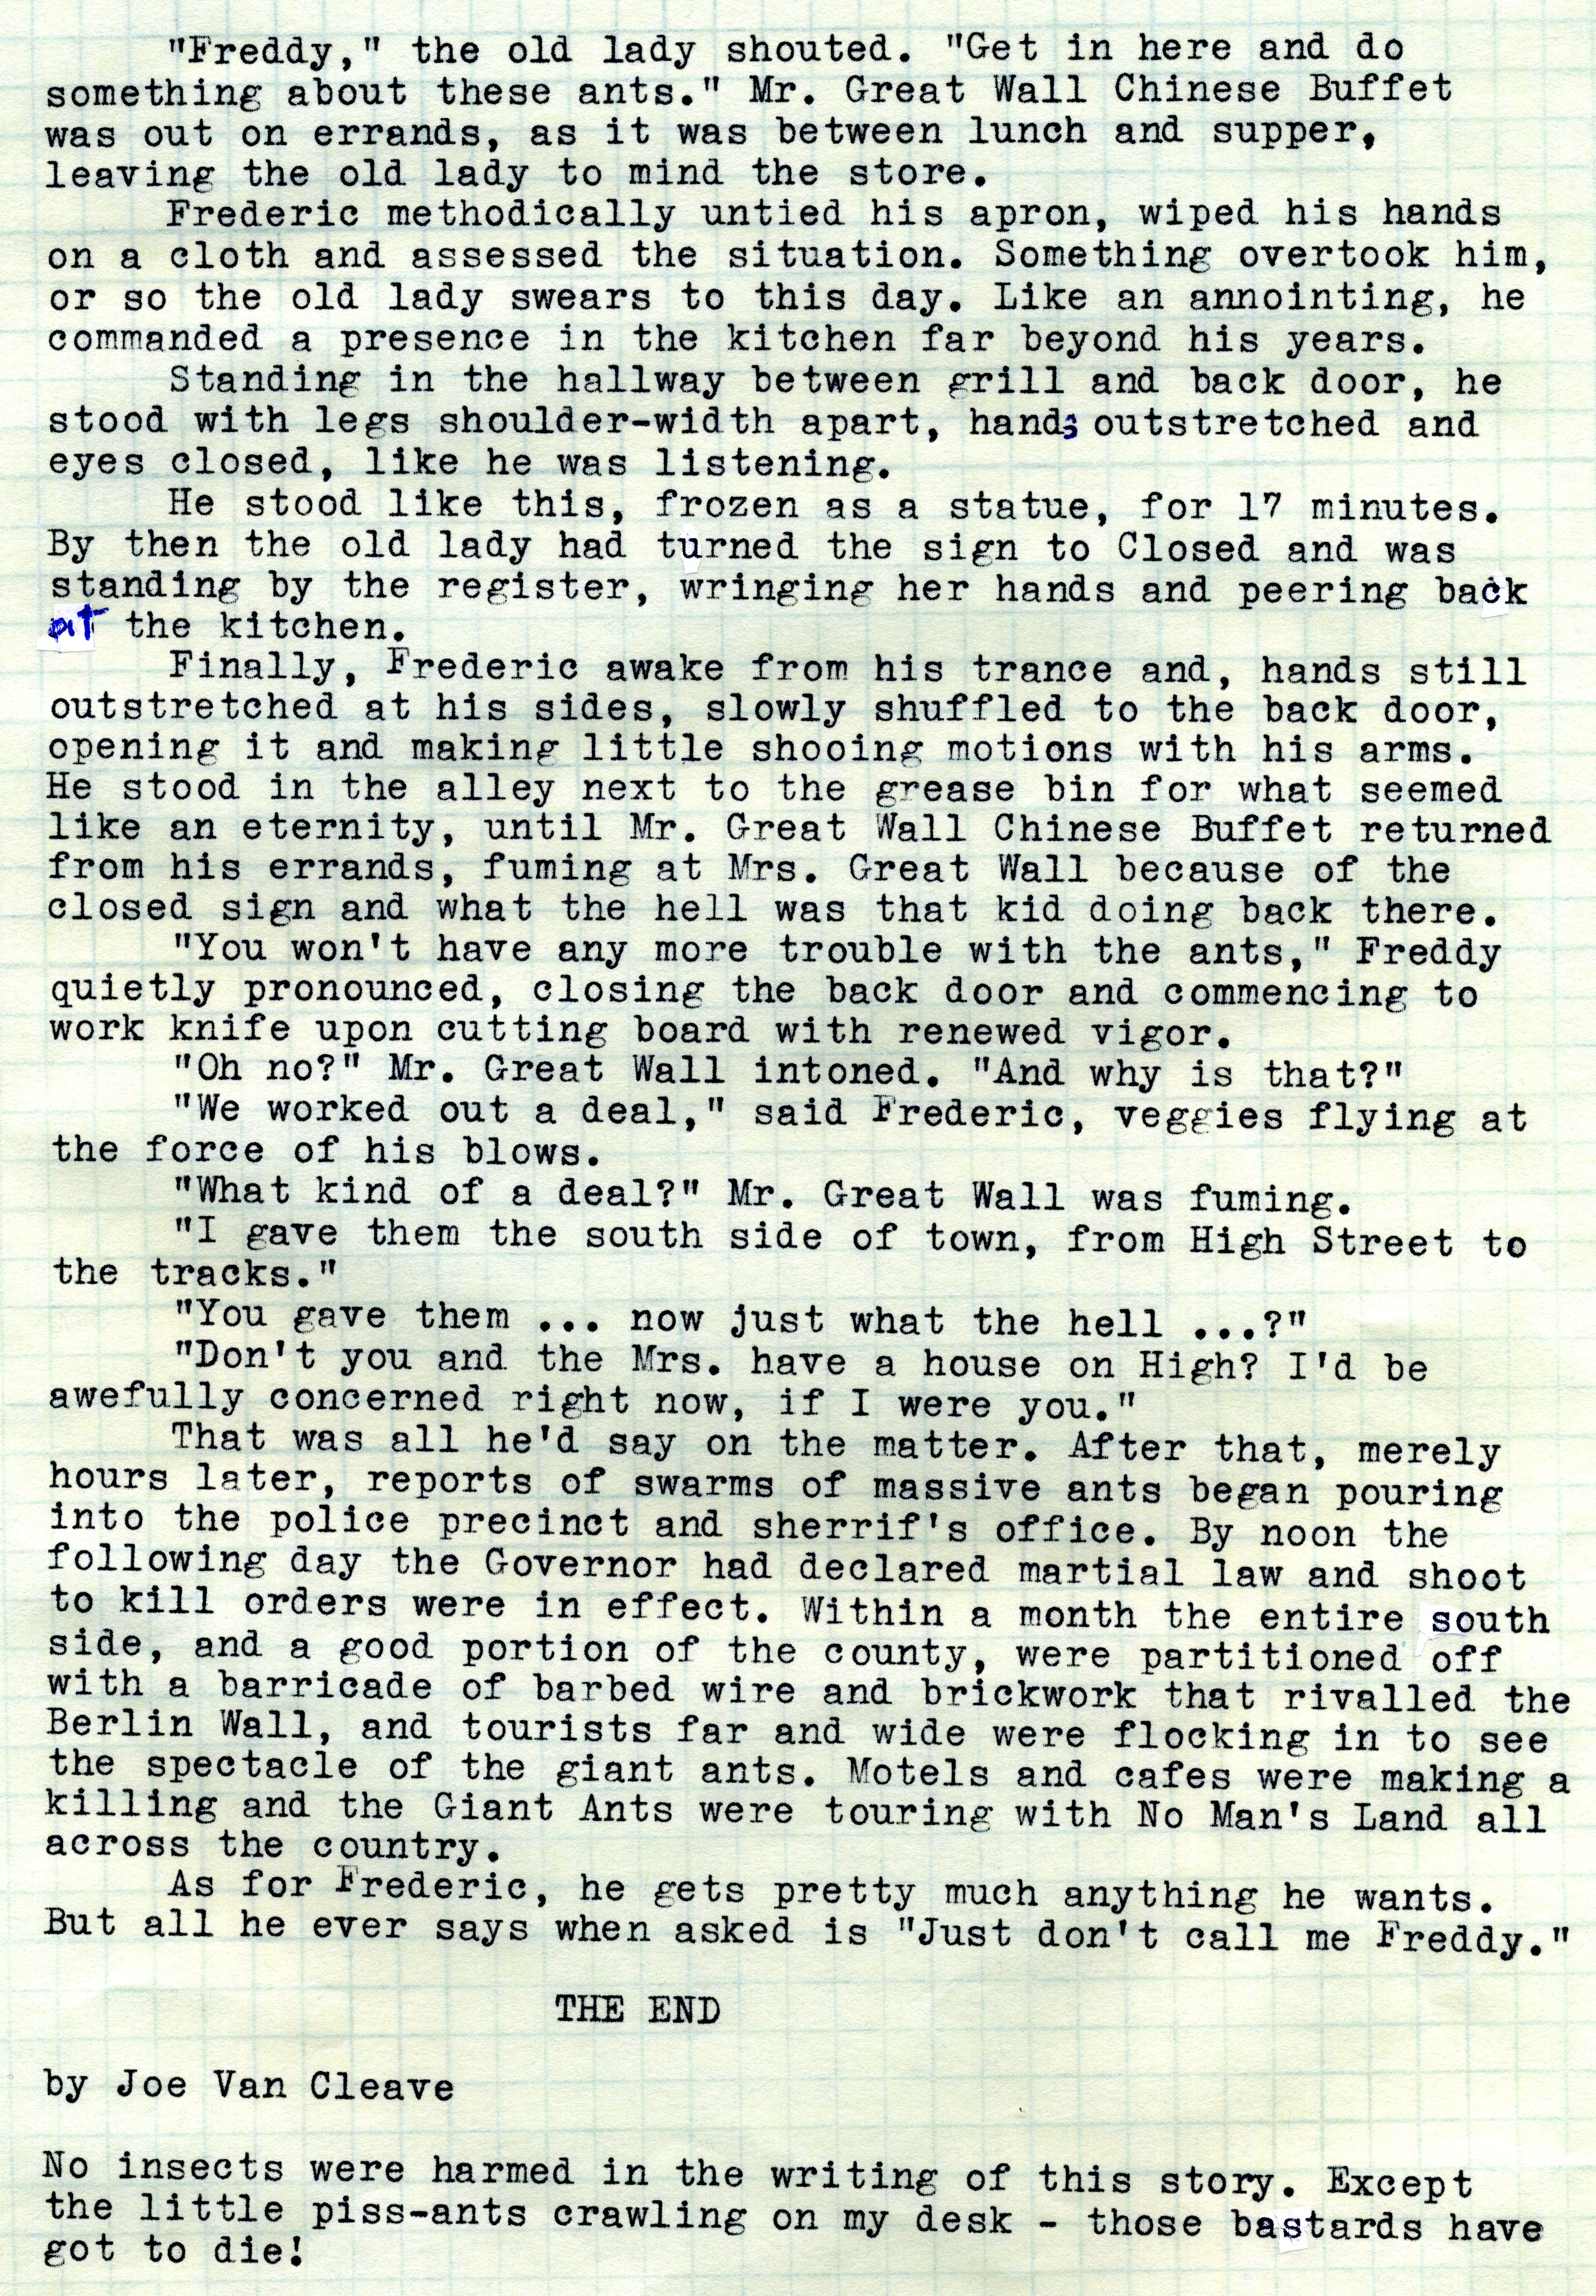
But the story I wrote for Typing Assignment No. 16 will most likely be the last piece of writing done with that machine. The subject of the assignment was to write a one-page piece inspired by some artifact of your possession. My artifact was an old 1950's-style rocket spaceship bank. The protagonist of the story has a similar bank as a kid, which inspires him to become a rocket scientist.
Now here's where this story gets interesting: my Hermes Rocket typewriter, circa 1953, was originally owned by an Air Force officer and engineer who was one of the principal engineers working on the design of the SR71 Blackbird's engines.
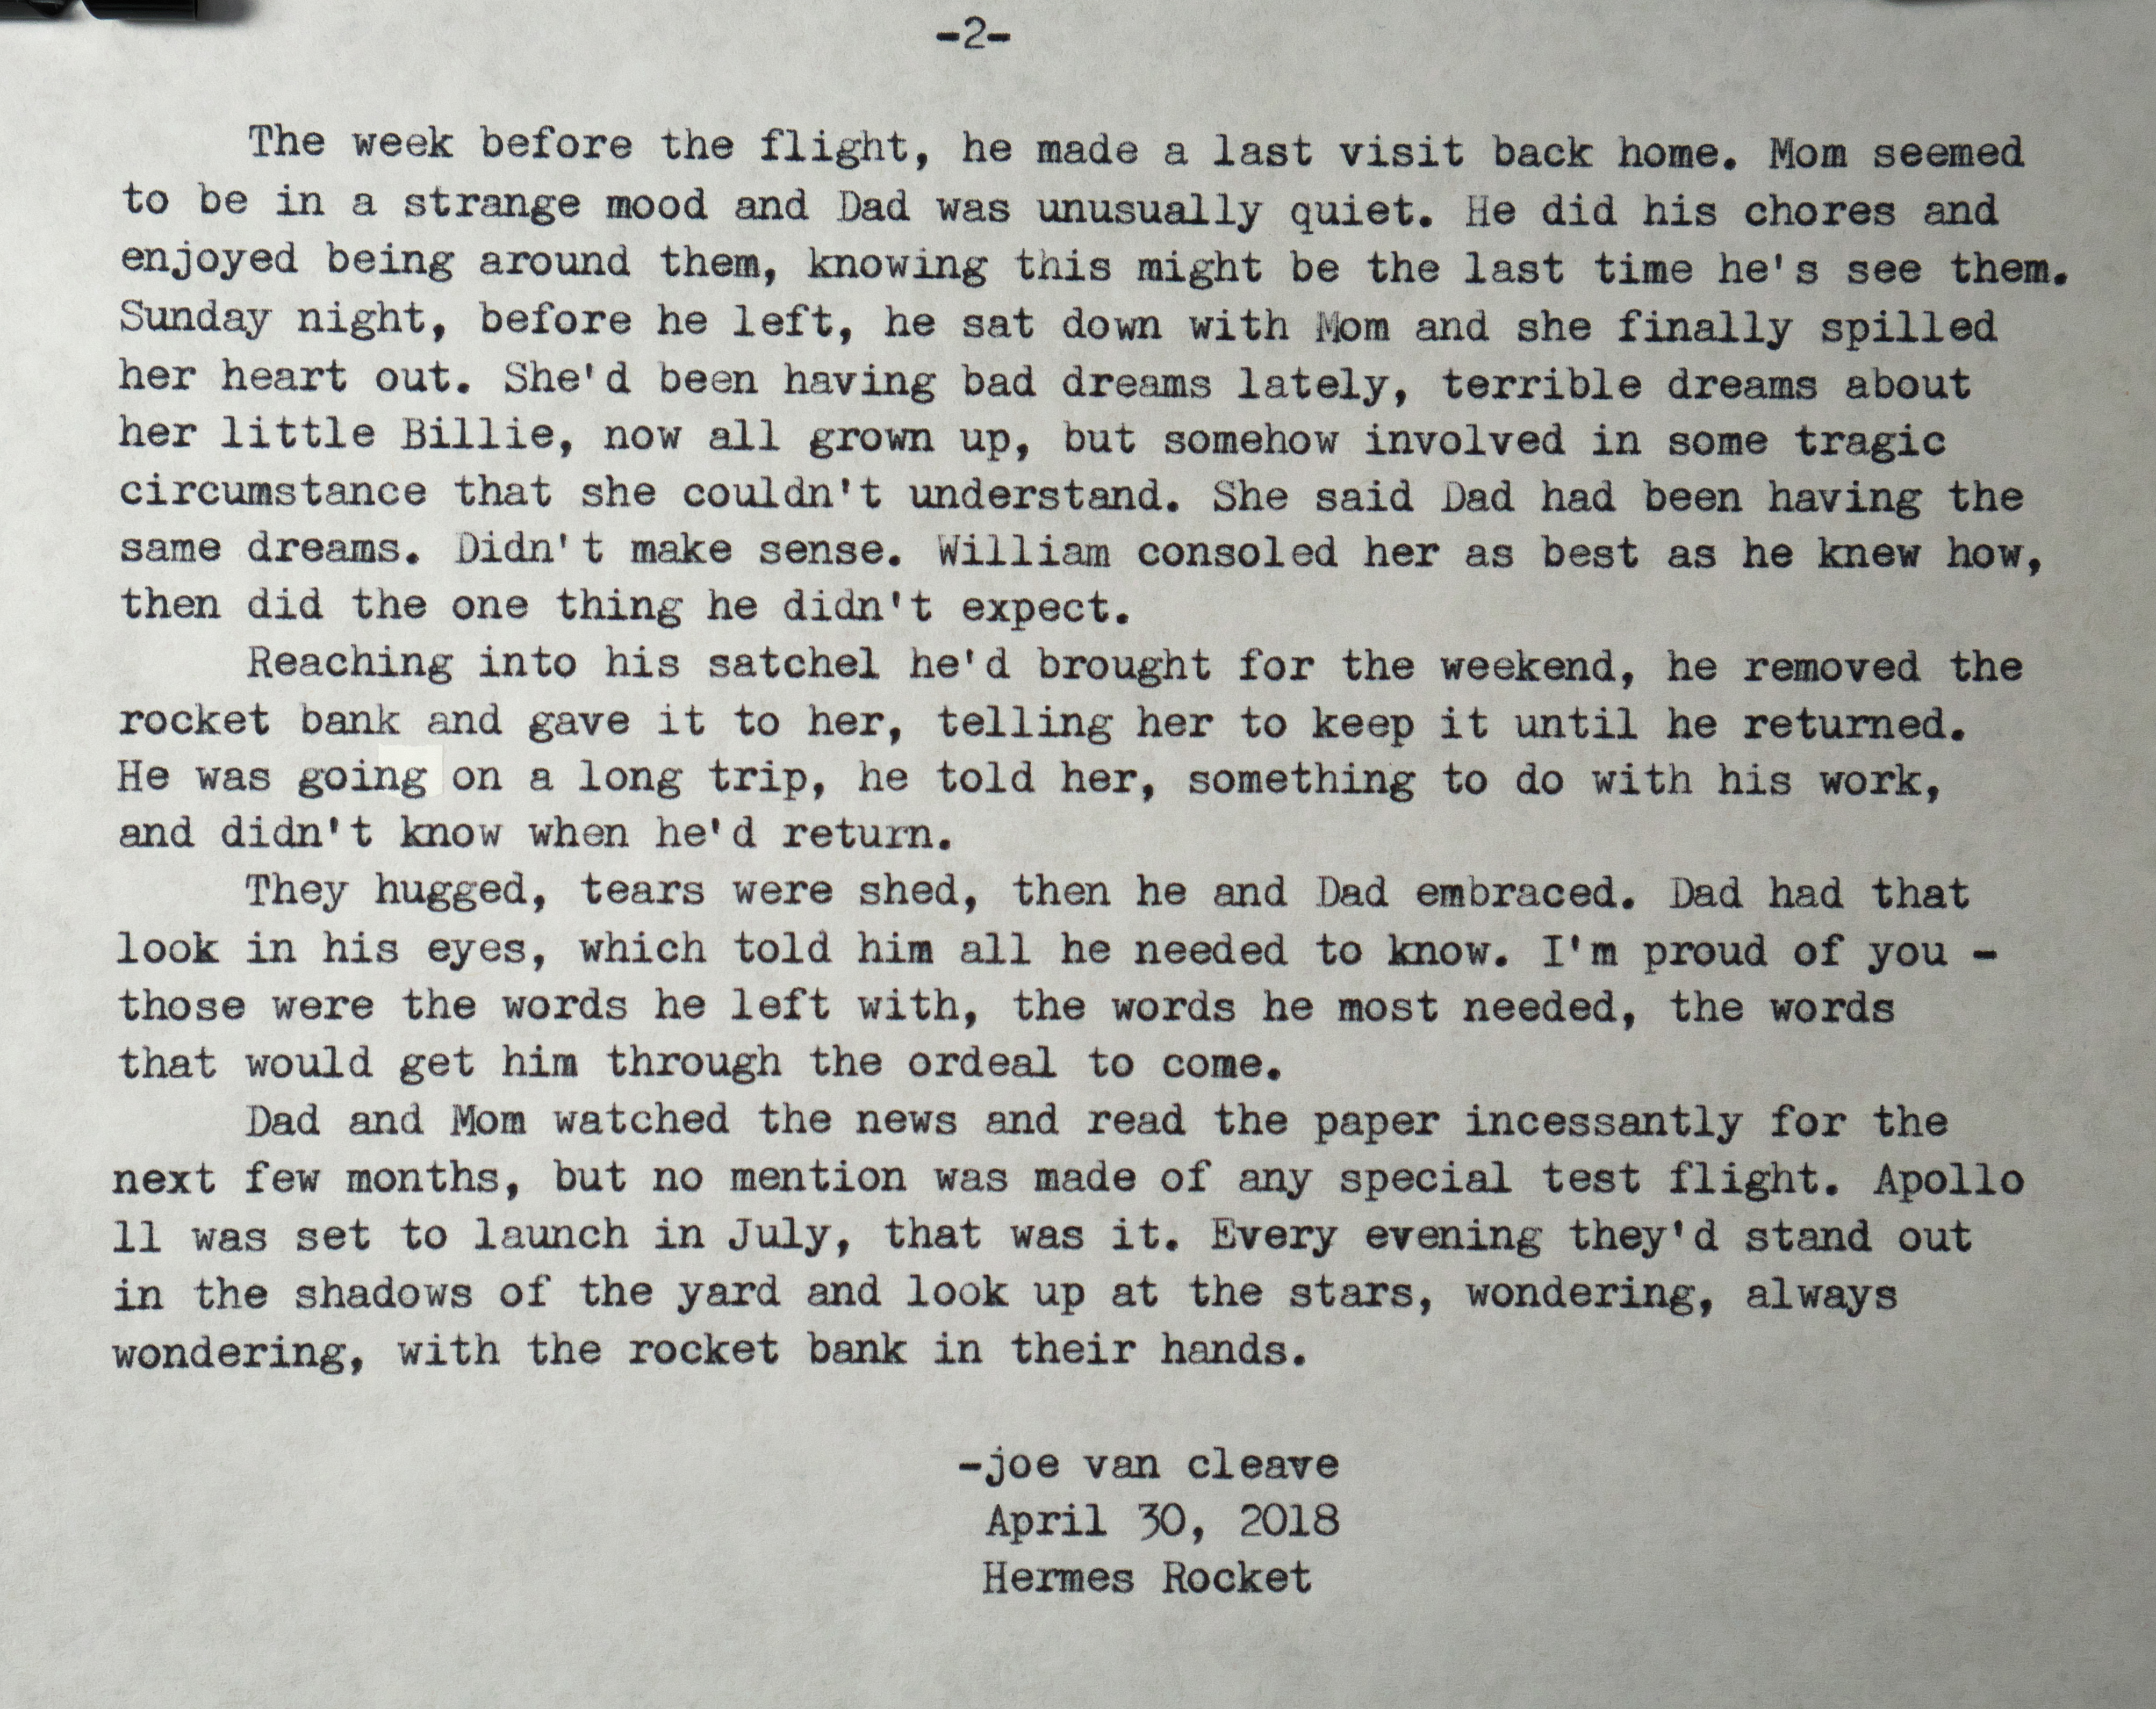
Here's the story, the last piece typed on the Hermes Rocket:
And here's the bank itself:
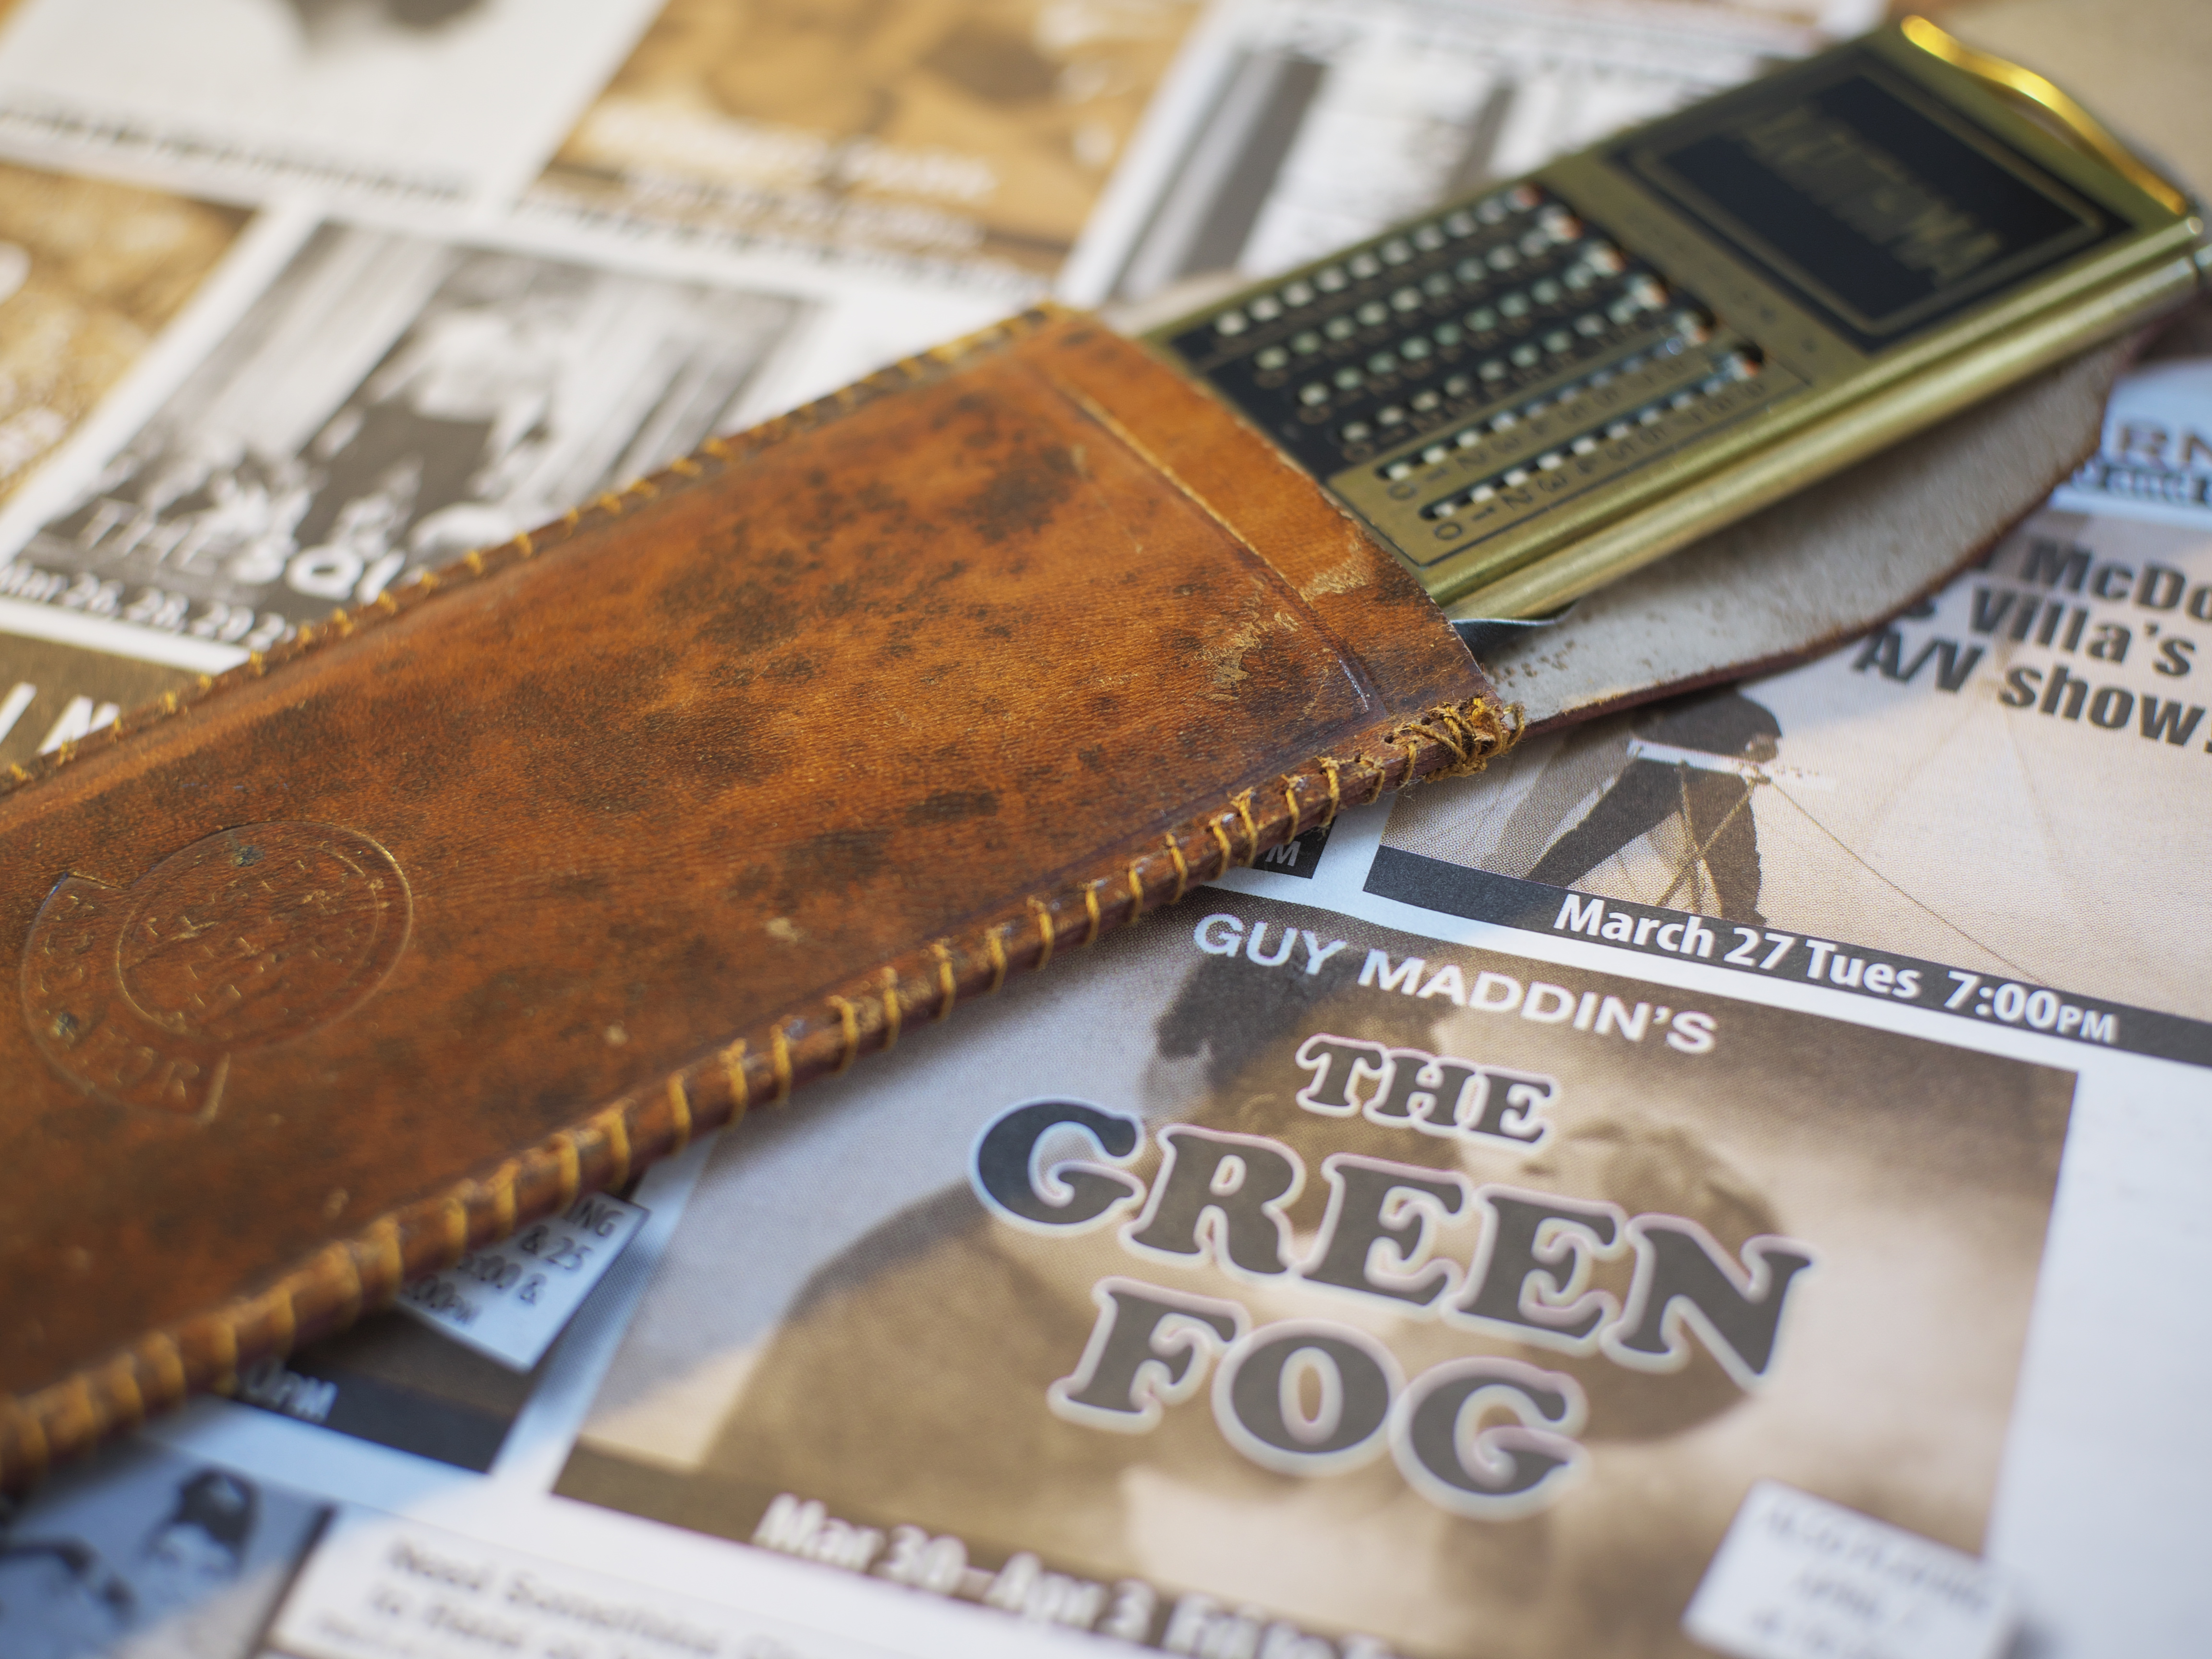
And in more positive news, I dusted off my rudimentary stitchery skills and affected a repair to the leather pouch of my Arithma Addiator:
It may not be pretty, but hopefully it'll serve a few more years of use; it's better than the staples that were holding the pouch together.
Here's a video I recently made about the Addiator. Thank you Ted Munk for the suggestion!
Post-Script: This whole project began as an inspiration, late at night, sitting at my office desk with Underwood Portable at my side. These machines indeed are tools for writing inspiration, especially this kind of writing that's imaginative and, being fiction, doesn't have to conform to reality.
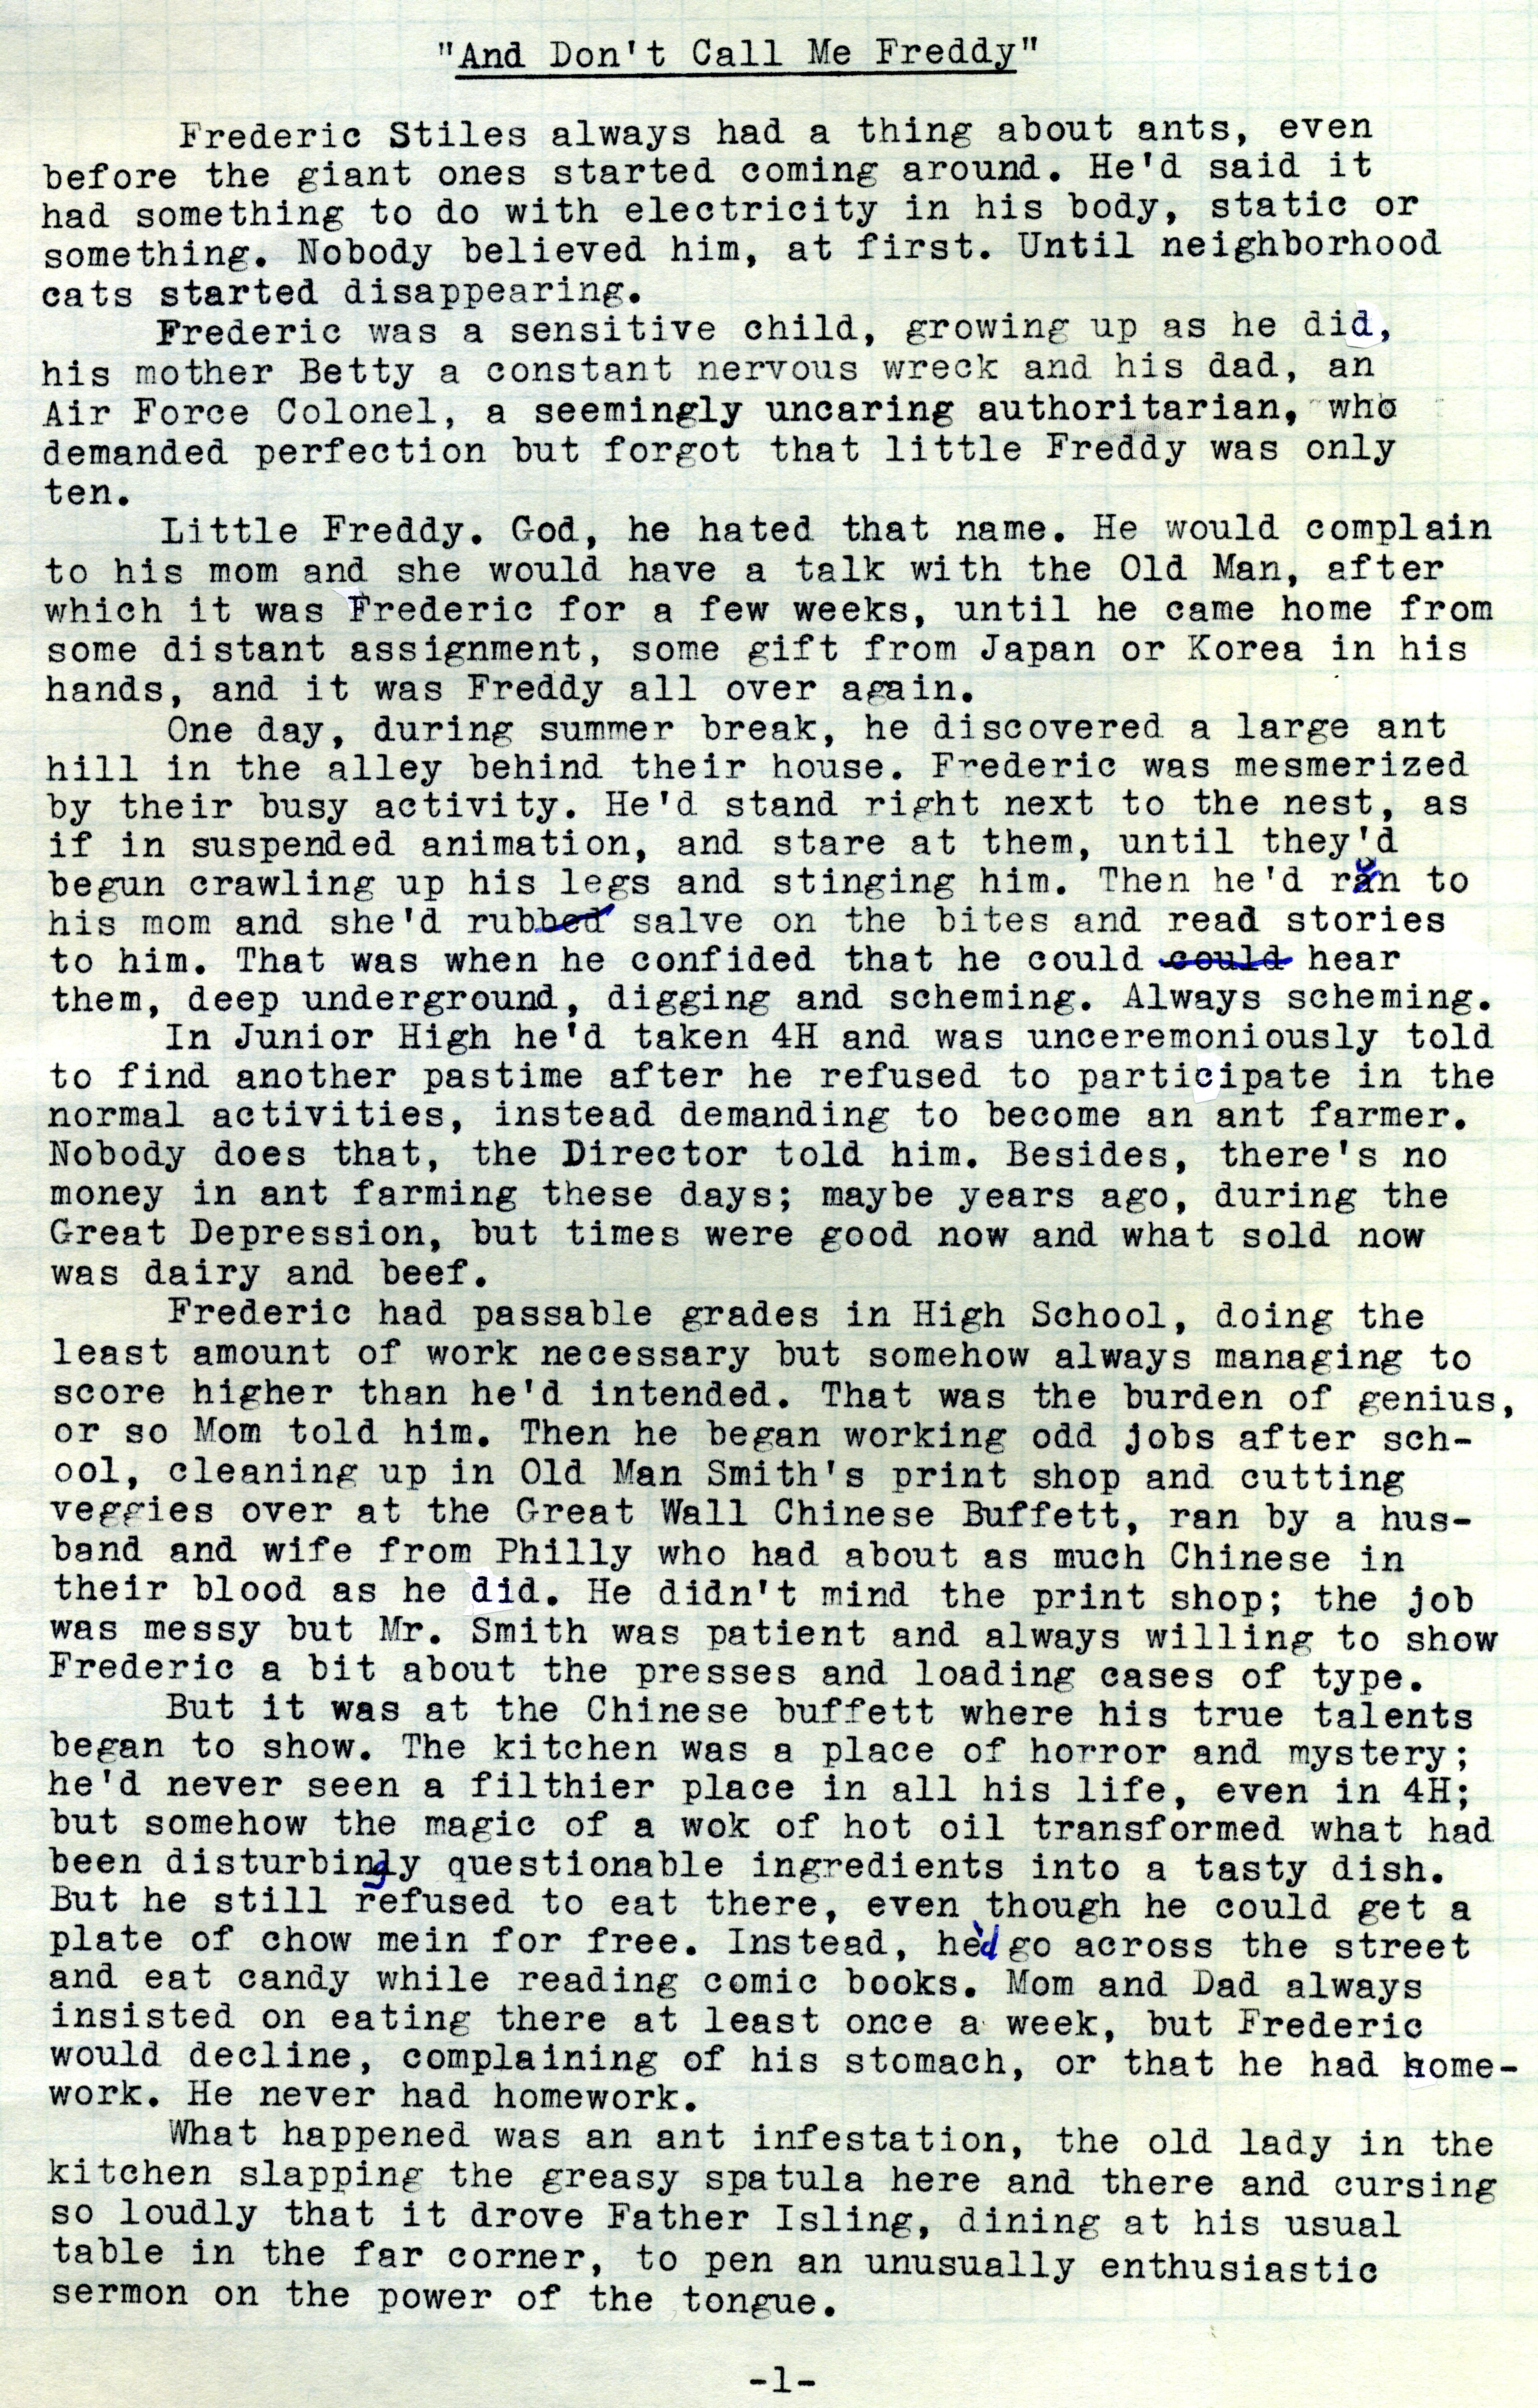
Since I needed a photo to adorn the beginning of this article, I figured a pinhole image would be needed, in order to get sufficiently close to these garden ornament ants. I used a little cardboard pinhole camera I'd built some years ago, with a 4" square format and wide angle of view (about 1.5" focal length). I attached a rectangular wooden base to my tripod, already fitted with 1/4-20 tripod bushing, and clamped to that a larger sheet of old plywood. This served as a mobile foreground stage, which I could move around my yard and adjust its framing with the tripod's head. A 25 second exposure in bright sun was made onto pre-flashed grade 2 RC paper. Inversion of the tones was done in the Preview app on my Mac. I really need to get some more full-featured photo editing software, but that'll involve spending some money and doing a bit of research.
Post-Script: This was a fun day; I photographed, edited and uploaded two videos; and wrote and posted two blog articles - and fixed my Rocket! The other blog article and video are about my film canister pinhole camera project.
Post-Script: I suppose, counting the Clip 2, it would be ten cameras.
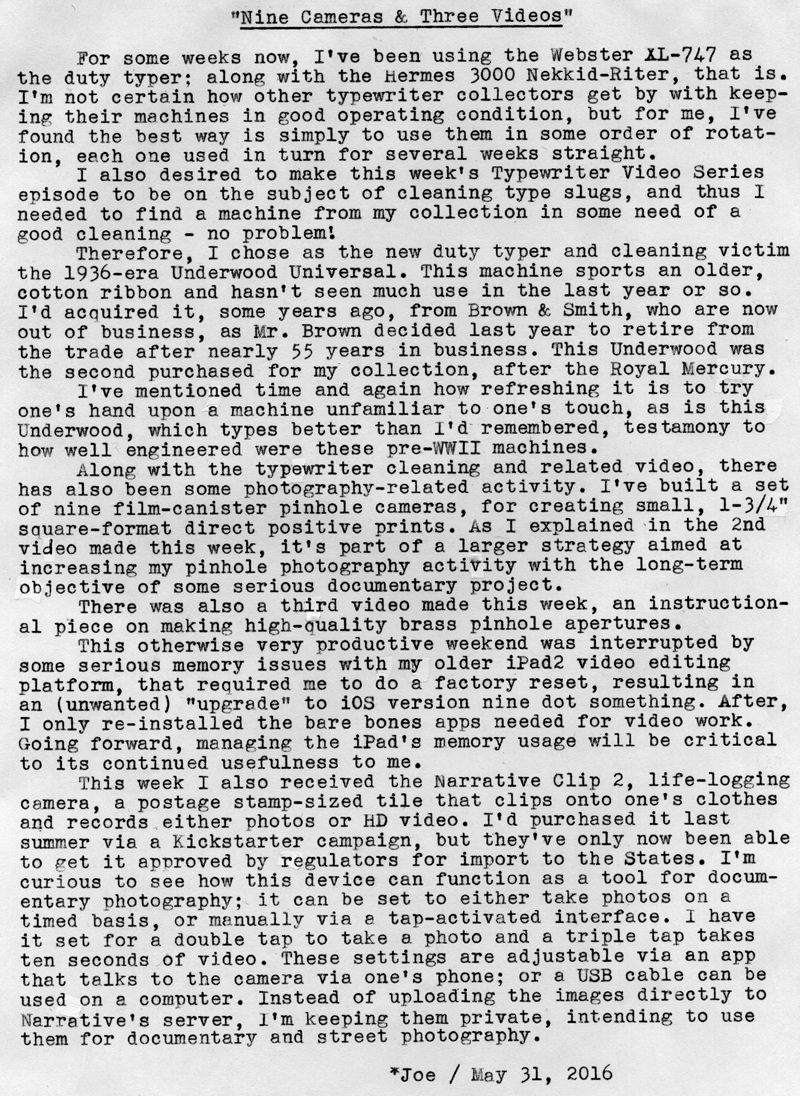
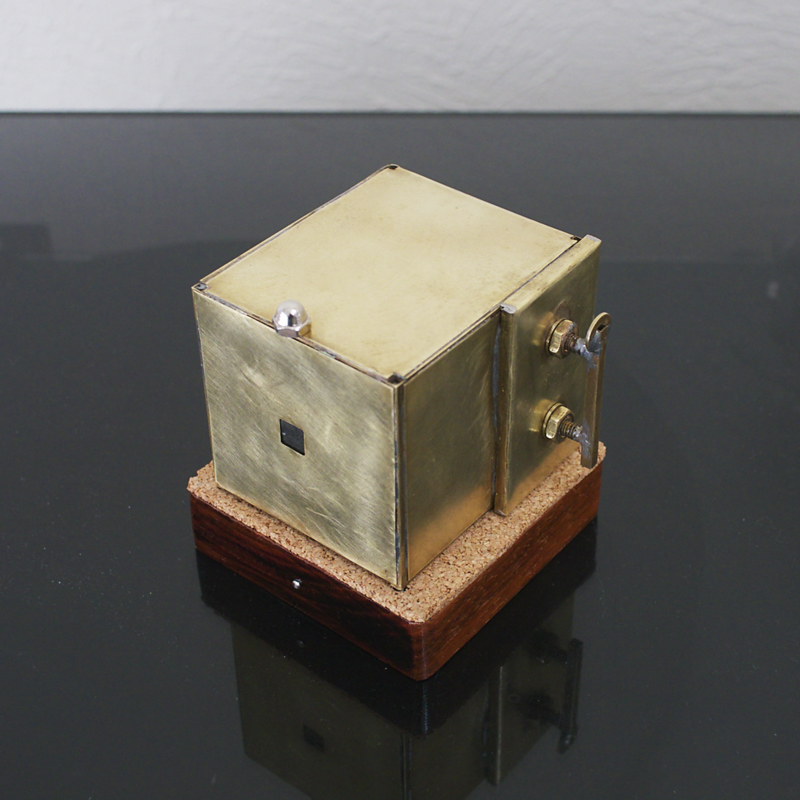
I did an initial round of test-exposures for the nine little pinhole cameras, and everything worked as expected. My hand-fashioned pinholes are close enough in size to each other that I don't need a different focal ratio (and hence exposure time) for each camera; which was my objective.
The Narrative Clip 2 is really designed for life-logging by people who are always connected via smart phone; whereas my objective is more purposeful. I also don't want all those many photos uploading to someone else's server, I'd rather sort through them myself, delete the junk files (because a life-logging camera will produce a ton of junk images, at a rate of one per every 30 or 60 seconds, for example), and keep (and control the usage of) the rest. But the app enables one to also control the settings of the camera, including how often pictures are automatically recorded, and the length of video clips, etc. Though I haven't tried it with the new iOS version 9-dot-something on my iPad 2, I couldn't download the Narrative app with the older version 7-dot-something; nor was the Android app version compatible with my Dell tablet; hence why I'm for now using the PC version and downloading the images via USB straight to my hard drives.
And just in case you were wondering, I don't carry a "smart" phone, instead opting for a "dumb" (i.e. "flip") phone, whose service plan only costs me $15 per month. Not because I'm a Luddite but because, one, I'm cheap; and two, I have a "smart" phone for work, and detest the thing's constant desire to be fondled and caressed, like some poor, neglected child with psychological issues. Also, I enjoy ending calls by slamming the flip-phone shut, with that satisfying, tactile ker-thwack; much better than poking at a smudgy glass screen.
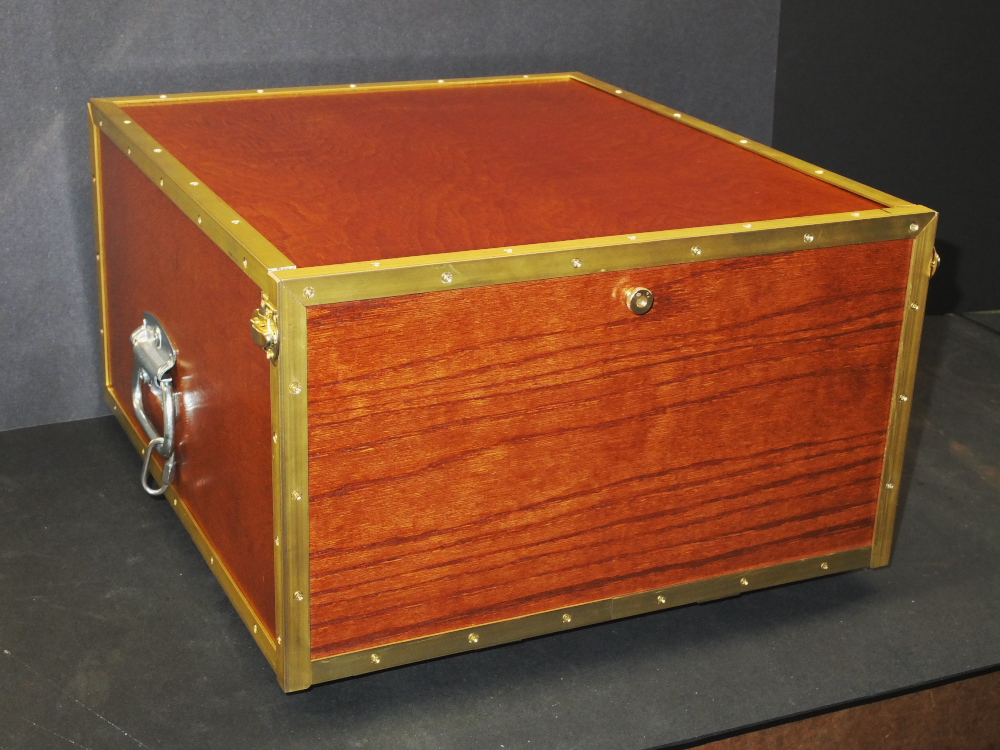
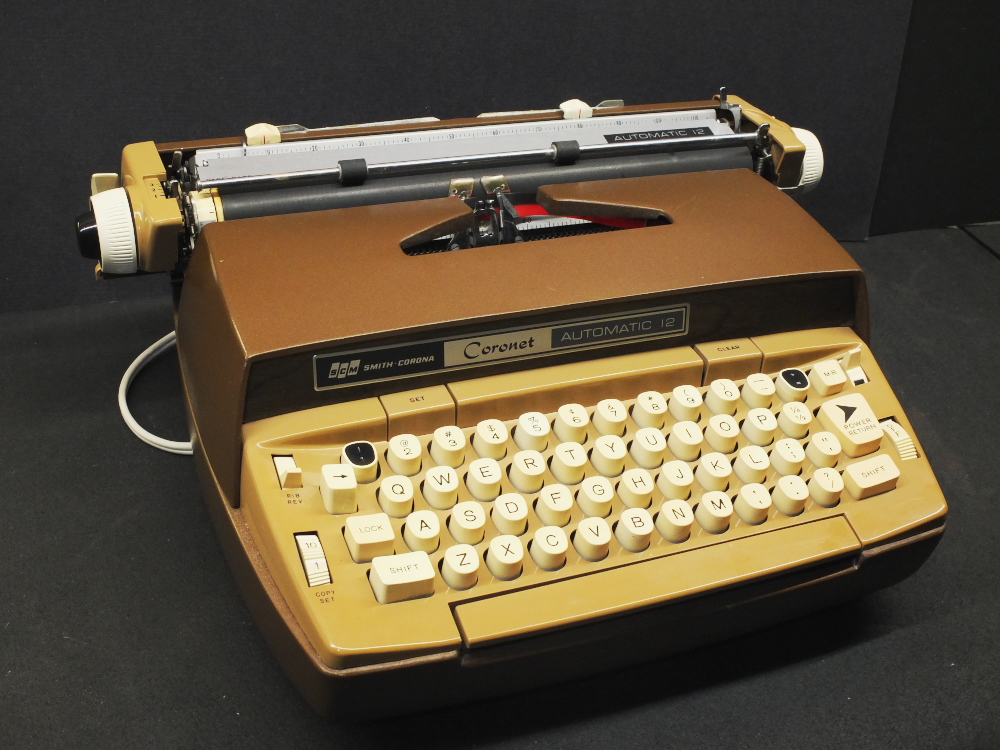
Post-Script: Typecast via Hermes 3000 Nekkid-Riter. I wrote that last paragraph partly in jest, earlier today after having completed the storage box for the Nekkid-Riter. But later on, I decided to take a look at the electric Coronet Automatic 12. I used an old extension cord to replace its original power cord (that was spliced in two places, badly frayed and with an intermittent open near the plug). Upon powering it on, lo and behold it works! I spent the next hour or two cleaning, degreasing and lubricating. The insides are still not entirely clean, since I only hit the critical areas where debris and residue might affect the machine's operation, rather than spotlessly cleaning every surface.
The carriage rails were grinding, so a thorough cleaning, degreasing and re-oiling has smoothed it out nicely. I spent a lot of time cleaning the type slugs with alcohol, swabs and toothpicks, the result being that, with its new ribbon, it types very nicely. The body and storage case were filthy, so plenty of window cleaner, swabs and paper towels were consumed, but the results are enticing.
I'm not certain I like the chocolate-brown color, but I suppose it's less drab than that of my older Smith-Corona Silent. I was originally thinking about calling it the "Brown Streak," from its speedy operation and color, but my wife, in her wisdom, convinced me that this term might be misconstrued as being somewhat scatological. Yes, it's a fast typer; darned if I can't throw words on paper at a speedy clip. This is certainly an office workhorse machine, but it's rather loud; I can only imagine what an office of these machines sounded like, back in the mid-20th century. I suppose if the room were clouded in cigarette smoke (which they often were), it might dampen the racket. Actually, it's not quite as loud as my brother's Hermes 10 electric (that, you might recall, is on permanent loan to the Guild Cinema).
The rear, hinge-side of the case is badly rusted. It looks like it sat up on end in a wet environment. This is one of the few circumstances where I had no qualms about applying some WD-40, followed by a wire brush and plenty of paper towels. It's better than it was, certainly.
So, am I going to keep it? I suppose ... if someone were to twist my arm ... perhaps. I can imagine if, needing to put some high volume of words down on paper at a speedy clip, and the noise were no objection, having one electric typewriter wouldn't be so bad, especially one having the wide carriage and ergonomics of this series of SCM, and with a standard cloth ribbon. But that's it! No electric collection for me, no sir!
Here's a glamor shot of the new clan member. I still need a name for it, something combining its chocolate appearance with speedy operation. It does have that two-tone espresso/coffee look, so perhaps some caffeine-themed name would be appropriate. Jitters? Hmm ... I'll think more about it.